CH510 Fan Installation: Step-by-Step Guide
CH510 fan installation made simple: a compact step-by-step guide to choose, place, wire, and optimize case fans for better cooling and quieter play. 🔧💨
|
Loading tags...

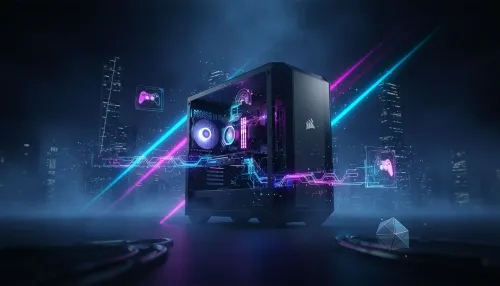
Is your gaming PC running hotter than a Durban summer? Don't sweat it. A simple fan upgrade can make a massive difference, and the DeepCool CH510 is a fantastic case to work with. This step-by-step CH510 fan installation guide will walk you through the entire process, from prep to power-on. It’s easier than you think to get your airflow optimised and your temperatures down. Let's get your rig running cool and quiet. 💨

Fractal Design Meshify 2 Compact (Black Solid) Gaming Case, ATX, Angular Mesh Front, 3 Fans, Detachable Front Filter, USB-C - FD-C-MES2C-01
R1999.00In Stock

Evetech RIX Mid-Tower ATX Gaming Case - Black / RGB LED Controller / Support USB 3.0 / Supports 7 Expansion Slot / 6 x Pre-Installed ARGB Fans Included / C1936B
R1999.00In Stock
Fractal Design Meshify 3 Dark, E-ATX Mid-Tower Gaming Case, 3X Dynamic X2 GP-14 Fans, Black / FD-C-MES3A-01
R2599.00In Stock
Fractal Design Meshify 2 Compact Lite White ATX Flexible Tempered Glass Clear tint Window Mid Tower Computer Case / 4 x Pre-Installed ARGB Fans Included / FD-C-MES2C-08
R2599.00In Stock
Corsair 7000D AIRFLOW Full-Tower Gaming E-ATX PC Case - Black / Tempered Glass Side Panel / USB 3.1 Type-C port / Corsair rapid route cable management / Supports Motherboards up to E-ATX / Supports up to 480mm Radiator / 3 x Pre-Installed Fan Included / CC-9011218-WW
R4499.00In Stock

Antec Dark League DP505 White, High-Airflow Mesh Front Panel, 3 x 120mm ARGB Fans, ARGB & PWM Hub, 8 x Rubber Grommets & 3 x Cable Ties, Type-C 3.2 Gen2, GPU Bracket, Mid-Tower E-ATX Gaming Case / DP505W
R649.00In Stock
Preparing for Your CH510 Fan Installation
Before you unscrew a single panel, a little preparation goes a long way. Getting your gear and your game plan sorted first makes the actual installation process smooth and stress-free.
First, gather your tools. You don’t need a massive workshop… just a Phillips head screwdriver and some cable ties for a tidy finish. Of course, you'll need your new fans. The CH510 supports 120mm and 140mm fans, so ensure you’ve got the right size for your chosen mounting points (front, top, or rear). If you're looking for quality fans, there are excellent options available from brands like Cooler Master that offer a great balance of performance and quiet operation.
Next, plan your airflow. The golden rule is to create a consistent path for air to travel through your case. You want to pull cool air in (intake), and push hot air out (exhaust). For a standard CH510 fan setup, a great starting point is:
- Intake: Mount two or three fans at the front of the case.
- Exhaust: Mount one fan at the rear and one or two at the top.
This creates a positive pressure setup that pushes hot air up and out, keeping your components happy.
Step-by-Step Fan Installation Guide
With your plan in place, it’s time for the hands-on part. This is the core of the CH510 fan installation, and we'll break it down into simple, manageable steps.
Step 1: Power Down and Open Up
Safety first! 🔧 Shut down your computer completely, switch off the power supply unit (PSU) at the back, and unplug it from the wall. Press the power button on the case one more time to discharge any residual electricity. Now, you can safely remove the side panels of your CH510 to get access to the interior.

Cooler Master HAF 500 White High Airflow ATX Mid-Tower, Mesh Front Panel, Dual 200mm Customizable ARG Lighting Fans, Rotatable GPU Fan, USB 3.2 Gen 2 Type C and Tempered Glas / H500-WGNN-S00
R2499.00In Stock

Fractal Design Define 7 Compact Black Brushed Aluminum/Steel ATX Compact Silent Tempered Glass Window Mid Tower Computer Case - 2 x Pre-Installed Fans Included - FD-C-DEF7C-03
R2299.00In Stock

GAMDIAS ATHENA M3 WH Gaming E-ATX Mid Tower Computer PC Case, High Airflow Mesh Front, 4x120mm PWM ARGB Fans w/Hub, Supports Motherboards up to E-ATX, Tool-Free Tempered Glass Side Panel, Support Dual 360 & Gen 2 Type-C, MB Sync, White / ATHENA-M3-WH
R1299.00In Stock
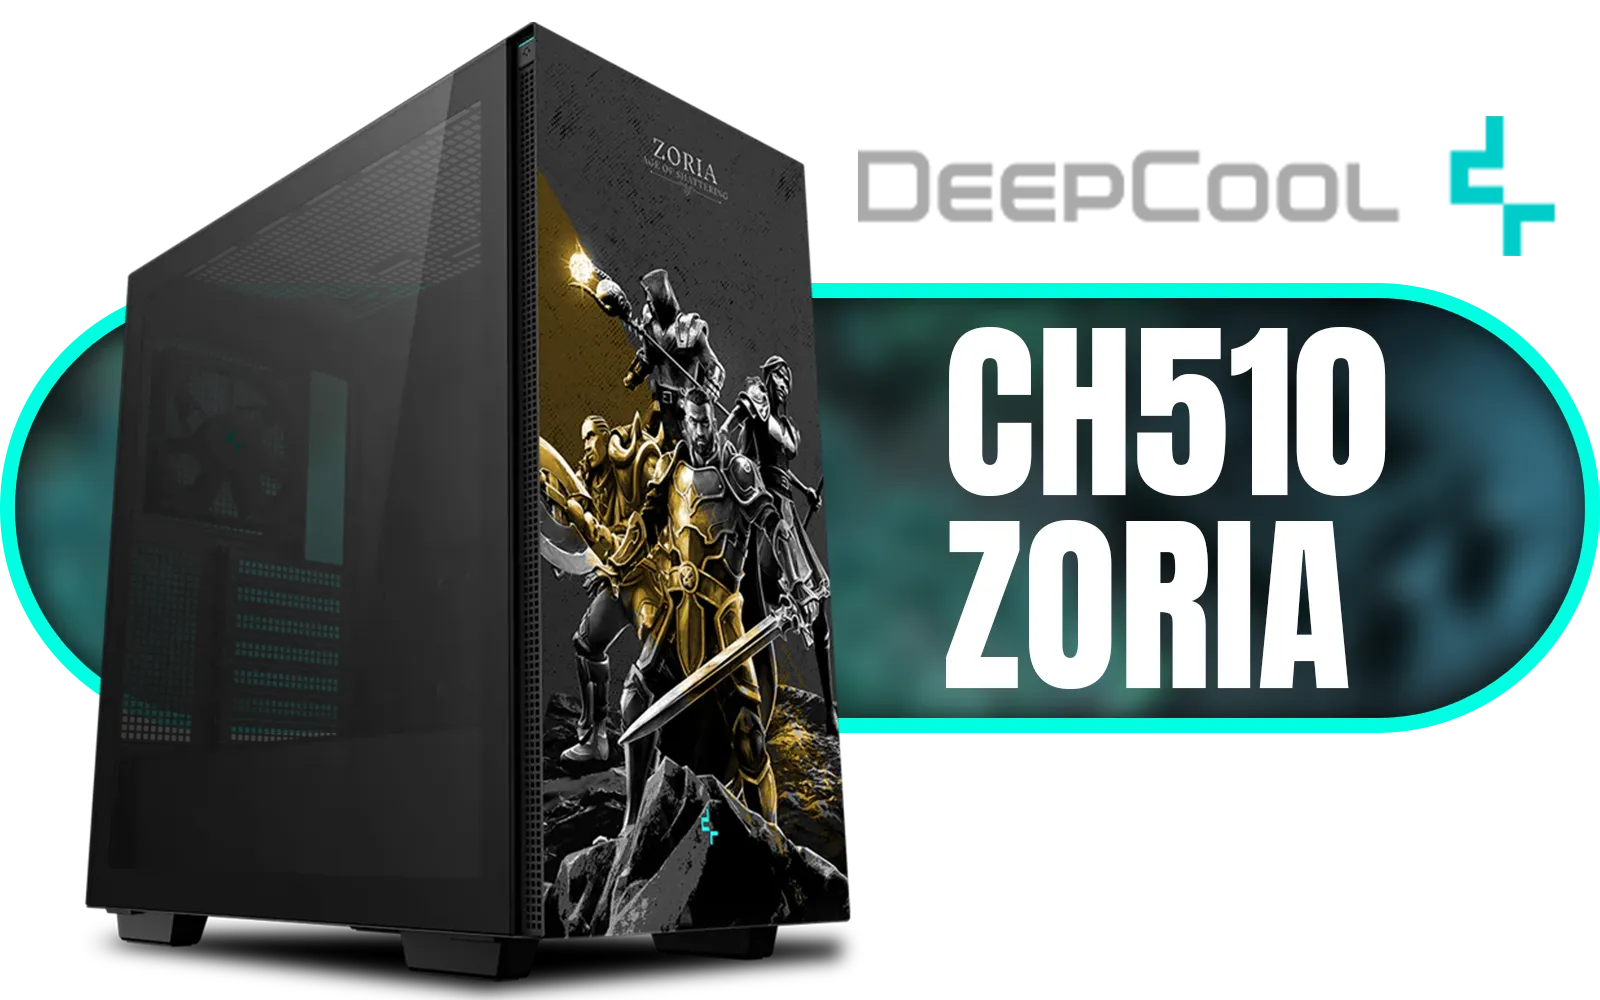
DeepCool CH510 ZORIA Mid-Tower PC Case / Themed Edition / Mini-ITX, Micro-ATX, ATX, E-ATX Support / 360mm Radiator Support / Tempered Glass Panel / 1 x Pre-Installed Fan Included / CH510-ZORIA
R1499.00In Stock

DeepCool CH270 Digital Micro-ATX Mini Tower Gaming Case - White / Tempered Glass Side Panel / CPU Cooler Support Up to 174mm / Radiator Support Up to 360mm / Partial mesh for better airflow / No Fans Included / CH270-DIGITAL-WH
R1499.00In Stock

Xigmatek Overtake Tempered Glass RGB Super Tower EATX Gaming Case / 4 x Pre Installed RGB Fans / EN46416
R2599.00In Stock
Step 2: Mount Your Fans
Identify your chosen mounting points. Position your fan so the cable can comfortably reach a motherboard fan header. The side of the fan with the plastic frame or "blades" is typically the exhaust side, where air flows out. The open, bladed side is the intake.
Hold the fan in place and use the four screws that came with it to secure it to the chassis. Don't overtighten them… just snug is perfect. The process is straightforward and a breeze in modern chassis like the Cooler Master E301 Mini Tower, which shares a user-friendly design philosophy.
TIP FOR YOU
Cable Management Pro Tip ✨
Before you fully tighten the fan screws, think about where the cable will run. Try to route it through the nearest cable management cutout in the CH510's motherboard tray. This keeps the main chamber looking clean and, more importantly, prevents loose cables from obstructing airflow or getting caught in other fans.
Step 3: Connect the Power and RGB
Now, find the fan's power cable. It will be either a 3-pin or 4-pin (PWM) connector. Look for headers on your motherboard labelled "SYS_FAN" or "CHA_FAN". Align the plastic guide on the connector with the notch on the header and gently push it into place. If you have RGB fans, you'll have a separate cable to connect to an RGB or ARGB header on your motherboard.
A clean build is a cool build, and good cable management is a key design focus you'll see in many modern well-designed GameMax Computer Cases, which helps simplify the process.

GAMDIAS NESO P1 BW Prime Lifestyle E-ATX Gaming Case - Black/White / Modular Orientation / Full Panoramic Display / Supports Motherboards up to E-ATX / One-touch Release Mechanism / Next-level Airflow Design / No Fans Included / NESO-P1-BW
R2499.00In Stock

GAMDIAS AURA GC10M Micro-ATX Mid Tower PC Gaming Case with Side Tempered Glass / Supports Mini-ITX and Micro-ATX Motherboards / 3 Built-in 120mm ARGB Fans / Compatible with 400mm GPU / AURA-GC10M-ARGB
R1199.00In Stock
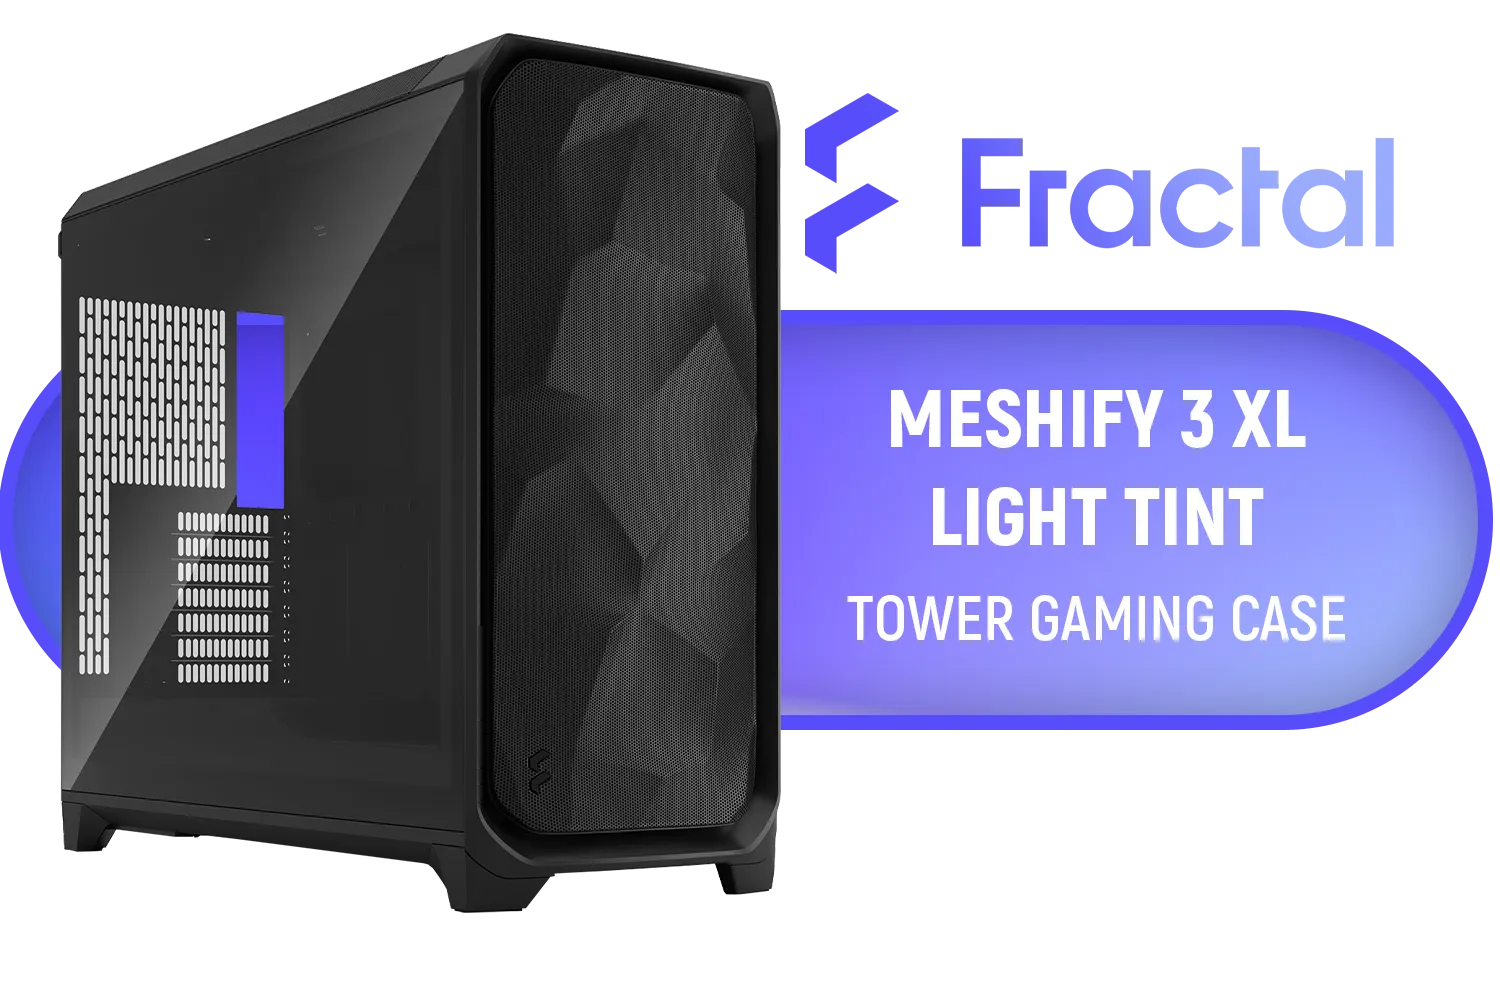
Fractal Design Meshify 3 XL Black TG Light Tint - Mesh Front Panel - Three Momentum 14 Gen 2 Fans Included - E-ATX/ATX/mATX Support / FD-C-MES3X-02
R3299.00In Stock
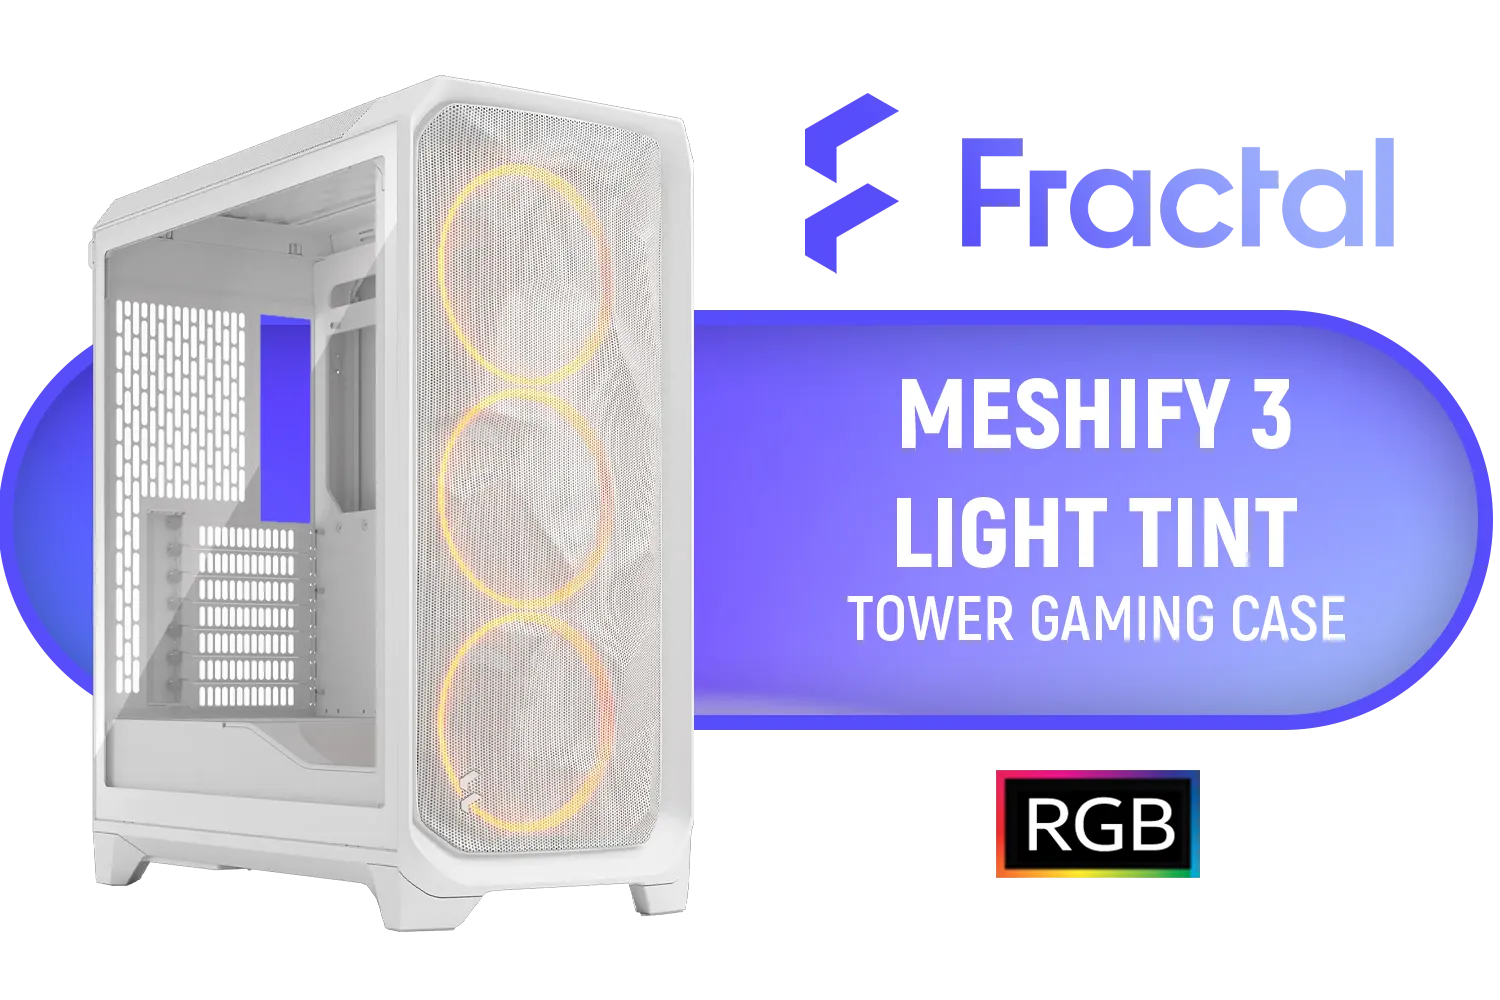
Fractal Design Meshify 3 RGB White Tempered Glass Clear Tint - High Airflow PC Gaming Case - Mesh Front Panel - Three ARGB Momentum 14 Gen 2 Fans Included - E-ATX/ATX/mATX Support / FD-C-MES3A-07
R2999.00In Stock

Gamdias Atlas M1 Tempered Glass ATX Gaming Case - Black / Magnetic Dust Filter / Supports Motherboards up to ATX / 3 Built-in 120mm ARGB Fan / ATLAS-M1
R1699.00In Stock

GAMDIAS AURA GC7 ATX Mid Tower PC Gaming Case with Side Tempered Glass / Supports Motherboards up to ATX / 3 Built-in 120mm Fixed RGB Fans / AURA-GC7-ARGB
R699.00In Stock
Powering On and Testing Your New Setup
With everything connected, it's time for the moment of truth. Replace the side panels, plug your PC back in, and switch on the PSU. Press the power button and peek inside. You should see your new fans spinning to life!
For fine-tuning, you can enter your PC’s BIOS/UEFI during startup (usually by pressing DEL or F2). Here, you can set custom fan curves to tell your fans when to spin faster based on temperature, optimising for either silent operation or maximum cooling performance.
This simple upgrade not only improves thermals but also builds your confidence for future PC projects. If this process has you excited about what else you can do, you can check out our full range of computer cases to get ideas for your next dream build. Happy building! 👍
Ready to Build a Cooler, Faster PC? Proper airflow is the first step to unlocking your PC's true potential. Whether you're upgrading your CH510 or starting a brand new build, we've got the perfect foundation for your rig. Explore our massive range of computer cases and find the perfect chassis to conquer your world.
Related Products
Antec Dark League DP505 White, High-Airflow Mesh Front Panel, 3 x 120mm ARGB Fans, ARGB & PWM Hub, 8 x Rubber Grommets & 3 x Cable Ties, Type-C 3.2 Gen2, GPU Bracket, Mid-Tower E-ATX Gaming Case / DP505W
R649.00In Stock
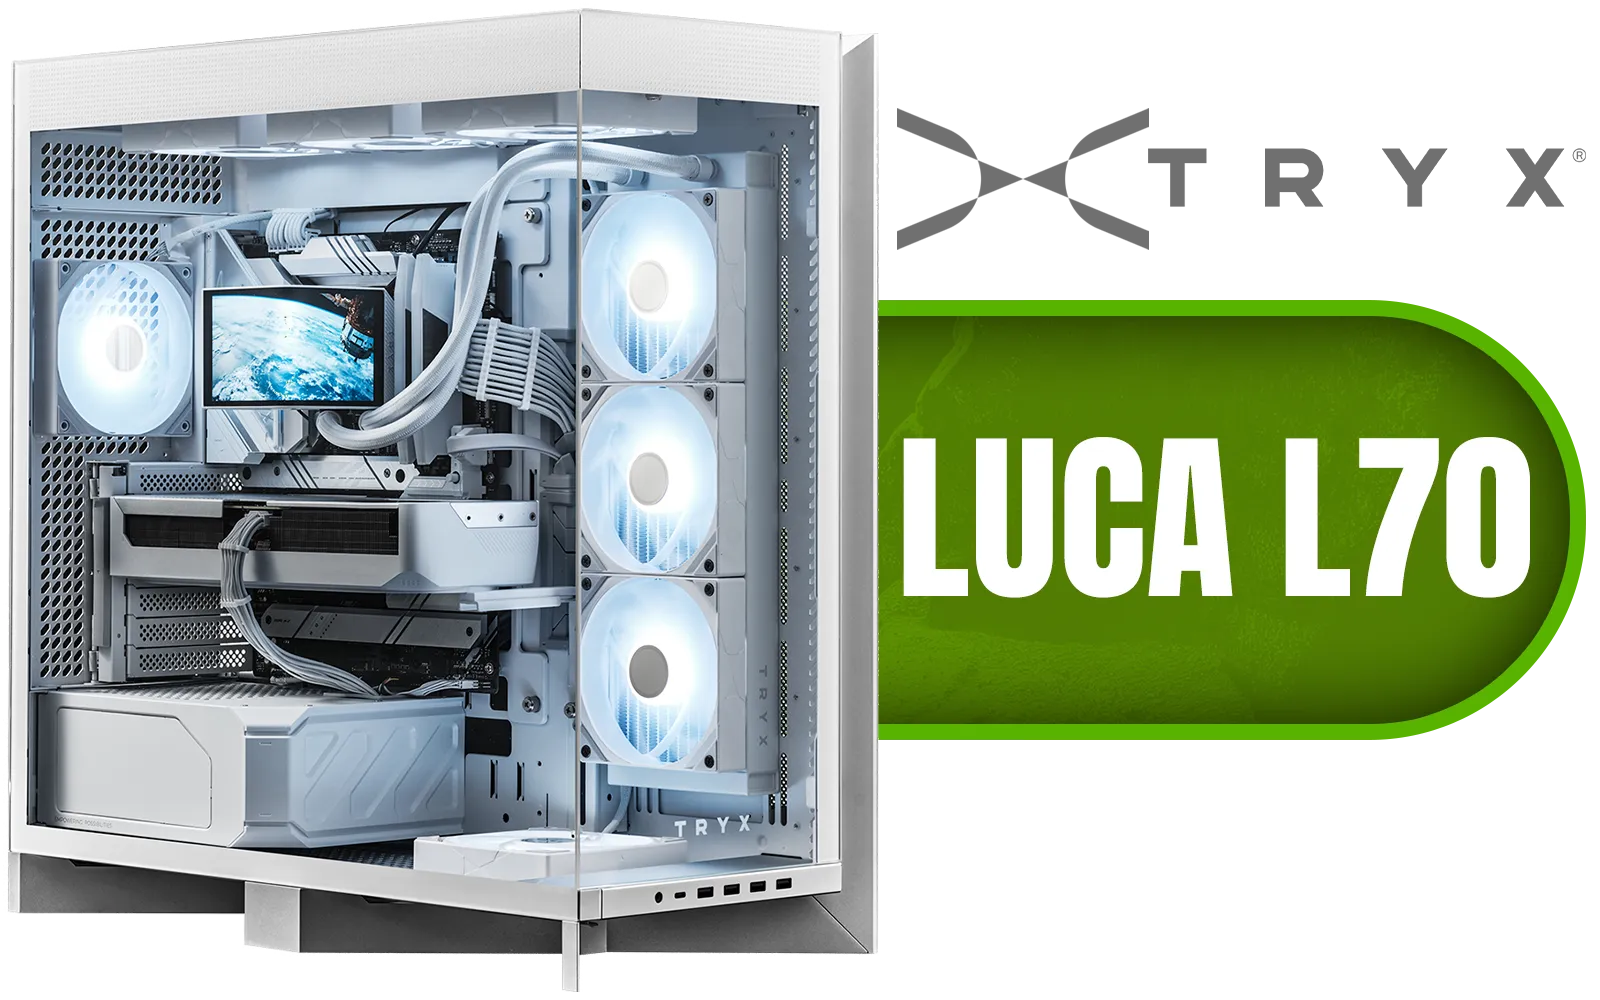
TRYX LUCA L70 Mid-Tower E-ATX Gaming Case - White / Tempered Glass Side Panel / Support ATX & M-ATX BTF Motherboards / Support E-ATX, ATX, Micro-ATX, Mini-ITX Motherboards / Support Vertical GPU Mounting / 40mm Raised X-Shaped base / Adjustable Motherboard Tray / Support up to 8x 140mm + 1x 120mm Fans / C-L700N-NN0H-G0W
R6299.00In Stock

Fractal Design Define 7 Mini Black - Light Tinted Tempered Glass - Brushed Aluminum/Steel Micro ATX Silent Window Mini Tower Computer Case - 2 x Pre-Installed Fans Included / FD-C-DEF7M-02
R2199.00In Stock
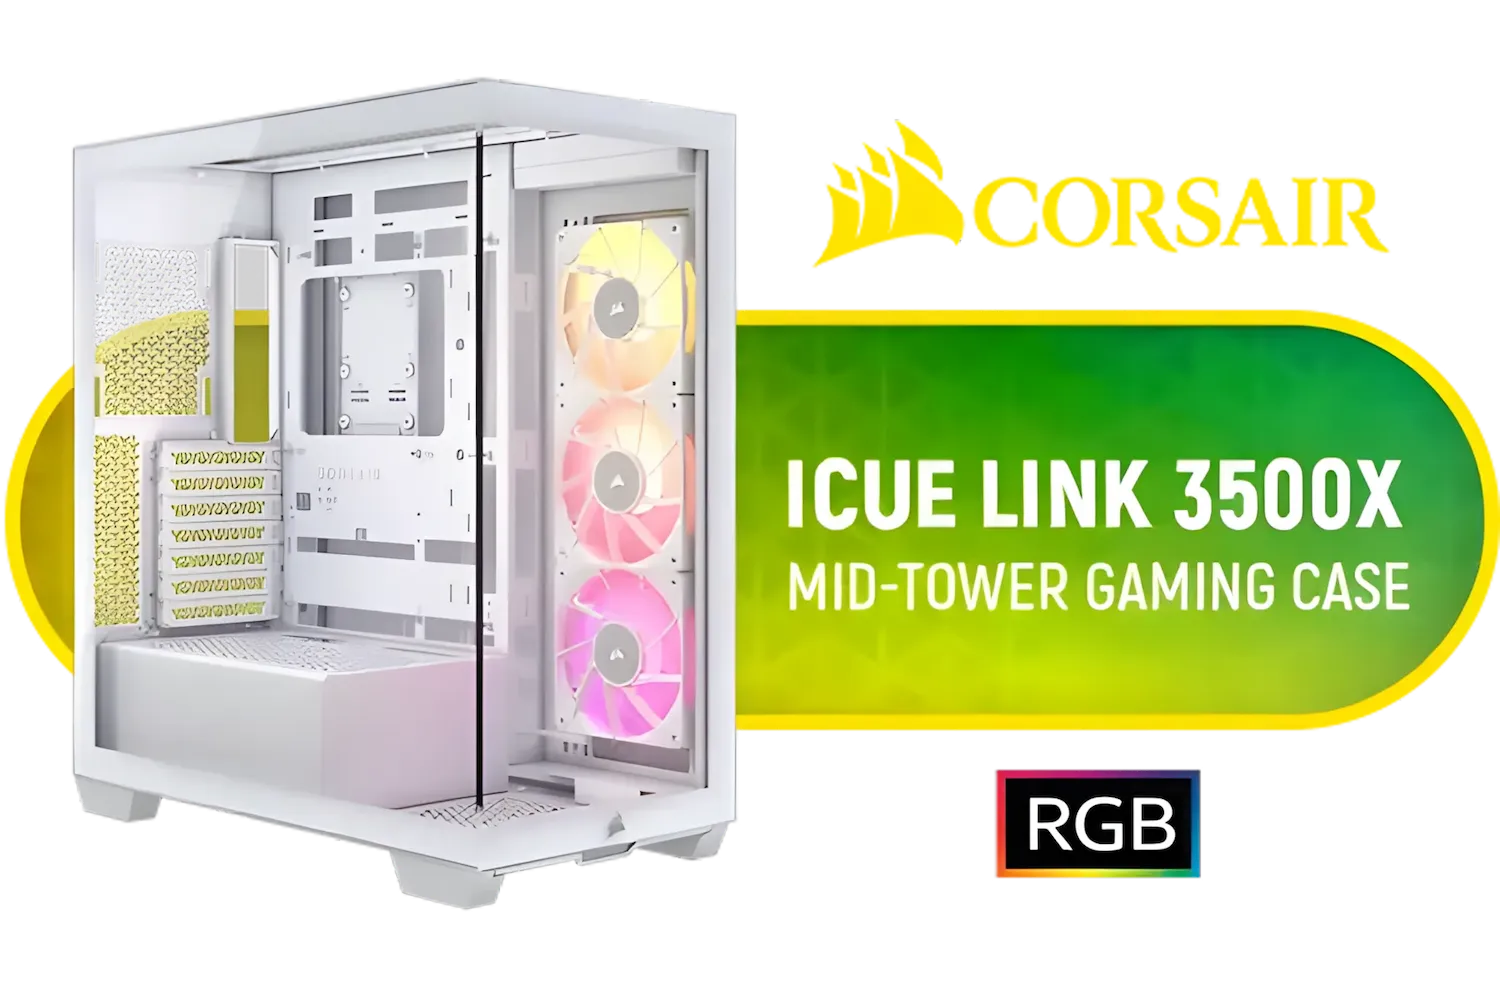
Corsair iCUE LINK 3500X RGB Mid-Tower Gaming E-ATX PC Case - White / 3x Pre-installed iCUE LINK RX120 fans with iCUE LINK System Hub / Supports up to 10x 120mm Fans / Supports Motherboards up to E-ATX / Supports up 360mm Radiator / Removable Glass Panels / Supports Reverse Connection Motherboards / CC-9011281-WW
R3299.00In Stock
Fractal Design Define 7 Compact Black Brushed Aluminum/Steel ATX Compact Silent Tempered Glass Window Mid Tower Computer Case - 2 x Pre-Installed Fans Included - FD-C-DEF7C-03
R2299.00In Stock
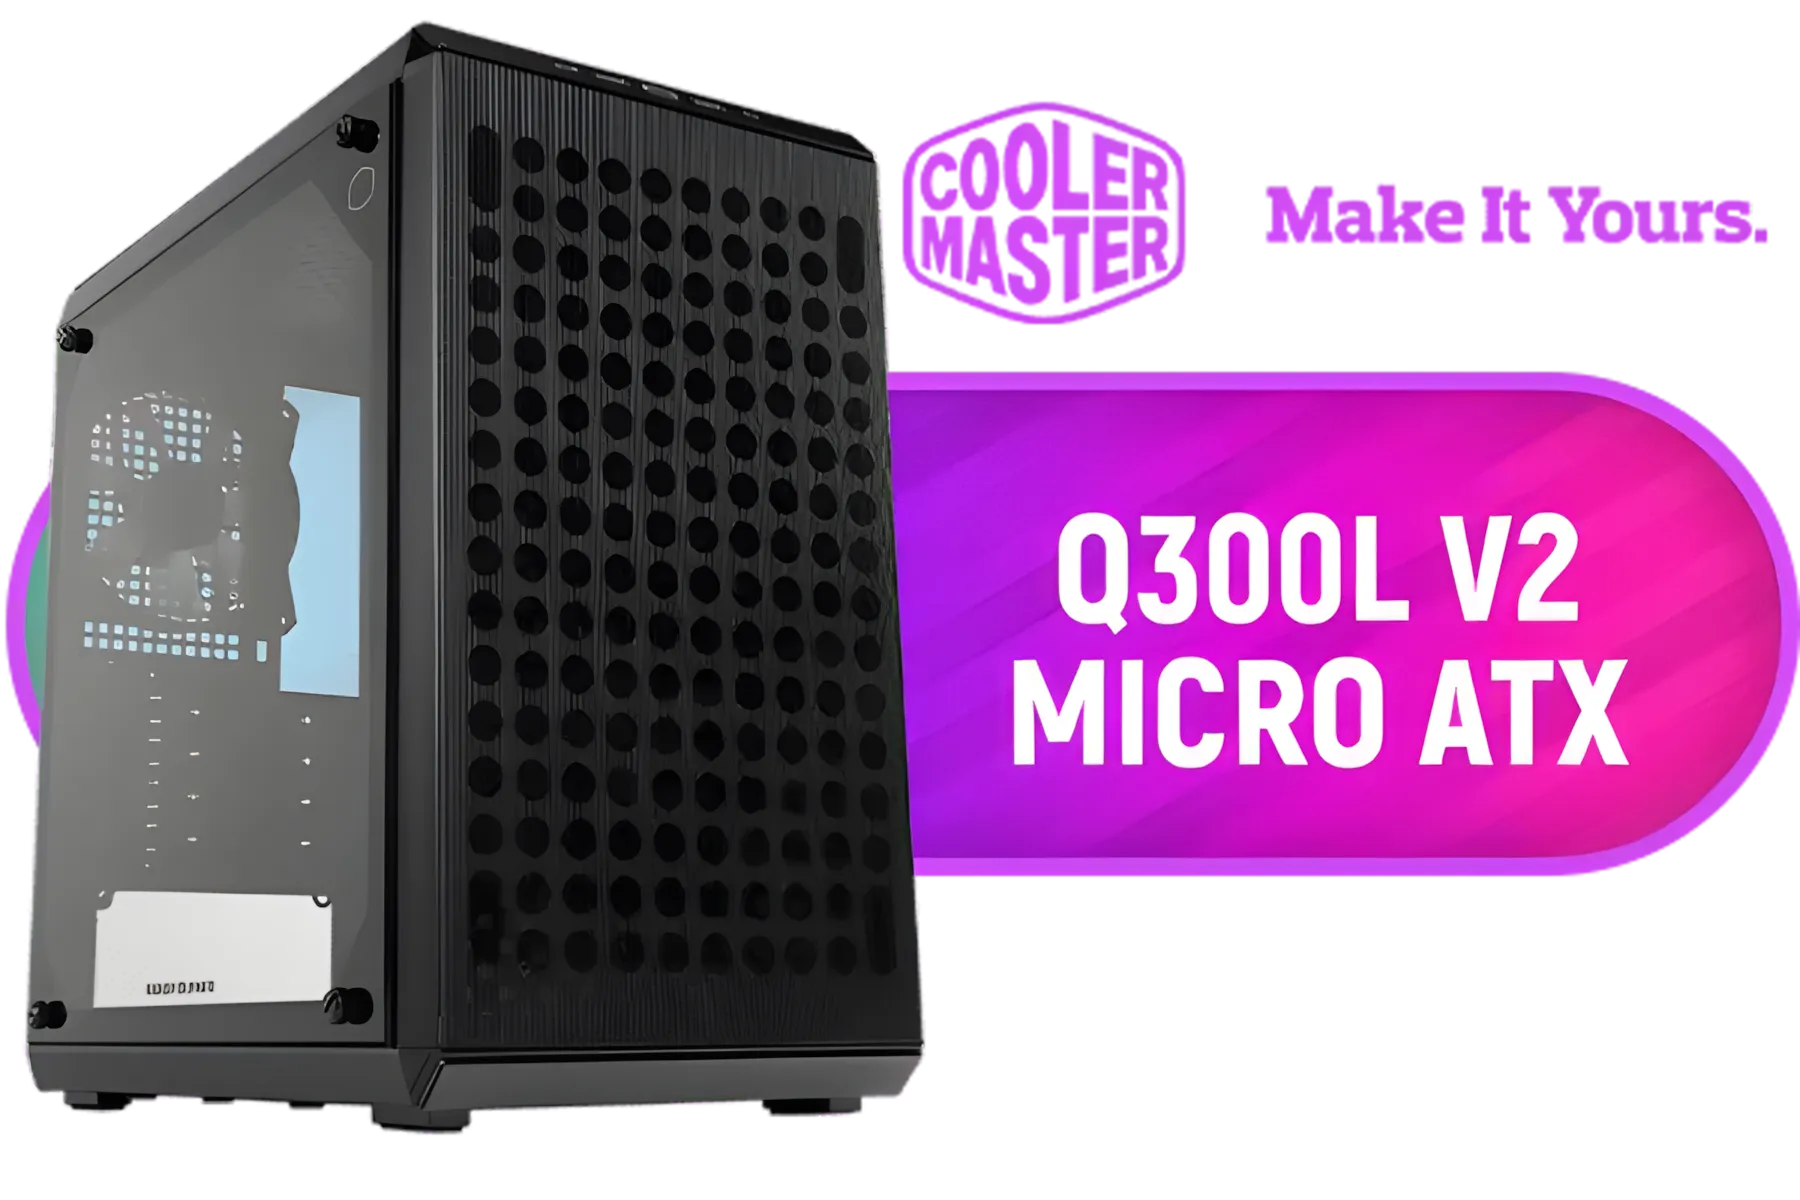
Cooler Master Q300L V2 ARGB Micro-ATX Tower, Magnetic Patterned Dust Filter, USB 3.2 Gen 2x2 (20GB), Tempered Glass Panel, CPU Coolers Max 159mm, GPU Max 360mm, Fully Ventilated Airflow, 1 x Pre-Installed Fan Included / Q300LV2-KGNN-S01
R1199.00In Stock
Plan fan placement, choose 120mm fans, mount with screws or rubber grommets, connect to motherboard or hub, then set fan curves in BIOS.
CH510 supports 120mm fans front, rear and top. 140mm may fit front depending on radiator clearance. See install 120mm fans CH510 for details.
Use front fans for intake and top/rear fans for exhaust. Balance intake vs exhaust to optimize airflow and reduce dust.
Yes. Connect RGB headers to an RGB controller or compatible motherboard and route RGB cables separately from fan power cables.
Plug 4-pin PWM fans into motherboard fan headers or a PWM hub and configure fan curves in BIOS or vendor software.
If you exceed motherboard headers, use a powered fan hub or controller to supply power and centralize PWM control.
Route cables along case edges, use zip ties, and tuck excess behind the mobo tray for clean CH510 fan cable management.