Gamemax CLAW 460 RGB Lighting: Maximize Effects & Sync
Gamemax CLAW 460 RGB lighting — step-by-step tips to set up, sync, and fine-tune vivid effects for gaming builds 🎨⚡ Learn ARGB placement, profiles, and software tricks.
|
Loading tags...

So, you’ve bagged the Gamemax CLAW 460 chassis for your new build—solid choice! It looks incredible, but getting that vibrant RGB glow to behave can be a mission. Are your fans flashing a chaotic rainbow instead of a slick, unified theme? You’re not alone. This guide will show you exactly how to master your Gamemax CLAW 460 RGB lighting, transforming your rig from a random light show into a coordinated masterpiece. 💡
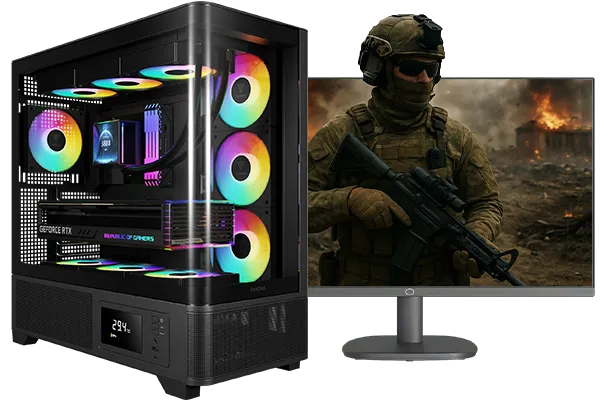
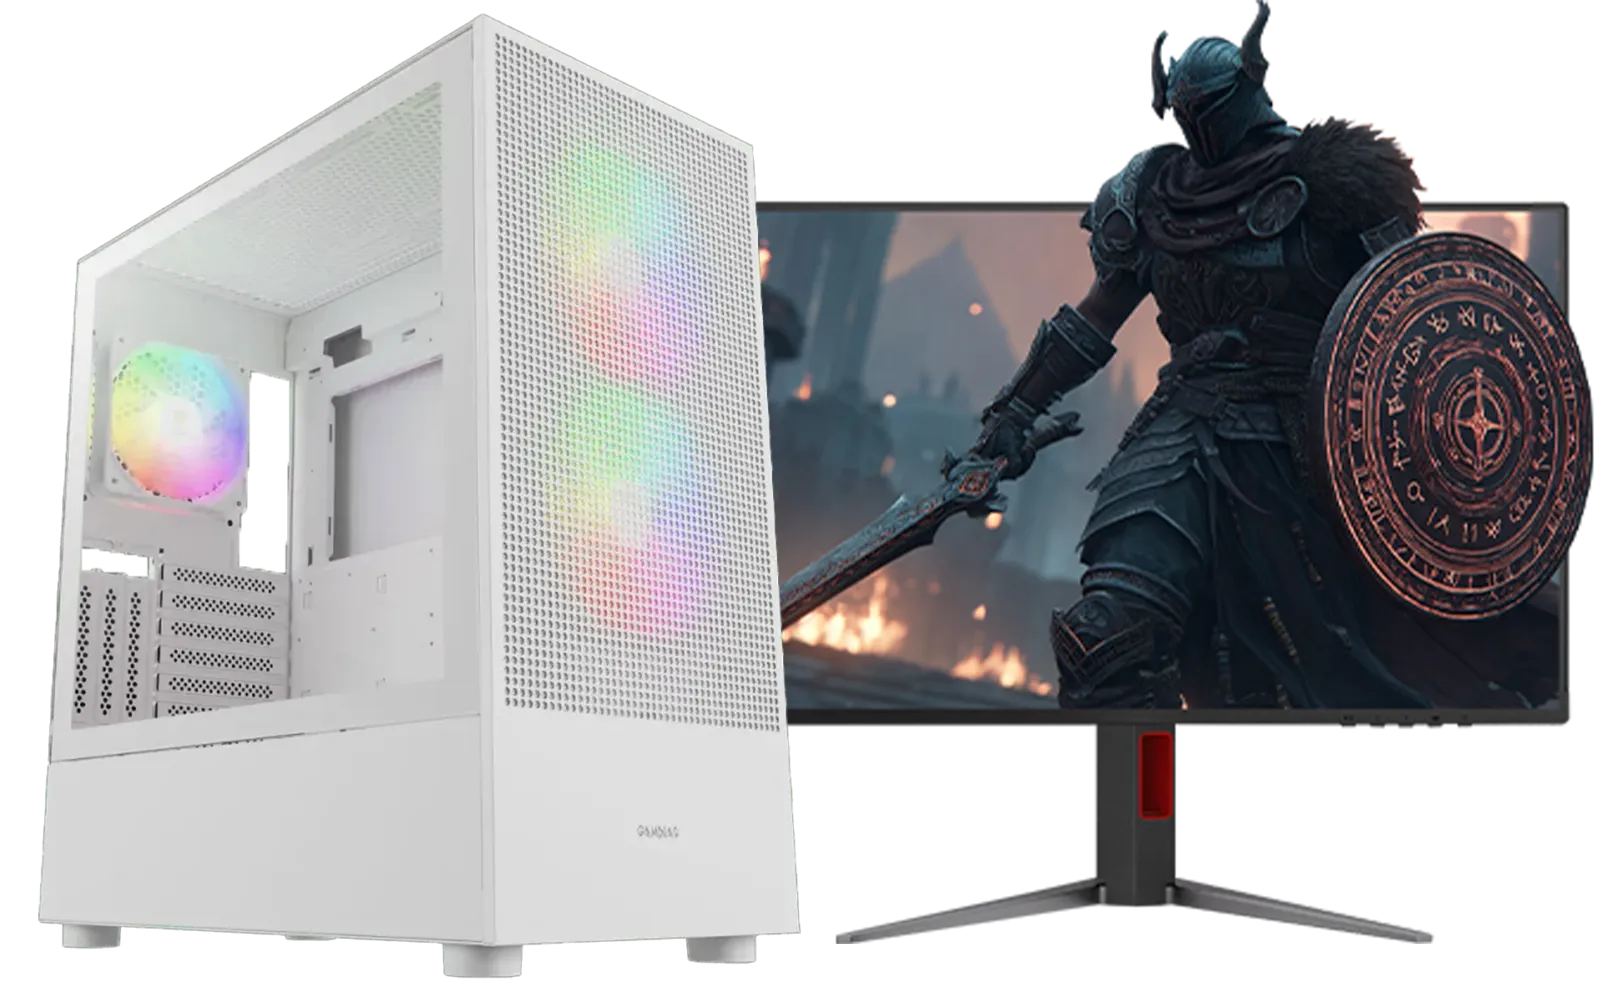
![[Pre Built] AMD RYZEN 7 9700X RTX 5070 Gaming PC](https://img.evetech.co.za/repository/ProductImages/ryzen-7-9700-x-rtx-5070-gaming-pc-pbs-main-1600px-v1.webp)
[Pre Built] AMD RYZEN 7 9700X RTX 5070 Gaming PC
R35699.00In Stock
Intel Core Ultra 7 265K 5.3GHz RTX 5060 8GB DDR5 Gaming PC
R29399.00In Stock
RYZEN 7 7800X3D 5.0GHz RTX 5080 32GB DDR5 Gaming PC
R48719.00In Stock
RYZEN 7 7800X3D 5.0GHz RTX 5060 Ti 16GB DDR5 Gaming PC
R26774.00In Stock
AMD RYZEN 5 3600 4.2GHz GT 710 2GB PC
R6824.00In Stock
Ryzen 5 9600X 5.4GHz RTX 5060 8GB DDR5 Budget Gaming PC
R21524.00In Stock
Unboxing the Gamemax CLAW 460 RGB Lighting Controls
Before you can sync anything, it's crucial to understand how the Gamemax CLAW 460 RGB lighting system actually works. Out of the box, Gamemax gives you two primary ways to control the light show: the physical button on the case I/O panel and direct synchronisation with your motherboard's software.
The built-in controller is perfect for quick, plug-and-play effects without installing any software. However, for truly custom themes that react to your games or match your other components, motherboard sync is the way to go. A beautiful lighting setup is the perfect way to frame the powerful graphics cards that power your gaming experience.
Quick Control: Using the Built-in RGB Button
For those who want instant results, the dedicated RGB button on the CLAW 460 is your best friend. It’s the simplest way to get things looking colourful right after you’ve finished your build.
RYZEN 7 7800X3D 5.0GHz RTX 5060 Ti 16GB DDR5 Gaming PC
R26774.00In Stock
AMD RYZEN 5 8400F 4.7GHz RTX 5060 8GB DDR5 Budget Gaming PC
R17534.00In Stock
![[Pre Built] AMD RYZEN 7 5700 RTX 5060 Gaming PC](https://img.evetech.co.za/repository/ProductImages/ryzen-7-5700-rtx-5060-gaming-pc-pbs-main-1600px-v1.webp)
[Pre Built] AMD RYZEN 7 5700 RTX 5060 Gaming PC
R18794.00In Stock
AMD RYZEN 5 3600 4.2GHz GT 710 2GB PC
R6824.00In Stock
Intel Core Ultra 9 285K 5.7GHz RTX 5000 Ada 32GB DDR5 Workstation PC
R133349.00In Stock
RYZEN 7 7800X3D 5.0GHz RTX 5080 32GB DDR5 Gaming PC
R48719.00In Stock
Cycling Through Preset Effects
- Locate the Button: Find the button marked with an LED or RGB symbol on the top I/O panel of your case.
- Short Press: A single, short press will cycle through the various pre-programmed lighting modes. This includes static colours, breathing effects, and dynamic rainbow waves. Keep pressing until you find a look you like.
- Turn Off: To turn the lights off completely, simply press and hold the button for about three seconds.
This method is fantastic for a hassle-free setup, but it doesn't offer the granular control needed for a truly unique look.
TIP FOR YOU
Cable Management is Key 🔧
A great RGB setup can be ruined by messy cables. Before you close up your case, take an extra 15 minutes to route your fan and RGB cables behind the motherboard tray. Use zip ties or the case's built-in velcro straps. A clean interior not only looks better but also improves airflow, keeping your components cool.
Go Pro: How to Sync Your CLAW 460 RGB Lighting
Ready for ultimate control? Syncing the Gamemax CLAW 460 RGB lighting with your motherboard software unlocks millions of colours and complex effects. This allows your case, RAM, and even your GPU to share one cohesive colour scheme. It's the secret to those jaw-dropping builds you see online. ✨
Step 1: Check Your Motherboard's Header
The most critical step is ensuring your motherboard is compatible. The CLAW 460's fan hub uses a 3-pin 5V Addressable RGB (ARGB) connector. Do not confuse this with the older 4-pin 12V RGB header—plugging it into the wrong one can permanently damage the LEDs. Check your motherboard manual for a header labelled JRAINBOW, ADD_GEN2, or a similar ARGB designation.
Intel 14th Gen Core i3 14100F 4.7GHz ARC A380 6GB Gaming PC
R12599.00In Stock
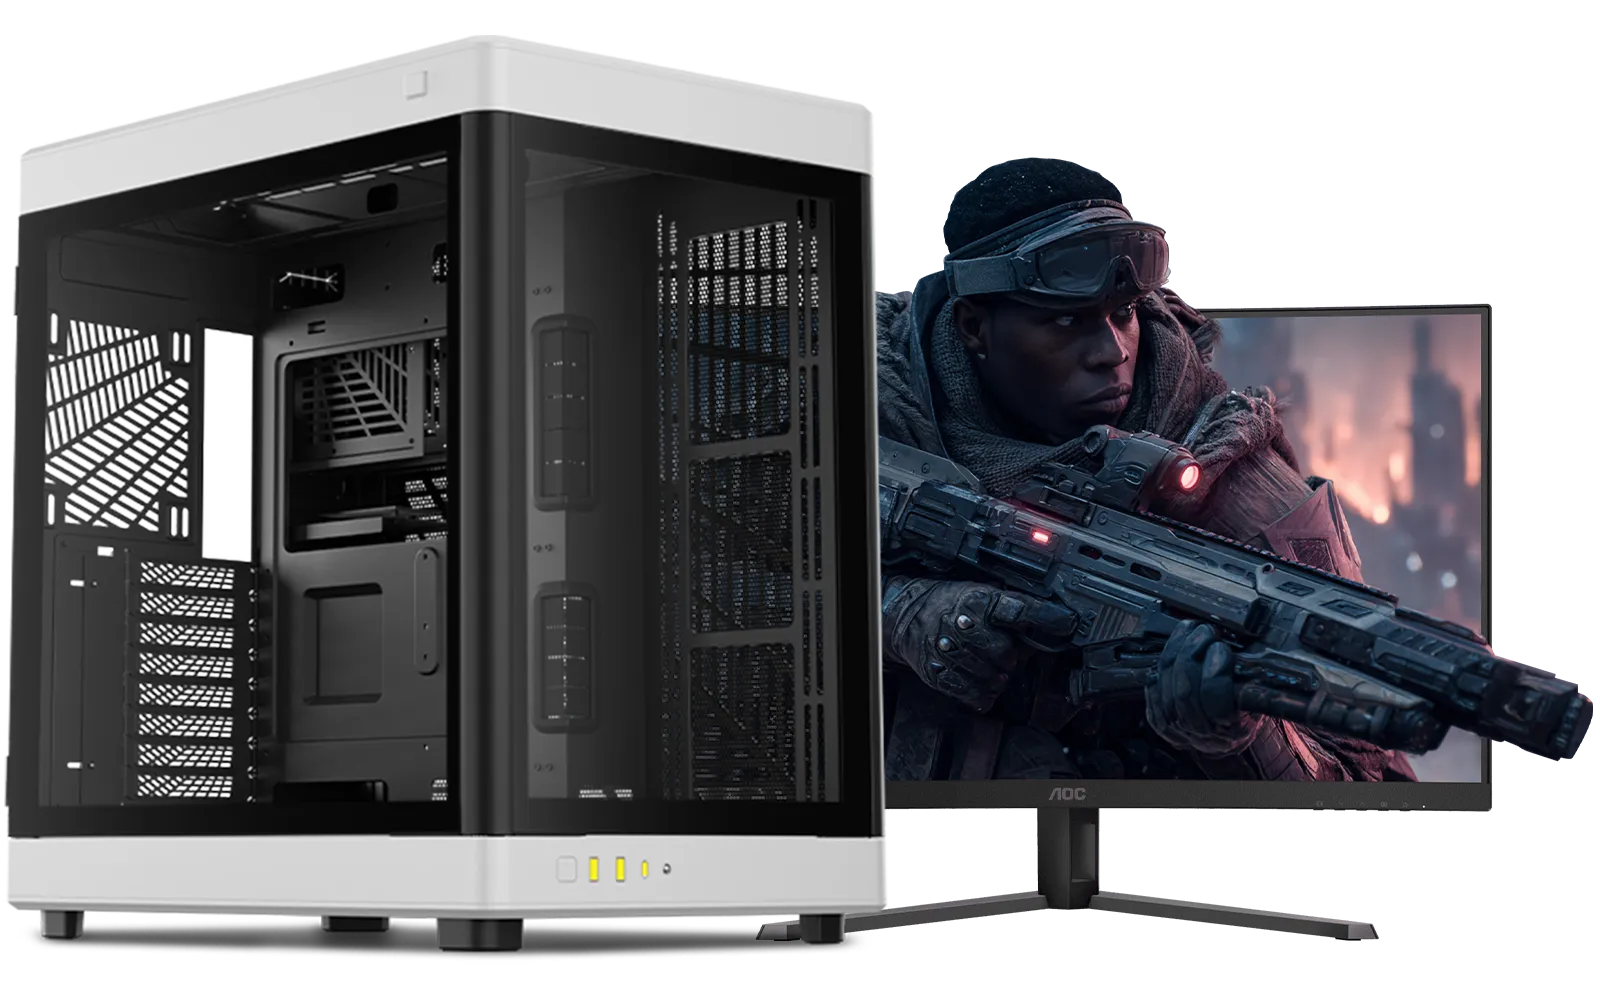
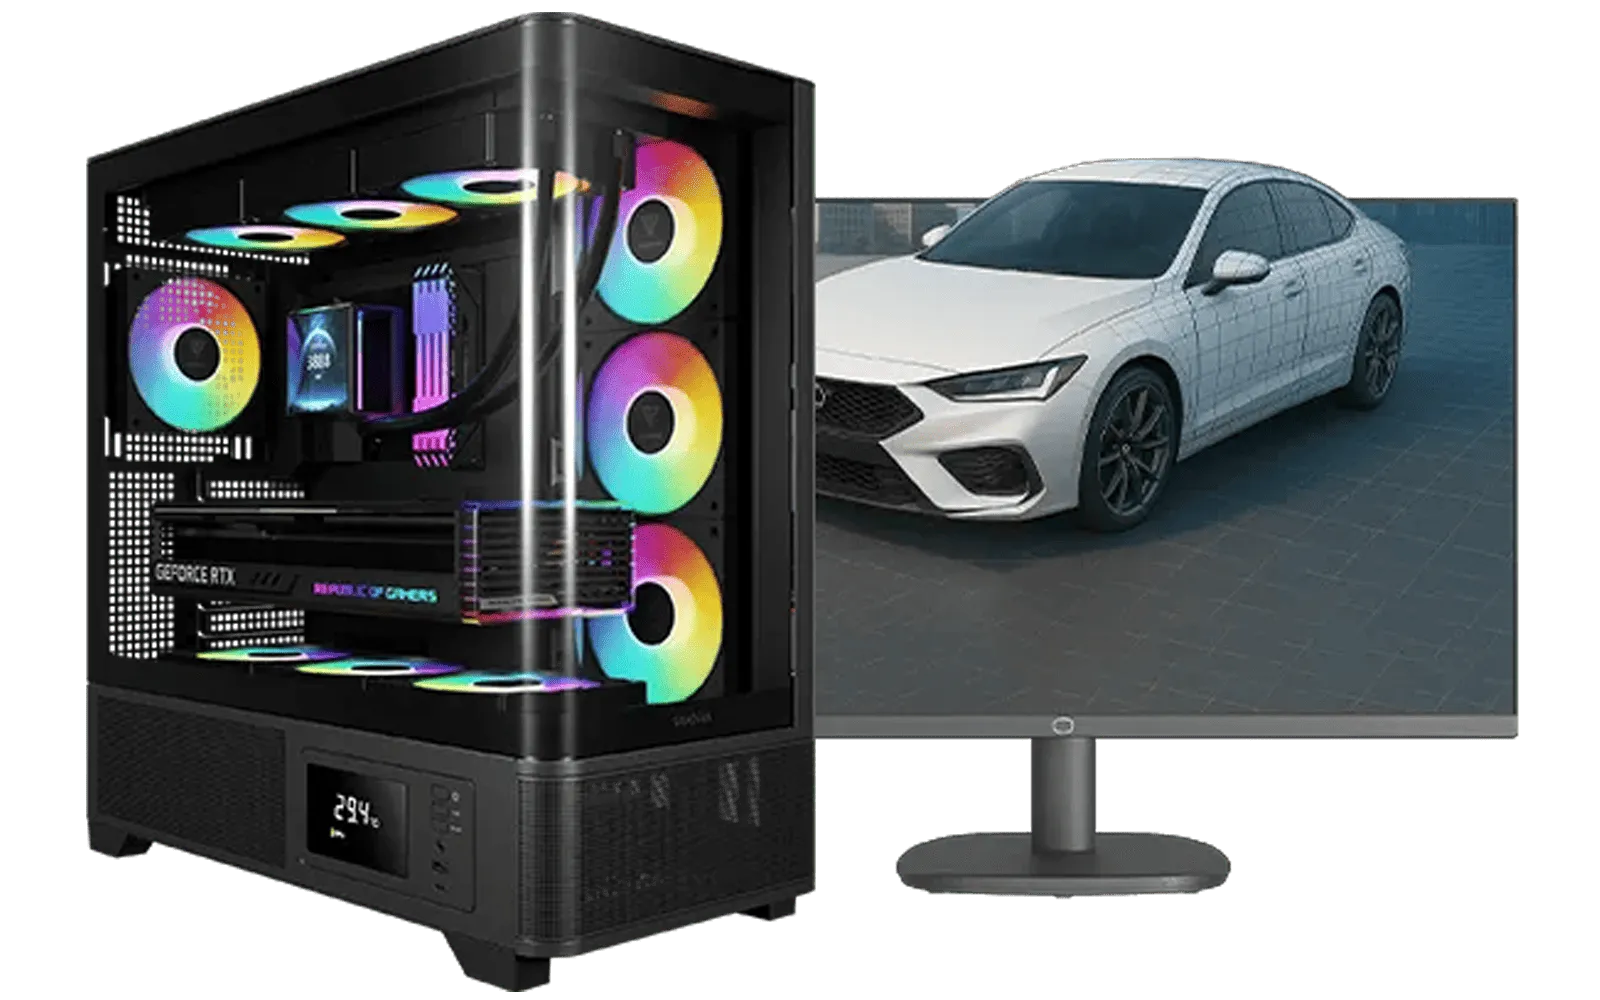
![[Pre Built] Intel Core Ultra 7 265K RTX 5070 Gaming PC](https://img.evetech.co.za/repository/ProductImages/intel-core-ultra-7-265-kf-rtx-5070-gaming-pc-pbs-main-1600px-v1.webp)
[Pre Built] Intel Core Ultra 7 265K RTX 5070 Gaming PC
R38114.00In Stock
Intel Core Ultra 5 225F 4.9GHz A400 4GB DDR5 Workstation PC
R14174.00In Stock
Intel Core Ultra 5 225F 4.9GHz RTX 3050 6GB DDR5 Gaming PC
R16274.00In Stock
RYZEN 7 9800X3D 5.2GHz RTX 5080 16GB DDR5 Gaming PC
R51869.00In Stock
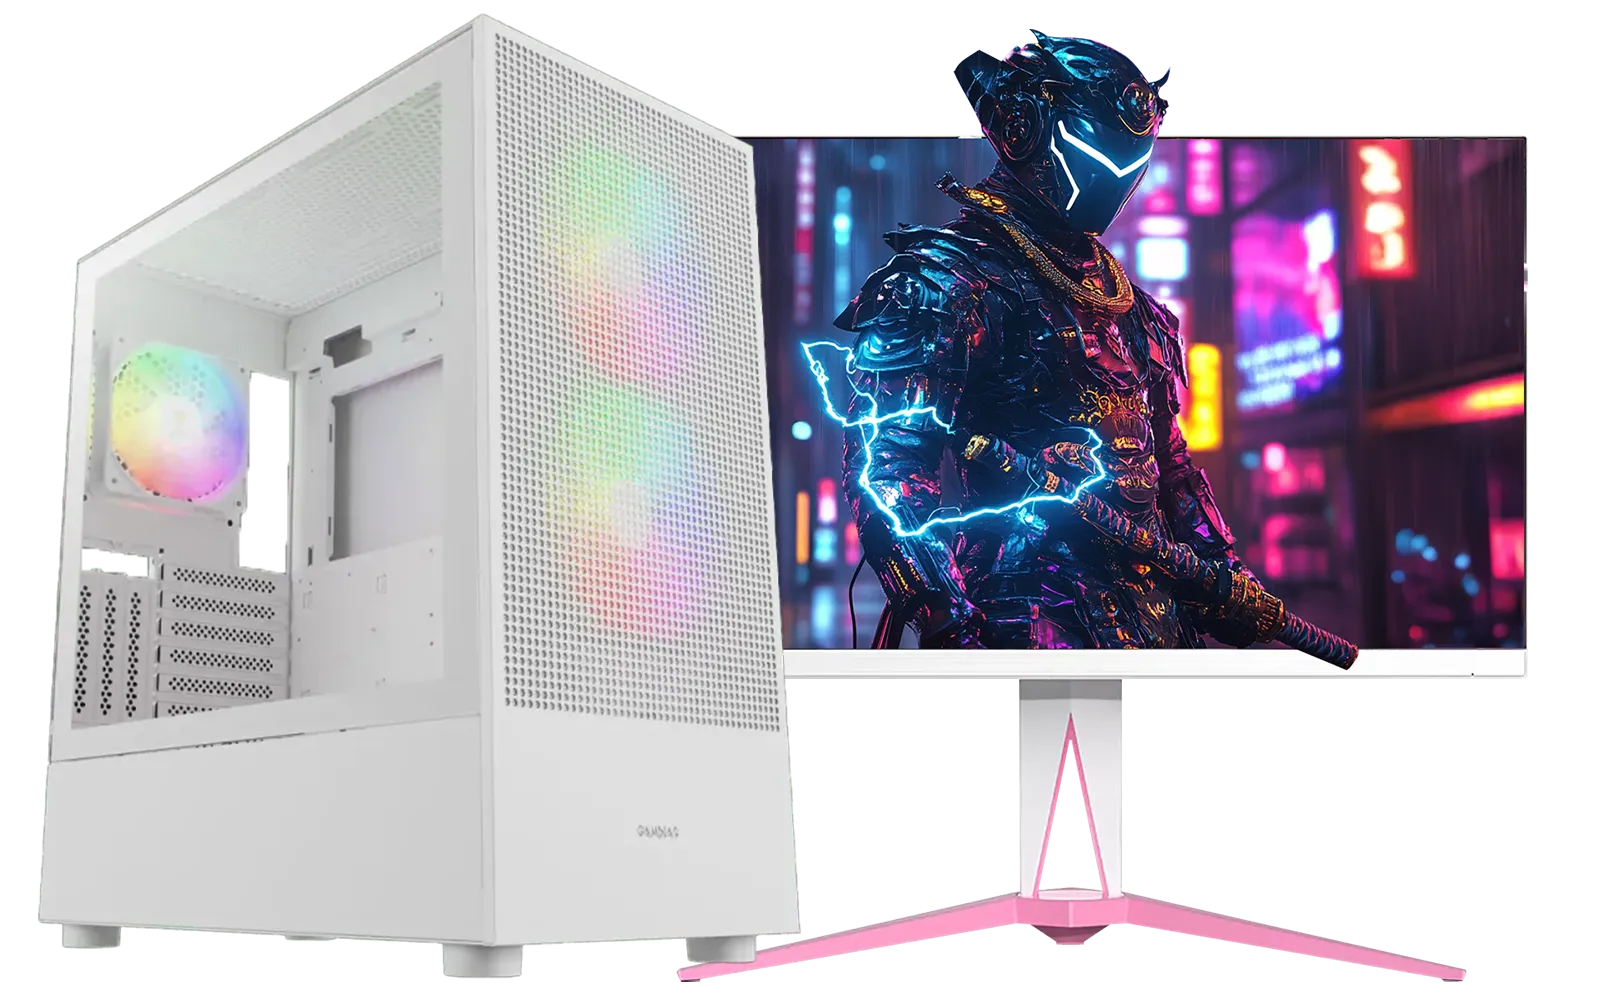
![[Pre Built] AMD RYZEN 5 5500 ARC A380 Gaming PC](https://img.evetech.co.za/repository/ProductImages/gamdias-talos-e3-gaming-case-ryzen-5-5500-arc-a380-gaming-pc-pbs-main-1600px-v1.webp)
[Pre Built] AMD RYZEN 5 5500 ARC A380 Gaming PC
R12494.00In Stock
Step 2: Making the Connection
Once you've located the correct header, connect the ARGB cable from the case's fan controller hub to it. Ensure the arrow on the connector aligns with the 5V pin on the motherboard header. This physical connection is what allows the motherboard to send lighting instructions to your case fans.
Step 3: Taking Control with Software
With the hardware connected, the final step is to hand over control.
- Press and Hold: Power on your PC. Press and hold the RGB button on the case for about three seconds. The fans will flash briefly, indicating that control has been passed from the case's internal controller to the motherboard.
- Install Software: Install your motherboard's native RGB software, such as MSI Mystic Light, ASUS Aura Sync, or Gigabyte RGB Fusion.
- Customise: Open the software and start creating! You can now set static colours, create custom gradients, or sync the lighting to music or in-game events.
This method allows your entire setup, from your case to your high-performance MSI graphics card, to pulse and glow as one.
Intel Core Ultra 7 265K 5.5GHz RTX 5070 Ti 16GB DDR5 Gaming PC
R43049.00In Stock
AMD RYZEN 7 5700 4.6GHz RX 9070 16GB Gaming PC
R28349.00In Stock
![[Pre Built] AMD RYZEN 9 9900X RTX 5070 Ti Gaming PC](https://img.evetech.co.za/repository/ProductImages/ryzen-9-9900-x-rtx-5070-ti-gaming-pc-pbs-main-1600px-v1.webp)
[Pre Built] AMD RYZEN 9 9900X RTX 5070 Ti Gaming PC
R44729.00In Stock
AMD RYZEN 7 5700 RTX Pro 2000 Workstation PC
R26669.00In Stock
Intel 14th Gen Core i3 14100F 4.7GHz ARC A380 6GB Gaming PC
R12599.00In Stock
[Pre Built] AMD RYZEN 5 5500 ARC A380 Gaming PC
R12494.00In Stock
Troubleshooting Your Gamemax CLAW 460 RGB
Sometimes, things don't go as planned. If your CLAW 460 RGB effects are acting up, here are a few quick fixes to try.
- Lights Won't Turn On? Double-check that the fan hub's SATA power connector is securely plugged into your power supply. No power, no lights!
- Motherboard Sync Not Working? Ensure you've held the case button for three seconds to switch modes. Also, confirm you've plugged the ARGB cable into the correct 3-pin 5V header, not a 4-pin 12V one.
- Colours Are Incorrect? This can sometimes happen with software conflicts. Make sure you only have one RGB control program running at a time.
A stunning RGB setup is the perfect complement to a powerful rig. Whether you're running one of the latest NVIDIA GeForce graphics cards for that ray-tracing goodness or rocking a beastly card from the AMD Radeon lineup, getting your lighting right makes the whole experience more immersive. 🚀
Ready to Find Your Perfect Match? The Mac vs Windows debate is complex, but for maximum power, choice, and value in South Africa, Windows is hard to beat. Explore our massive range of laptop specials and find the perfect machine to conquer your world.
Related Products
Ryzen 5 9600X 5.4GHz RTX 5060 8GB DDR5 Budget Gaming PC
R21524.00In Stock
RYZEN 5 9600X 5.2GHz ARC B580 12GB DDR5 Gaming PC
R21419.00In Stock
RYZEN 7 9700X RTX Pro 2000 DDR5 Workstation PC
R35699.00In Stock
RYZEN 5 9600X 5.4GHz A1000 8GB DDR5 Workstation PC
R25199.00In Stock
Intel Core Ultra 7 265K 5.5GHz RTX 5070 Ti 16GB DDR5 Gaming PC
R43049.00In Stock

AMD RYZEN 5 3600 4.2GHz ARC A380 6GB Gaming PC
R9659.00In Stock
Connect the ARGB headers to your hub or motherboard, install the Gamemax controller if included, then use motherboard RGB software to detect and configure effects.
Use a 3-pin 5V addressable ARGB header. ASUS Aura, MSI Mystic Light and Gigabyte RGB Fusion compatible headers will typically work.
Yes. Sync through your motherboard RGB suite or third-party tools like SignalRGB when all devices support ARGB and the same control protocol.
Position strips along the front and top interior edges and behind the PSU shroud for balanced glow and minimal shadowing; hide cables behind mounts.
Some CLAW 460 SKUs include a Gamemax RGB hub; check the Evetech product spec. If absent, use a motherboard header or third-party controller.
Use a powered hub, secure solid connections, update firmware and drivers, and avoid overloading a single ARGB header to minimize flicker.
Gaming: dynamic reactive effects; Streaming: soft key color zones; Ambient: low-brightness warm gradients. Save profiles in your RGB software.