Tired of that massive tower hogging your desk space? Here in South Africa, a little extra room is a luxury. But what if you could get epic 1440p performance in a sleek, compact package? A mini-tower gaming PC build offers just that: a small footprint with a massive punch. This guide will walk you through creating your own compact powerhouse, step-by-step, showing you that building a small form factor rig is easier than you think. 🚀
Fractal Design Meshify 3 XL Black Solid - Mesh Front Panel - Three Momentum 14 Gen 2 Fans Included - E-ATX/ATX/mATX Support / FD-C-MES3X-01
R3199.00In Stock

Antec AX83 RGB Elite Mid-Tower Computer Case/Gaming Cabinet - Black | Support ATX, M-ATX, ITX | Pre- Installed 3 x 120mm Front and 1 x 120mm Rear Rainbow Fans / 0-761345-10042-7
R749.00In Stock

Fractal Design Pop Silent Black - Tempered Glass Clear Tint – Bitumen panel and sound-dampening foam – TG side panel - Three 120 mm Aspect 12 fans included - ATX Silent Mid Tower PC Case / FD-C-POS1A-02
R1899.00In Stock
DeepCool CC360 M-ATX Airflow case, 3X Pre-Installed 120mm ARGB Fans, Tempered Glass Side Panel, Magnetic Top Mesh Filter, USB 3.0, White - CC360 ARGB WH
R699.00In Stock

Gamdias ARGUS E2 Elite Tempered Glass ATX Mid-Tower Gaming Case / Clean Futuristic Lighting / Hyper-Efficient I/O Ports / Supports Motherboards up to ATX / Panoramic Tempered Glass / Magnetic Dust Filter / 3 Slot Vertical VGA Slot / 1 x 120mm Fan Included / ARGUS-E2-Elite
R699.00In Stock

MSI MAG VAMPIRIC 300R Mid Tower Gaming Computer Case 'Black, 1x 120mm ARGB Fan, USB Type-C, Tempered Glass, MSI Center, E-ATX, ATX, mATX, mini-ITX / 306-7G19R21-809
R2699.00In Stock
Why a Mini-Tower Gaming PC Build is a Smart Choice
Going small doesn't mean sacrificing power anymore. The biggest advantage of a mini-tower build is its space-saving design. It fits neatly into smaller apartments, dorm rooms, or minimalist desk setups without dominating the space. Plus, their portability is a massive win for anyone who frequents LAN parties or needs to move their setup around.
While they look fantastic, compact builds do require a bit more planning around component compatibility and airflow. But don't worry, that's what this guide is for. The end result is a clean, powerful, and efficient machine that punches well above its weight. Before you start, it's a good idea to explore the wide range of computer cases available to get a feel for different layouts and sizes.
Planning Your Compact Gaming Rig: The Component Checklist
Success with a mini-tower gaming PC build comes down to smart component selection. Every millimetre counts, so compatibility is key.
Xigmatek Aqua Ultra RGB ATX Mid Tower Gaming PC Case - Black / 7 x Pre Installed ARGB Fans / EN40672
R2399.00In Stock
Fractal North XL Chalk White TG Clear PC Case / E-ATX, ATX, mATX, Mini-ITX Motherboard Compatibility / 3x Included Aspect 140 mm fans / Tempered Glass / FD-C-NOR1X-04
R3299.00In Stock
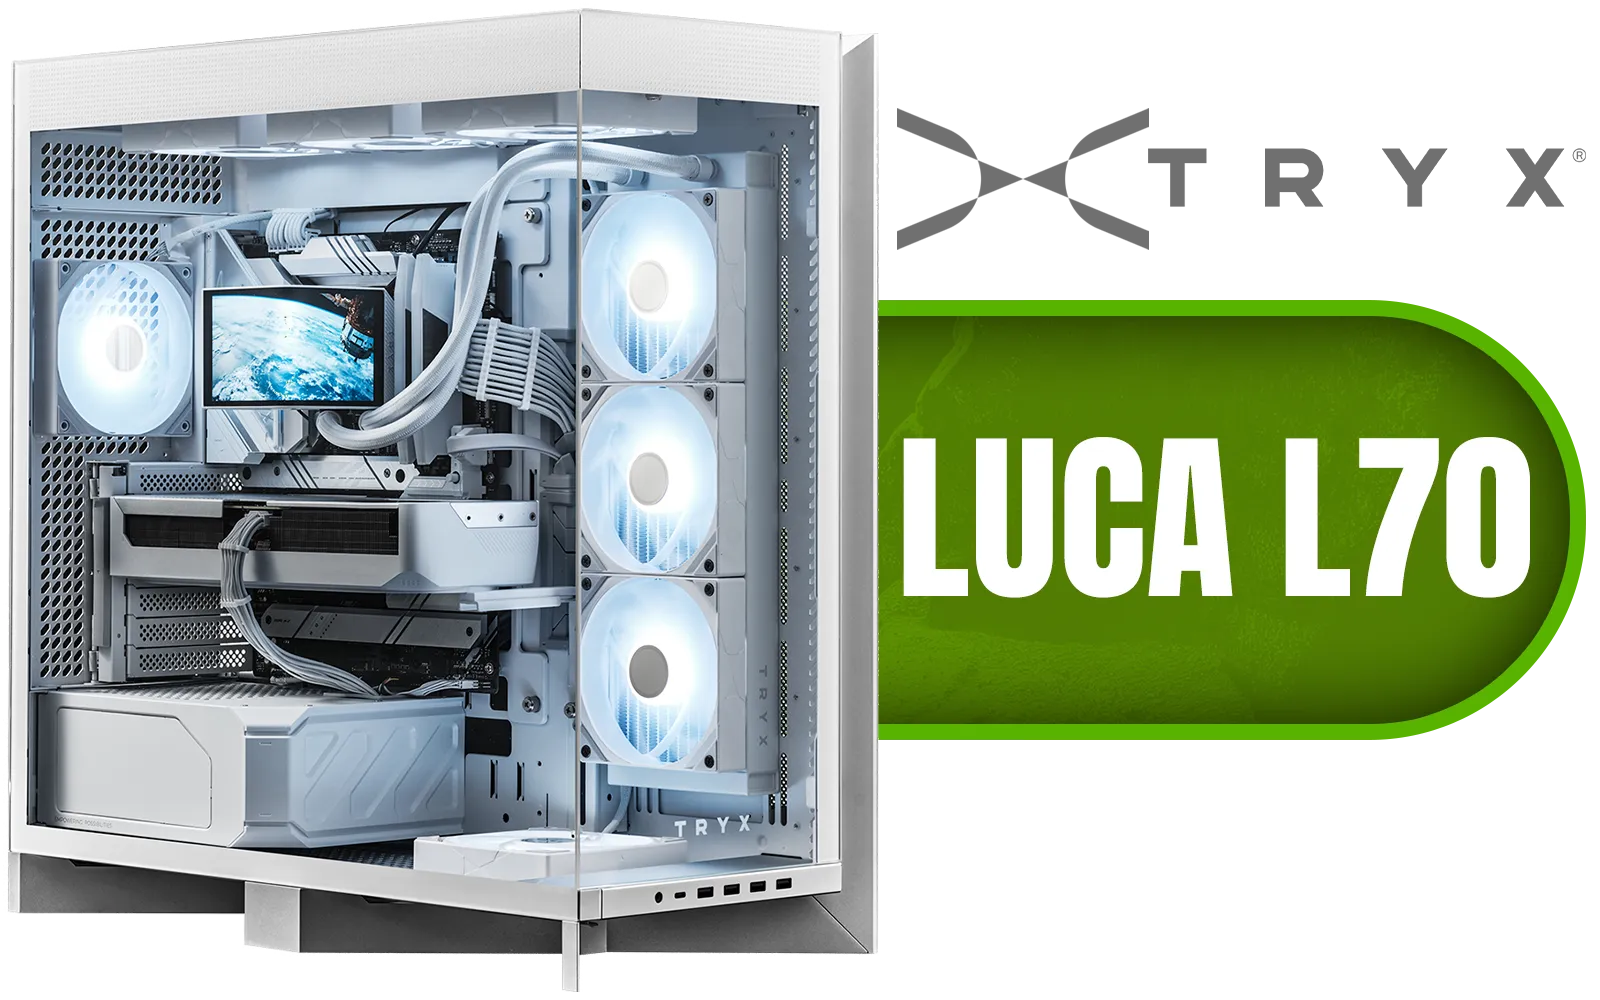
TRYX LUCA L70 Mid-Tower E-ATX Gaming Case - White / Tempered Glass Side Panel / Support ATX & M-ATX BTF Motherboards / Support E-ATX, ATX, Micro-ATX, Mini-ITX Motherboards / Support Vertical GPU Mounting / 40mm Raised X-Shaped base / Adjustable Motherboard Tray / Support up to 8x 140mm + 1x 120mm Fans / C-L700N-NN0H-G0W
R6299.00In Stock
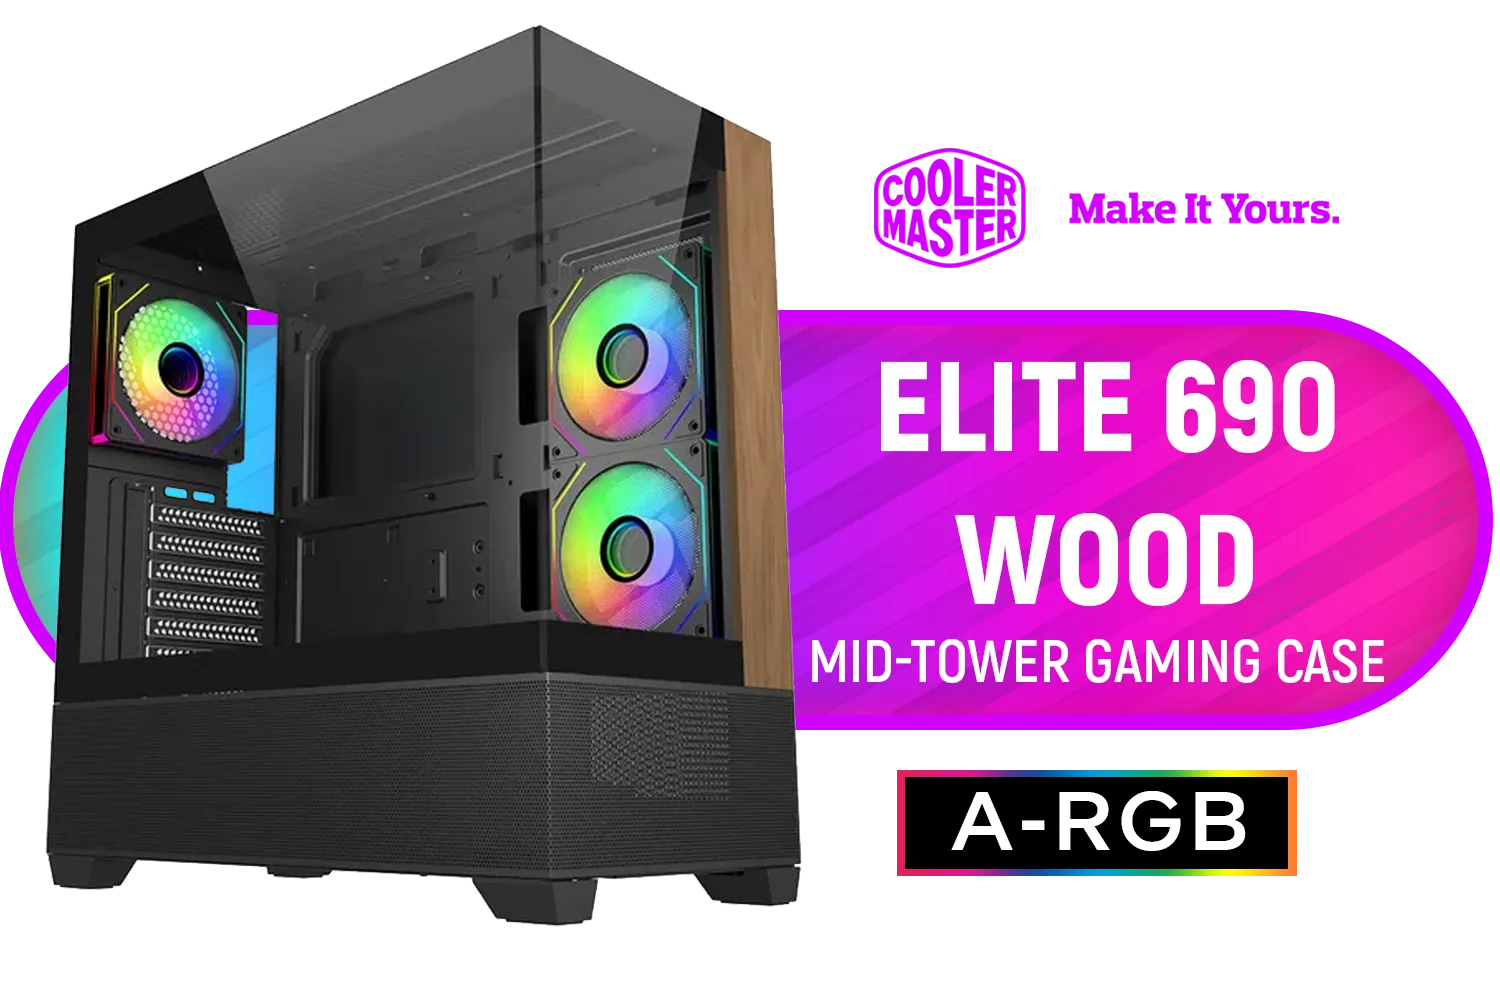
Cooler Master Elite 690 Wood Mid-Tower Gaming Case - Black / ITX, Micro-ATX, ATX Motherboard Support / Up to 9 Case Fans / Pre-installed 3x 120mm ARGB Fans / E690-KHNN-S00
R1799.00In Stock
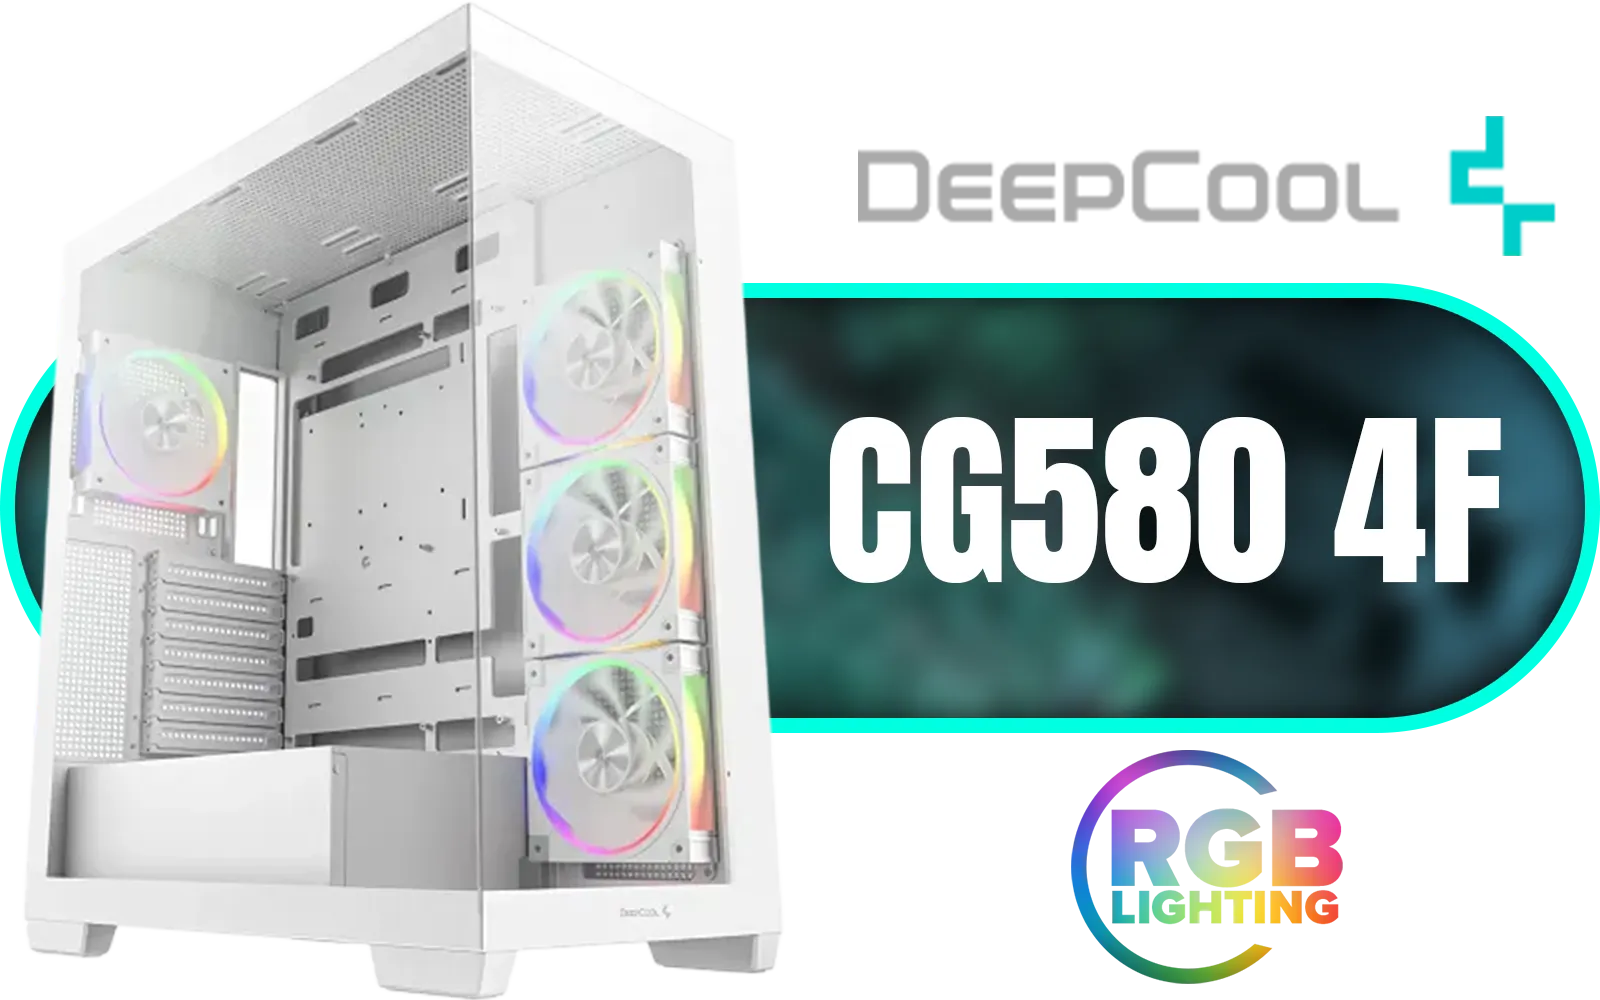
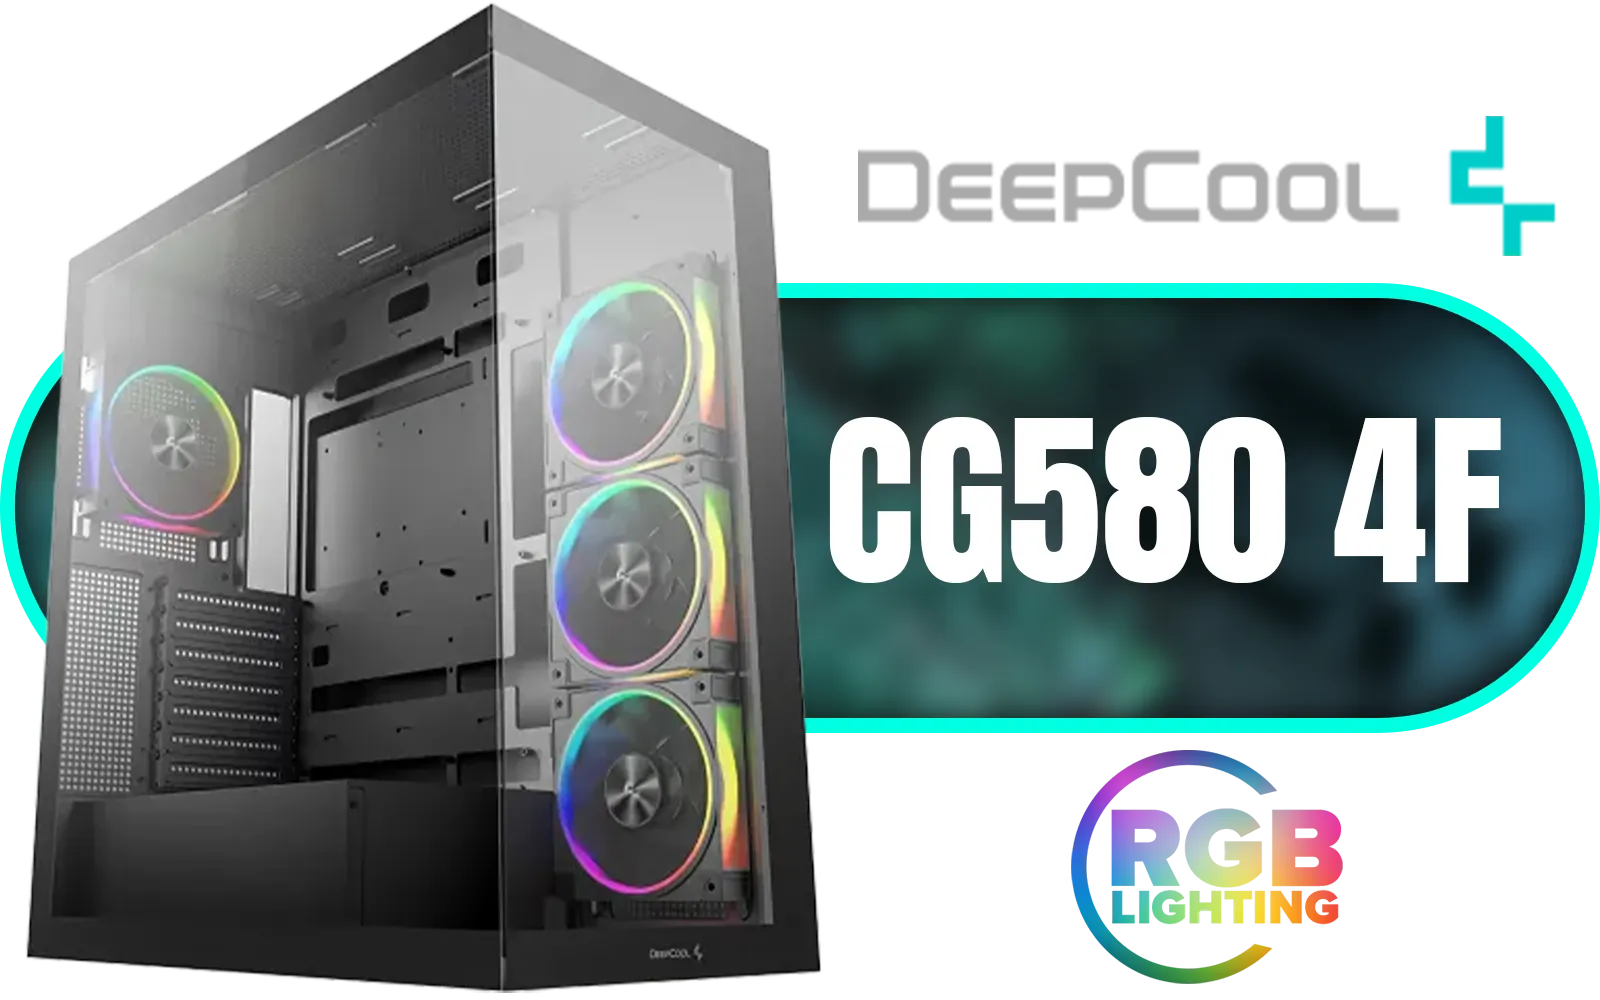
DeepCool CG580 4F WH V2 ATX Mid Tower Gaming Case - White/ 4 Built-in ARGB Fans / 360mm Radiator Support / No A-Pillar Design / 270° Glass Side & Front Panels / Supports ITX, Micro-ATX, ATX / USB 3.0 / USB Type-C / CG580 4F WH V2
R1899.00In Stock
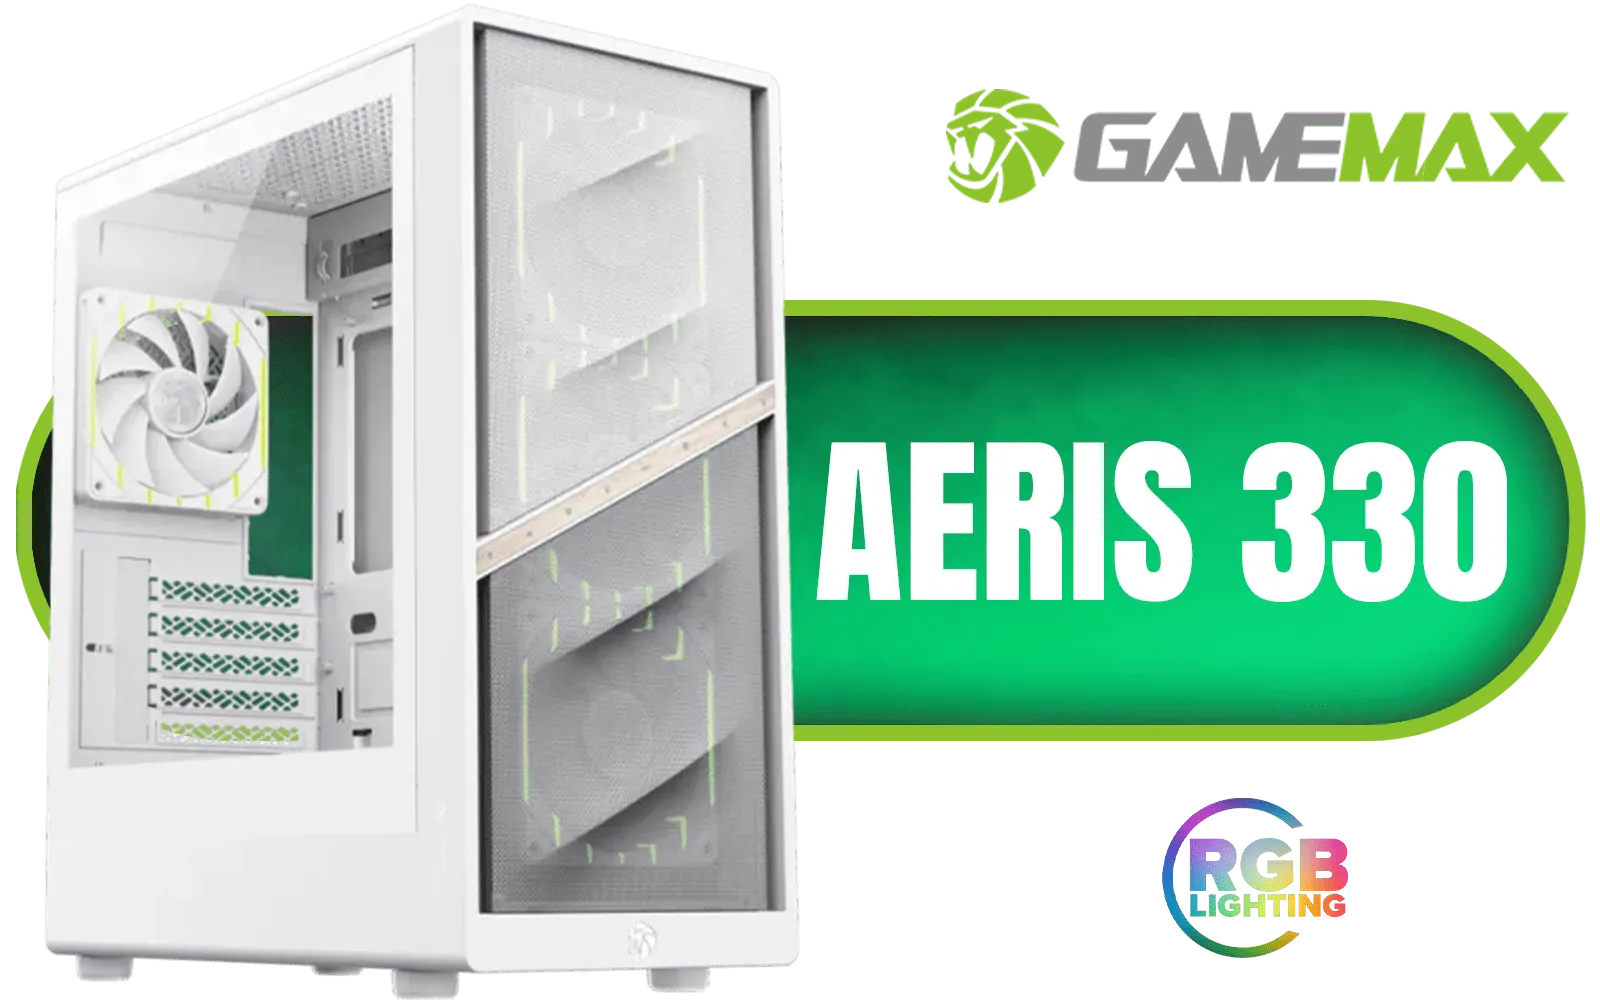
Gamemax AERIS 330 Micro-ATX Gaming Case - White / Supports M-ATX & ITX Motherboards / Supports up to 8x 120mm Fans / 4x 120mm ARGB Fand Pre-Installed / AERIS-330-MW
R999.00In Stock
### The Core Components
- The Case: This is your foundation. You need a case that not only fits your aesthetic but also provides decent airflow. A fantastic and affordable option like the Cooler Master E301 Mini-Tower is a great starting point, offering ARGB fans and a tempered glass side panel for a premium look.
- Motherboard: You'll be looking for a Micro-ATX or Mini-ITX motherboard. Always double-check the case specifications to ensure your chosen board will fit.
- Graphics Card (GPU): This is often the tightest squeeze. Measure the case's maximum GPU length before you buy. Many brands offer excellent "mini" or dual-fan versions of powerful cards that are perfect for these builds.
- CPU Cooler: Air cooler height is another critical limitation. Low-profile air coolers or a 120mm/240mm All-in-One (AIO) liquid cooler are usually the safest bets.
- Power Supply (PSU): Check if your case requires a smaller SFX power supply or if it can accommodate a standard ATX unit. A modular PSU is highly recommended to reduce cable clutter.
TIP FOR YOU
Cable Management Pro Tip 🔧
In a small case, cable management isn't just for looks—it's essential for good airflow. Plan your cable routes before installing the motherboard. Use the included tie-down points generously and consider investing in custom-length cables if you want an ultra-clean look. Every bit of clear space helps your fans breathe!
Your Step-by-Step Mini-Tower Assembly Guide
Ready to get building? Take a deep breath... this is the fun part! We'll keep it simple.

Antec CX500M ARGB Micro ATX Gaming Case - 2 x 120mm ARGB Reverse fans + 1 x 120mm ARGB Fan - RTX 40 Compatible - Type-C - 360mm Radiator Support - Seamless Tempered Glass Front & Side Panels / 0-761345-10136-3
R1299.00In Stock

Corsair iCUE 4000D RGB Airflow Mid-Tower Gaming E-ATX PC Case - 3X AF120 RGB Elite Fans - iCUE Lighting Node PRO Controller - Supports Motherboards up to E-ATX - High-Airflow Design - CORSAIR RapidRoute Cable Management System - True White / CC-9011241-WW
R2399.00In Stock

Fractal Design Pop XL Air RGB White Tempered Glass Clear Tint E-ATX Computer Case / Supports Motherboards up to E-ATX / Flexible Storage Support / Hidden Compartment / 4 x Pre-Installed ARGB Fans Included / FD-C-POR1X-01
R2599.00In Stock
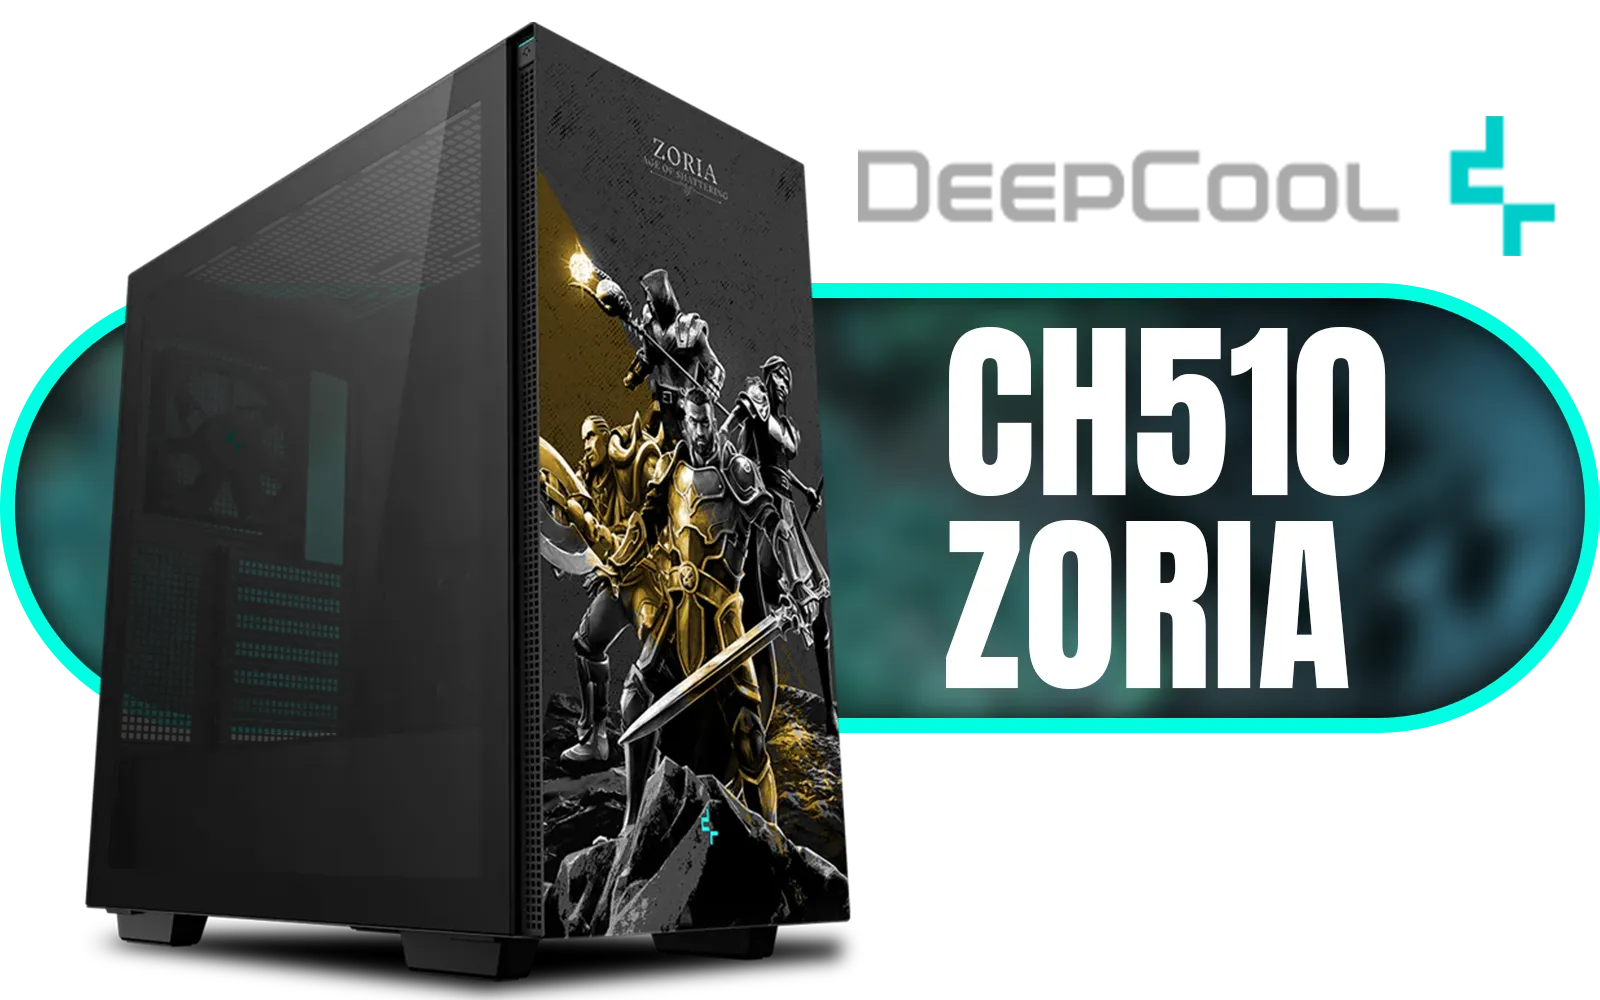
DeepCool CH510 ZORIA Mid-Tower PC Case / Themed Edition / Mini-ITX, Micro-ATX, ATX, E-ATX Support / 360mm Radiator Support / Tempered Glass Panel / 1 x Pre-Installed Fan Included / CH510-ZORIA
R1499.00In Stock

Fractal Design Meshify 2 Black ATX Flexible Light Tinted Tempered Glass Window Mid Tower Computer Case / 3 x Pre-Installed Fans Included / FD-C-MES2A-03
R2699.00In Stock
MSI MAG VAMPIRIC 300R Mid Tower Gaming Computer Case 'Black, 1x 120mm ARGB Fan, USB Type-C, Tempered Glass, MSI Center, E-ATX, ATX, mATX, mini-ITX / 306-7G19R21-809
R2699.00In Stock
### 1. Out-of-Case Prep
Before anything goes into the chassis, assemble the core components on your motherboard box. Install the CPU, clip in the RAM sticks, and mount your M.2 SSD. This "test bench" approach lets you confirm the parts work before you fit them into a tight space.
### 2. Prepare the Chassis
Open up your mini-tower case. Install the motherboard standoffs in the correct positions for your Micro-ATX or Mini-ITX board. If you're using a standard ATX power supply, now is the best time to mount it and route the main power cables through the back of the case.
### 3. The Main Installation
Carefully lower the motherboard into the case and secure it with screws. Next, install your graphics card, connecting the PCIe power cables. Now, connect the front panel connectors (power switch, USB ports), SATA cables for any extra drives, and all the fan headers. This part can be fiddly, so take your time.

Xigmatek Meta Mid Tower Gaming Case - Black / Supports Motherboards up to E-ATX / 4 x Pre-Installed Fans Included / EN45066
R1799.00In Stock

Xigmatek Gaming Y Pro Arctic Mid Tower Gaming Case - White / Supports Motherboards up to E-ATX / 4 x Pre-Installed Fans Included / EN42256
R1699.00In Stock

Xigmatek Gaming X Black Medium Tower PC Case ATX / Supports Motherboards up to ATX / 4 x Pre Installed RGB Fans / EN46621
R1299.00In Stock

DeepCool CH270 Digital Micro-ATX Mini Tower Gaming Case - White / Tempered Glass Side Panel / CPU Cooler Support Up to 174mm / Radiator Support Up to 360mm / Partial mesh for better airflow / No Fans Included / CH270-DIGITAL-WH
R1499.00In Stock

DeepCool CH270 Digital Micro-ATX Mini Tower Gaming Case - Black / Tempered Glass Side Panel / CPU Cooler Support Up to 174mm / Radiator Support Up to 360mm / Partial mesh for better airflow / No Fans Included / CH270-DIGITAL
R1399.00In Stock

Gamdias TALOS M3 MESH White E-ATX Gaming Case / Perforated Mesh Front Panel Provides Optimal Ventilation / 3 Built-in PWM ARGB Fans / Supports Motherboards up to E-ATX / TALOS-M3-MESH-WH
R1399.00In Stock
Mastering Thermals in Your Small Form Factor Build ���
Heat is the main challenge in any compact build. Your goal is to create a clear path for air to travel through the case. Typically, this means using front fans as intakes (pulling cool air in) and the rear/top fans as exhausts (pushing hot air out).
Don't be afraid to experiment with fan curves in your BIOS to find the perfect balance between cooling and noise. Reputable brands are constantly innovating on airflow, and it's worth checking out both Cooler Master's excellent range of cases and seeing how competitors like Gamemax also offer great value with clever thermal designs. A well-planned mini-tower gaming PC build can run just as cool as its larger cousins.
Ready to Build Your Dream Rig? This step-by-step guide is your launchpad. From a compact powerhouse to a full-sized beast, the perfect PC is waiting to be built. Dive into our massive range of components and start your custom build today, or let our experts configure the perfect machine for you. Design Your Custom-Built PC Now
Related Products
DeepCool CG580 4F V2 ATX Mid Tower Gaming Case - Black / 4 Built-in ARGB Fans / 360mm Radiator Support / No A-Pillar Design / 270° Glass Side & Front Panels / Supports ITX, Micro-ATX, ATX / USB 3.0 / USB Type-C / CG580-4F-V2
R1799.00In Stock

DEEPCOOL CG530 Black ATX Mid Tower Gaming Case / Tempered Glass / 4x 120mm ARGB Fans Pre-installed / CPU Cooler Support Up to 160mm / GPU Support Upto 410mm / 7x PCI Slot, 360mm Radiator Supported / Front I/O: 2x USB / 1x Type C / HD Audio / CG530-4F
R1299.00In Stock

Corsair FRAME 4000D RS ARGB Modular Mid-Tower Gaming E-ATX PC Case / InfiniRail™ Fan Mounting System / Dual 360mm radiator support / Supports Motherboards up to E-ATX / GPU anti-sag stabilization arm / Compatible with reverse connector motherboards / 3 x Pre-Installed Fans Included / CC-9011296-WW
R2099.00In Stock
Xigmatek Aqua Ultra RGB ATX Mid Tower Gaming PC Case - Black / 7 x Pre Installed ARGB Fans / EN40672
R2399.00In Stock
DeepCool CH270 Digital Micro-ATX Mini Tower Gaming Case - Black / Tempered Glass Side Panel / CPU Cooler Support Up to 174mm / Radiator Support Up to 360mm / Partial mesh for better airflow / No Fans Included / CH270-DIGITAL
R1399.00In Stock

Xigmatek Cubi M Mid Tower M-ATX Gaming Case - Black / Supports Motherboards up to M-ATX, Mini-ITX / 6 x Pre-Installed ARGB Fans Included / EN42799
R1399.00In Stock
Use a screwdriver set, anti-static wrist strap, zip ties, tweezers and thermal paste to simplify your small form factor gaming PC build.
Some mini-tower cases accept short or dual-slot full-size GPUs; always check GPU length and case GPU clearance before buying.
Micro-ATX and mini-ITX are common: choose mini-ITX for compact SFF builds or micro-ATX for extra expansion slots.
Prioritize airflow with low-profile CPU coolers, high-efficiency case fans, and consider an AIO liquid cooling option for tight mini tower layouts.
SFX or compact SFX-L power supplies fit most mini-tower cases; verify PSU dimensions and wattage needs before purchase.
Yes, but planning, modular cables and cable ties make cable management in mini-tower builds far easier and cleaner.
Run stress tests, monitor temps, tweak fan curves and reapply thermal paste if needed to improve mini-tower thermals.