Optimize Windows for NVMe SSD: Best Settings & Tweaks
Optimize Windows for NVMe SSD with proven tweaks to boost throughput, reduce latency, and extend drive life. Follow easy steps for drivers, TRIM, power plan, and BIOS to unlock peak NVMe performance ⚡💾
|
Loading tags...

So, you’ve just installed a brand-new NVMe SSD. You’re expecting lightning-fast boot times and games that load before you can even grab a snack. But is your PC really hitting top speed? Windows is brilliant, but its default settings aren’t always perfect for this new tech. Don't worry, we're here to help you optimise Windows for your NVMe SSD and unlock the blistering performance you paid for. Let's get your rig running properly fast. 🚀

ADATA SD810 1000G IP68 Water Resistance Up to 2000 MB/s USB 3.2 Gen 2 USB-C External Solid State Drive - Black for iPhone 15/Pro/Max, Android / SD810-1000G-CBK
R2399.00In Stock

ADATA XPG Mars 980 Pro 2TB NVMe 5.0 Internal Solid State Drive / Up to 14,000MB/s Read Speed and Up to 13,000MB/s Write Speed / SMAR-980P-2TCI
R4499.00In Stock

ADATA XPG GAMMIX S55 1TB NVMe PCIe Gen4 x 4 M.2, R/W Speed up to 5,000/3,700MB/s, Internal Solid State Drive Great for Steam Deck, Microsoft Surface and Gaming Consoles / SGAMMIXS55-1T-C
R2499.00In Stock

Kingston Fury Renegade 1TB PCIe Gen 5.0 NVMe M.2 Internal SSD / Maximum Read Speed 14,200 MB/s / Maximum Write Speed 11,000 MB/s / Advanced thermal design / SFYR2S/1T0
R4199.00In Stock

Dahua L7 M.2 512GB NVMe SSD / Read: Up to 1,050 MB/s Write: Up to 895 MB/s / Shock-resistant and drop-resistant design / Aluminum body with heat dissipation / Dual Type-C/Type-A cable included / DHI-PSSD-L7-512GB
R899.00In Stock
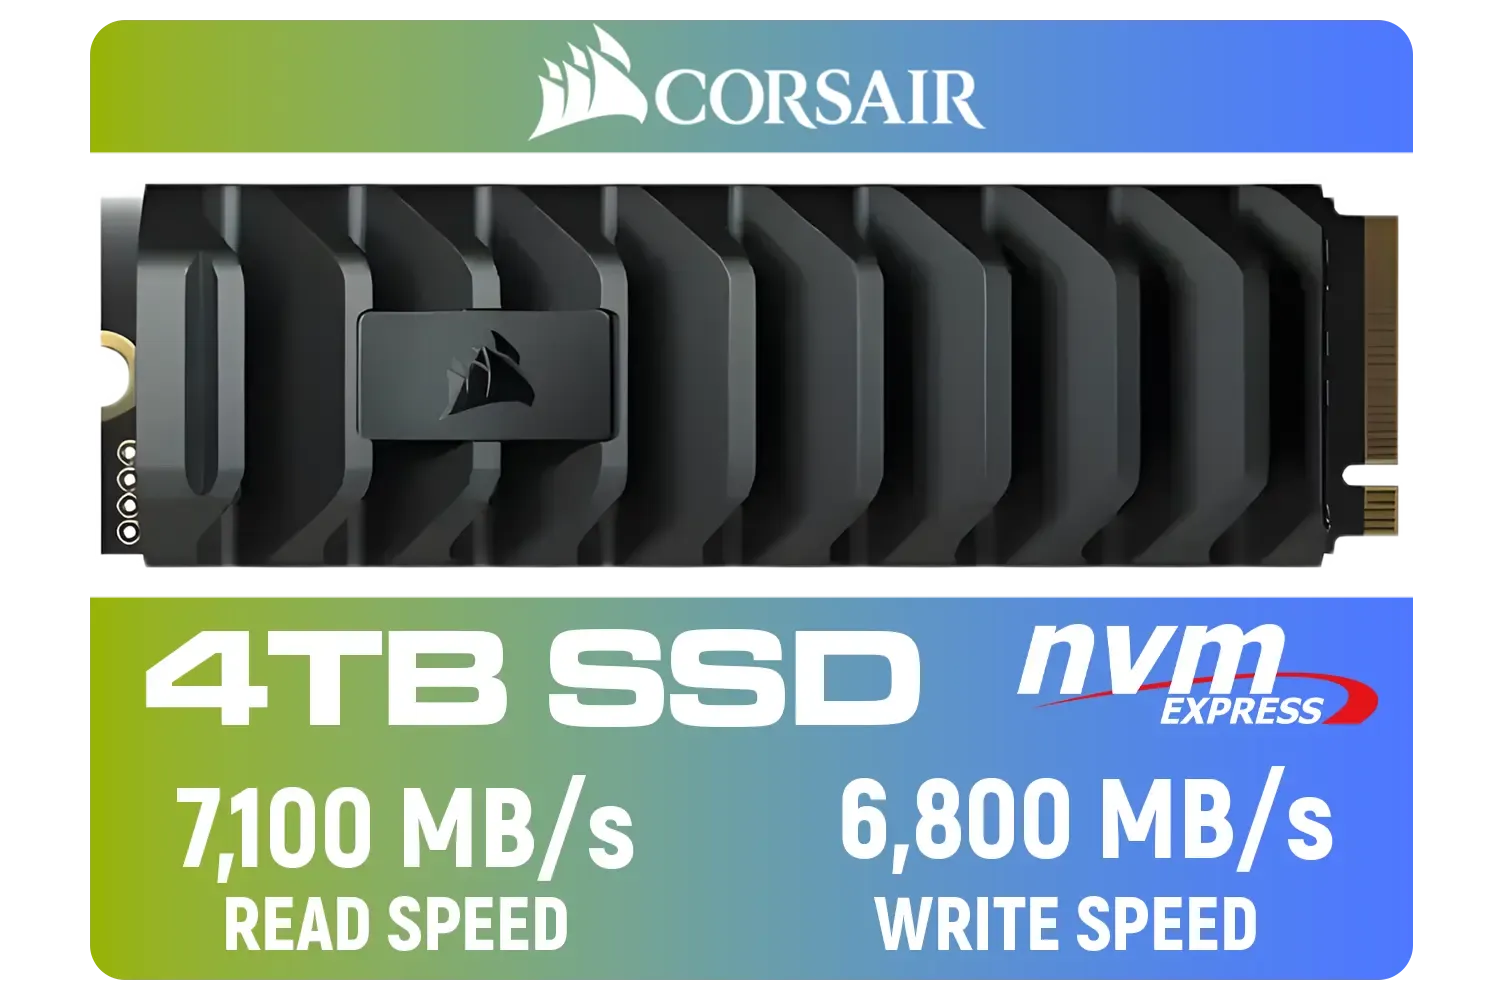
Corsair MP600 PRO XT 4TB PCIe Gen 4 x4 M.2 NVMe SSD / Maximum Read Speed 7,100 MB/s / Maximum Write Speed 6,800 MB/s / Backward compatible with PCIe Gen3 / Aluminum heatspreader for cooling / High-density 3D TLC NAND memory / CSSD-F4000GBMP600PXT
R8499.00In Stock
Check Your Foundation: Essential NVMe SSD Settings
Before we dive into the deep tweaks, let's make sure the basics are covered. Getting these foundational settings right is crucial for the health and speed of your drive. Think of it as building a house… you need a solid foundation before you start decorating.
Ensure TRIM is Enabled
What on earth is TRIM? In simple terms, it’s a command that lets Windows tell your NVMe SSD which data blocks are no longer in use and can be wiped internally. This prevents the drive from slowing down over time as it fills up. It’s like a self-cleaning tool that keeps performance snappy.
For 99% of modern systems, TRIM is enabled by default. But it never hurts to check.
- Open the Start Menu, type
cmd, right-click on Command Prompt, and select "Run as administrator." - Type this command and press Enter:
fsutil behavior query DisableDeleteNotify - If the result is
0, you’re golden – TRIM is active. If it’s1, it’s disabled.
A healthy drive is a fast drive. Ensuring features like TRIM are active is especially important if you're working with large files on a spacious 2TB NVMe drive, where data management is key.
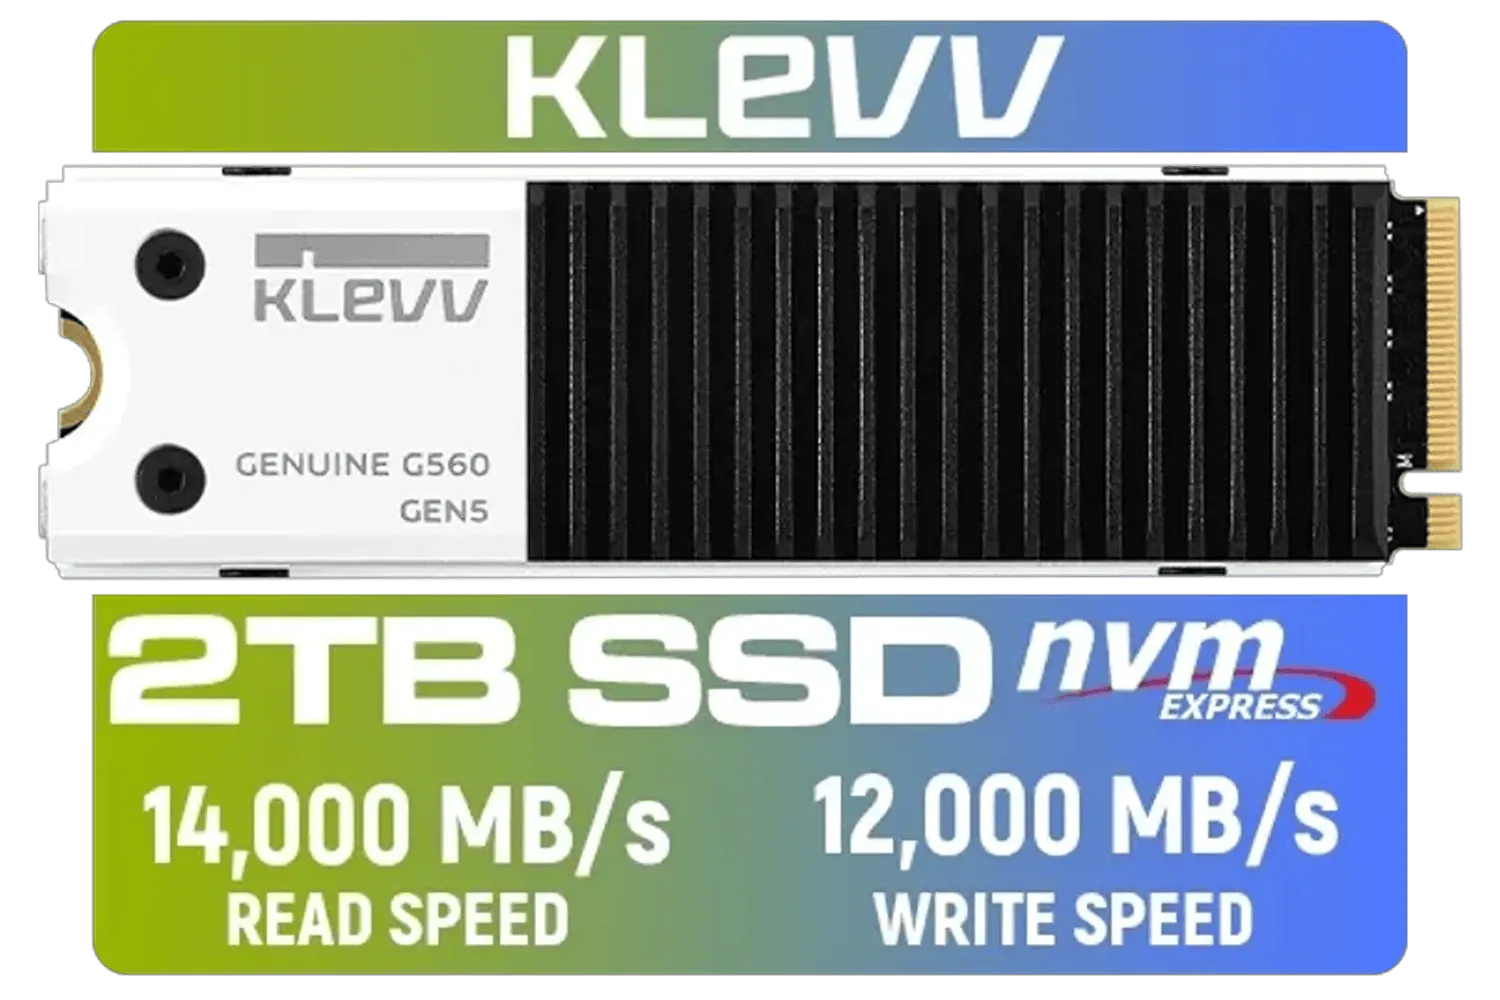
KLEVV Genuine G560 2TB Gen5x4 NVMe SSD / Up to 14,000MB/s Sequential Read / Up to 12,000MB/s Sequential Write / M.2 2280 Form Factor / Phison E26 Controller / K02TBM2SP0-G56
R7199.00In Stock

Orico X7000 2TB NVMe Internal Solid State Drive SSD / Versatile storage for multiple platforms / PCIe Gen 4.0, M.2 2280 / Up to 7100MB/s Read Speed / Up to 6500MB/s Write Speed / ORICO-X7000-2TB-RD-BP
R3599.00In Stock

Kingston XS1000 2TB SSD / Pocket-Sized / USB 3.2 Gen 2 / External Solid State Drive / Up to 1050MB/s / SXS1000/2000G
R2899.00In Stock

Kingston Fury Renegade 2TB NVMe SSD / M.2 2280 Form Factor / PCIe Gen5.0 / Up to 14,700MB/s Read / Up to 14,000MB/s Write / SFYR2S/2T0
R6999.00In Stock
Kingston Fury Renegade 1TB PCIe Gen 5.0 NVMe M.2 Internal SSD / Maximum Read Speed 14,200 MB/s / Maximum Write Speed 11,000 MB/s / Advanced thermal design / SFYR2S/1T0
R4199.00In Stock
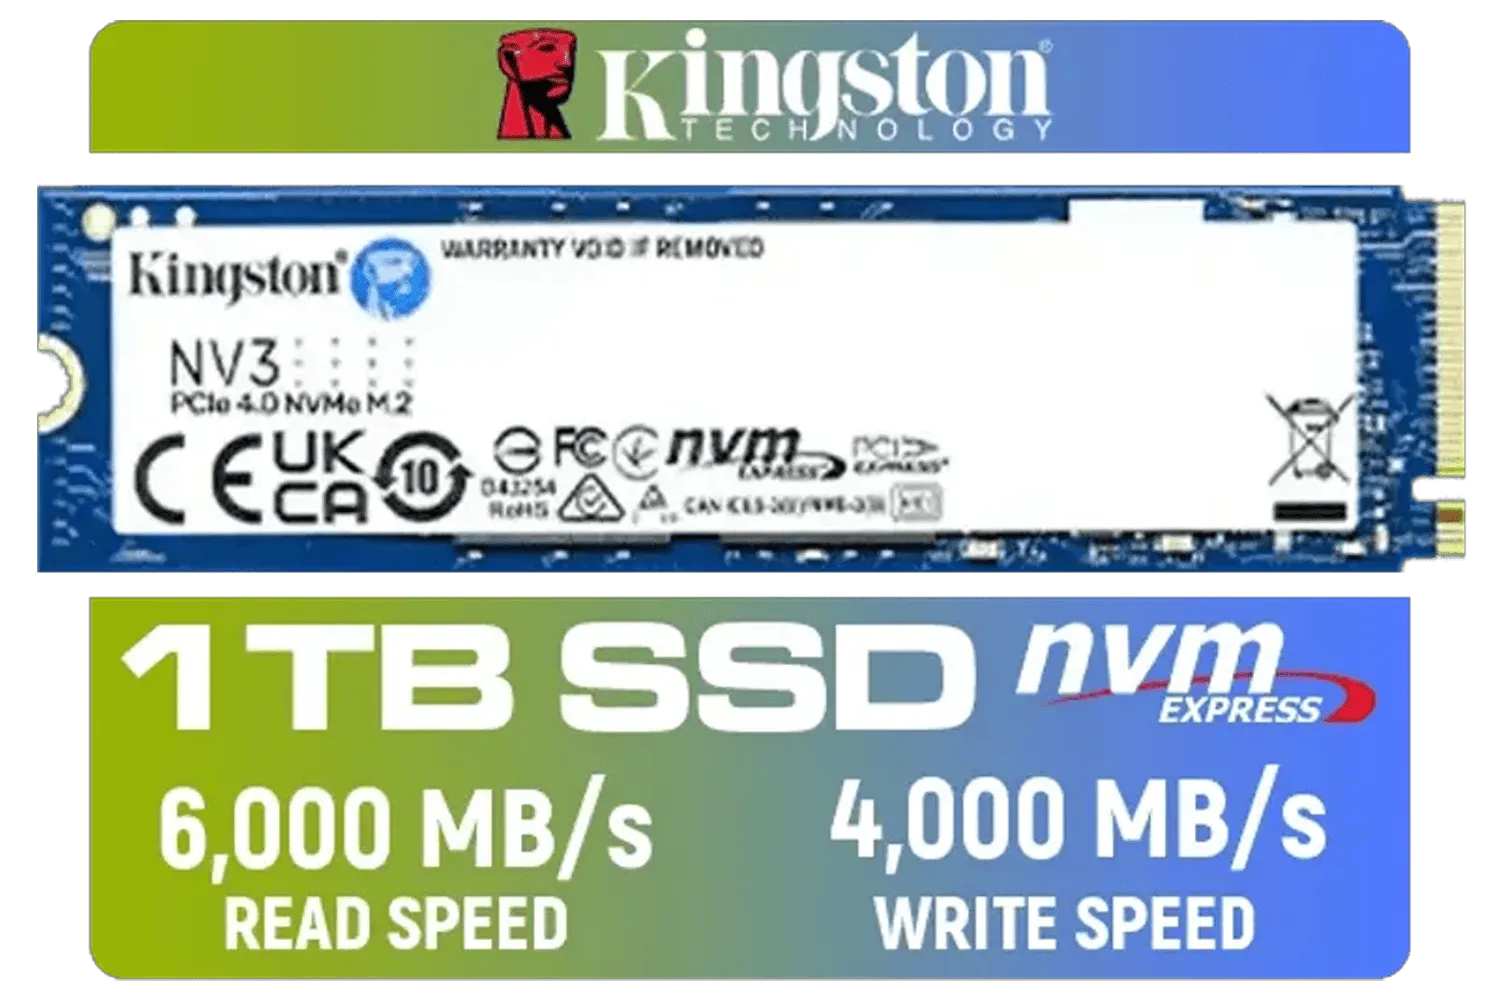
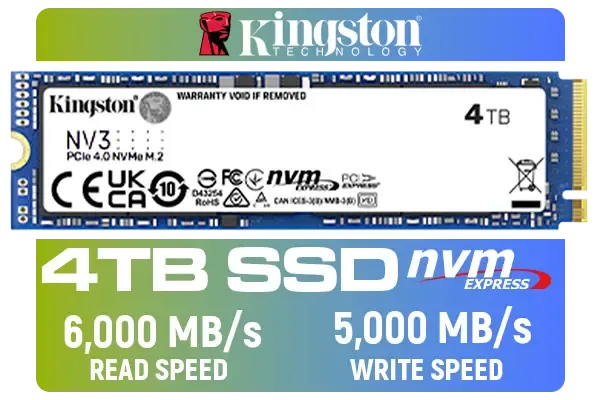
Kingston 1000G NV3 NVMe SSD / Up to 6,000MB/s Read / Up to 4,000MB/s Write / PCIe 4.0 x4 NVMe / M.2 2280 Form Factor / SNV3S/1000G
R1999.00In Stock
Verify AHCI Mode is Active
AHCI (Advanced Host Controller Interface) is the modern standard for how your system communicates with storage drives. It's essential for enabling features like TRIM and getting the best performance from any SSD. This setting is found in your computer’s BIOS/UEFI and should be set before you install Windows. If you're building a new PC or upgrading, make sure your SATA controller is set to "AHCI" mode, not "IDE" or "RAID".
TIP FOR YOU
BIOS/UEFI Check 🔧
To enter your BIOS UEFI, restart your PC and repeatedly press the designated key during boot-up (usually Del, F2, F10, or F12). The key varies by motherboard manufacturer. Look for "Storage Configuration" or a similar menu to find the SATA mode setting.
Performance Tweaks to Optimise Your NVMe Drive
With the fundamentals sorted, it’s time for a few simple tweaks that can offer a noticeable performance boost. These are the best settings for an NVMe SSD that many enthusiasts swear by.
Adjust Your Power Plan for Maximum Performance
By default, Windows often uses a "Balanced" power plan to save energy. While great for laptops, this can sometimes limit the power going to your components, including the PCIe slot your NVMe SSD uses. For a desktop PC, you want all the power, all the time.
- Go to Settings > System > Power & sleep.
- Click on Additional power settings.
- Select the High Performance plan.
This simple change ensures your drive is never starved for power, keeping it ready to perform at its peak whether you're loading into a game or transferring large files. This is a must-do tweak for high-end drives, including many of the top-tier Corsair models.
Kingston 2000G NV3 NVMe SSD / Up to 6,000MB/s Read / Up to 4,000MB/s Write / PCIe 4.0 x4 NVMe / M.2 2280 Form Factor / SNV3S/2000G
R3499.00In Stock

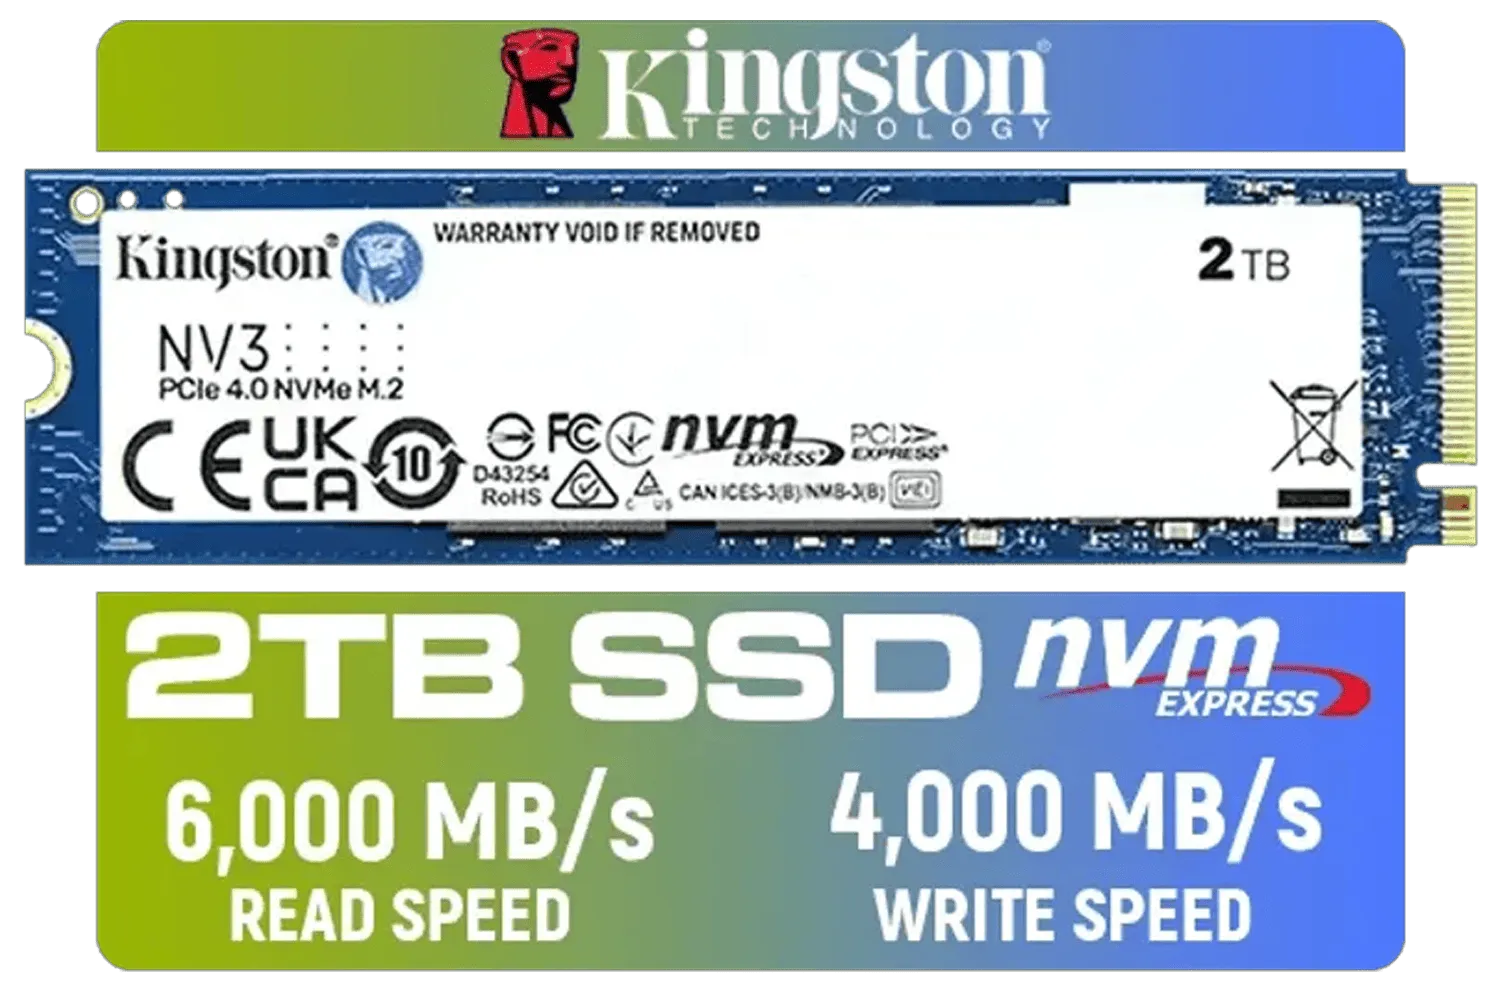
Kingston NV3 2TB NVMe SSD / Up to 6,000MB/s Read / Up to 5,000MB/s Write / PCIe 4.0 x4 NVMe / M.2 2230 Form Factor / SNV3SM3/2T0
R3299.00In Stock
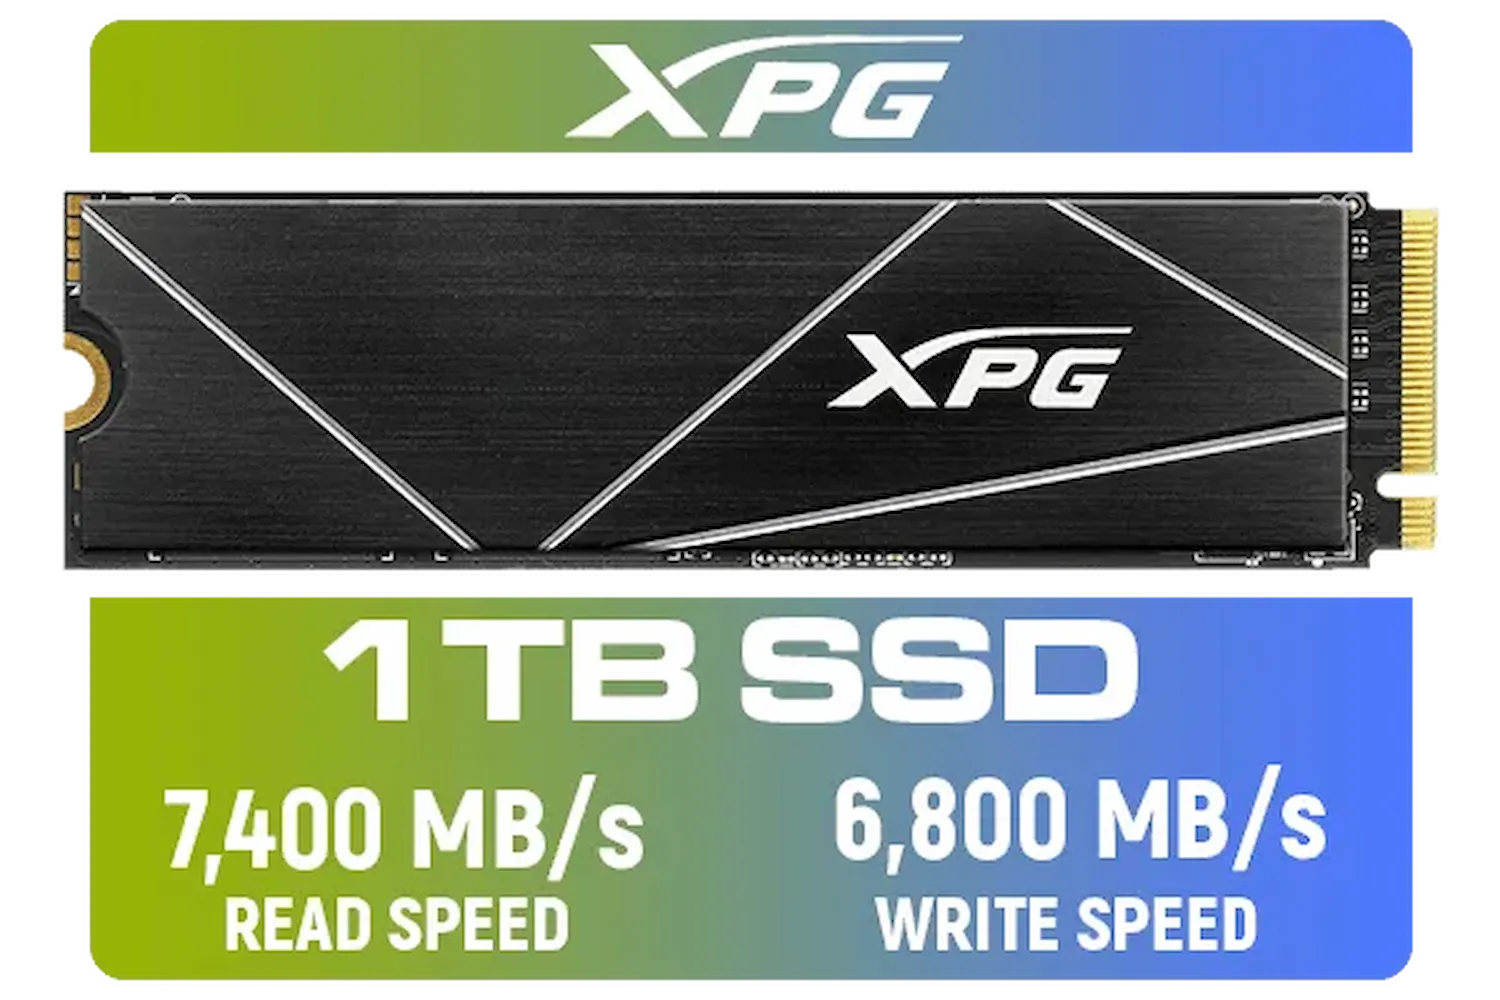
ADATA XPG 1TB GAMMIX S70 Blade - Works with Playstation 5, PCIe Gen4 M.2 2280 Internal Gaming SSD Up to 7,400 MB/s / AGAMMIXS70B-1T-CS
R2599.00In Stock
ADATA SD810 1000G IP68 Water Resistance Up to 2000 MB/s USB 3.2 Gen 2 USB-C External Solid State Drive - Black for iPhone 15/Pro/Max, Android / SD810-1000G-CBK
R2399.00In Stock
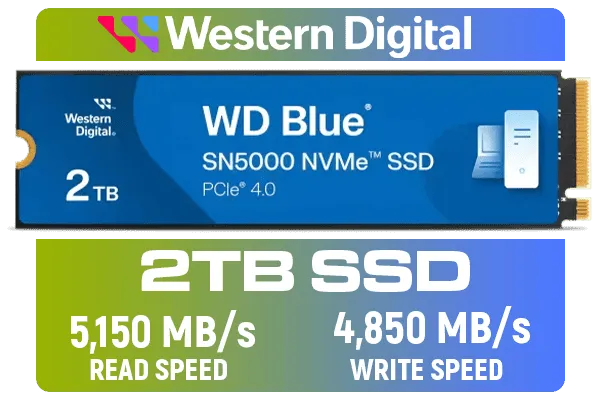
Western Digital 2TB WD Blue SN5000 NVMe Internal Solid State Drive SSD - PCIe Gen 4.0, M.2 2280, Up to 5,150 MB/s / WDS200T4B0E
R3499.00In Stock
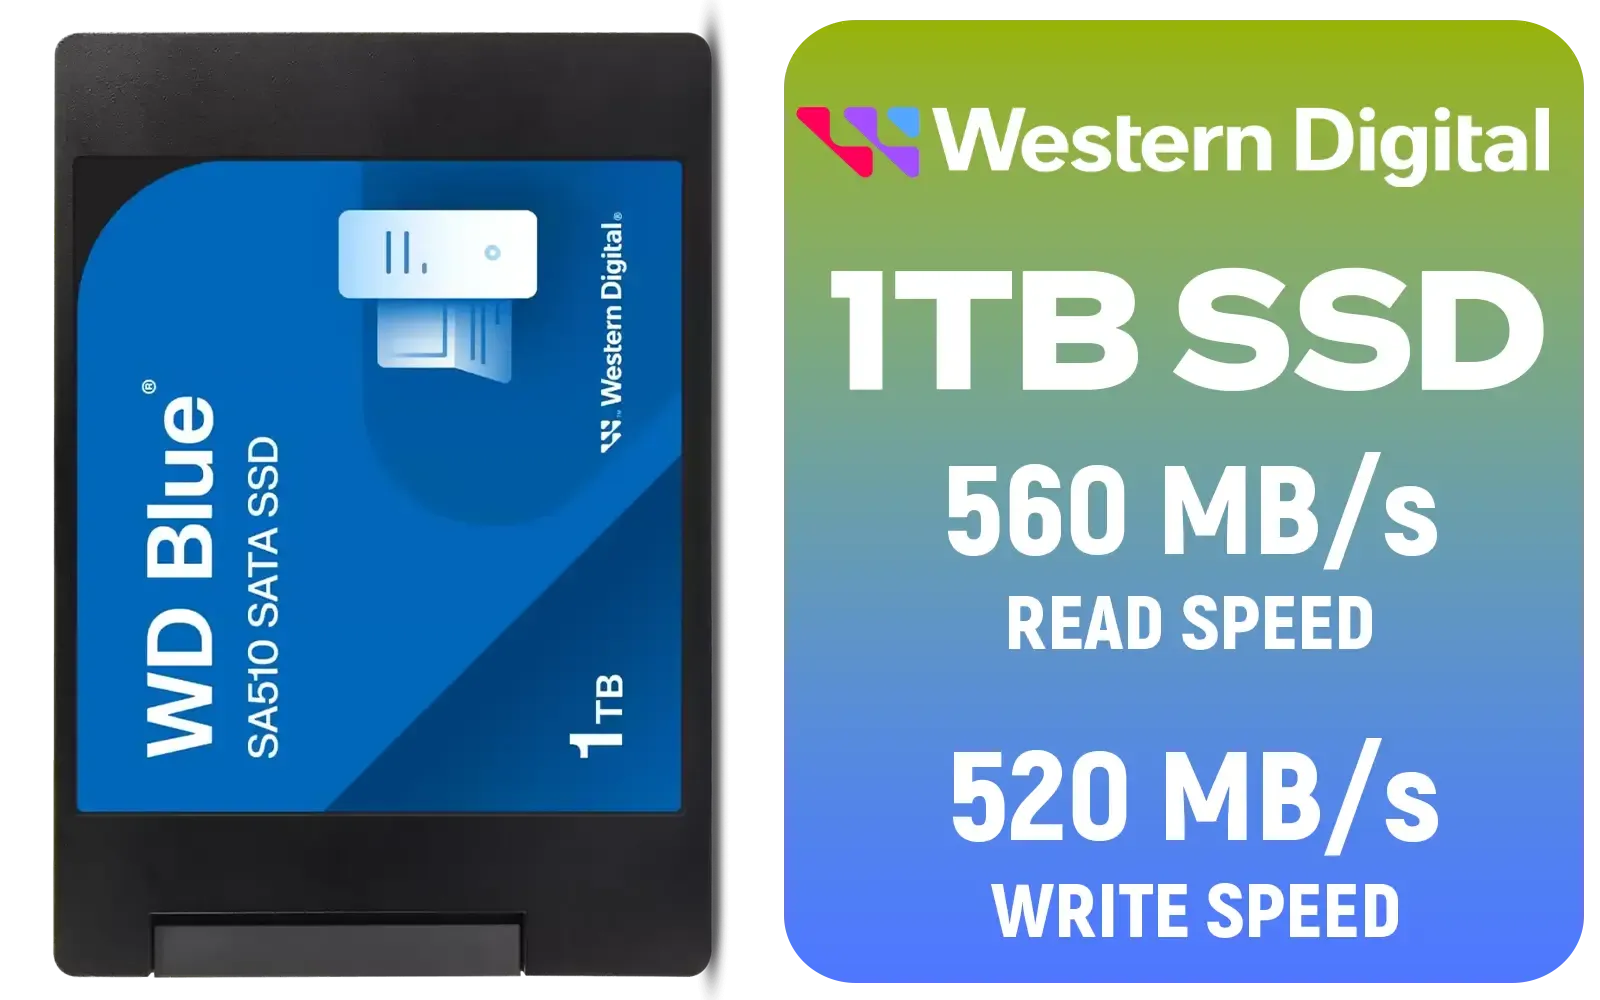
Western Digital Blue SA510 1TB 2.5" Solid State Drive (SSD) / Superior Performance / Multitasking / WD F.I.T. Lab Certified / WDS100T3B0A
R1499.00In Stock
Turn Off Indexing on Your NVMe Drive
Windows Search Indexing creates a database of your files to speed up searches. This was a lifesaver for slow, old-school hard drives. But an NVMe SSD is so ridiculously fast that the benefit from indexing is tiny. Meanwhile, the constant background writing process of the indexer can add unnecessary wear to your SSD's memory cells over its lifespan.
To disable it:
- Open File Explorer.
- Right-click your NVMe drive (usually C:) and select Properties.
- On the General tab, uncheck the box that says "Allow files on this drive to have contents indexed in addition to file properties."
- Click Apply, select "Apply changes to drive C:, subfolders and files," and click OK. It might take a few minutes to complete.
What NOT to Do: Debunking Old SSD Myths ✨

Kingston KC3000 PCIe 4.0 NVMe M.2 2TB SSD - High-Performance Storage for Desktop and Laptop PCs -SKC3000D/2048G
R3999.00In Stock
Orico X7000 2TB NVMe Internal Solid State Drive SSD / Versatile storage for multiple platforms / PCIe Gen 4.0, M.2 2280 / Up to 7100MB/s Read Speed / Up to 6500MB/s Write Speed / ORICO-X7000-2TB-RD-BP
R3599.00In Stock
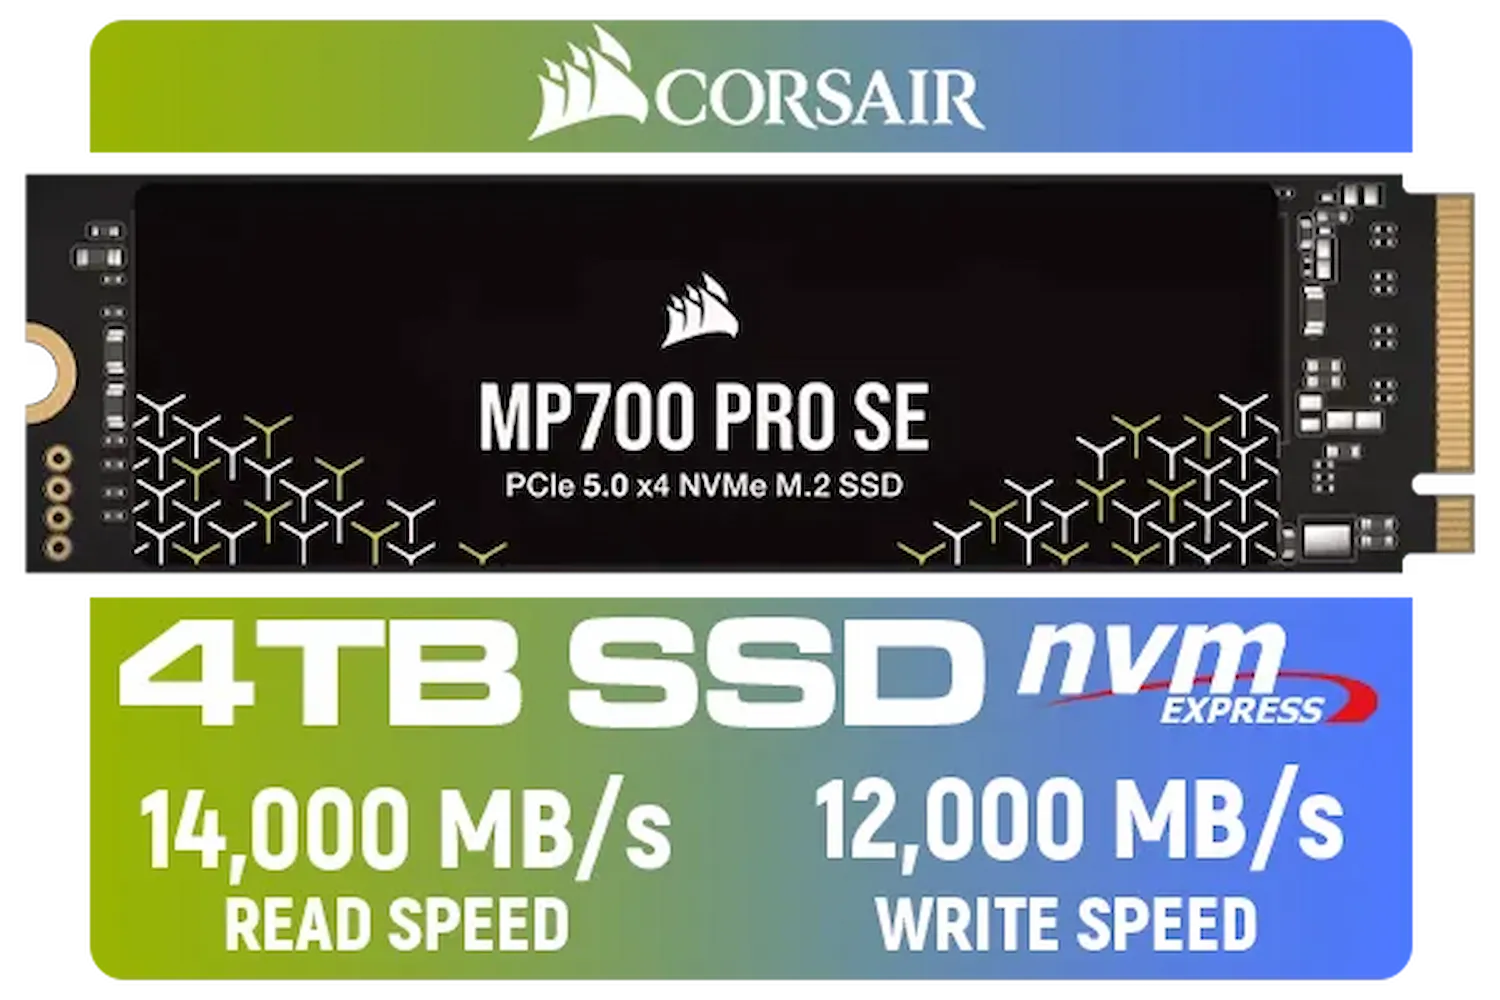
Corsair MP700 PRO SE 4TB PCIe 5.0 x4 NVMe M.2 SSD / Up to 14,000MB/s Sequential Read / Up to 12,000MB/s Sequential Write / M.2 2280 Form Factor / CSSD-F4000GBMP700PNHS
R10999.00In Stock
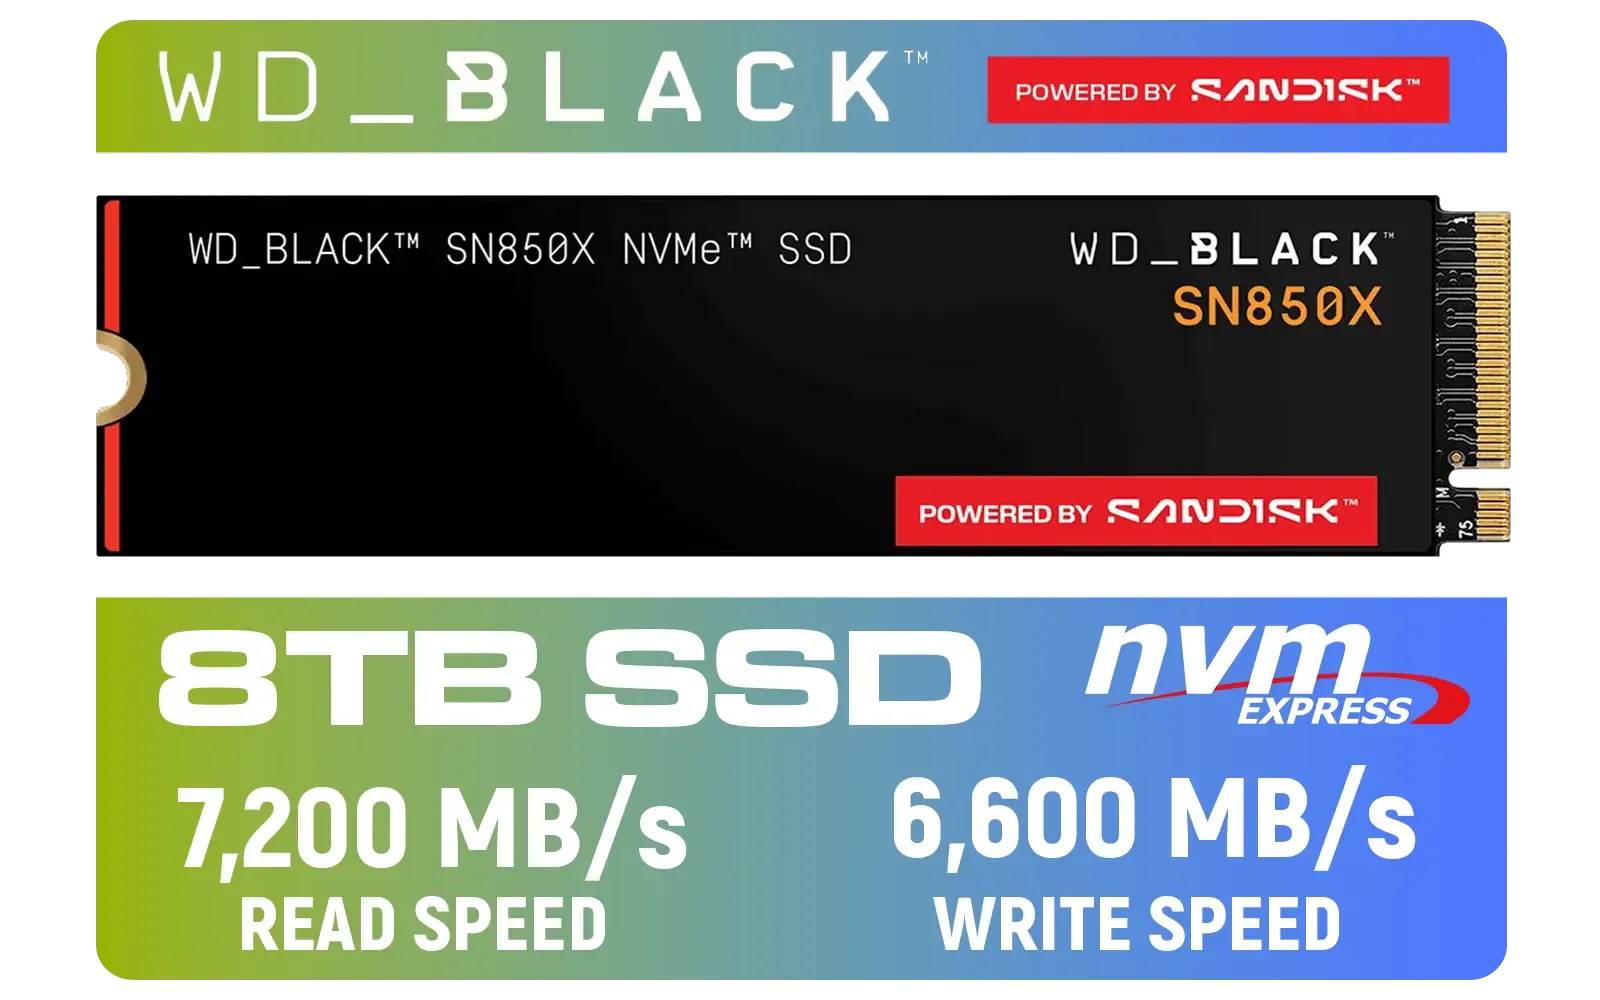
Western Digital SN850X NVMe Internal Solid State Drive - 8TB / Sequential Read, Write Performance - 7200MB/s, 6600MB/s / PCIe Gen 4 / WDS800T2X0E
R12699.00In Stock
ADATA XPG 1TB GAMMIX S70 Blade - Works with Playstation 5, PCIe Gen4 M.2 2280 Internal Gaming SSD Up to 7,400 MB/s / AGAMMIXS70B-1T-CS
R2599.00In Stock
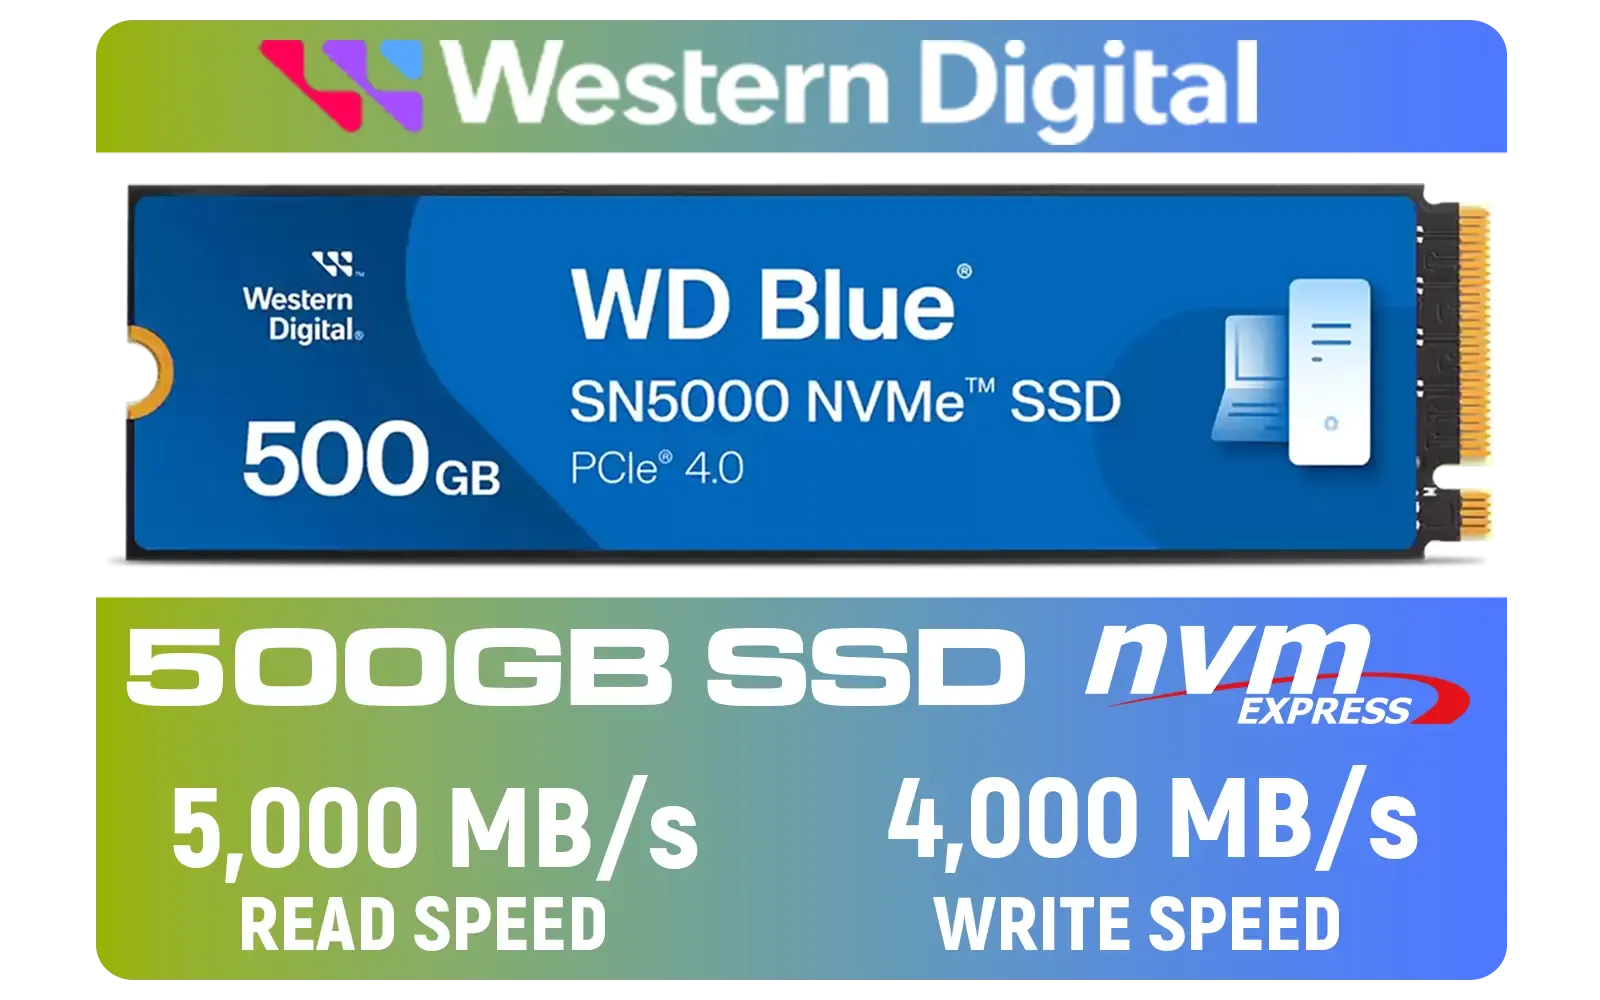
Western Digital 500GB WD Blue SN5000 NVMe Internal Solid State Drive SSD / PCIe Gen 4.0, M.2 2280 / Up to 5,000MB/s Read Speed / Up to 4,000MB/s Write Speed / WDS500G4B0E
R1299.00In Stock
The internet is full of outdated advice. To properly optimise Windows for your NVMe SSD, you also need to know what not to do.
- Don't Defragment Your SSD: Never, ever run a traditional defrag tool on an SSD. It’s not only useless (SSDs access all data at the same speed, regardless of location) but it also causes a massive number of unnecessary writes that shorten the drive's lifespan. Windows 10 and 11 are smart; the "Optimise Drives" tool will run TRIM on an SSD, not defrag it. Just let Windows handle it.
- Don't Disable Superfetch/Prefetch: On older versions of Windows, disabling these services was a common tweak. Today, they are intelligent and work brilliantly with SSDs, pre-loading frequently used apps into RAM for even faster access. Disabling them will likely make your system feel slower.
Following the right advice ensures that your hardware, from budget-friendly options to reliable Kingston SSDs, performs exactly as it should for years to come. Ultimately, a modern OS paired with quality hardware like great value ADATA drives requires very little manual intervention—just a few checks to confirm everything is set for success.
Ready to Unleash True Speed? A few tweaks can work wonders, but nothing beats the raw power of a next-gen drive. If your old SSD is still lagging, it might be time for an upgrade. Explore our massive range of NVMe SSDs and give your PC the performance it deserves.
Related Products

Teamgroup CX2 2TB SATA Internal Solid State Drive / Up to 540 Read Speed / Up to 490 Write Speed / Advanced SLC Caching technology / T253X6002T0C101
R2199.00In Stock

ADATA SU650 2TB 3D-NAND SATA 2.5 inch Internal SSD / 520MBs/450MBs - Read/Write Speed / ASU650SS-2TT-R
R1999.00In Stock
ADATA XPG 1TB GAMMIX S70 Blade - Works with Playstation 5, PCIe Gen4 M.2 2280 Internal Gaming SSD Up to 7,400 MB/s / AGAMMIXS70B-1T-CS
R2599.00In Stock
Kingston 4000G NV3 NVMe SSD / Up to 6,000MB/s Read / Up to 4,000MB/s Write / PCIe 4.0 x4 NVMe / M.2 2280 Form Factor / SNV3S/4000G
R6299.00In Stock

Corsair MP600 PRO NH 8TB PCIe Gen4 x4 NVMe M.2 SSD – High-Density TLC NAND – M.2 2280 – DirectStorage Compatible - Up to 7,000MB/sec - No Heatsink - Black / CSSD-F8000GBMP600PNH
R22999.00In Stock

Corsair MP700 PRO with Air Cooler 2TB M.2 PCIe Gen5 x4 NVMe 2.0 SSD – M.2 2280 – Up to 12,400MB/sec Sequential Read – High-Density TLC NAND – Black / CSSD-F2000GBMP700PROS
R6699.00In Stock
Update NVMe drivers, enable TRIM, choose a high performance power plan, disable aggressive link state power management, and confirm BIOS NVMe mode.
Windows 10 and 11 support NVMe natively, but driver updates, firmware, and power plan tweaks improve nvme ssd windows 10 optimization outcomes.
Yes. TRIM maintains steady write performance by letting Windows inform the NVMe SSD which blocks are free, improving long-term throughput.
Switching to a High Performance or Active cooling-aware plan reduces latency and prevents power-state-induced slowdowns for NVMe SSDs.
Very. Updated NVMe drivers and firmware fix bugs, improve throughput, and address nvme thermal throttling; always use vendor updates.
Enable NVMe/AHCI mode, set PCIe to Gen3/Gen4 as supported, and disable legacy SATA-only modes to ensure optimal nvme ssd performance.
Yes. Poor cooling causes thermal throttling. Add heatsinks or improve airflow to fix nvme thermal throttling and regain top speeds.