Set Up NVMe Drive for Maximum Performance
Set up NVMe drive quickly and unlock maximum read/write speeds — BIOS tweaks, drivers, thermal control and benchmarking steps to squeeze peak performance 🚀💾

Just dropped some serious ZAR on a new NVMe SSD, expecting lightning-fast load times, only to find it's... just okay? You're not alone, bru. The secret isn't just plugging it in; it's how you set up your NVMe drive for maximum performance. A few simple tweaks in your BIOS and Windows can unlock the face-melting speeds you paid for, turning your PC from a bakkie into a Formula 1 car. 🚀 Let's get your rig sorted.
First Steps: Physical Install and BIOS Prep
Before we even touch Windows, getting the physical and foundational setup right is critical. Your motherboard is the key. For the best results, always install your primary NVMe SSD in the M.2 slot closest to the CPU. This slot usually has the most direct PCIe lanes to the processor, minimising latency.
Once installed, it's time to dive into your PC's BIOS/UEFI. This is where many people miss out on easy performance gains.
Dahua C800A 1TB 2.5" SATA 3.0 6 Gb/s 3D NAND Solid State Drive (SSD) / Read Speed Up to 500 MB/s / Write Speed Up to 470 MB/s / DHI-SSD-C800AS1TB
R1299.00In Stock

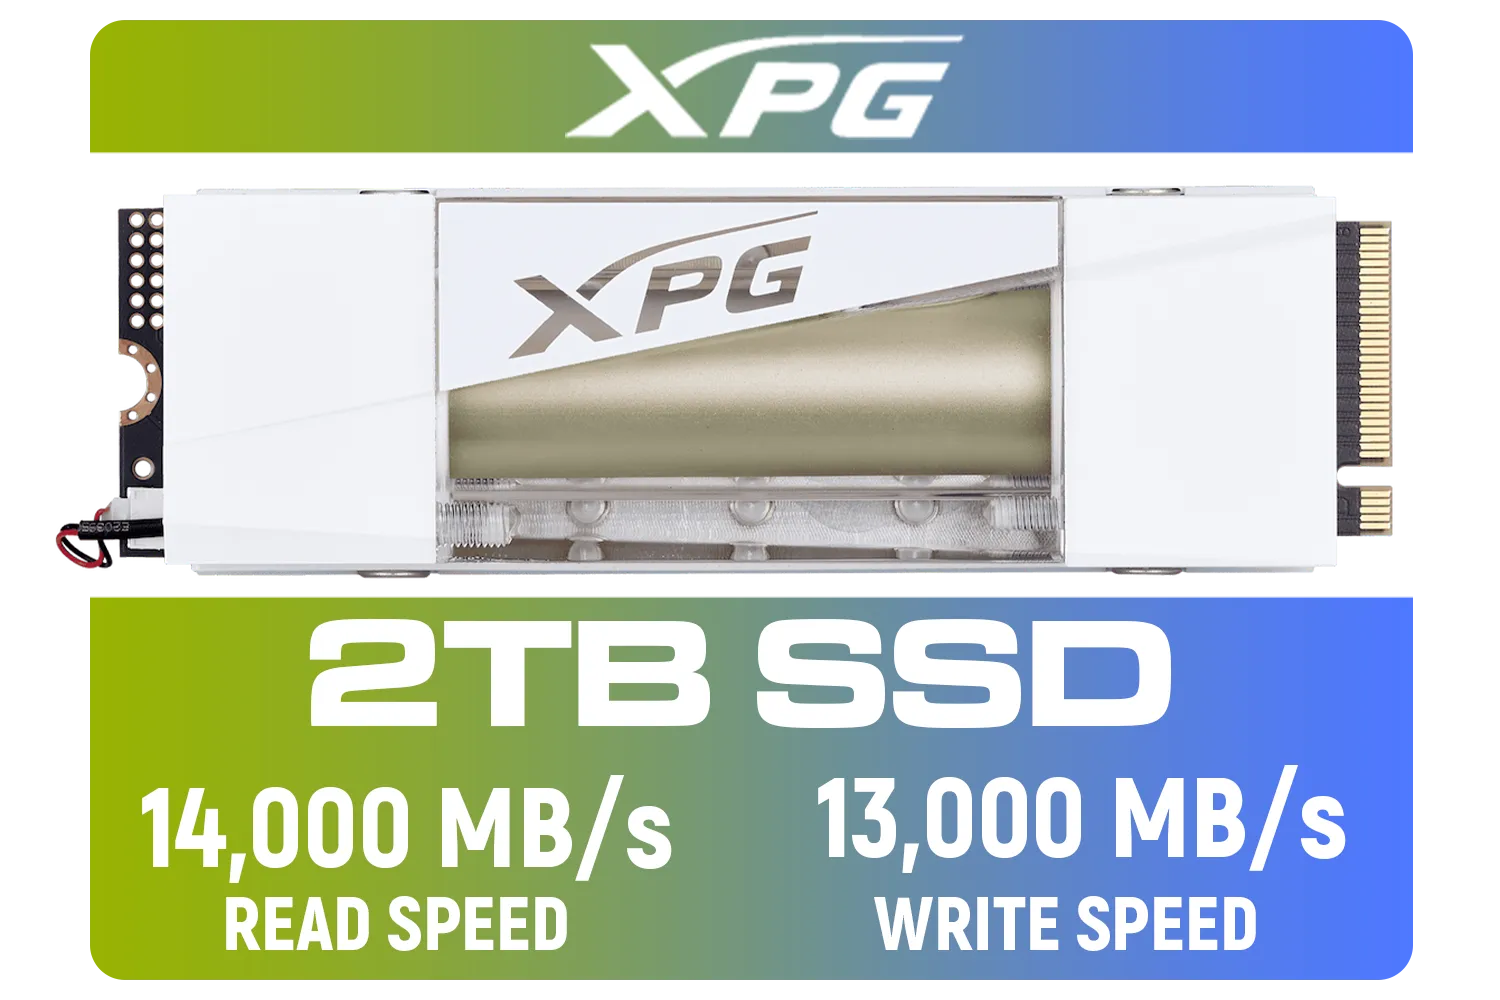
ADATA XPG Mars 980 Pro 2TB NVMe 5.0 Internal Solid State Drive / Up to 14,000MB/s Read Speed and Up to 13,000MB/s Write Speed / SMAR-980P-2TCI
R4499.00In Stock

Western Digital 500GB WD Blue SN5100 NVMe Internal Solid State Drive / M.2 2280 Form Factor / Read Speeds up to 6600MB/s / Write Speeds up to 5600MB/s / PCIe Gen 4.0 Interface / nCache™ 4.0 Technology / 3D CBA NAND / Includes Acronis® True Image™ & SanDisk Dashboard Software / WDS500G5B0E
R1199.00In Stock
Western Digital 1TB WD Blue SN5000 NVMe Internal Solid State Drive SSD - PCIe Gen 4.0, M.2 2280, Up to 5,150 MB/s / WDS100T4B0E
R1999.00In Stock
Western Digital 500GB WD Blue SN5000 NVMe Internal Solid State Drive SSD / PCIe Gen 4.0, M.2 2280 / Up to 5,000MB/s Read Speed / Up to 4,000MB/s Write Speed / WDS500G4B0E
R1299.00In Stock
ORICO i7500 M.2 NVMe SSD - 1TB / 3D NAND Flash / PCIe Gen4.0 x4 / Up to 7,200MB/s Read and 6,100MB/s Write Speeds / ORICO-i7500-1TB-GD-BP
R2349.00In Stock
Key BIOS/UEFI Settings to Check
Reboot your PC and repeatedly press the DEL or F2 key to enter the BIOS. The interface will vary by manufacturer, but you're looking for settings under "Boot," "Advanced," or "Storage Configuration."
- Set Storage Mode to AHCI/NVMe: Older systems might be set to IDE or RAID by default. Ensure the mode is set to AHCI (Advanced Host Controller Interface) or, if available, a dedicated NVMe mode. This is essential for the drive to operate correctly.
- Enable PCIe Gen4/Gen5 Support: If you have a newer motherboard and a drive like the speedy Klevv CRAS C925G 1TB Gen4 drive, you need to make sure the corresponding M.2 slot is configured to run at its maximum PCIe generation speed. Sometimes it's set to "Auto" or a lower generation to save power. Lock it in for pure speed.
- Disable CSM (Compatibility Support Module): CSM is a feature for booting older, non-UEFI hardware. For a modern NVMe setup, you should disable it. This ensures your system boots in pure UEFI mode, which is faster and more secure.
TIP FOR YOU
BIOS Pro Tip 🔧
Can't find your new NVMe drive in the BIOS? Some motherboards disable certain SATA ports when an M.2 slot is populated. Check your motherboard manual to see which ports are shared. Unplug any drives from those specific SATA ports, and your NVMe should pop right up!
Getting the Software Right: Drivers and Windows Optimisation
With the hardware and firmware configured, the next step is to properly set up the NVMe drive within Windows for that top-tier performance. A clean installation of Windows is always the gold standard for a new boot drive, as it avoids carrying over old drivers or misconfigured settings.
Install Manufacturer-Specific Drivers
While Windows has a generic NVMe driver that works, it's often not the most optimised. Go directly to the manufacturer's website to find the specific driver for your SSD model. Brands like Samsung and WD have custom drivers that can significantly boost performance and provide access to management software. You can find official support and software for all the top brands, including checking out the latest from Klevv's lineup in South Africa, to ensure you have the best tools for the job.
Adata Mars 980 Storm 2TB NVMe SSD / PCIe Gen5 x4 / Up to 14,000MB/s - 13,000MB Sequential Read/Write / SMAR-980S-2TCI
R4499.00In Stock

Kingston XS1000 2TB SSD / Pocket-Sized / USB 3.2 Gen 2 / External Solid State Drive / Up to 1050MB/s / SXS1000/2000G
R2899.00In Stock
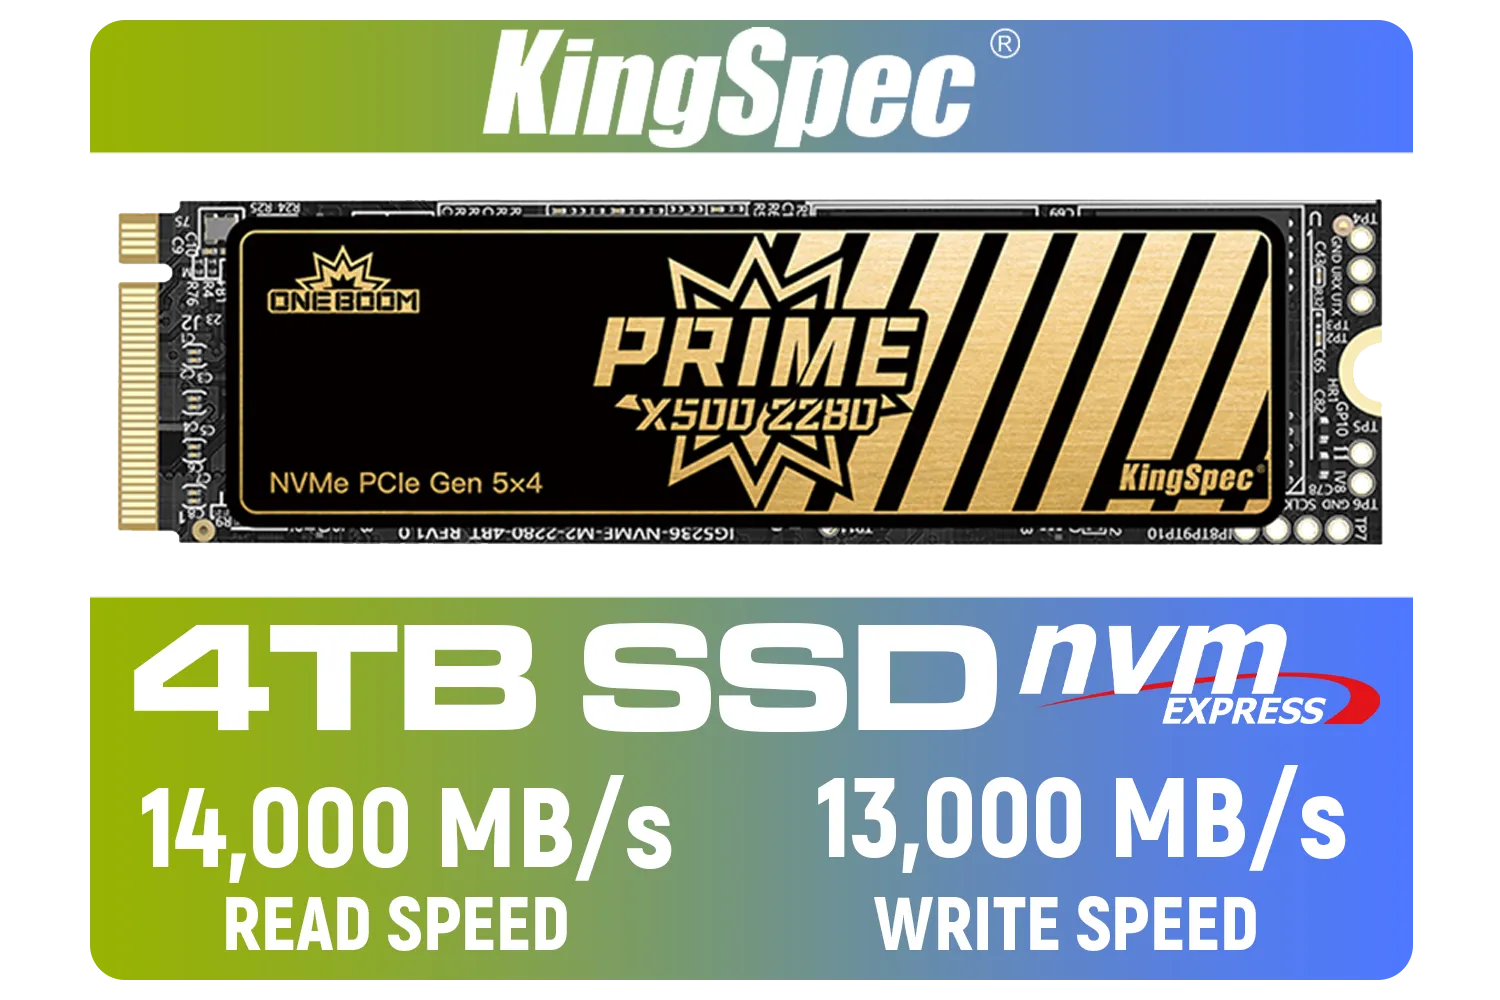
KingSpec X500 4TB NVMe Internal Solid State Drive / 3D NAND Flash Memory / PCIe Gen 5.0, M.2 2280, Up to 14 00MB/s/13 000MB/s Read/Write Speeds / X500-2280-4TB
R7899.00In Stock

Kingston KC3000 PCIe 4.0 NVMe M.2 1TB SSD - High-Performance Storage for Desktop and Laptop PCs / SKC3000S/1024G
R2799.00In Stock

Kingston IronKey Vault Privacy 80 1.92TB External SSD | FIPS 197 | XTS-AES 256GB Encrypted | Touch Screen PIN | Secure Data Protection | IKVP80ES/1920G
R6999.00In Stock

XPG GAMMIX S70 Blade 8TB NVMe PCIe Gen4x4 Internal SSD / Sequential read/write speeds up to 7,400/6,800MB/s / Compatible with PC and PS5 / AGAMMIXS70B-8000G-CS
R15999.00In Stock
Fine-Tuning Windows for Peak NVMe Performance
Finally, let's make a few small but powerful adjustments inside Windows to ensure nothing is holding your SSD back. These settings help your system treat the NVMe drive like the high-speed device it is.
- Confirm TRIM is Enabled: TRIM is a command that allows Windows to tell your SSD which data blocks are no longer in use and can be wiped internally. This prevents the drive from slowing down over time. Open Command Prompt as an administrator and type
fsutil behavior query DisableDeleteNotify. If the result is0, TRIM is active. If it's1, it's disabled. - Check Your Power Plan: Go to
Power Optionsin the Control Panel and select the "High performance" or "Ultimate Performance" plan. Power-saving plans can sometimes limit the power going to your PCIe slots, throttling your NVMe drive's potential speed. - Update Your Drive's Firmware: Just like your graphics card, your SSD has its own firmware. Manufacturers regularly release updates that improve performance, stability, and longevity. Use their dedicated software utility to check for and apply any new firmware. ✨
Taking these extra steps ensures you're not leaving any performance on the table. A properly configured NVMe drive makes everything from booting Windows to loading levels in Alan Wake 2 feel instantaneous. If your current storage is feeling a bit slow, it might be time to browse our full range of SSDs and experience the difference for yourself.
Ready to Unleash True Speed? Properly setting up your NVMe drive is the key to unlocking its full potential. If you're ready to leave loading screens in the dust, it's time for an upgrade. Explore our massive range of PC components and find the perfect parts to supercharge your rig.
Related Products
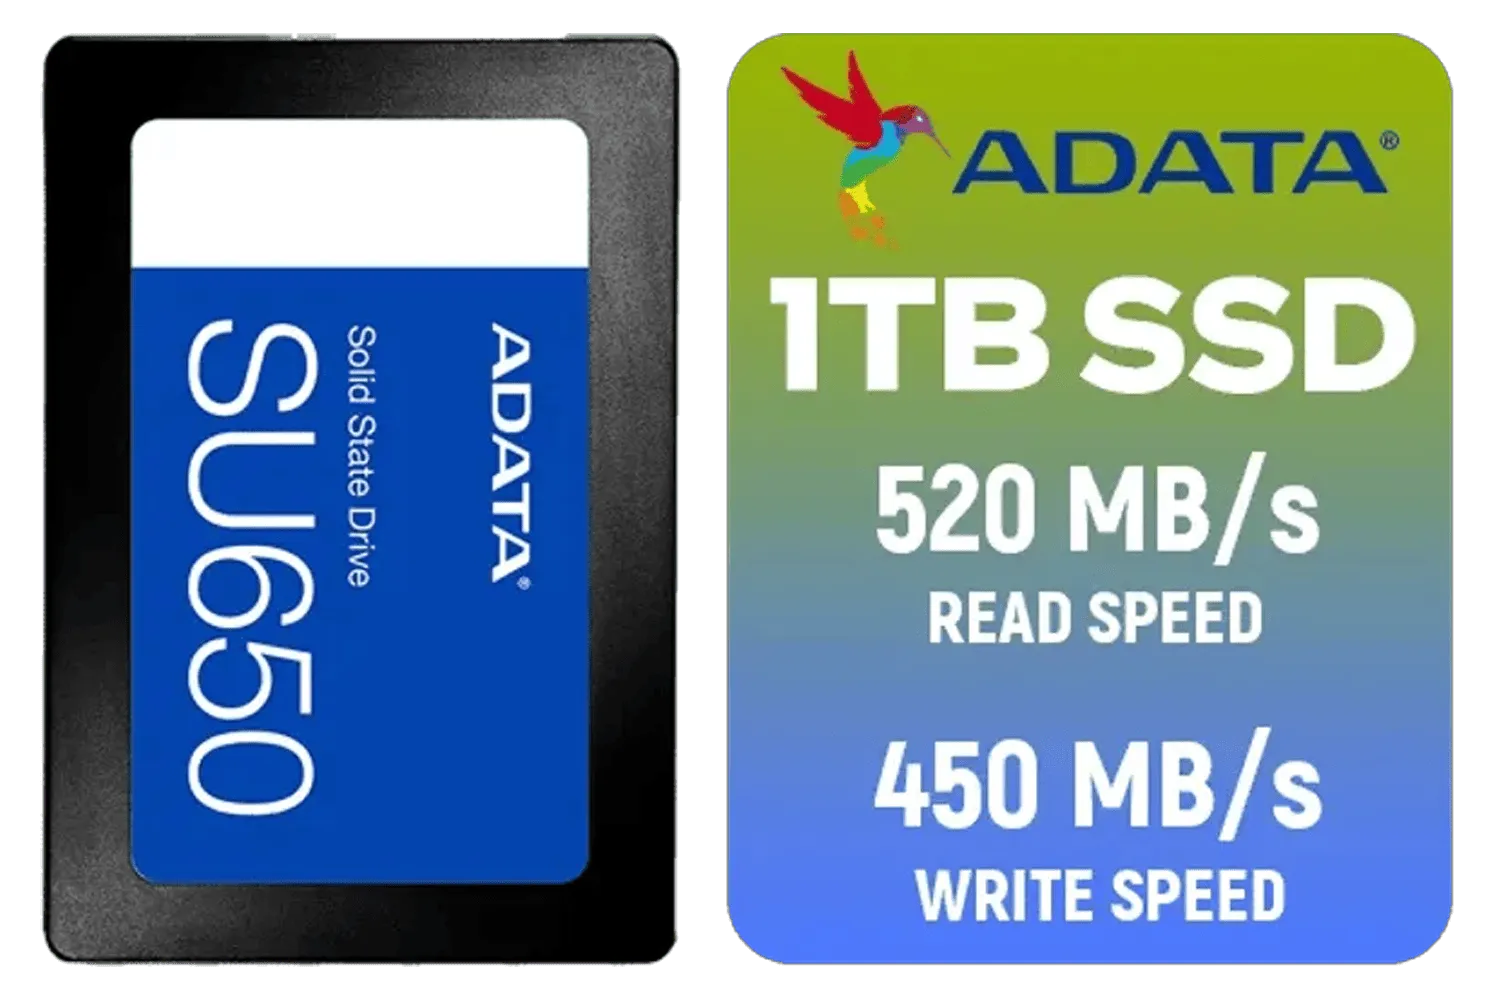
ADATA SU650 1TB 3D-NAND SATA 2.5 inch Internal SSD / ASU650SS-1TT-R
R1399.00In Stock
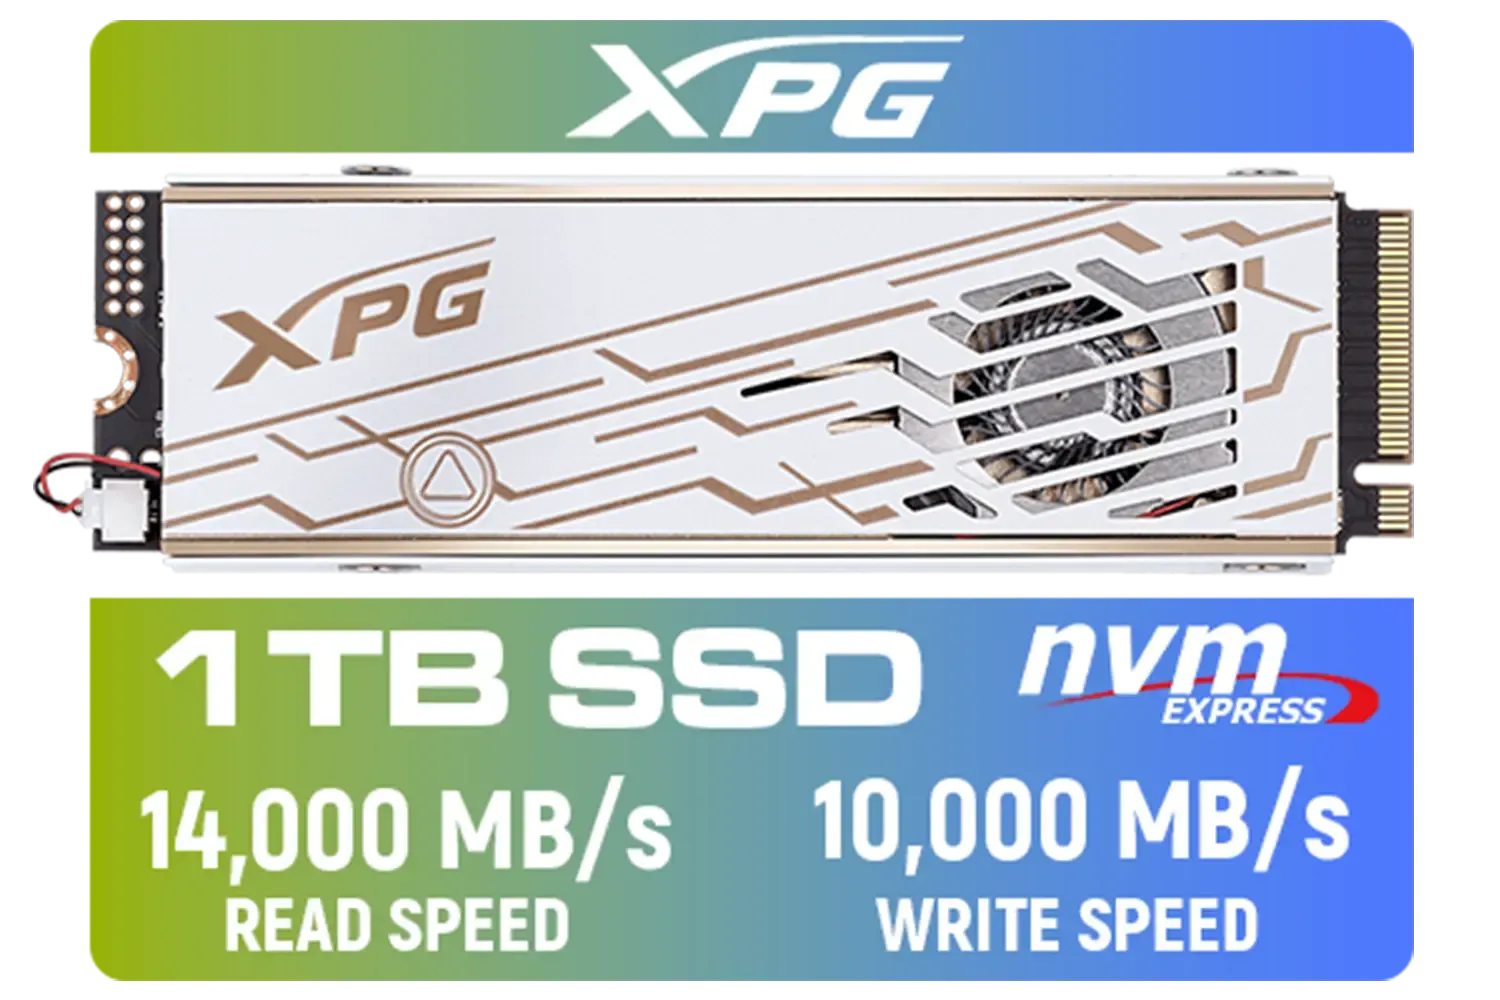
ADATA XPG Mars 980 Pro 1TB NVMe 5.0 Internal Solid State Drive / Up to 14,000MB/s Read Speed and Up to 10,000MB/s Write Speed / SMAR-980P-1TCI
R2999.00In Stock
Western Digital 500GB WD Blue SN5100 NVMe Internal Solid State Drive / M.2 2280 Form Factor / Read Speeds up to 6600MB/s / Write Speeds up to 5600MB/s / PCIe Gen 4.0 Interface / nCache™ 4.0 Technology / 3D CBA NAND / Includes Acronis® True Image™ & SanDisk Dashboard Software / WDS500G5B0E
R1199.00In Stock
Corsair MP700 PRO SE Hydro X Series 4TB M.2 PCIe Gen5 x4 NVMe 2.0 SSD – M.2 2280 – Up to 14,000MB/sec Sequential Read – High-Density TLC NAND – Pre-Installed Water Block – Black / CSSD-F4000GBMP700PHXS
R13499.00In Stock
Dahua C800A 1TB 2.5" SATA 3.0 6 Gb/s 3D NAND Solid State Drive (SSD) / Read Speed Up to 500 MB/s / Write Speed Up to 470 MB/s / DHI-SSD-C800AS1TB
R1299.00In Stock

ADATA 1TB SSD Legend 900 PCIe Gen4x4 NVMe M.2 internal gaming SSD up to 7,000MB/s PS5 compatible (SLEG-900-1TCS)
R2299.00In Stock
Enable NVMe in BIOS, set PCIe to x4 NVMe mode, update firmware and drivers, align partitions and add cooling to avoid throttling.
Yes. Update NVMe firmware and install the latest NVMe drivers to fix bugs and unlock performance and stability improvements.
Enable UEFI/NVMe support, set the slot to PCIe Gen3/Gen4 x4, disable legacy SATA-only modes and ensure NVMe drive priority in boot order.
Fit an M.2 heatsink, improve case airflow, monitor temps and enable temperature-aware firmware features to maintain sustained speeds.
Yes. Use 1MB partition alignment, choose NTFS or ext4 with suitable block sizes and avoid misaligned partitions to maximize performance.
Use CrystalDiskMark, AS SSD or fio, test sequential and random reads/writes after firmware and driver updates to measure real-world gains.
Yes. Ensure the NVMe slot supplies x4 PCIe lanes and avoid lane sharing with GPUs or controllers to keep peak bandwidth available.