Sync ARGB with Motherboard Software: Cooler Lighting Guide
Sync ARGB with motherboard software like Aura Sync, Mystic Light, RGB Fusion, and Polychrome in minutes. Learn correct headers, hubs, and steps to light your cooler flawlessly. Fix common issues fast. ⚡💡

Article (MDX)
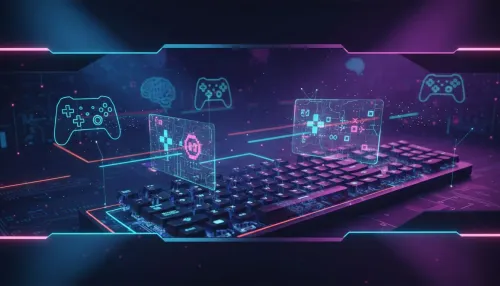
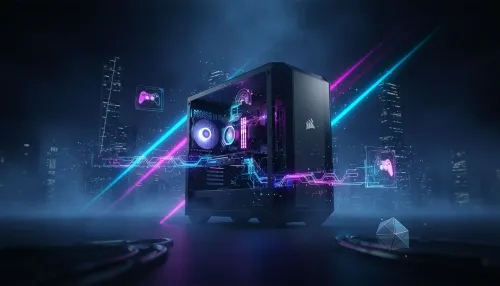
You’ve just built your dream rig. The CPU is seated, the GPU is gleaming, and everything is plugged in. You hit the power button… and your PC erupts in a chaotic rainbow of unsynchronised light. Sound familiar? Don’t stress, we’ve all been there. Getting your components to dance to the same beat is key to a clean setup. This guide will show you exactly how to sync ARGB with motherboard software for that perfect, unified glow. ✨

EK 280mm AIO D-RGB All-in-One CPU Liquid Cooler / Water Cooling Computer Parts / 140mm Fan / EK-Vardar High-Performance PMW Fans / Outstanding Thermal Conductivity / Support - Intel 115X/1200/2066, AMD AM4 / EK-AIO-280-D-RGB
R2699.00In Stock

Gamdias Chione E4-240 Liquid Cooler / Hydraulic PWM Fans / Dual Infinite Mirror / Real-time Digital Display / Patented PWM Pump / Motherboard Sync ARGB / CHIONE-E4-240
R1599.00In Stock

Gamdias Chione E4-360 Liquid Cooler - White / Hydraulic PWM Fans / Dual Infinite Mirror / Real-time Digital Display / Patented PWM Pump / Motherboard Sync ARGB / CHIONE-E4-360-WH
R1999.00In Stock

Fracta Design Celsius+ S28 Prisma 280MM Water Cooling Unit, Black, 2AL-14 PWM ARGB Fan / FD-W-2-S2802
R2599.00In Stock
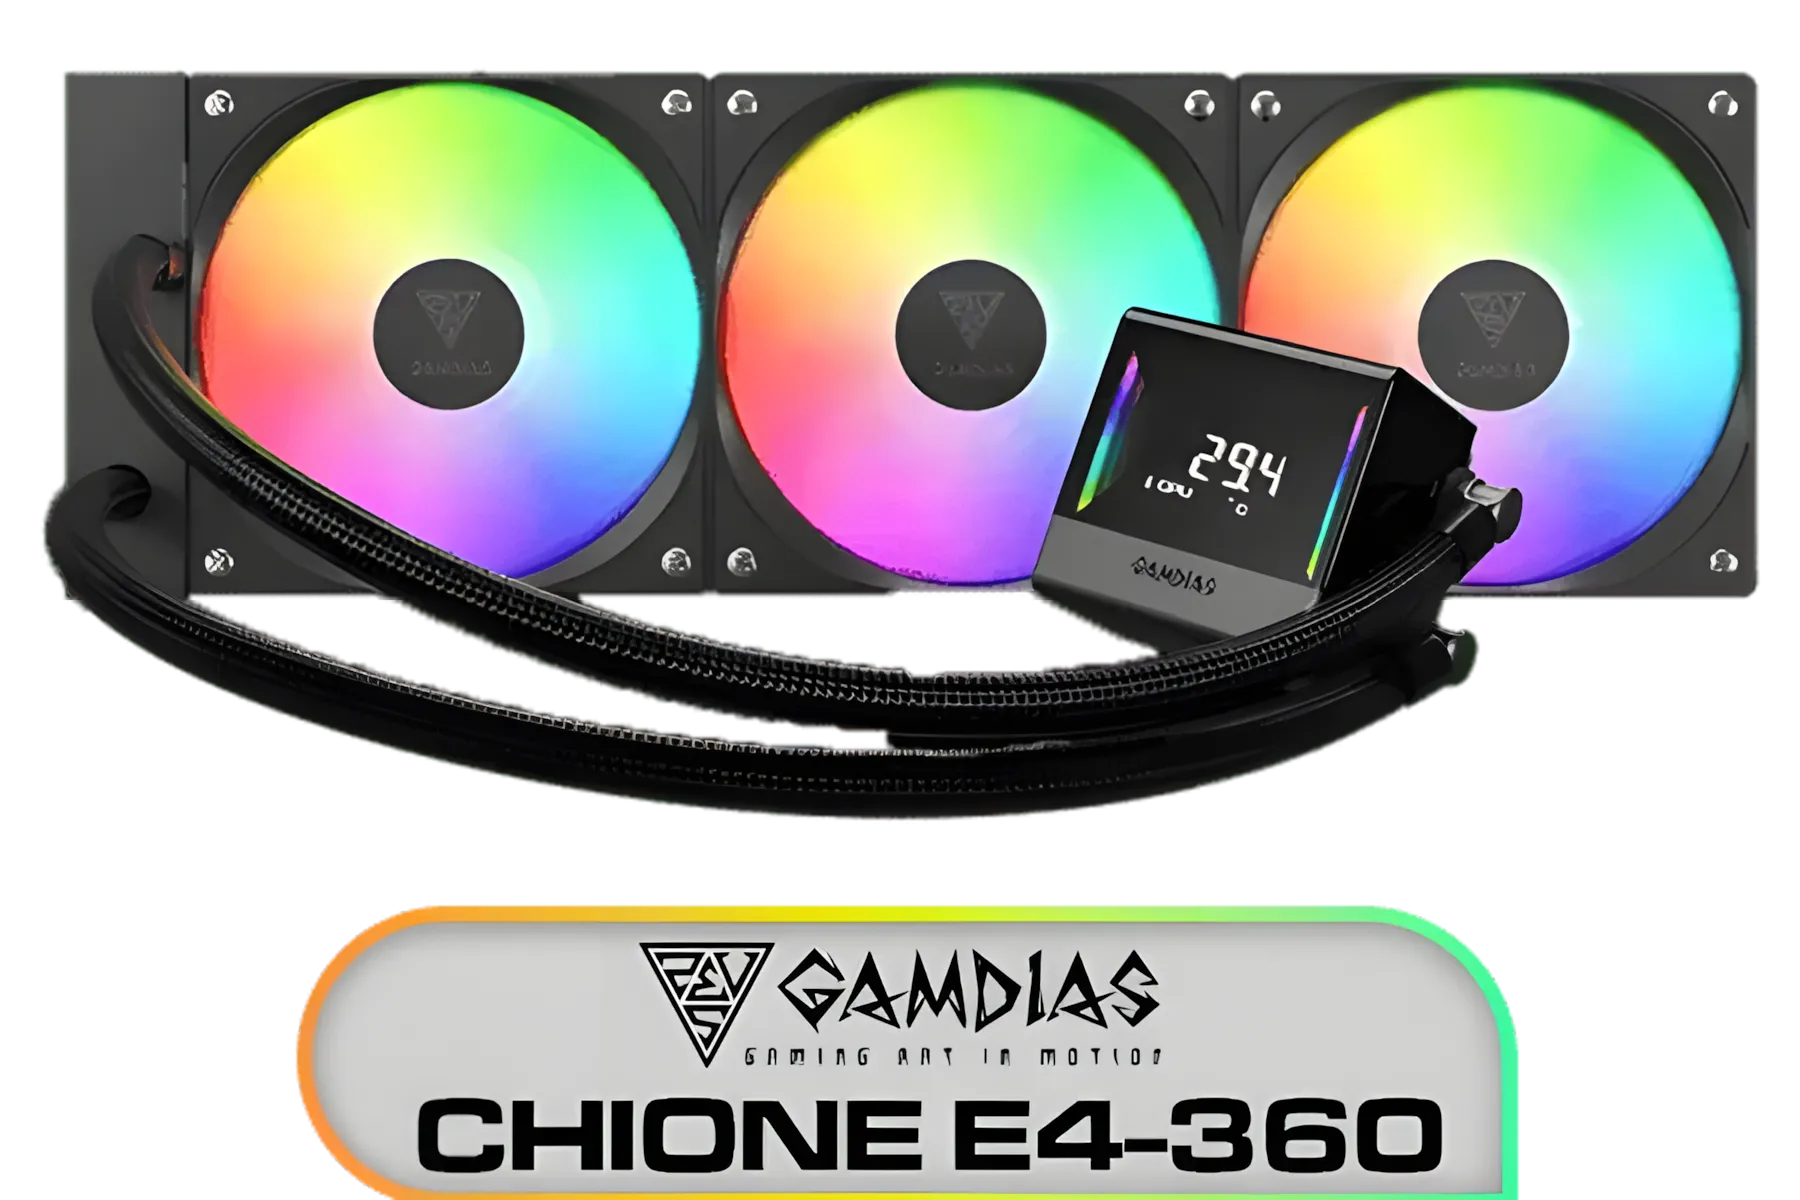
Gamdias Chione E4-360 Liquid Cooler / Hydraulic PWM Fans / Dual Infinite Mirror / Real-time Digital Display / Patented PWM Pump / Motherboard Sync ARGB / CHIONE-E4-360
R1899.00In Stock

ASUS TUF Gaming LC 240 RGB Zaku II Limited Edition All-In-One Liquid CPU Cooler / Addressable RGB Radiator Fan / NCVM-coating pump cover / illuminated RGB ZAKU II / 90RC0093-M0UAY0
R2199.00In Stock
Understanding Your Cooler's Lighting: ARGB vs. RGB
Before you plug anything in, it's vital to know what you're working with. The biggest source of confusion for new builders is the difference between standard RGB and Addressable RGB (ARGB).
- Standard RGB (12V, 4-pin): This is the older tech. It can display one colour across all the LEDs at a time. Think of it as a single light bulb that can change its hue.
- Addressable RGB (5V, 3-pin): This is the magic you're looking for. Each individual LED can be controlled separately, allowing for complex effects like rainbow waves, strobes, and custom gradients. This is what you need to create those truly stunning lighting profiles.
Mismatched connectors are a fast way to damage your components. A 4-pin RGB header provides 12 volts of power, while a 3-pin ARGB header uses only 5 volts. Plugging an ARGB device into an RGB header can permanently fry the LEDs. Always double-check your motherboard manual and your cooler's specifications. Most modern CPU coolers use ARGB for maximum customisation.
How to Sync ARGB with Motherboard Software: A Step-by-Step Guide
Ready to get everything synced up? Let’s walk through the process. It's simpler than you think and is the final step to making your PC look as good as it performs.
Step 1: Identify the Correct Header on Your Motherboard
Power down your PC and open the case. Grab your motherboard manual (or look it up online) and locate the 5V 3-pin ARGB header. It's usually labelled JRAINBOW, ADD_HEADER, ARGB_HEADER, or something similar. It has three pins with a small gap, making it easy to identify. Some boards have several, giving you more flexibility.

DeepCool Liquid Cooler LT520 240mm 4th Gen Dual-Chamber Pump 3100RPM Multidimensional Infinity Mirror ARGB Block 280w TDP AIO Cooler Anti-Leak Tech CPU Water Cooler for AMD AM4/AM5 LGA 1700/1200 / LT520
R1749.00In Stock
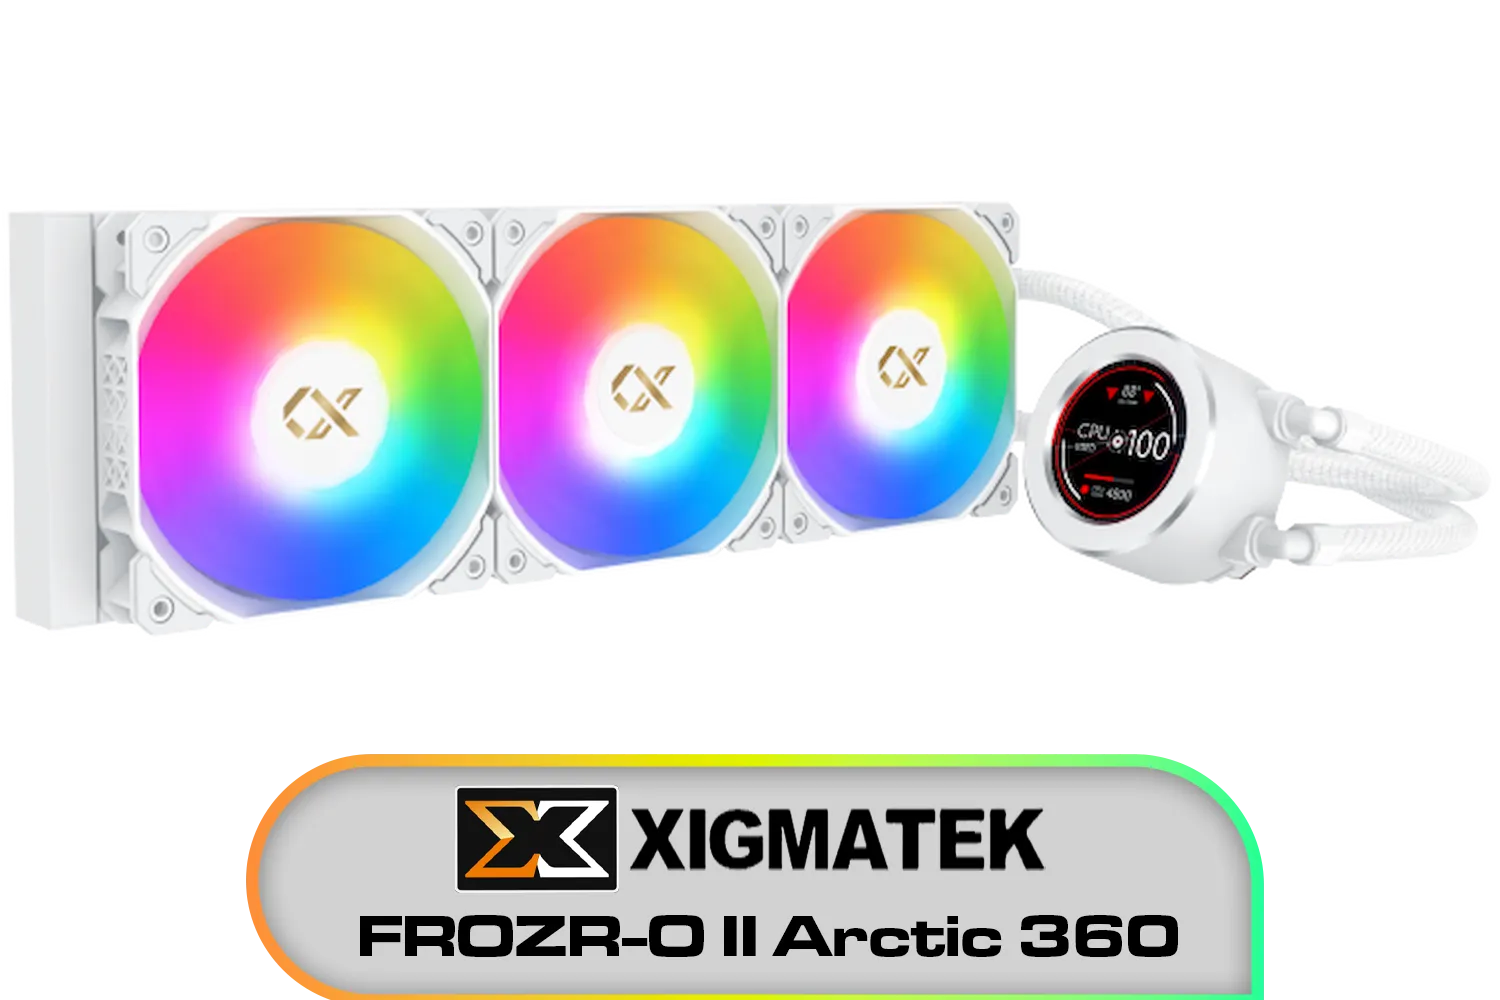
Xigmatek FROZR-O II Arctic 360 AIO Liquid Cooler - White / Digital LCD Pump Head / Support Latest Specifications AMD/Intel / Low Noise PWM Fan / ARGB Controller / 7 Different Modes / EN40450
R2299.00In Stock
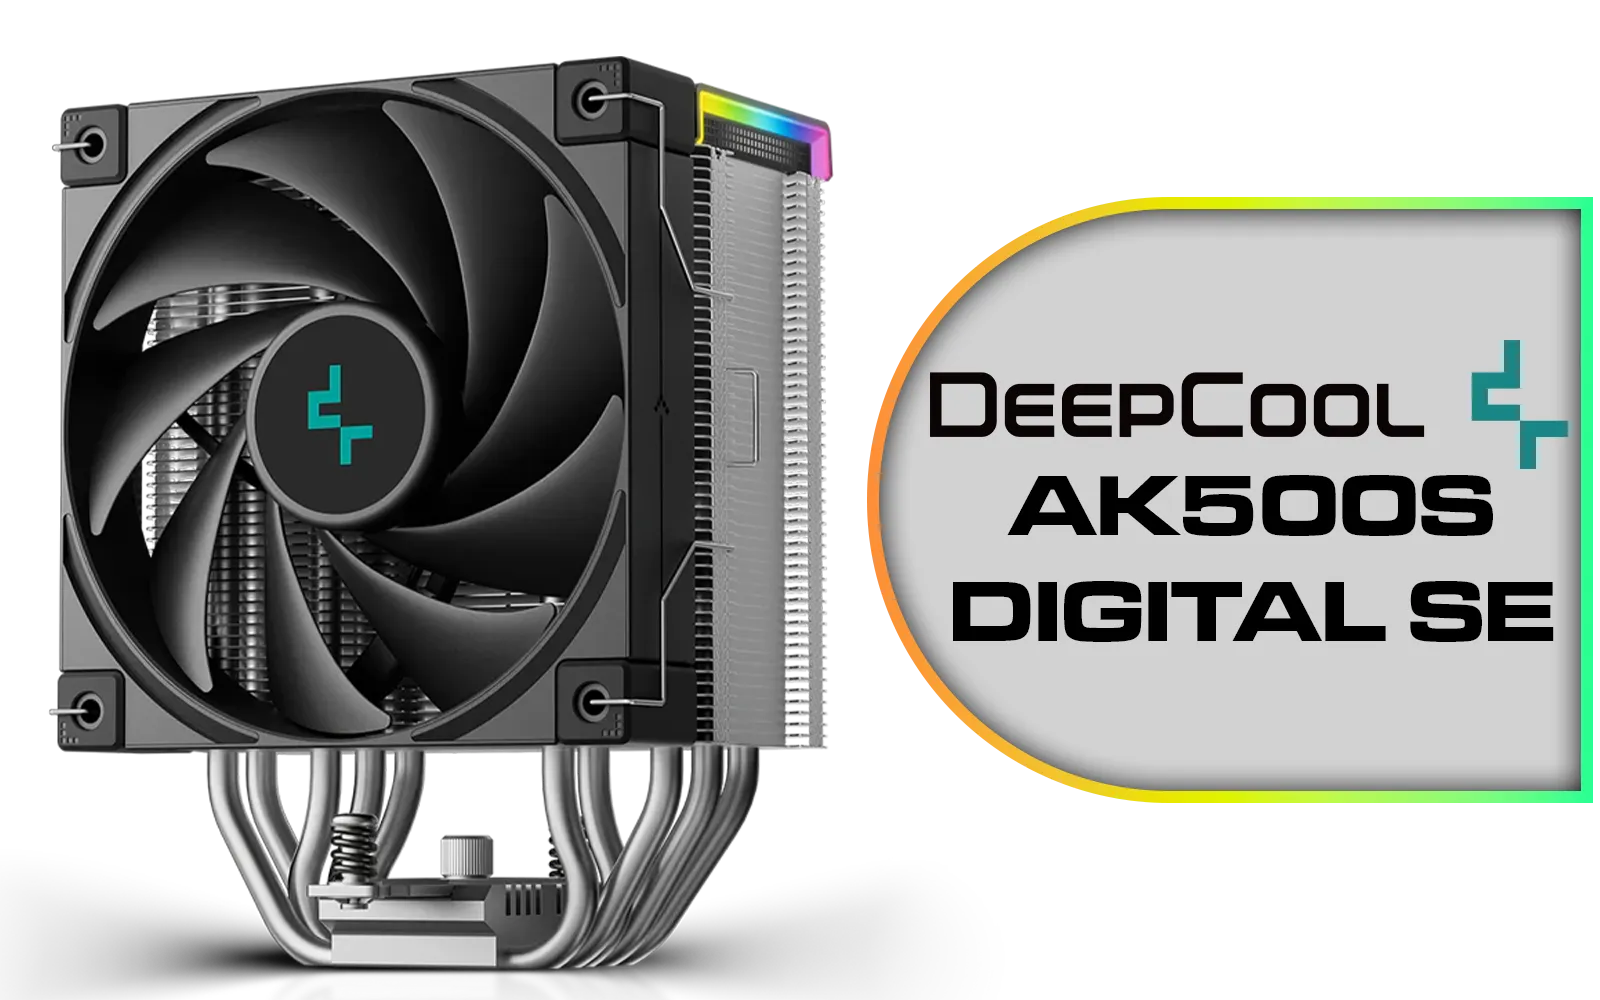
Deepcool AK500S DIGITAL SE CPU Cooler / Digital Air Cooler / Low-Profile Status Display / Slimmer Fin Stack Design / Addressable RGB LED / AK500S-DIGITAL-SE
R799.00In Stock
Gamdias Chione E4-240 Liquid Cooler / Hydraulic PWM Fans / Dual Infinite Mirror / Real-time Digital Display / Patented PWM Pump / Motherboard Sync ARGB / CHIONE-E4-240
R1599.00In Stock
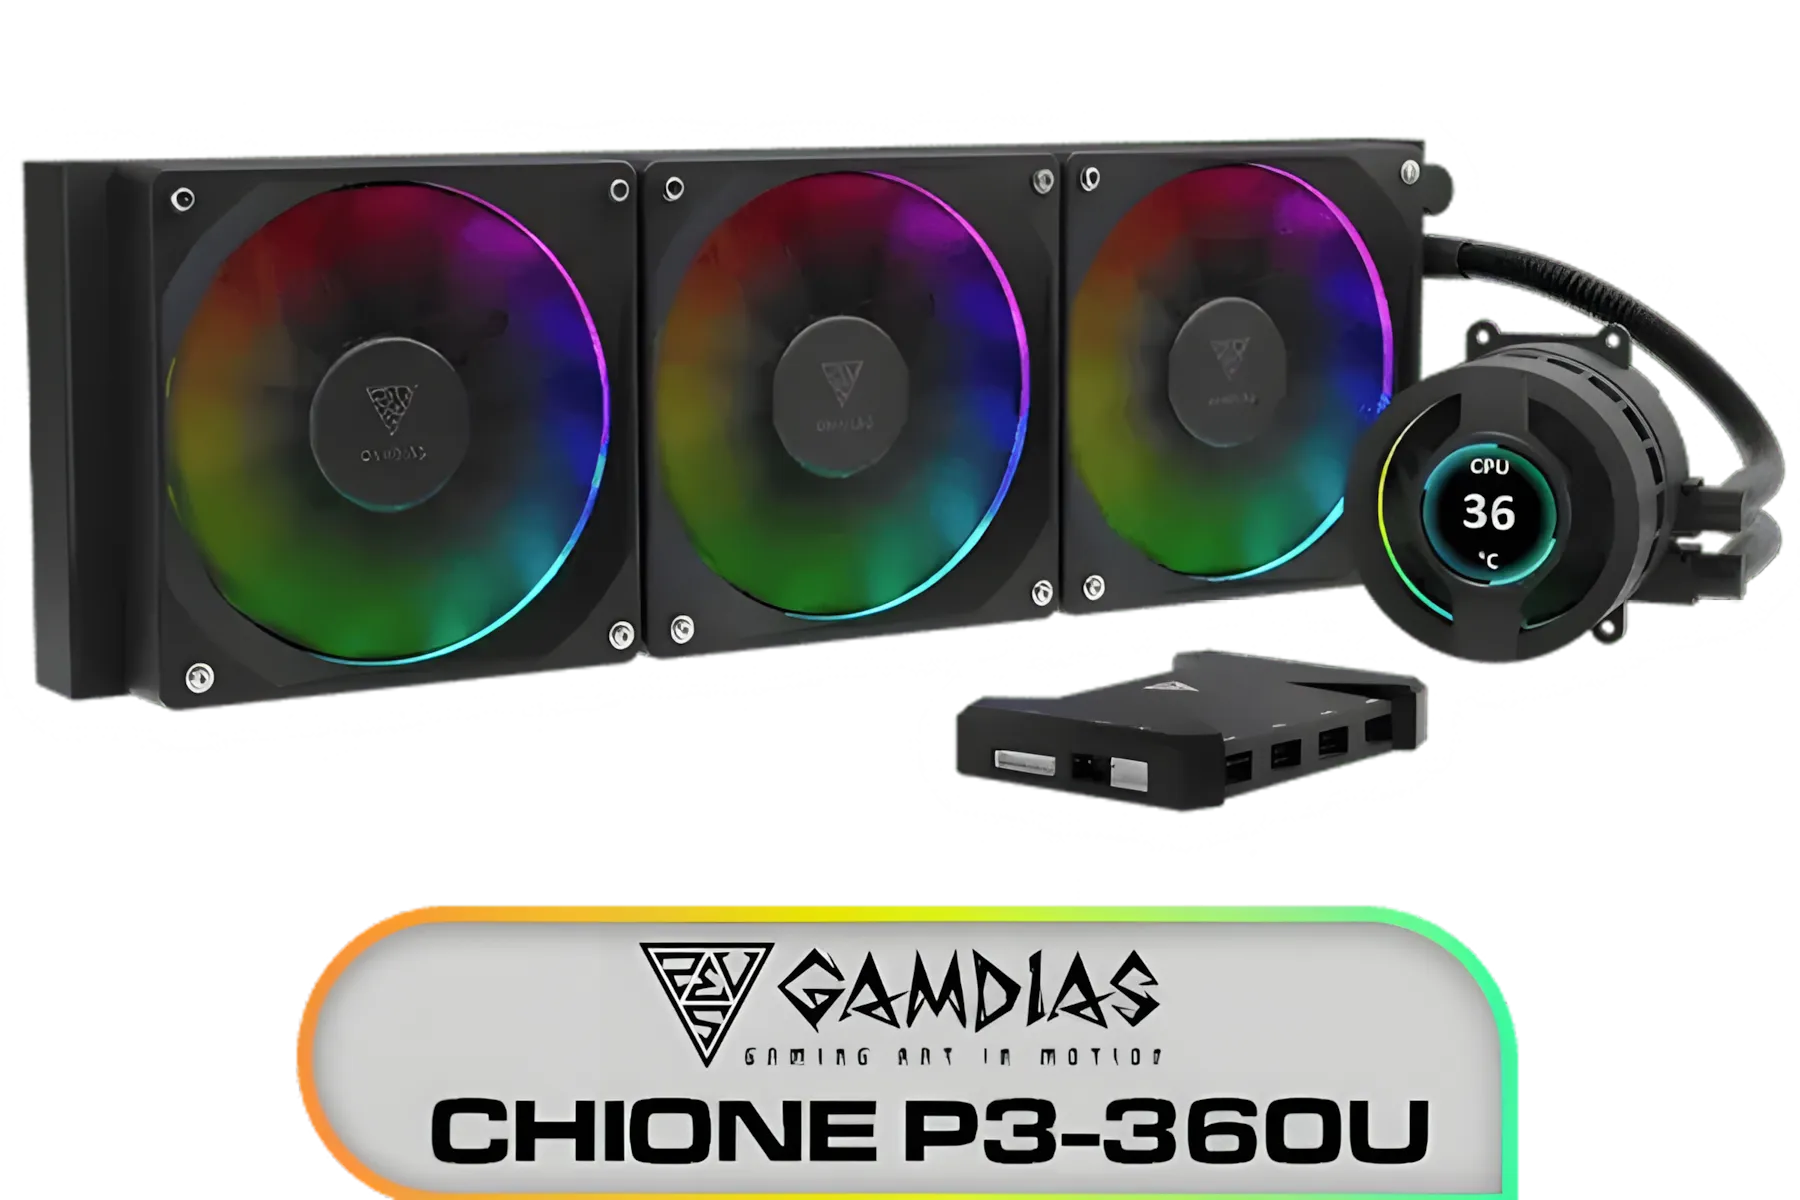
Gamdias CHIONE P3-360U All-in-One CPU Liquid Cooler / Personalized Lcd Display / Superior Radiator / Superior Airflow Performance / Premium Hydraulic Bearing / CHIONE-P3-360U
R999.00In Stock
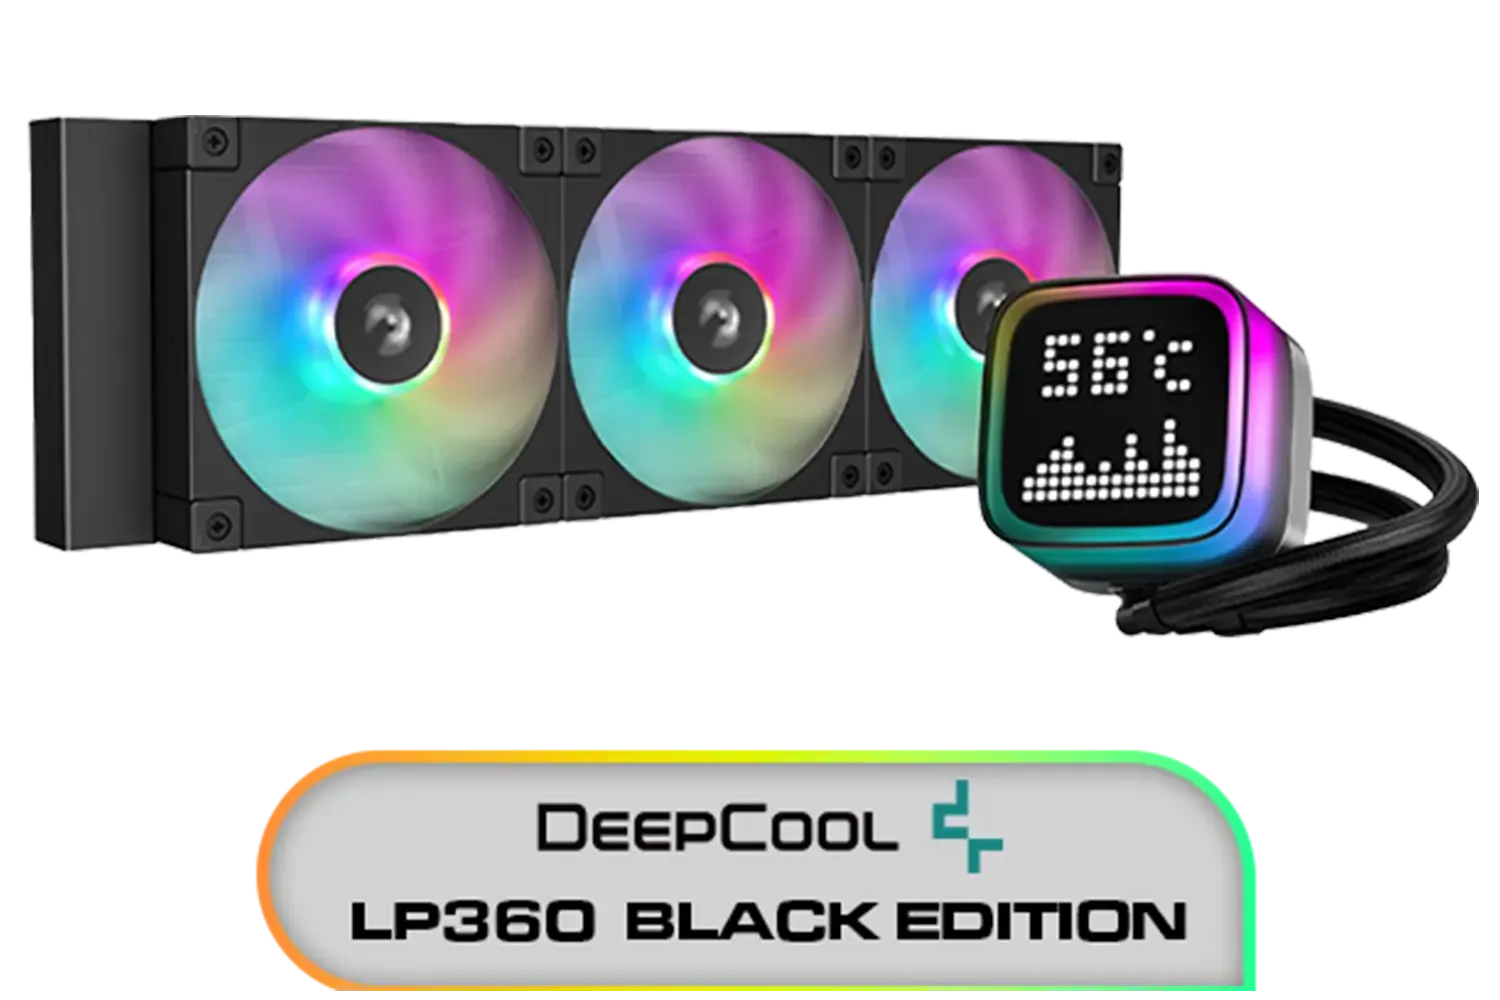
DeepCool LP360 Liquid Cooler - Black / 360mm Radiator / LED Digital Display / 3x ARGB Fans Included / Compatible with AMD & Intel / LP360
R2299.00In Stock
Step 2: Connect Your Cooler's ARGB Cable
Take the 3-pin ARGB cable from your CPU cooler and carefully plug it into the header you just found. The connector is keyed, so it should only fit one way—don't force it. Ensure it's seated firmly. For many popular AIO liquid coolers, the ARGB cable might come from the pump block or a fan hub.
TIP FOR YOU
Cable Management Pro Tip 🔧
the cable routing channels and tie-down points in your case to hide the ARGB cable. A clean build isn't just about synchronised lights; it's also about tidy wiring. This improves aesthetics and airflow, helping coolers like a beefy [360mm radiator AIO](https: www.evetech.co.za PC-Components cpu-coolers-84?attributes-coolertype=Liquid+Cooler+%28AIO%29&attributes-coolingsize=360mm+Radiator) perform at its best.
Step 3: Install Your Motherboard's Control Software
Once everything is connected, it’s time for the software part of this cooler lighting guide. Each major motherboard manufacturer has its own utility to control lighting. You'll need to download and install the correct one:
- ASUS: Armoury Crate (Aura Sync)
- MSI: MSI Center (Mystic Light)
- Gigabyte: GCC (RGB Fusion)
- ASRock: Polychrome Sync
These tools will automatically detect any compatible ARGB devices connected to your motherboard headers, including coolers from top brands like Deepcool and others.
Gamdias Chione E4-360 Liquid Cooler - White / Hydraulic PWM Fans / Dual Infinite Mirror / Real-time Digital Display / Patented PWM Pump / Motherboard Sync ARGB / CHIONE-E4-360-WH
R1999.00In Stock
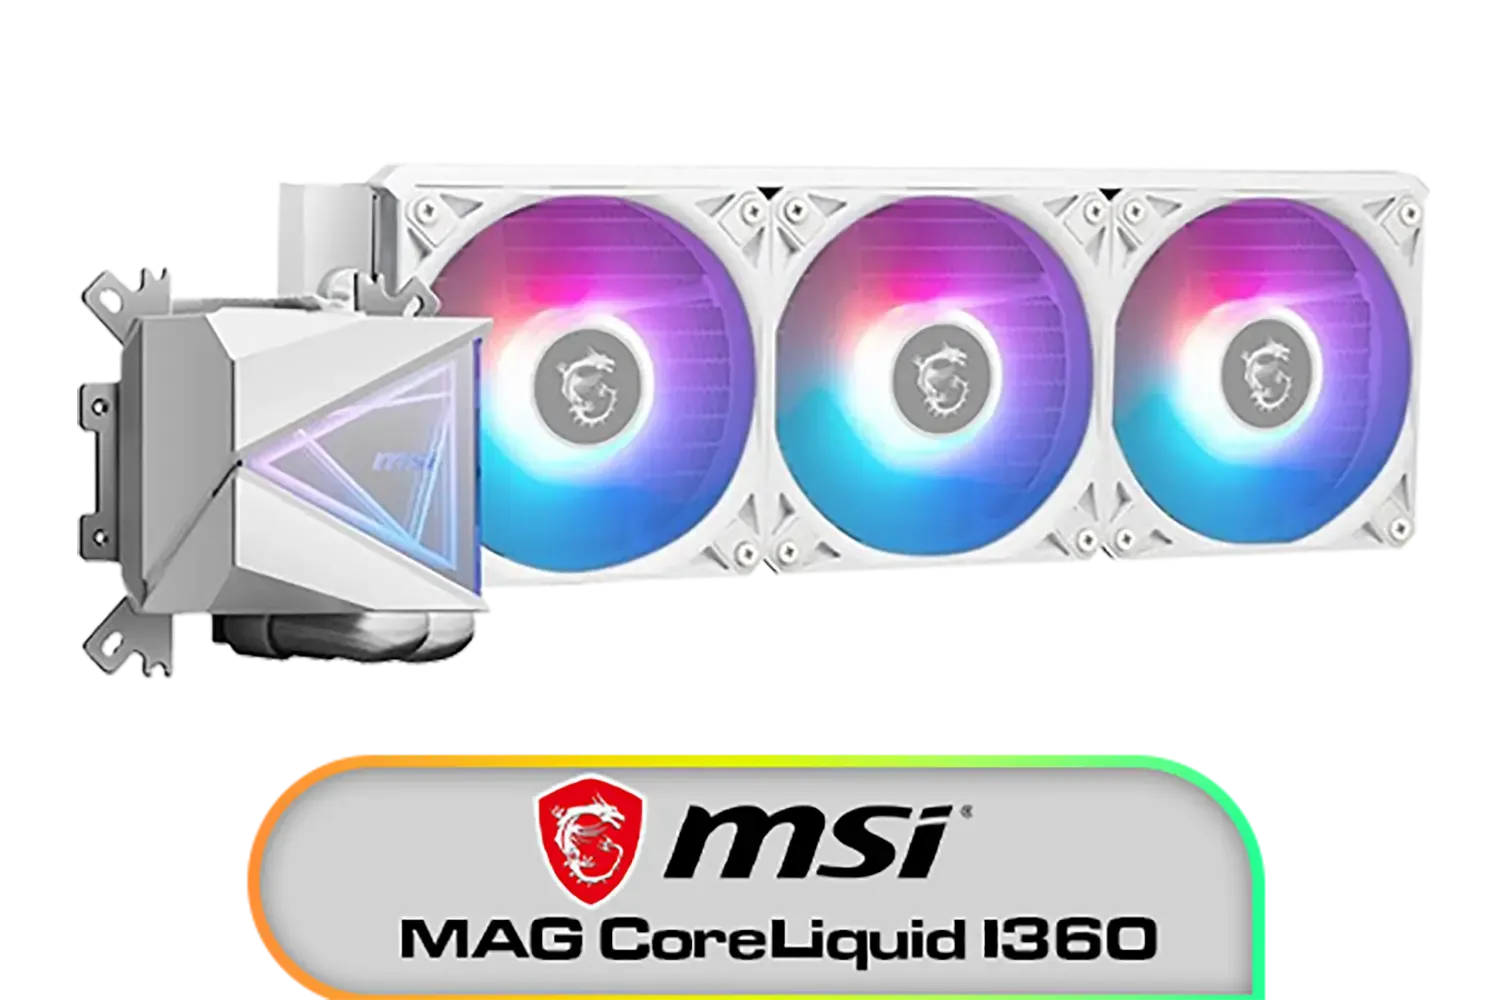
MSI MAG CoreLiquid I360 Liquid Cooler - White / LDB Bearing Quiet Fans / Dual-Sided Infinite Mirror Cooling / Flexible Nylon-Braided Cooling Tubes / Durable EPDM Anti-Evaporation Tubing / 306-7ZW8E21-C24
R2599.00In Stock
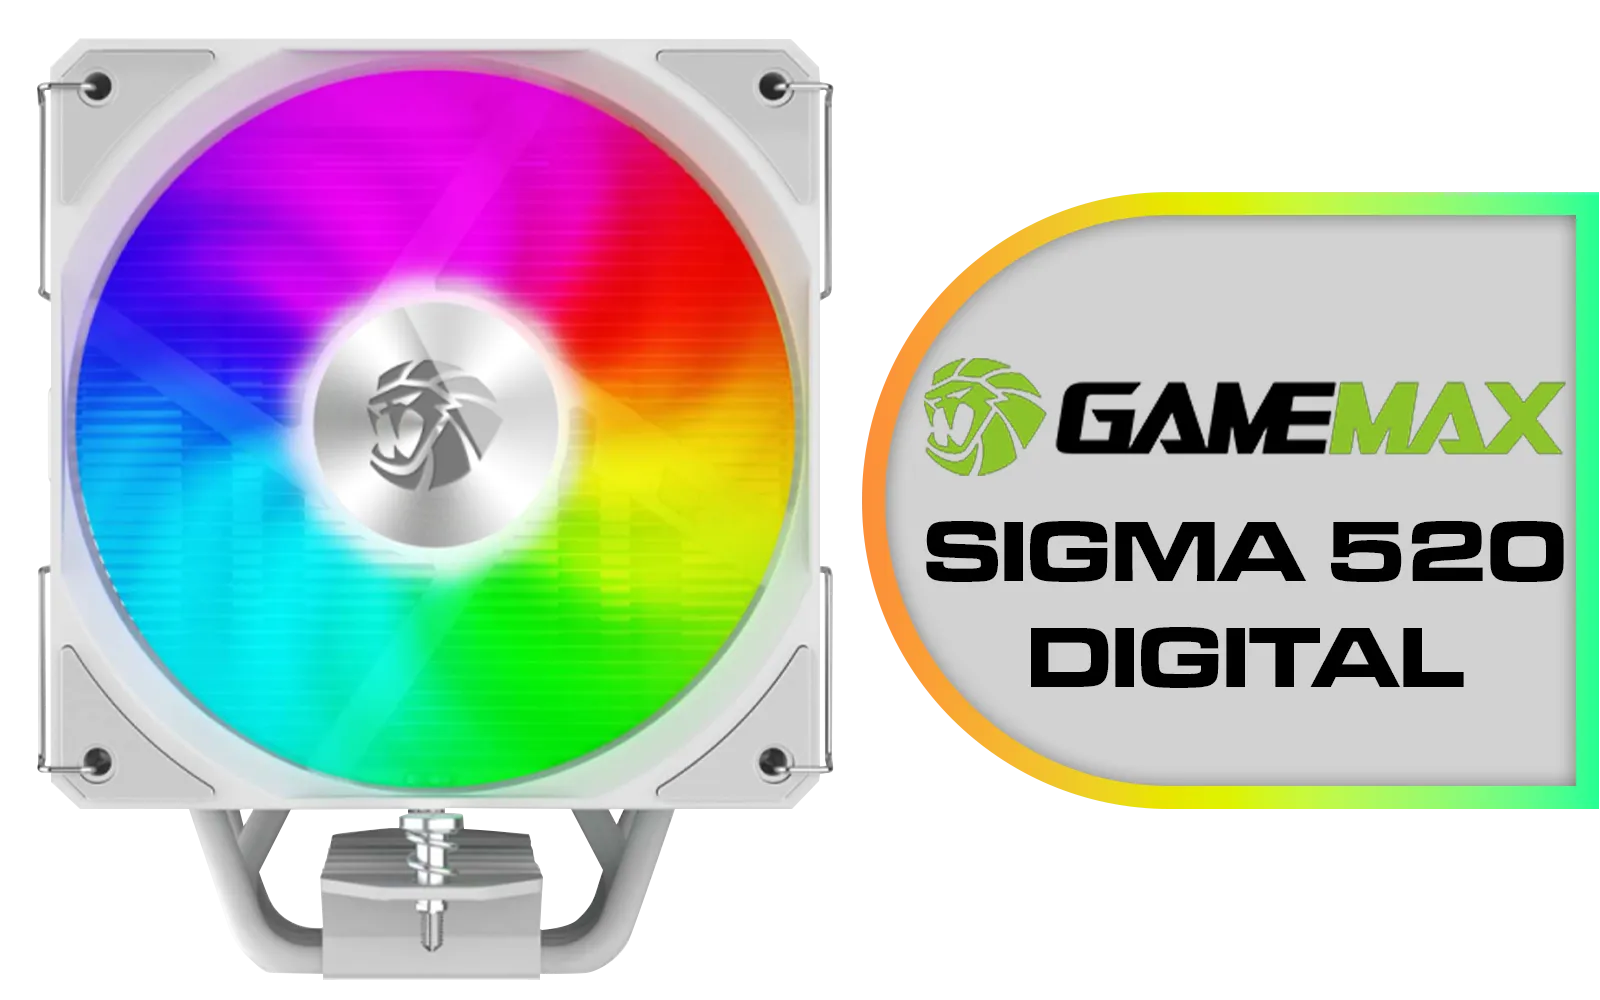
Gamemax Sigma 520 Digital Air Cooler - White / 220W Maximum Thermal Power / 74.8CFM High Airflow / Supports Intel Gen12, Gen13 & AMD CPUs / PWM Intelligent Temperature Control Fan / Sigma-520-Digital-WH
R699.00In Stock

Gamemax Sigma 520 Digital Air Cooler - Black / 220W Maximum Thermal Power / 74.8CFM High Airflow / Supports Intel Gen12, Gen13 & AMD CPUs / PWM Intelligent Temperature Control Fan / Sigm-520-Digital-BK
R599.00In Stock
Xigmatek FROZR-O II Arctic 360 AIO Liquid Cooler - White / Digital LCD Pump Head / Support Latest Specifications AMD/Intel / Low Noise PWM Fan / ARGB Controller / 7 Different Modes / EN40450
R2299.00In Stock
Gamdias Chione E4-360 Liquid Cooler / Hydraulic PWM Fans / Dual Infinite Mirror / Real-time Digital Display / Patented PWM Pump / Motherboard Sync ARGB / CHIONE-E4-360
R1899.00In Stock
Step 4: Configure and Customise Your Lights 🚀
Launch the software and navigate to the lighting control section. You should see your CPU cooler listed as a controllable device. From here, the fun begins! You can now sync your ARGB with the motherboard software, choosing from dozens of preset effects or creating your own custom colour schemes. Match your lighting to your game, your mood, or your peripherals.
Some ecosystems, like those from CORSAIR, often use their own controllers and software (iCUE), but many of their newer products also include adapters for standard motherboard ARGB control, giving you the best of both worlds. Whether you have a compact 240mm radiator AIO or a massive custom loop, getting the lighting right is the final touch that makes a build truly yours.
Ready to Light Up Your Rig? A cool CPU is a happy CPU... and a beautifully lit one is even better. From silent air towers to high-performance liquid coolers, we have the perfect solution to keep your temps low and your style on point. Explore our massive range of CPU coolers and find the perfect heart for your build.
Related Products

Corsair iCUE Link Titan 240 RX RGB All-In-One 240mm Liquid CPU Cooler / Three high-performance RX120 RGB fans / Extreme cooling performance / Three high-performance RX120 RGB fans / CW-9061020-WW
R2999.00In Stock
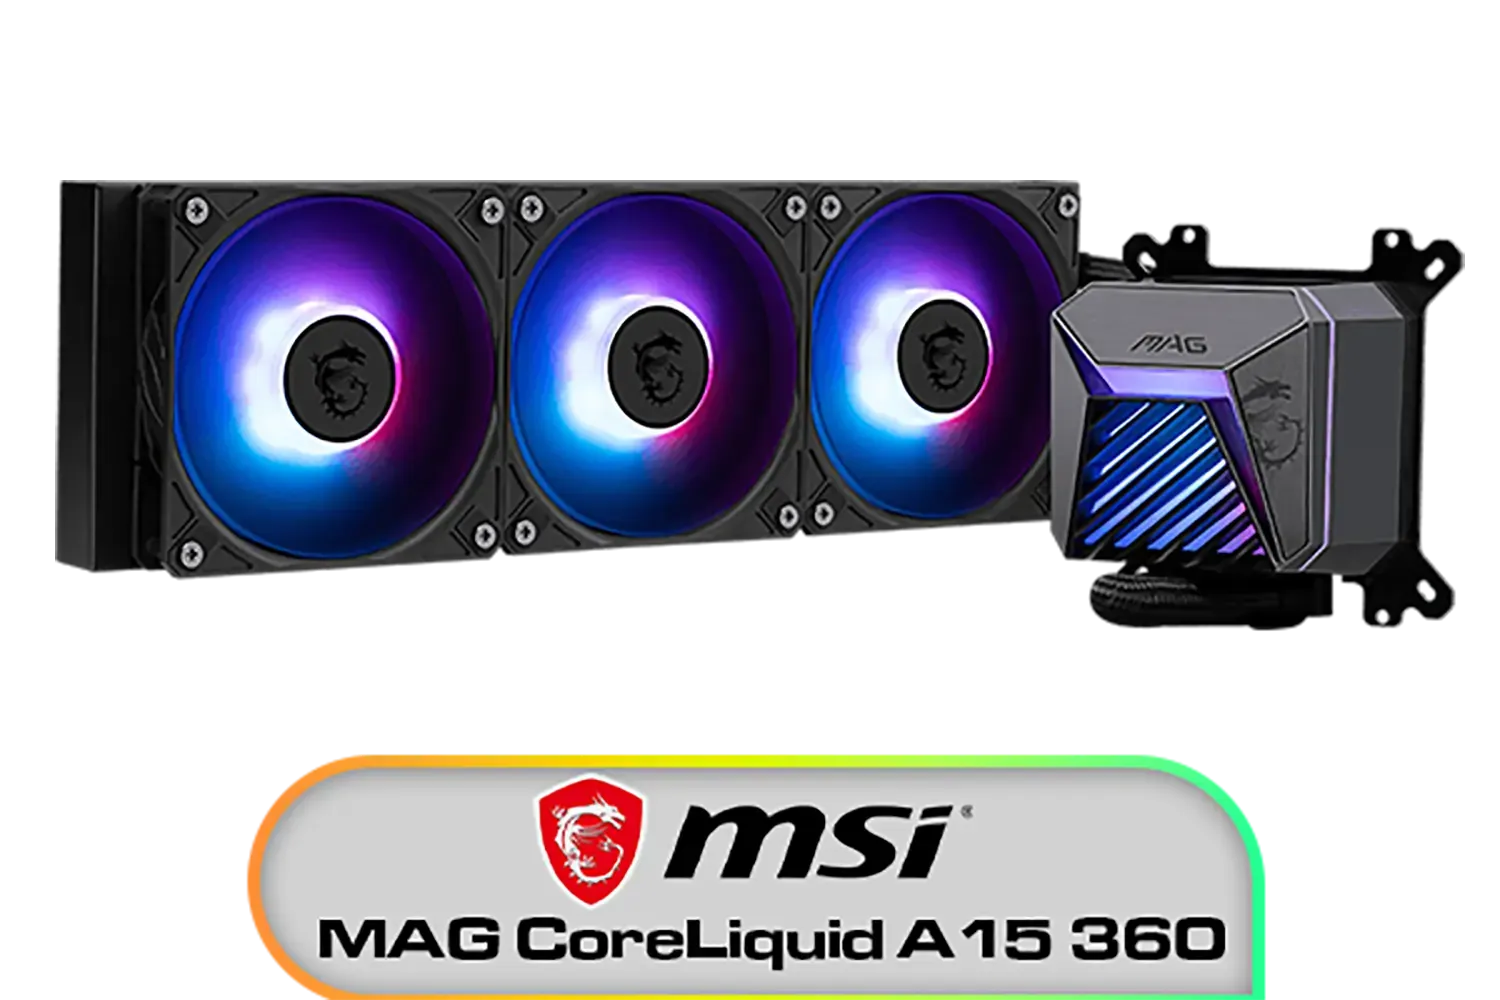
MSI MAG CoreLiquid A15 360 Liquid Cooler / CycloBlade Design / AI-Optimized Cooling / ARGB GEN2 Lighting / Easy UNI Bracket Installation / 306-7ZW9A11-L80
R1999.00In Stock
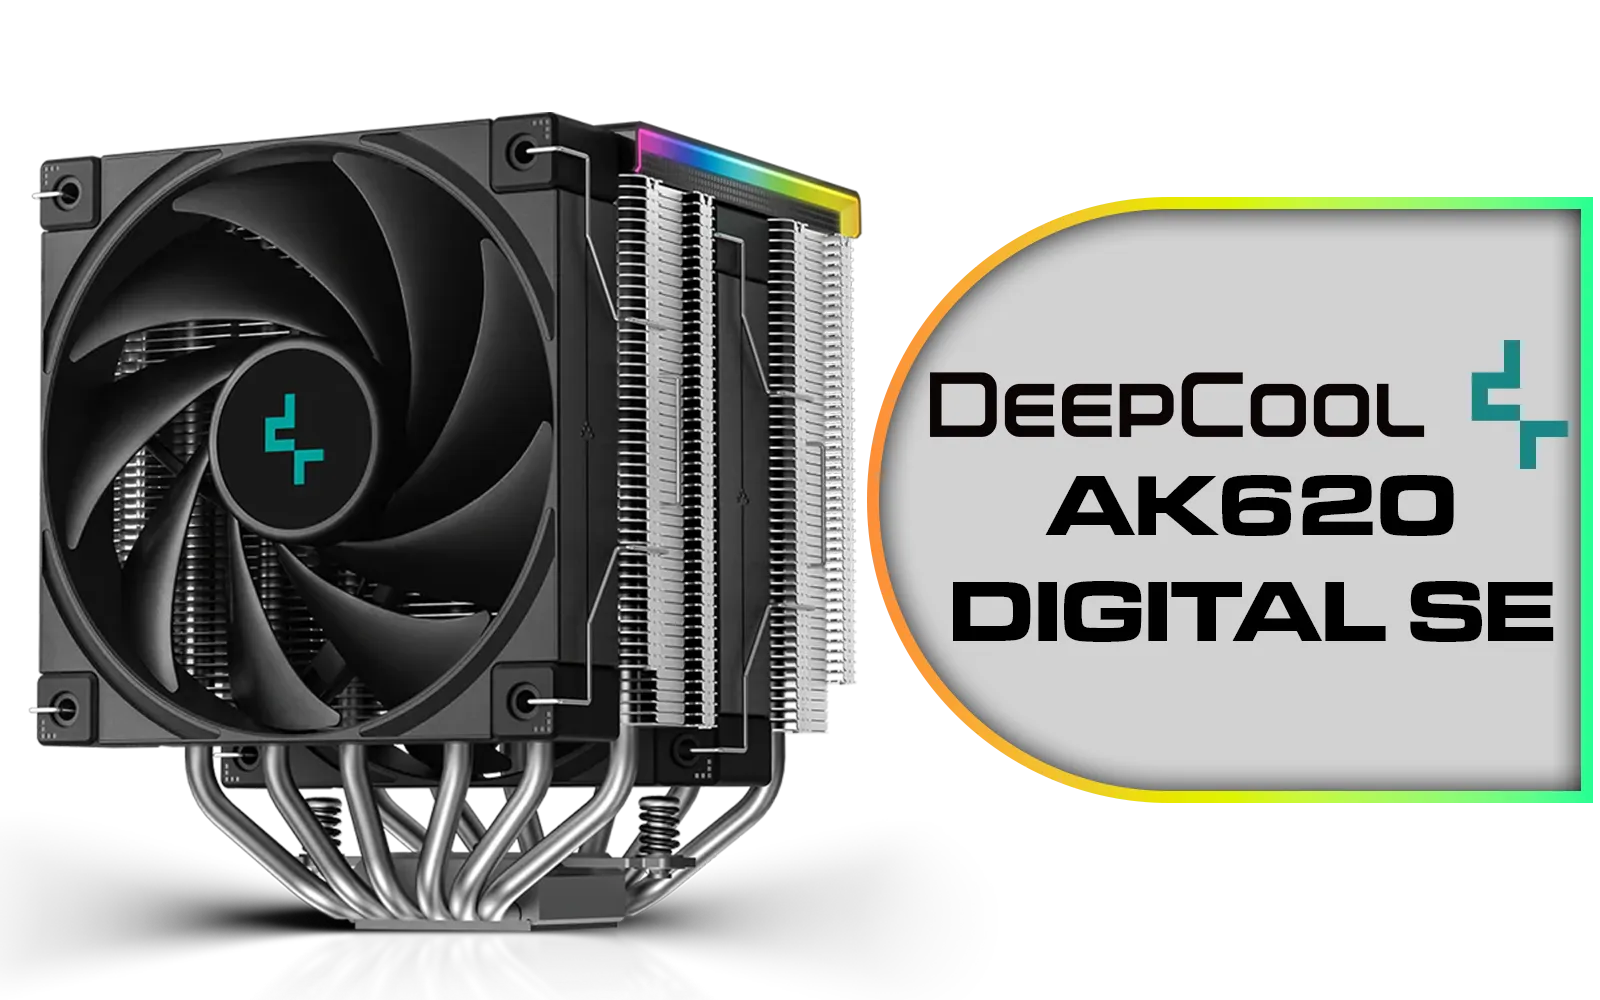
Deepcool AK620 DIGITAL SE CPU Cooler - Black / Digital Air Cooler / Low-Profile Magnetic Status Display / ARGB LED Strips / 68.99 CFM Fan Airflow / Supports LGA 1851, 1700, 1200, 1151, 1150, 1155, AM5, AM4 / AK620-DIGITAL-SE
R999.00In Stock
DeepCool LP360 Liquid Cooler - Black / 360mm Radiator / LED Digital Display / 3x ARGB Fans Included / Compatible with AMD & Intel / LP360
R2299.00In Stock
Gamdias Chione E4-360 Liquid Cooler / Hydraulic PWM Fans / Dual Infinite Mirror / Real-time Digital Display / Patented PWM Pump / Motherboard Sync ARGB / CHIONE-E4-360
R1899.00In Stock

MSI MPG CORELIQUID K240 V2 AIO CPU Liquid Cooler - LCD Pump with 60mm Fan, 2 x 120mm ARGB Fans, GI Cooling & Mystic Light Software Support - AMD & Intel Socket Compatible / 9S6-6A0311-038
R3199.00In Stock
Plug the 3-pin 5V ARGB into the 5V header, open Aura Sync, Mystic Light, RGB Fusion, or Polychrome, detect the device, then choose an addressable effect.
No. 12V 4-pin RGB is not addressable. Use the 5V 3-pin ARGB header or an ARGB hub on 5V to sync effects correctly.
Ensure the plug is on 5V, not 12V RGB; match the arrow to 5V; update Armoury Crate; re-scan for Addressable Header in Aura Sync.
Yes, if you lack headers. Use an ARGB hub, power it by SATA, connect fans, then link the hub to a 5V ARGB header and control in Mystic Light or RGB Fusion.
If it uses 5V 3-pin ARGB, connect to JRAINBOW, install MSI Center, then enable Mystic Light. 12V RGB-only AIOs won’t show addressable effects.
Power down, align the arrow on the 3-pin plug with the 5V pin on the header or hub, reseat firmly, then retest in Polychrome or Aura Sync.
Yes, but they act separately. 12V RGB strips won’t do per-LED effects. Use separate ports in RGB Fusion 2.0 or a controller that supports both types.
PWM (4-pin) controls fan speed; ARGB (3-pin 5V) controls lighting. Connect PWM to CPU_FAN/SYS_FAN, and ARGB to a 5V header or ARGB hub.