AIO Cooler Maintenance: A Beginner's Guide
AIO cooler maintenance doesn’t have to be hard. Learn how to clean your radiator, tune fan curves, refresh thermal paste, and spot pump issues to keep temps low and noise down—perfect for first-time builders. 🧰💧

That slick All-In-One (AIO) liquid cooler in your rig looks incredible, but is it still keeping your CPU frosty under pressure? Proper AIO cooler maintenance is simpler than you think and it’s the key to unlocking consistent performance and protecting your investment. For South African gamers, where every degree counts during a marathon session, a few easy steps can prevent throttling and keep you in the game. Let's get your cooler running in top form. ⚡

Gamdias Chione E4-240 Liquid Cooler / Hydraulic PWM Fans / Dual Infinite Mirror / Real-time Digital Display / Patented PWM Pump / Motherboard Sync ARGB / CHIONE-E4-240
R1599.00In Stock

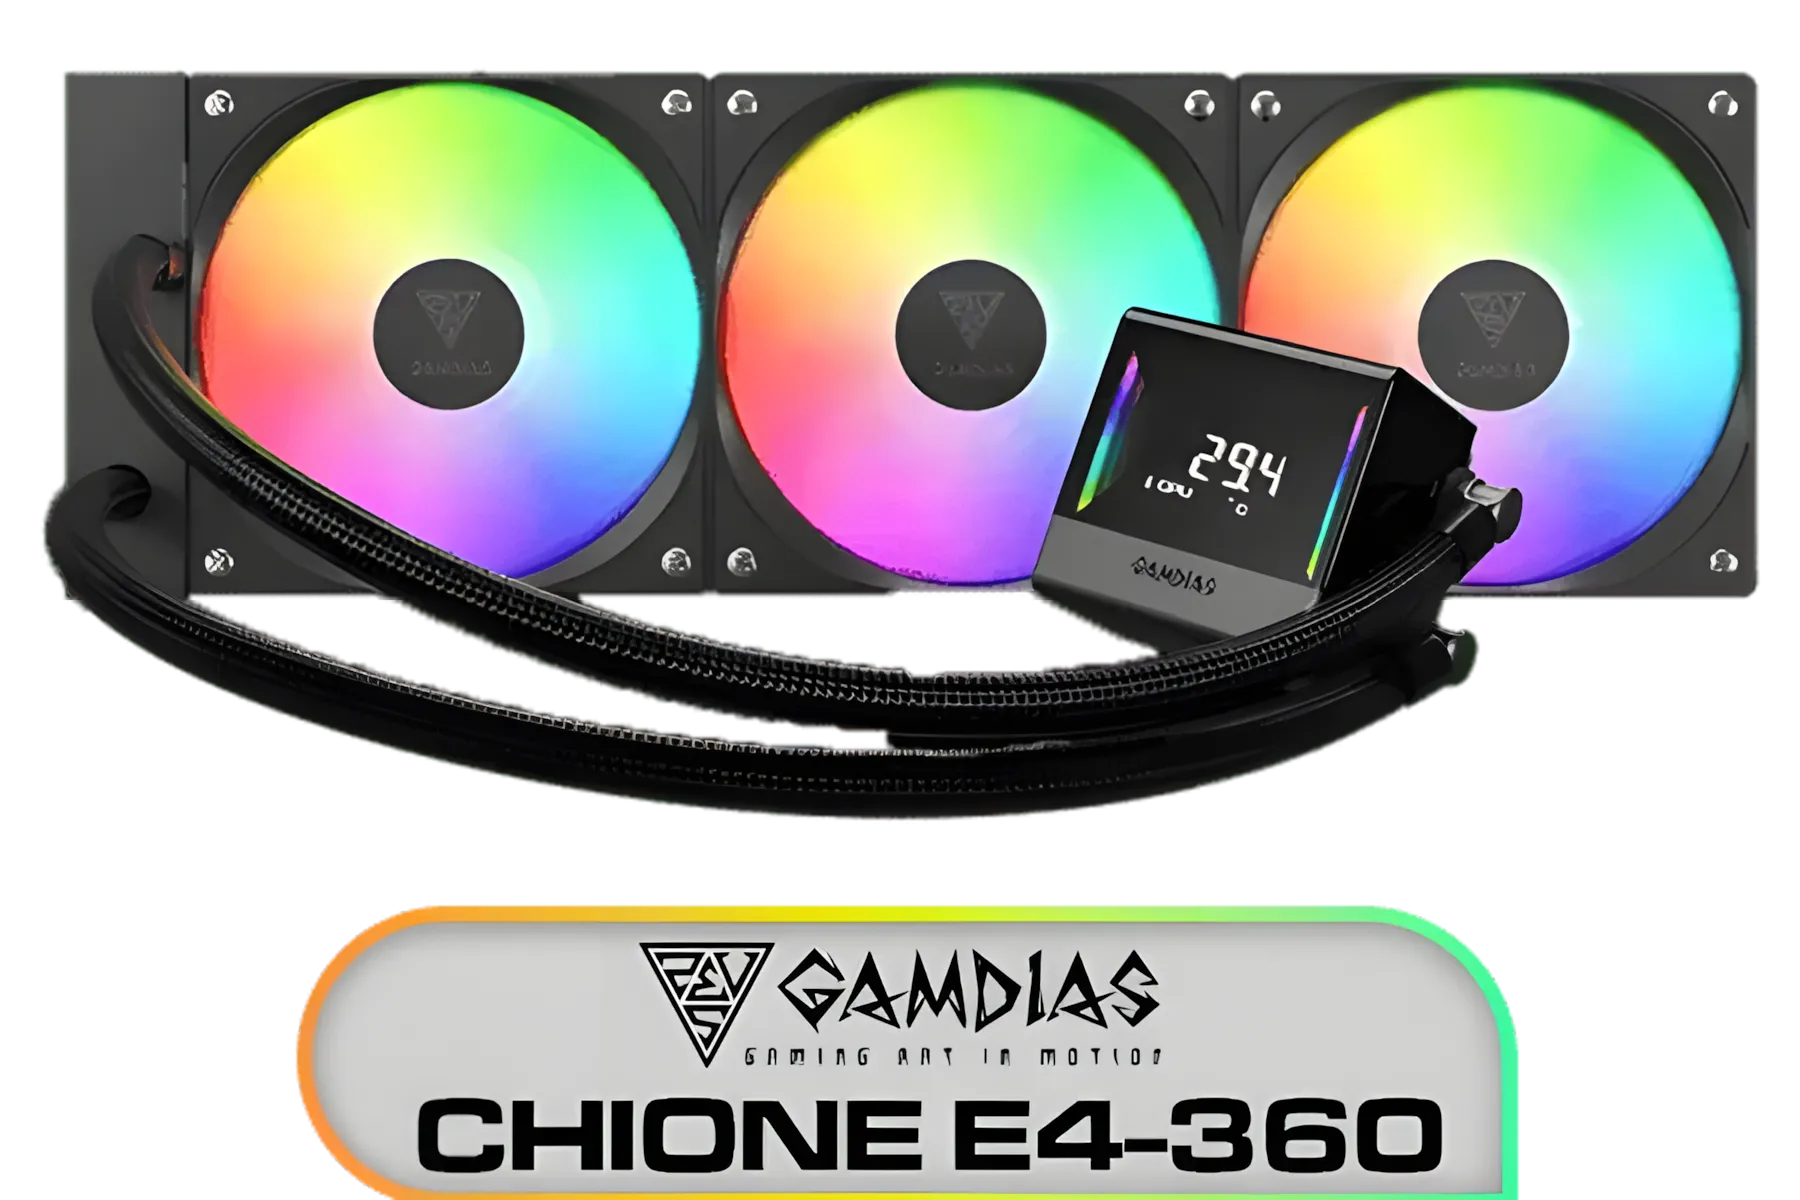
Gamdias Chione E4-360 Liquid Cooler - White / Hydraulic PWM Fans / Dual Infinite Mirror / Real-time Digital Display / Patented PWM Pump / Motherboard Sync ARGB / CHIONE-E4-360-WH
R1999.00In Stock

MSI MPG CORELIQUID K240 V2 AIO CPU Liquid Cooler - LCD Pump with 60mm Fan, 2 x 120mm ARGB Fans, GI Cooling & Mystic Light Software Support - AMD & Intel Socket Compatible / 9S6-6A0311-038
R3199.00In Stock

Corsair iCUE Link Titan 360 RX RGB All-In-One 360mm Liquid CPU Cooler / Three high-performance RX120 RGB fans / Extreme cooling performance / Three high-performance RX120 RGB fans / CW-9061021-WW
R3599.00In Stock
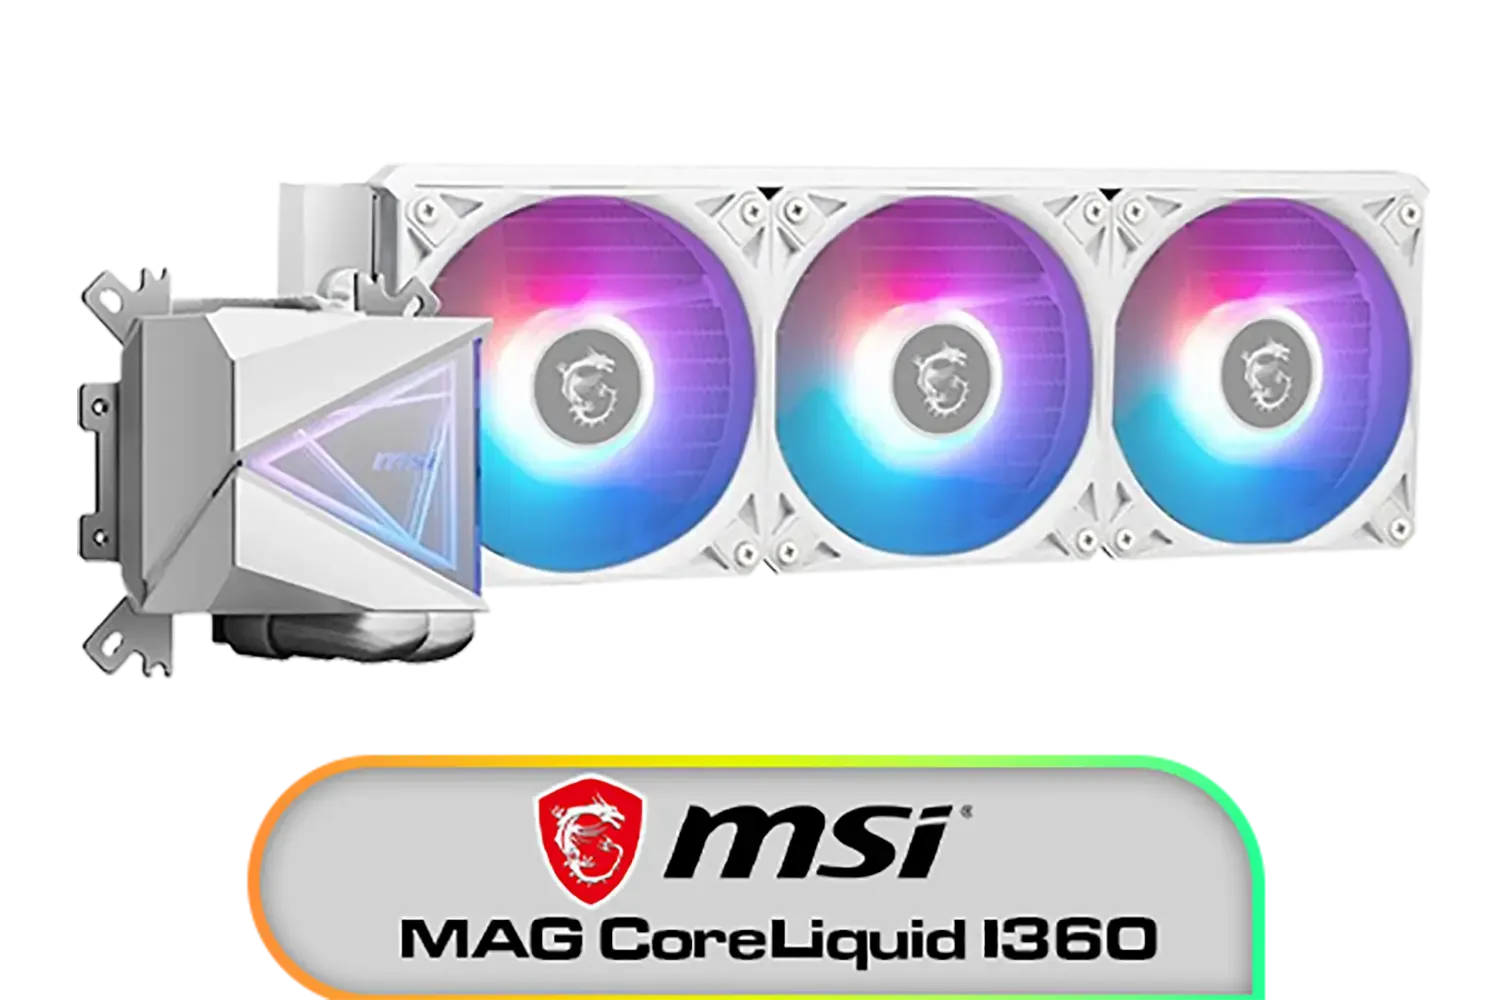
MSI MAG CoreLiquid I360 Liquid Cooler - White / LDB Bearing Quiet Fans / Dual-Sided Infinite Mirror Cooling / Flexible Nylon-Braided Cooling Tubes / Durable EPDM Anti-Evaporation Tubing / 306-7ZW8E21-C24
R2599.00In Stock
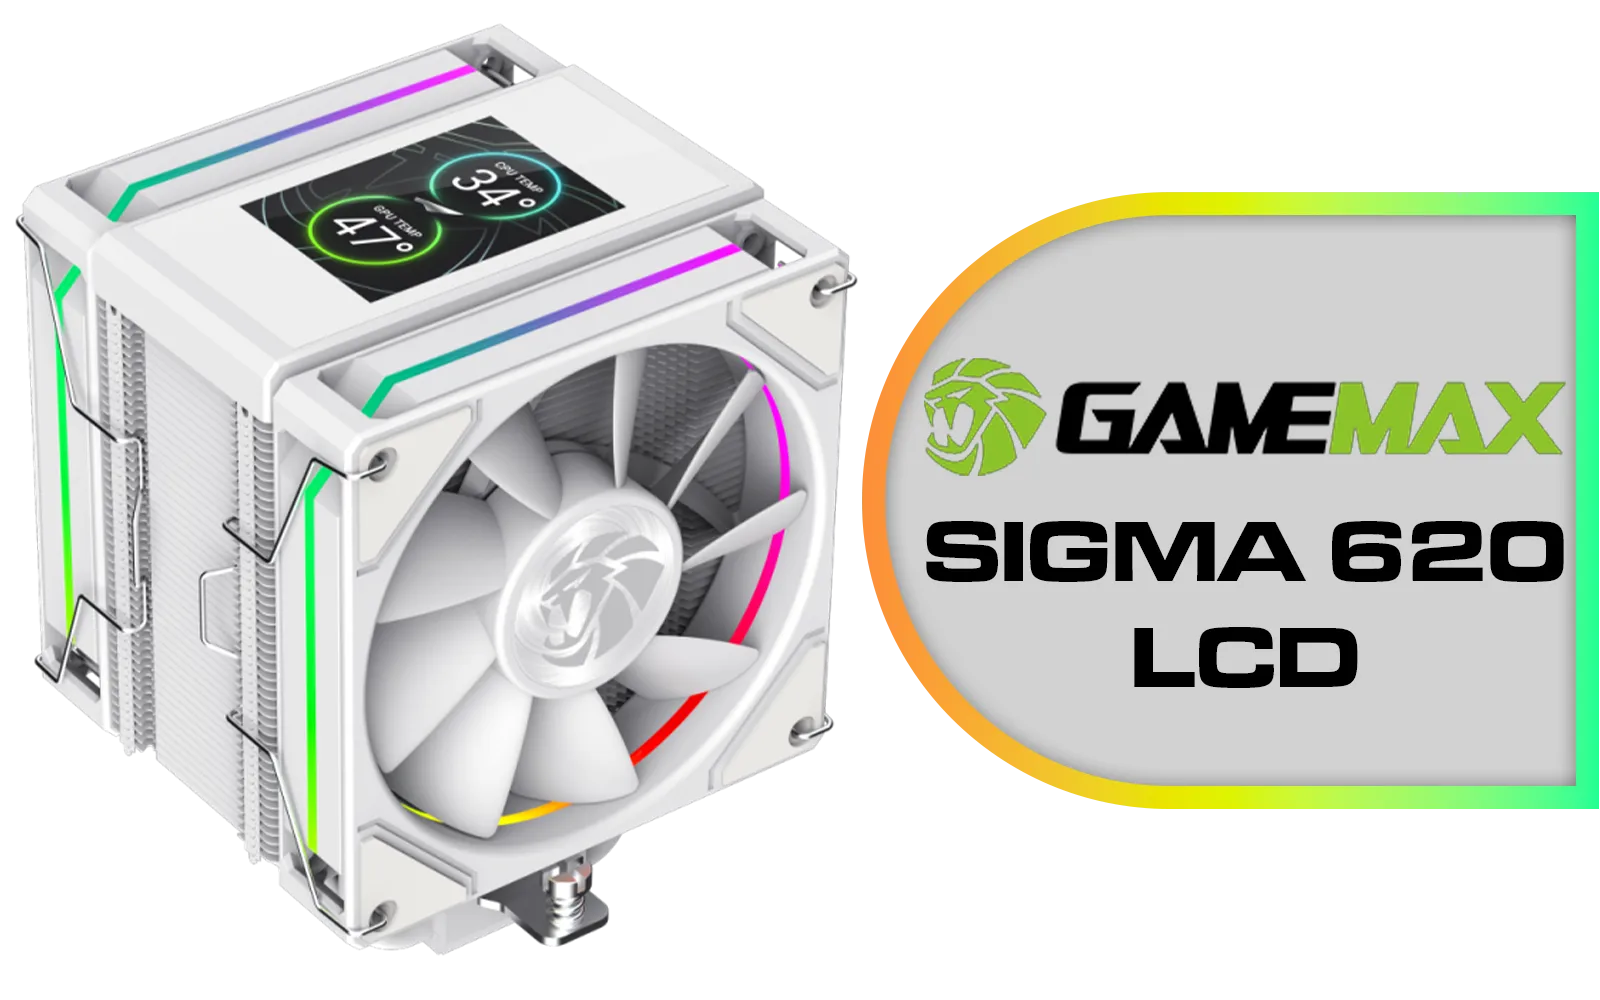
GameMax Sigma 620 LCD Air Cooler - White / 2.8" LCD for stats or images / Dual 120mm fans with 6 heatpipes / Supports up to 245W TDP / SIGMA-620-LCD-WH
R1299.00In Stock
Why AIO Cooler Maintenance is Non-Negotiable
An AIO cooler is a fantastic piece of kit. It uses liquid to move heat from your CPU to a radiator, where fans dissipate it. It’s more effective and often quieter than a traditional air cooler. But like any high-performance part in your PC, it needs a little TLC to perform at its best.
Over time, dust can clog the radiator fins, choking airflow and causing temperatures to creep up. This forces your fans to spin faster (hello, noise!) and can even lead to your CPU throttling—automatically reducing its speed to avoid overheating. Simple AIO maintenance ensures your system runs cool, quiet, and at the peak performance you paid for. It's a fundamental part of caring for all modern CPU coolers.
Your Easy AIO Maintenance Checklist 🔧
Forget complicated procedures. Caring for your AIO cooler boils down to a few basic, regular checks. You don't need to be a pro builder to handle this.
Step 1: Banish the Dust
Dust is the number one enemy of performance. A clogged radiator can't breathe, simple as that.
- How often? Every 3-6 months, or more if you live in a dusty area or have pets.
- How to do it? Power down and unplug your PC. Use a can of compressed air to blow dust out of the radiator fins. Hold the fans still with a finger so they don't spin too fast. A soft brush can help with any stubborn buildup. This simple clean applies to almost all AIO liquid coolers.
Step 2: Inspect Tubing and Fittings
Leaks are incredibly rare on modern, high-quality AIOs, but a quick visual check costs nothing and provides peace of mind.
- How often? Once a month, just take a quick peek inside your case.
- What to look for? Check the points where the tubes connect to the CPU block and the radiator. Look for any signs of moisture or residue. Gently feel the tubes; they should be flexible, not hard or brittle. Investing in top-tier brands like CORSAIR gives you robust tubing and fittings from the start.
Gamdias Chione E4-240 Liquid Cooler / Hydraulic PWM Fans / Dual Infinite Mirror / Real-time Digital Display / Patented PWM Pump / Motherboard Sync ARGB / CHIONE-E4-240
R1599.00In Stock

Cooler Master MasterLiquid 360 Ion ARGB Close-Loop AIO Liquid Cooler / Customize Pump / 2.1-Inch Customizable LCD Screen / 360mm Radiator / AMD Ryzen AM5/AM4 / Intel LGA1851/1700/1200 / MLY-D36M-A24PZ-R1
R5699.00In Stock
GameMax Sigma 620 LCD Air Cooler - White / 2.8" LCD for stats or images / Dual 120mm fans with 6 heatpipes / Supports up to 245W TDP / SIGMA-620-LCD-WH
R1299.00In Stock
Gamdias Chione E4-360 Liquid Cooler / Hydraulic PWM Fans / Dual Infinite Mirror / Real-time Digital Display / Patented PWM Pump / Motherboard Sync ARGB / CHIONE-E4-360
R1899.00In Stock

Fracta Design Celsius+ S28 Prisma 280MM Water Cooling Unit, Black, 2AL-14 PWM ARGB Fan / FD-W-2-S2802
R2599.00In Stock

EK 280mm AIO D-RGB All-in-One CPU Liquid Cooler / Water Cooling Computer Parts / 140mm Fan / EK-Vardar High-Performance PMW Fans / Outstanding Thermal Conductivity / Support - Intel 115X/1200/2066, AMD AM4 / EK-AIO-280-D-RGB
R2699.00In Stock
Step 3: Listen to Your Pump
The pump is the heart of your AIO. A healthy pump is usually very quiet, emitting just a faint hum.
- How often? Just be mindful of new or strange noises coming from your PC.
- What to listen for? Any gurgling, grinding, or repetitive clicking sounds from the CPU block area could signal a problem. Gurgling often means an air bubble is trapped, while grinding could indicate a failing pump. This is why it's crucial to buy from reputable manufacturers, as quality models from brands like Deepcool are built with reliable pumps designed for longevity.
TIP FOR YOU
Installation Pro Tip ✨
To minimise pump noise and improve longevity, try to mount your radiator higher than the CPU pump block. If you're top-mounting the radiator, you're golden. If you're front-mounting it, position it with the tubes at the bottom. This helps ensure any tiny air bubbles in the loop get trapped at the top of the radiator, away from the pump impeller.
AIO Maintenance FAQs: What Every PC Builder Should Know
Still have questions? Here are quick answers to the most common queries about AIO cooler maintenance.
Do I ever need to refill my AIO?
Absolutely not. AIO coolers are sealed, closed-loop systems. They are pre-filled with a specific coolant mixture and are not designed to be opened or refilled. Attempting to do so will void your warranty and likely damage the unit.
How often should I replace the thermal paste?
This isn't strictly AIO maintenance, but it's related. The thermal paste between your CPU and the cooler's cold plate should be replaced every 2-4 years, or anytime you remove the cooler from the CPU. Fresh paste ensures optimal heat transfer. Whether you have one of the larger 360mm radiator AIOs or more compact models, this rule applies.
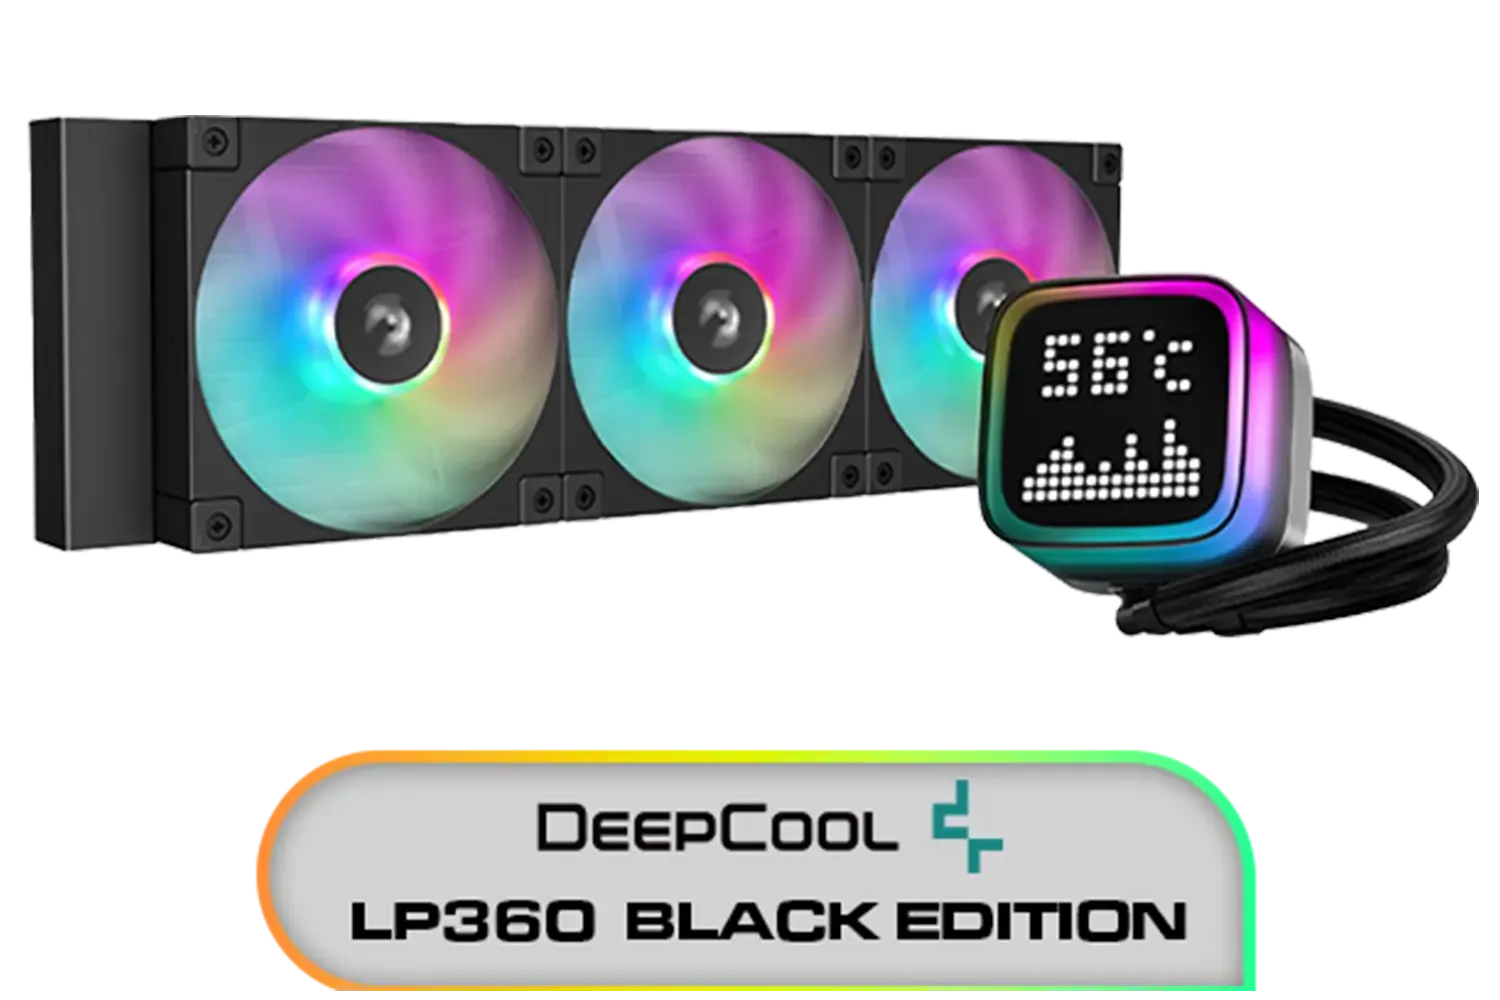
DeepCool LP360 Liquid Cooler - Black / 360mm Radiator / LED Digital Display / 3x ARGB Fans Included / Compatible with AMD & Intel / LP360
R2299.00In Stock
EK 280mm AIO D-RGB All-in-One CPU Liquid Cooler / Water Cooling Computer Parts / 140mm Fan / EK-Vardar High-Performance PMW Fans / Outstanding Thermal Conductivity / Support - Intel 115X/1200/2066, AMD AM4 / EK-AIO-280-D-RGB
R2699.00In Stock
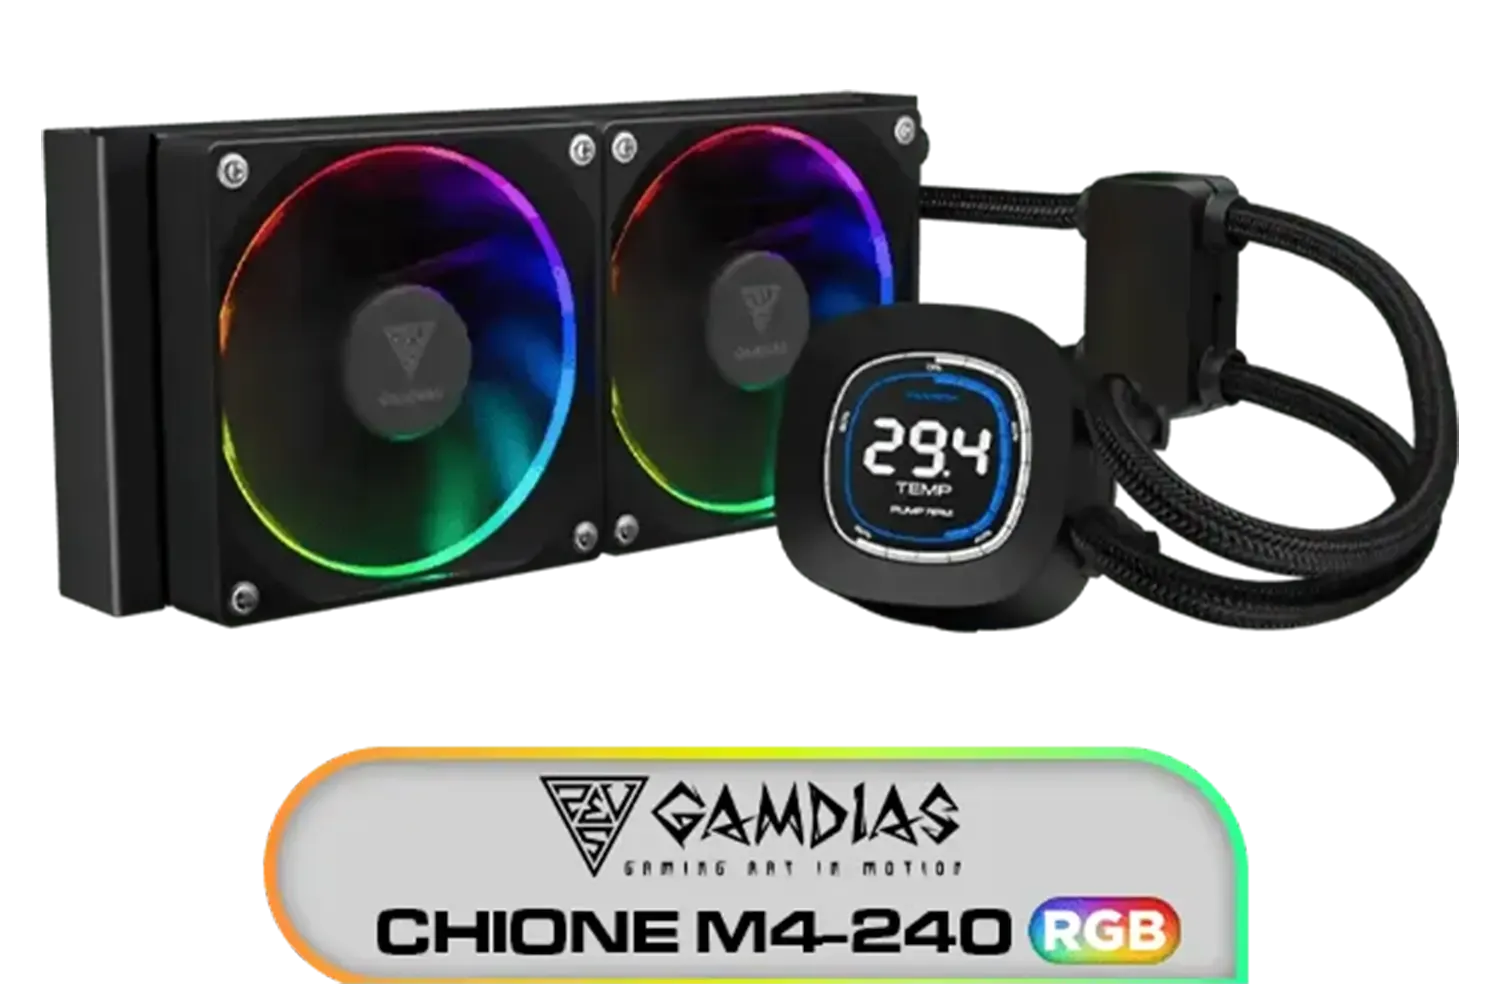
Gamdias CHIONE M4-240 CPU Liquid Cooler, 2X 120mm ARGB PWM Fans, RGB Sync with motherboards, Rotatable 2.1" LCD Displays / CHIONE-M4-240
R799.00In Stock
MSI MAG CoreLiquid I360 Liquid Cooler - White / LDB Bearing Quiet Fans / Dual-Sided Infinite Mirror Cooling / Flexible Nylon-Braided Cooling Tubes / Durable EPDM Anti-Evaporation Tubing / 306-7ZW8E21-C24
R2599.00In Stock

Cooler Master Hyper 212 Pro CPU Air Cooler / SickleFlow Edge 120 PWM Fan / Optimized Cooling for R9 | U7 | i7 / RR-212S-25PZ-R1
R799.00In Stock

CORSAIR iCUE Link H100i RGB Liquid CPU Cooler - Black / 240mm AIO / QX120 RGB Fans / Fits Intel® LGA 1700, AMD® AM5 / iCUE Link System Hub Included / CW-9061001-WW
R3599.00In Stock
My temps are still high after cleaning. What's next?
If a thorough dusting doesn't lower your temperatures, it could be an ageing pump or, over many years, liquid permeation (a tiny, gradual loss of coolant through the tubing). This is normal after 5+ years of heavy use. At this point, it's often more practical and safer to consider a replacement, especially with how efficient and affordable many of today's popular 240mm AIO coolers have become.
Ready for an Upgrade? Proper AIO cooler maintenance keeps your PC running smoothly, but sometimes an upgrade is the best way to drop temperatures and boost performance. Whether you're building a new rig or replacing an old cooler, we've got the perfect fit. Explore our massive range of CPU coolers and find the perfect AIO to keep your system frosty.
Related Products

DeepCool LS520S Zero Dark All In One Liquid CPU Cooler, 240mm Radiator, 2 x 120mm Deepcool Fans, Intel/AMD / LS520S-Zero-Dark
R1599.00In Stock
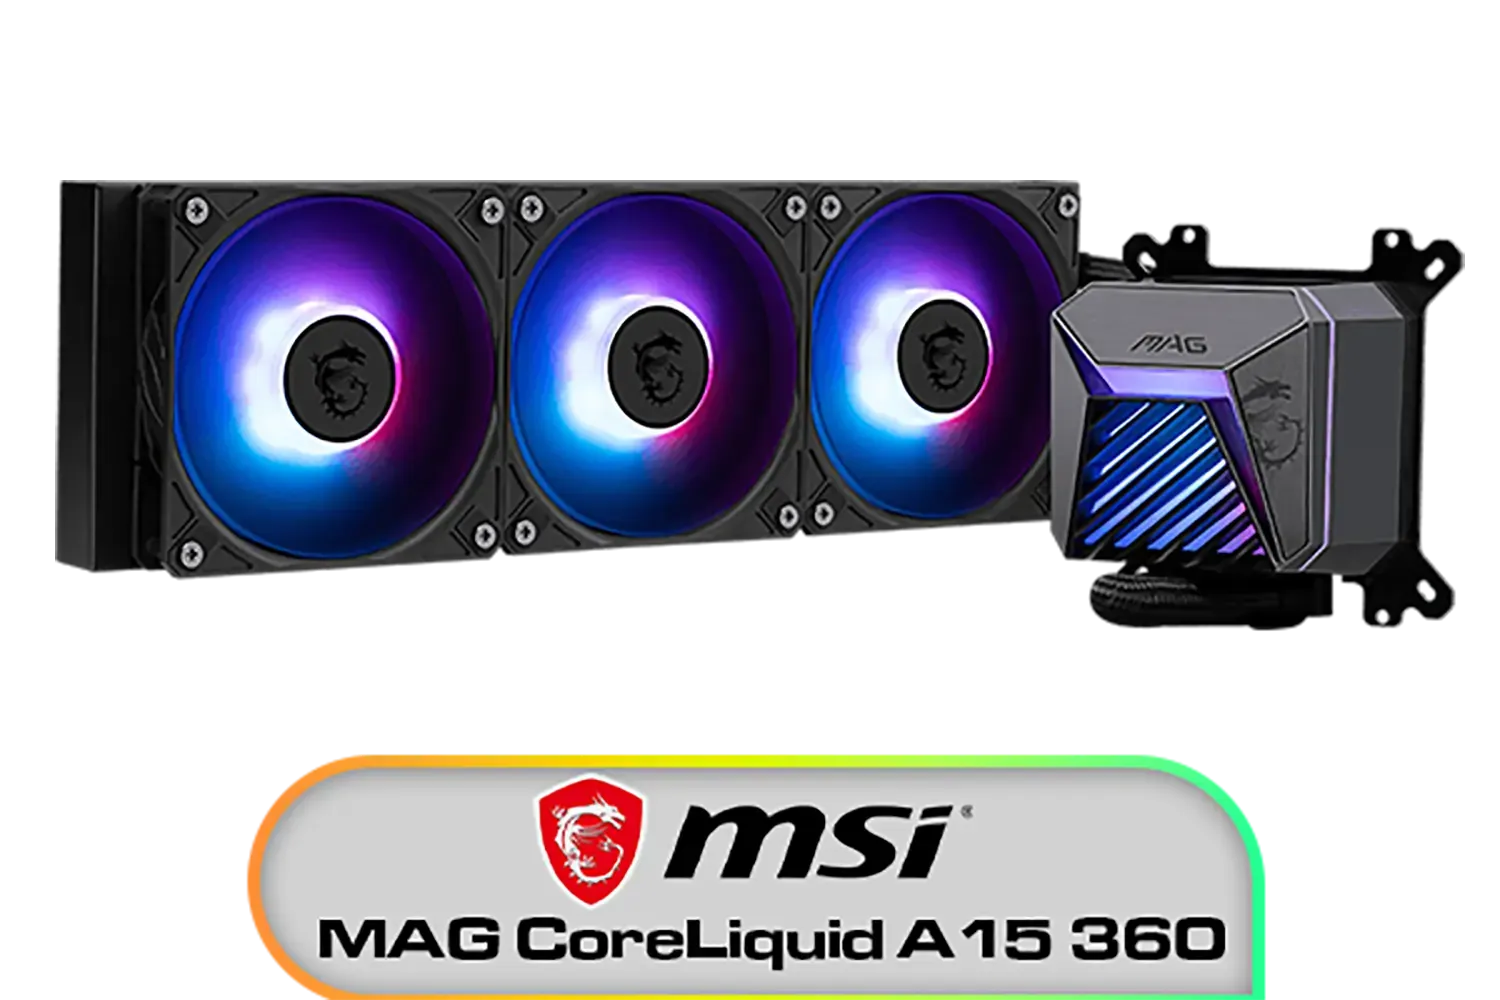
MSI MAG CoreLiquid A15 360 Liquid Cooler / CycloBlade Design / AI-Optimized Cooling / ARGB GEN2 Lighting / Easy UNI Bracket Installation / 306-7ZW9A11-L80
R1999.00In Stock

DeepCool Liquid Cooler LT720 WH 360mm 4th Gen Dual-Chamber Pump 3100RPM Multidimensional Infinity Mirror ARGB Block 300w TDP AIO Cooler Anti-Leak Tech CPU Water Cooler for AMD AM4/AM5 LGA 1700/1200 / LT720-WH
R2499.00In Stock

Corsair iCUE Link Titan 240 RX RGB All-In-One 240mm Liquid CPU Cooler / Three high-performance RX120 RGB fans / Extreme cooling performance / Three high-performance RX120 RGB fans / CW-9061020-WW
R2999.00In Stock
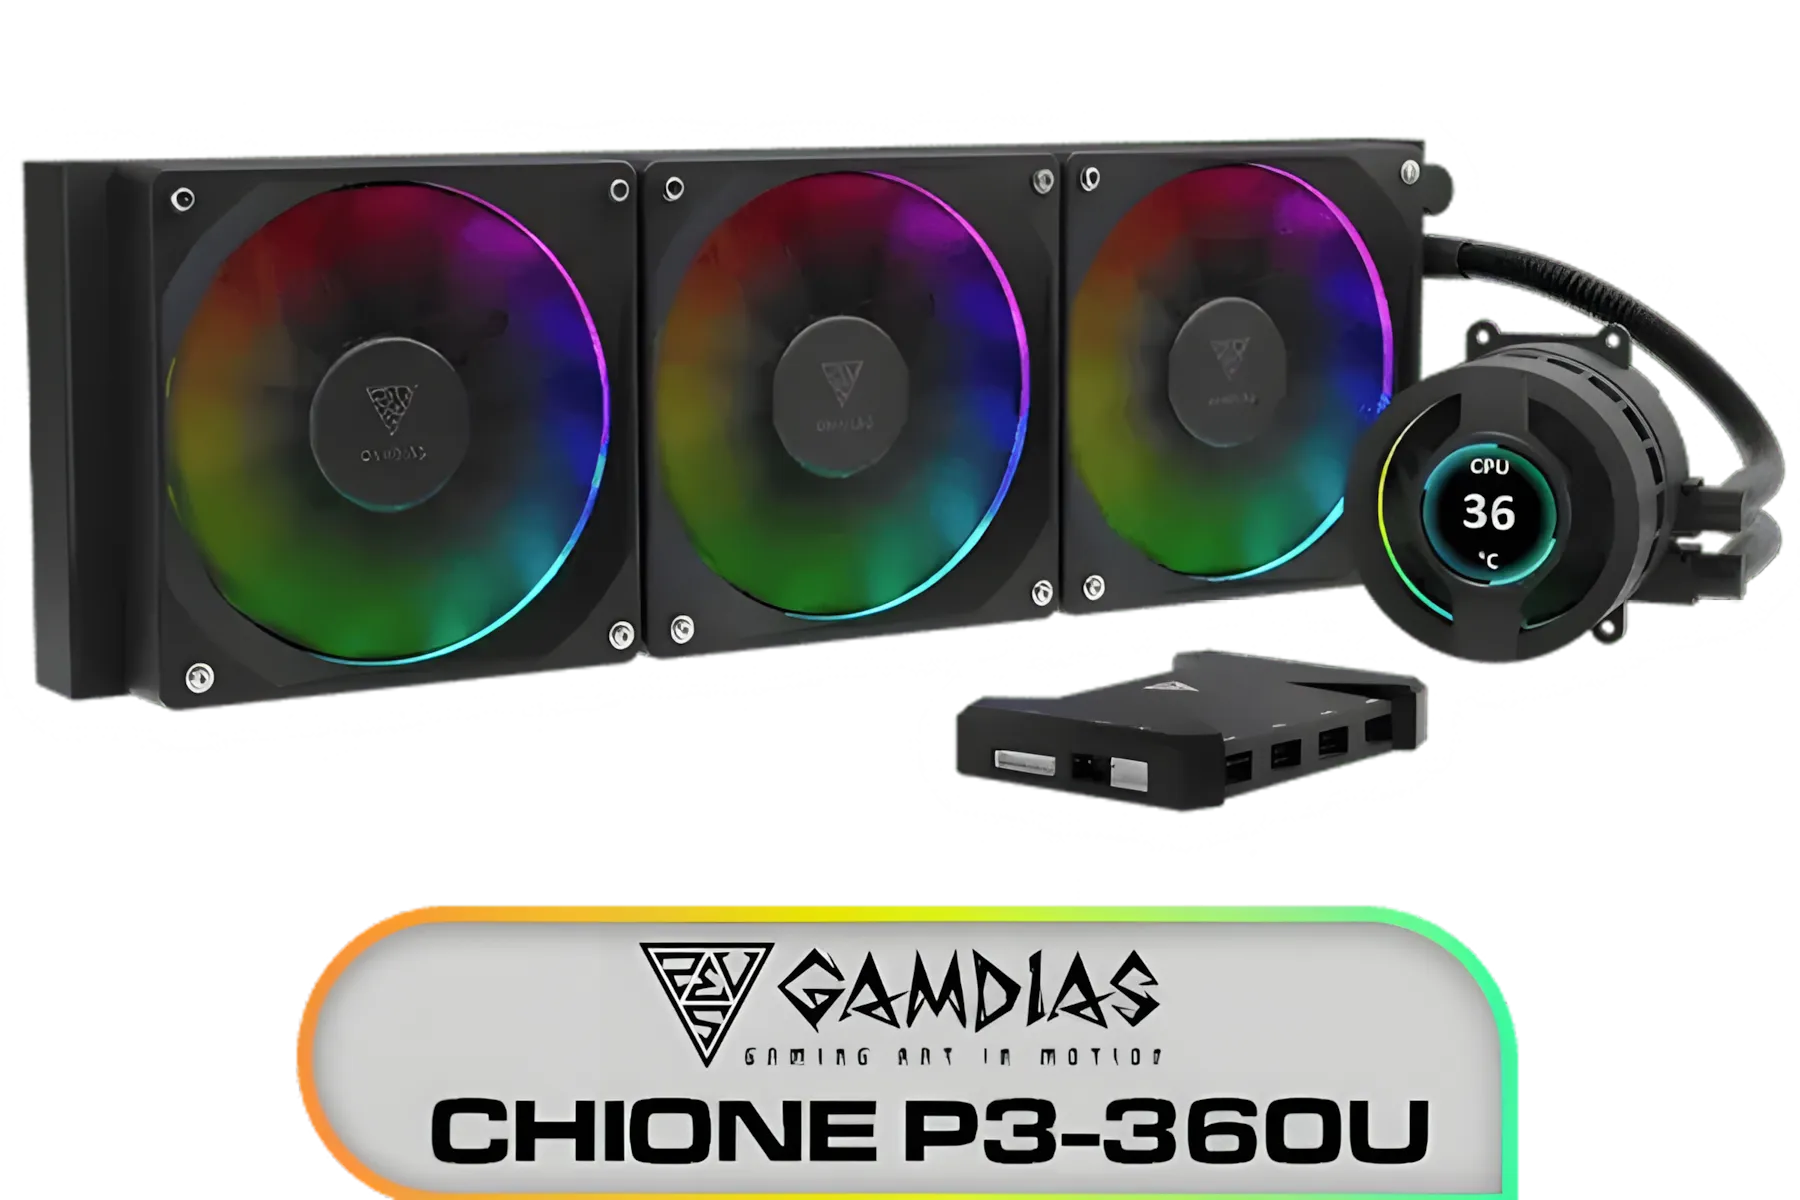
Gamdias CHIONE P3-360U All-in-One CPU Liquid Cooler / Personalized Lcd Display / Superior Radiator / Superior Airflow Performance / Premium Hydraulic Bearing / CHIONE-P3-360U
R999.00In Stock

CORSAIR iCUE Link H170i LCD Liquid CPU Cooler - 420mm AIO - QX140 RGB Fans - 2.1” IPS LCD Screen - Fits Intel LGA 1700, AMD AM5 - iCUE Link System Hub Included - Black / CW-9061009-WW
R2499.00In Stock
Dust the radiator monthly, inspect fittings quarterly, and change thermal paste every 1–2 years. Use an AIO maintenance checklist to stay on track.
Power down, move the case outside, and use compressed air to blow radiator dust cleaning through the fins from both sides. Hold fans still to protect bearings.
Most AIOs are sealed and don’t need refills. If temps climb or the pump fails, replace the unit rather than topping up coolant.
Rising CPU temps, gurgling, rattling, or tach reading zero are common signs of failing AIO cooler pumps. Check mounting and cables first.
Reapply thermal paste every 1–2 years, or sooner under heavy loads or high heat. Clean thoroughly and apply a pea-sized dot before remounting.
Set a smooth fan curve tied to liquid temp if supported; ramp gently from 30–40% at idle to 70–80% under load to balance noise and cooling.
Yes. Mount the radiator so tubes enter at the bottom when possible. This helps keep air away from the pump and reduces future pump noise and wear.
Check for trapped air, ensure firm but not overtight mounts, set a fixed 60–80% pump speed, and decouple the pump from the case to cut vibration.