Best Camera Settings for Emilia Figure Photography
Discover the best camera settings to highlight Emilia’s delicate figure details. 📸✨ Unlock sharpness and vivid textures today!

So, you’ve finally unboxed your new Emilia figure. The details are incredible, from the flow of her silver hair to the intricate design of her iconic white dress. It’s a masterpiece! But when you whip out your phone to snap a pic for the 'gram or your Discord group, the result is… flat. Blurry. Dark. It just doesn't capture the magic.
Don't worry, we've got you. Nailing the best camera settings for Emilia figure photography is easier than you think. Let's get your shots looking absolutely stunning.
Foundational Settings for Flawless Figure Photography
Before we get specific with Emilia, let's cover the three pillars of photography: Aperture, ISO, and Shutter Speed. Understanding how they work together is key to taking your photos from amateur to pro. Getting this right is especially important for premium, high-detail figures where every tiny detail deserves to be seen in perfect clarity.
Think of it as balancing a triangle—change one setting, and you'll likely need to adjust another to keep your photo perfectly exposed.
Aperture (or f-stop)
Aperture controls how much of your scene is in focus. For figure photography, you want Emilia to be the star, with the background melting away into a soft, artistic blur (this is called bokeh).
- What to do: Use a low f-stop number, like f/1.8 to f/4. This opens the lens aperture wide, creating a shallow depth of field that makes your figure pop. Most modern smartphone portrait modes can simulate this effect brilliantly.

Kikoru Shinomiya Figure - Kaiju No. 8 / 1/7 Scale (Approx. 24 cm height, including base) / High-quality PVC, ABS / SEGA Company Officially Licensed

HELLO! GOOD SMILE - Rebuild of Evangelion - Asuka Shikinami Langley / Adjustable Side-to-Side Neck Joint / Adorable Chibi Aesthetic / Good Smile Company Officially Licensed

JoJo's Bizarre Adventure: Diamond is Unbreakable - POP UP PARADE Josuke Higashikata / Non-Adjustable Figurine / Dynamically Posed with Meticulously Detailed Features / Good Smile Company Officially Licensed
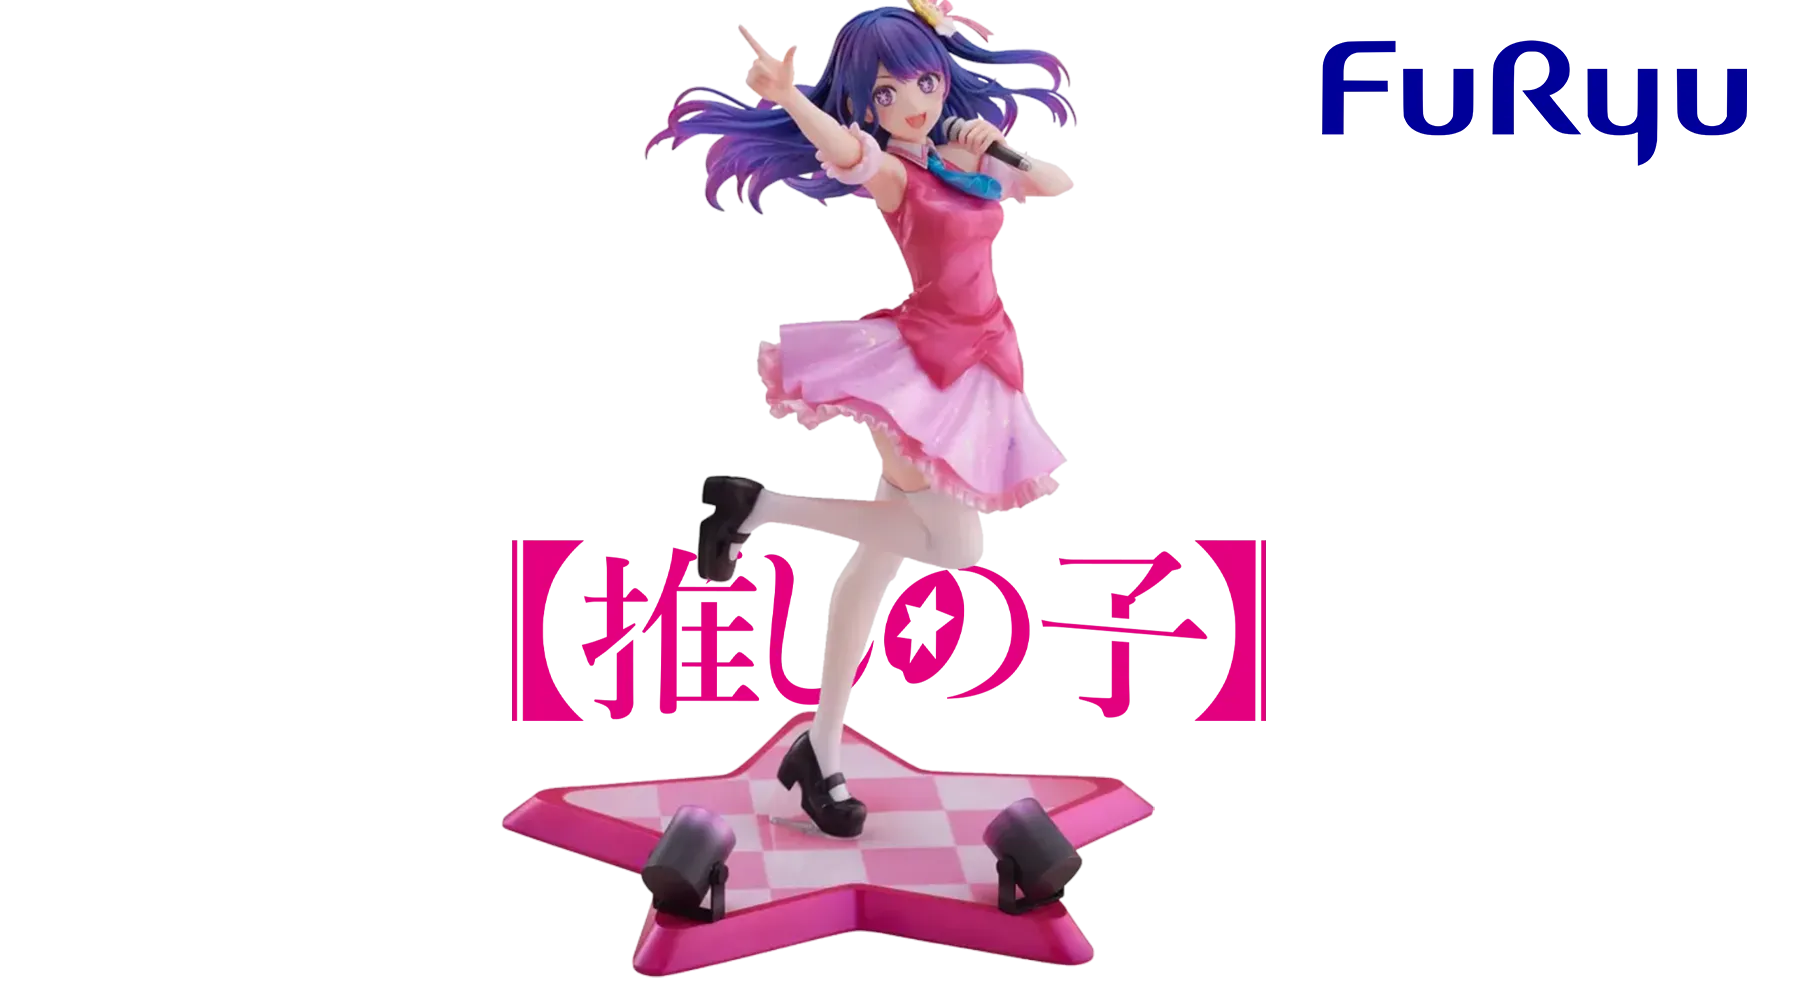
FuRyu - Oshi no Ko - Ai Hoshino / Ai 1/7 Scale / Cute and Radiant Style / FuRyu Company Officially Licensed

Re:ZERO - Rem Jewel Princess 1/7 Scale Figure / Approx. 20 cm height (non-scale) / High-quality PVC, ABS / ELCOCO Officially Licensed
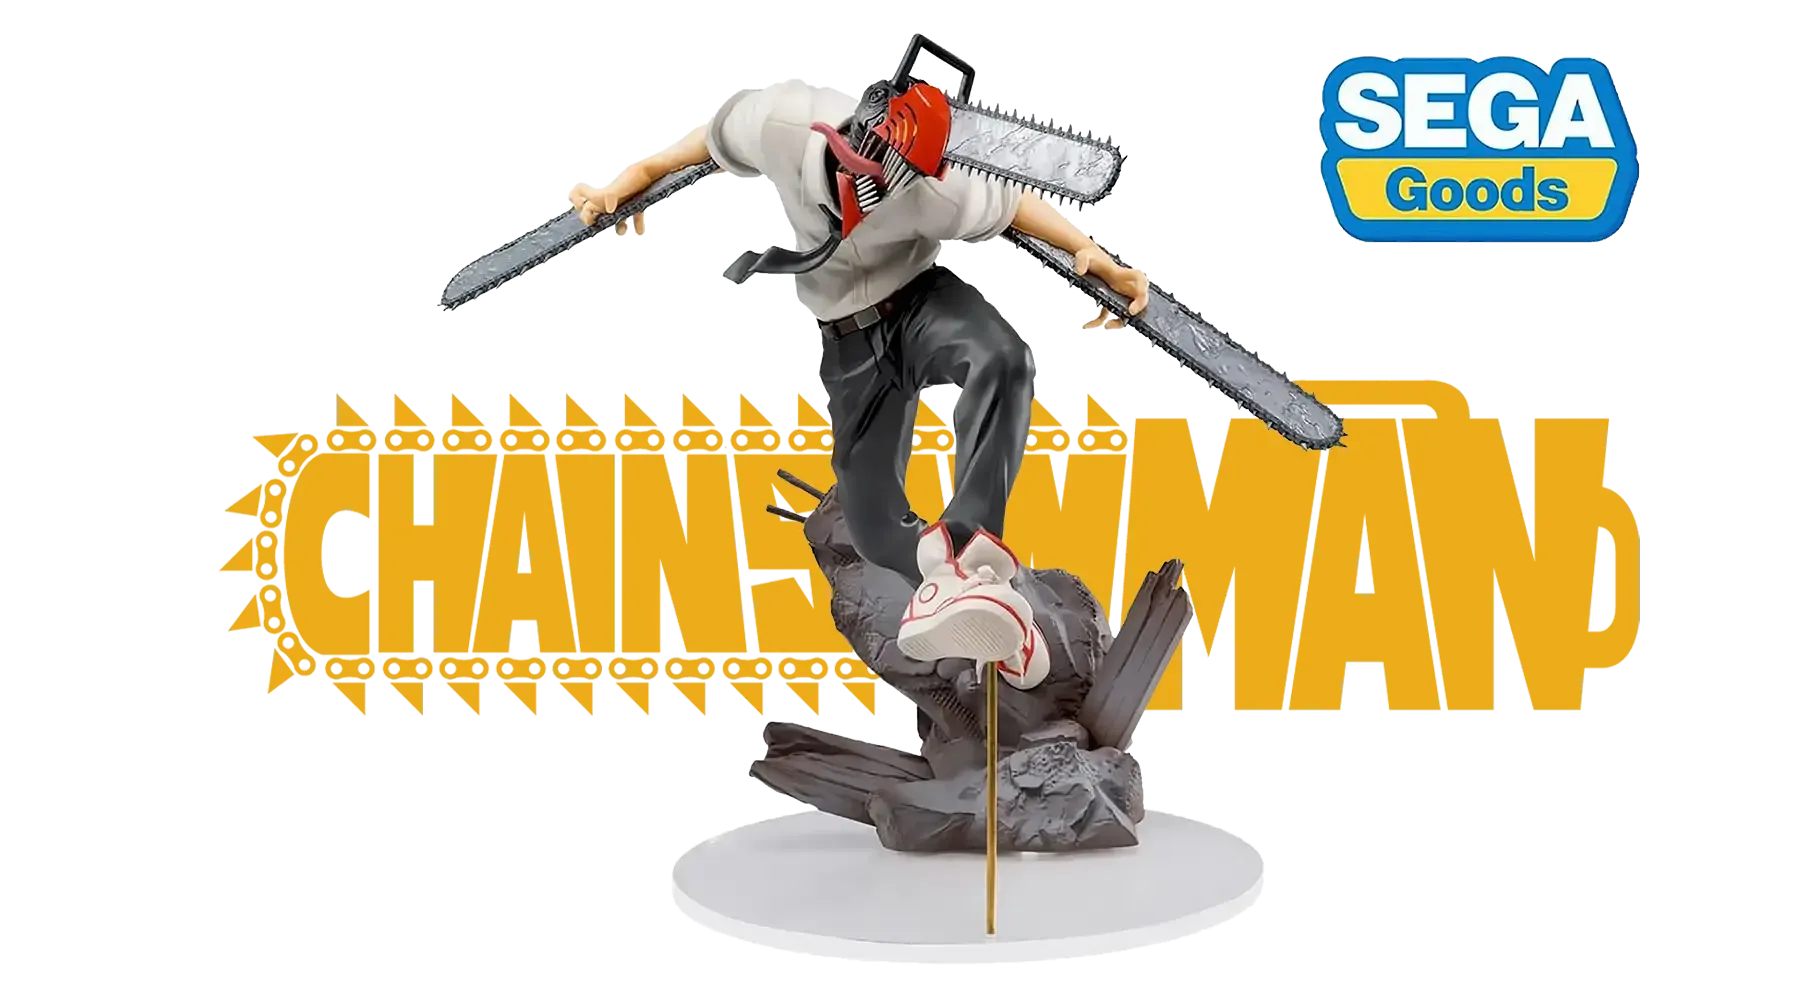
Chainsaw Man Luminastra Figurine - Chainsaw Devil / Approx. 12 x 16cm height (seated, non-scale) / High-Quality PVC, ABS / SEGA Officially Licensed
ISO
ISO is your camera's sensitivity to light. A higher ISO is great for dark environments, but it comes at a cost: digital noise, which makes your photo look grainy. Since your figure isn't going anywhere, you have full control over lighting.
- What to do: Keep your ISO as low as possible. Start at ISO 100 or 200 for the cleanest, most detailed image. Only increase it if you absolutely can't add more light to your scene.
Shutter Speed
This is how long your camera's shutter stays open to let in light. A fast shutter speed freezes motion, while a slow one can create light trails or motion blur. Since Emilia is perfectly still, you can use a slower shutter speed without worry.
- What to do: Use a tripod! tripod! This is non-negotiable for sharp photos with a low ISO. With your camera stable, you can drop your shutter speed to something like 1/60 or even lower to soak in all that beautiful light.
Optimal Camera Settings for Your Emilia Figure 📸
Alright, let's put it all together. Here are the best camera settings for your Emilia figure photography, whether you're just starting out or have a growing display. Even a few more affordable collectables can look like a million bucks with the right setup.
Your Go-To Starting Recipe:
- Mode: Aperture Priority (A or Av) or full Manual (M).
- Aperture: f/2.8
- ISO: 100
- Shutter Speed: Let the camera decide (in Aperture Priority) or adjust until the exposure looks right (in Manual).
- White Balance: Auto is usually fine, but setting it to match your light source (e.g., "Tungsten" or "Daylight") gives more accurate colours.
This combination gives you that lovely background blur while keeping the image sharp and noise-free. Tweak the aperture up to f/5.6 if you want more of the figure's base or nearby accessories in focus.
Smartphone Pro Tip 📱
Don't have a big camera? No problem! Use your phone's "Pro" or "Expert" mode to control these settings manually. Tap and hold on Emilia to lock focus, then slide the exposure dial down slightly to create a more dramatic, moody look. It works wonders.
Beyond the Settings: Lighting & Composition Secrets ✨
The best camera settings are only half the battle. How you light and frame your shot makes all the difference. You don't need a fancy studio; a little South African ingenuity goes a long way.
DIY Lighting Rig
Forget expensive studio lights. Grab a desk lamp and a piece of white paper or baking paper. Position the lamp to the side of your figure and tape the paper over it. This softens and diffuses the light, eliminating harsh shadows and creating a flattering, soft-box effect. Experiment with different angles to see how the light and shadows define Emilia's features.
Find the Right Angle
Don't just shoot from above. Get your camera down to the figure's eye level. This creates a more dynamic and powerful perspective, making her feel life-sized and present. Try a few different angles to find her "good side." A simple, non-distracting background (like a plain wall or a piece of coloured card) ensures that all the focus remains on your stunning figure from Evetech's full range of collectables.
Shooting your collection is a rewarding hobby that lets you share your passion with the world. With these tips, you're ready to capture your Emilia figure in all her glory.
Ready to Capture Your Next Centrepiece? A great photo starts with a great figure. Explore our massive collection of anime and gaming collectables and find the next hero for your shelf.
Use f/2.8–f/5.6 to blur backgrounds and emphasize Emilia’s detailed features.
Apply softbox lighting angled at 45 degrees to reveal intricate textures without harsh shadows.
A macro lens at 100mm sharpens intricate details on Emilia’s facial and fabric features.
Use polarising filters and indirect lighting to minimize glare while preserving glossy material textures.
Yes! Early morning/evening natural light gives a warm, soft finish to Emilia’s delicate figures.
Opt for smooth paper or vinyl backdrops in neutral tones combined with controlled lighting for professional results.


