What Are Chair Caster Locks?
Chair caster locks prevent rolling rage quit. Secure your office chair in place for maximum stability and focus. 🪑🚫
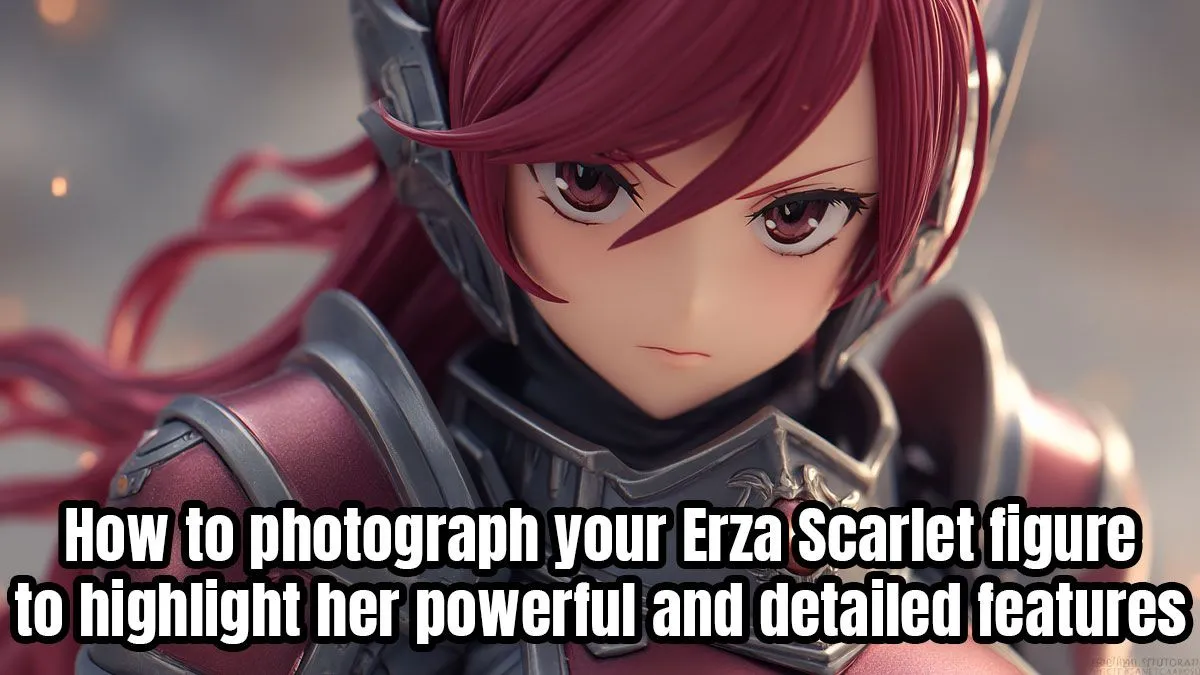
Unlock the full power of your Erza Scarlet photos! 🔥 Learn how to showcase her armor details and dynamic poses with this pro lighting setup guide. Perfect for collectors and cosplayers.

So, you’ve finally unboxed that glorious Erza Scarlet figure. The detail is incredible, the pose is iconic… but when you snap a pic for your mates, it looks… flat. Don’t let bad lighting do Titania dirty. Getting the best lighting setup for Erza Scarlet figure photography isn’t just about taking a photo; it’s about capturing the power and detail you paid for. Let’s make your figure look as epic as she does in the anime.
Using your room’s single overhead light is the fastest way to make an expensive figure look cheap. It casts harsh, unnatural shadows that hide the intricate details in Erza's armour and flatten the vibrant colour of her hair. Think about it: sculptors spend hundreds of hours perfecting every line and texture. A poor lighting setup effectively erases their work.
A proper lighting for Erza Scarlet figure photography does the opposite. It creates depth, defines her silhouette, and makes the metallic paint on her swords and armour gleam. It’s the difference between a quick phone snap and a professional-looking showcase that will get all the love on Instagram or Reddit.
You don't need a Hollywood studio to achieve amazing results. The secret lies in a classic technique called three-point lighting, adapted for your desk. It consists of a key light, a fill light, and a backlight.


This is your primary light source. Position it at a roughly 45-degree angle to the figure, either from the side or slightly above. The goal is to create clear, defining shadows that sculpt Erza's features and armour. Avoid placing it directly in front, as this will flatten the image. An adjustable desk lamp with an LED bulb works perfectly.
Your key light will create dramatic shadows, which is good, but you might not want them to be pure black. The fill light "fills in" these shadows, revealing hidden details without overpowering the key light. It should be less intense than your key light. You can use a second, dimmer lamp, or simply place a piece of white A4 paper or card opposite your key light to bounce some light back onto the figure.
Is your LED lamp too harsh? No need to buy expensive gear. Tape a small piece of baking paper (wax paper) over the light source. This creates a soft, diffused light that’s much more flattering for figure photography, and it costs next to nothing.
This is what separates the good shots from the great ones. The backlight (or "rim light") is placed behind the figure, pointing towards her back or the camera. It creates a subtle, glowing outline around her, separating her from the background and giving her that "main character" energy. This is especially effective for highlighting the silhouette of Erza's iconic scarlet hair.
The art of figure photography is a fantastic extension of the collecting hobby itself. Whether you're just starting or are a seasoned collector, capturing your prized possessions in the best possible light is part of the fun. Evetech's catalogue includes a massive selection of anime and pop-culture collectables to get you started.
You don’t have to spend a fortune to get a photogenic model. There are plenty of stunning figures available for under R2000 that are perfect for practising your new lighting skills. For those seeking a true centrepiece for their collection and photography, the premium collectables from R2000 and up offer unparalleled detail that truly comes alive with a great lighting setup.
Ready to Showcase Your Collection? Now you have the know-how to make your figures shine like the treasures they are. Find your next legendary subject in our incredible collection of anime figures and statues. Explore the full range at Evetech and bring home a masterpiece today.
Side lighting reveals texture depth on armor. Use a 45-degree angle to emphasize battle scars and metallic details.
Try long exposure with LED light painting. This technique makes her magical aura glow dramatically in photos.
Dynamic battle scenes pair well with dark, textured backgrounds. This enhances her scarlet armor's contrast and power.
Use macro shots with ring lighting. This highlights sword edges and mechanical components on her armor.
Start with manual mode: f/5.6 aperture, 1/100s shutter speed, ISO 400. Adjust for your lighting conditions.
Position lights off-axis and use diffusion filters. Matte surfaces help reduce glare on metallic armor pieces.
A standard 50mm lens excels at capturing accurate proportions with natural perspectives for 1/6 scale figures.