Streaming Lighting Setup Guide
Learn how to set up lighting for a professional streaming look. Boost viewership with a polished appearance using our expert tips ✨
|
Loading tags...

How to Set Up Pro Lighting for Your Stream
A grainy, poorly-lit webcam feed is the fastest way to get a new viewer to click away. The good news is that you don't need a Hollywood budget to look amazing on stream. Great lighting is the single best upgrade you can make. By the end of this guide, you’ll have a classic three-point lighting setup that eliminates harsh shadows and makes you pop from the background, giving your stream a crisp, professional look. ✨
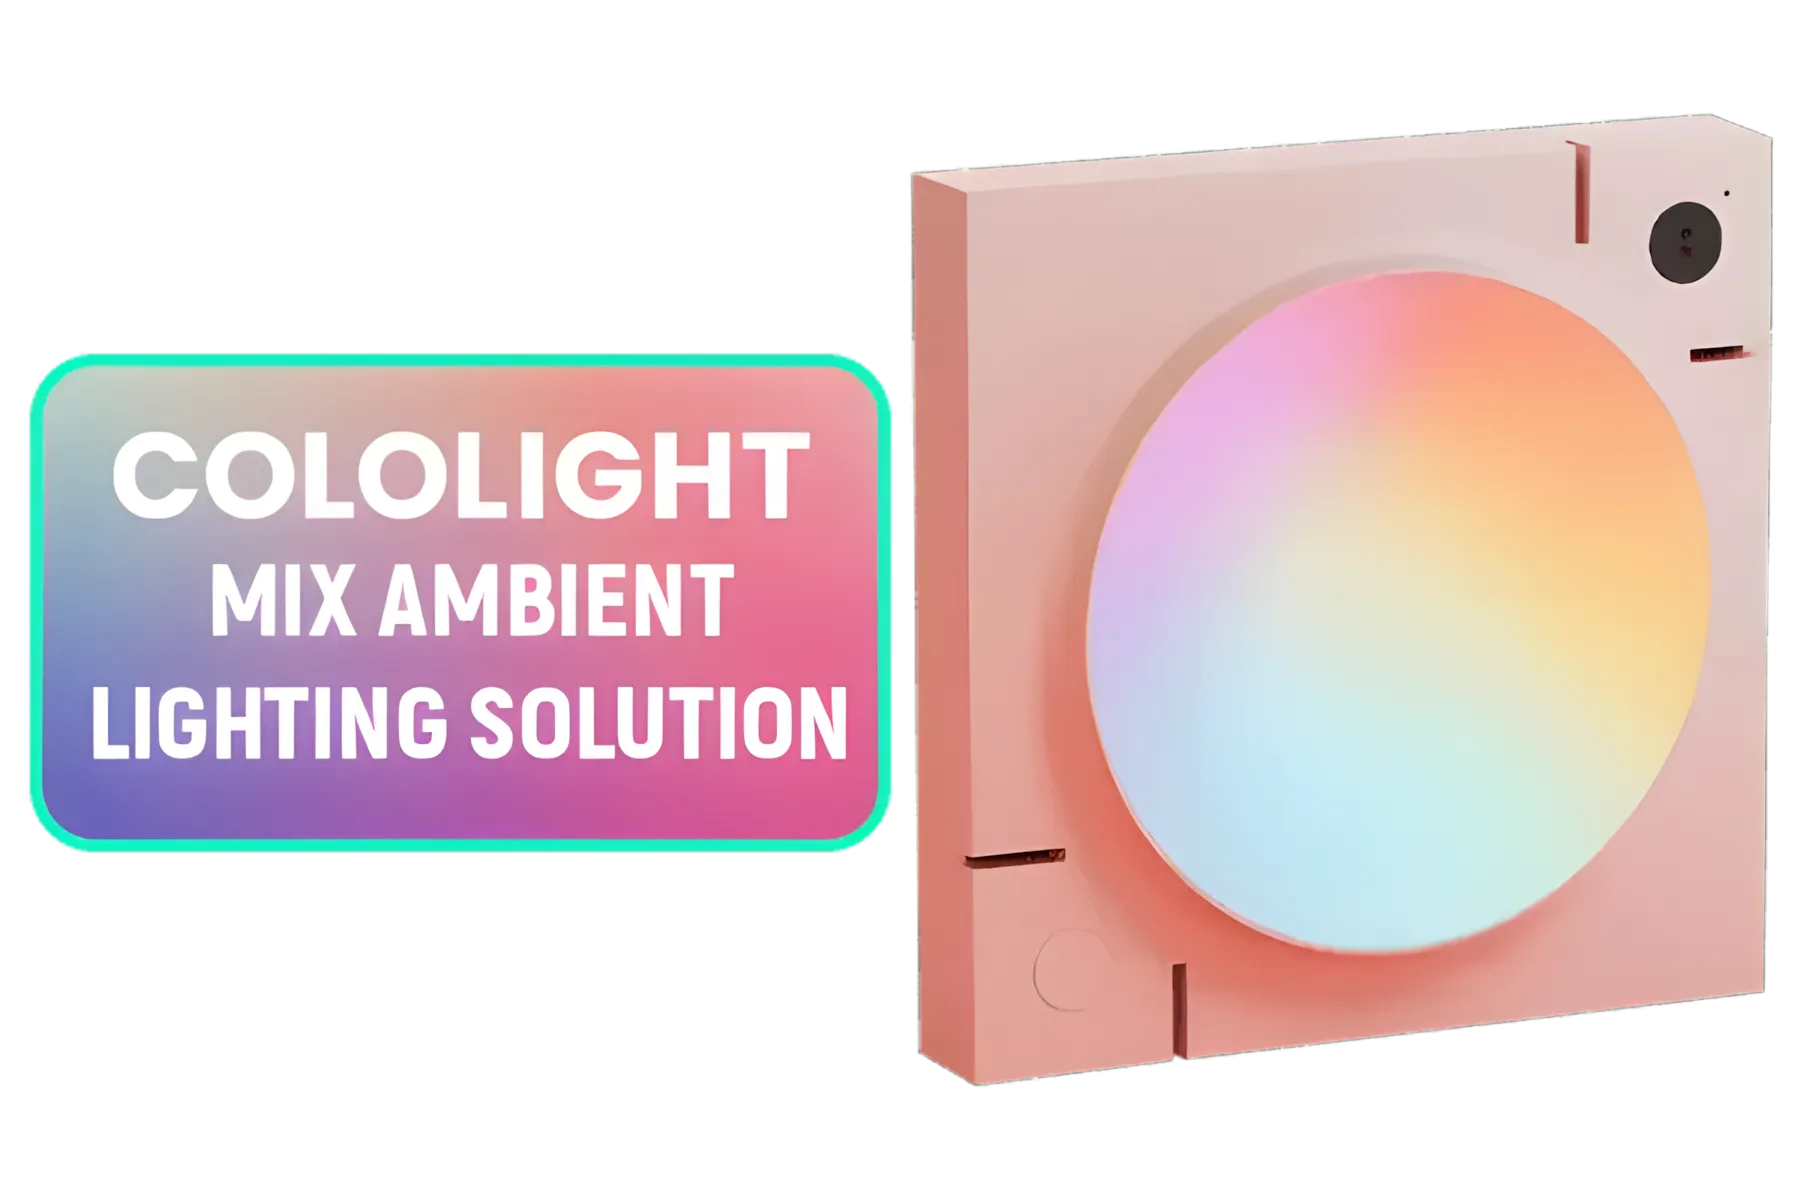
Cololight LED Lights Pink, Wall Lights for Room Decor, Multi-Color Music Sync Ambient Lights for Bedroom, Night Lights, Gaming Lights Compatible with Alexa, Google Assistant, Homekit Pink (Mix 1 Pack) / LS168P-88.011440
R699.00In Stock

Cololight RGB Triangle 3 Extension panels work when connecting to a Cololight Triangle Starter Kit. The upgraded Triangle light panel is brighter, lighter in weight, and has no cliff between panels.
R999.00In Stock

Cololight Strip 60LEDs/M 2 Meter (6.6Ft,) Starter Kit Compatible with Alexa, HomeKit & Google Assistant
R849.00In Stock

Corsair Elgato Multi Mount Flex Arm S / Articulated arm for Cameras, Lights and More / 10AAH9901
R449.00In Stock

Corsair Elgato Cold Shoe – Adjustable ¼ inch Thread Mount for Lights, Off-Camera Flash, Microphones, Compatible with Key Light Mini, Light Stands, tripods, Perfect for Photo and Video Studio Production / 10AAR9901
R399.00In Stock
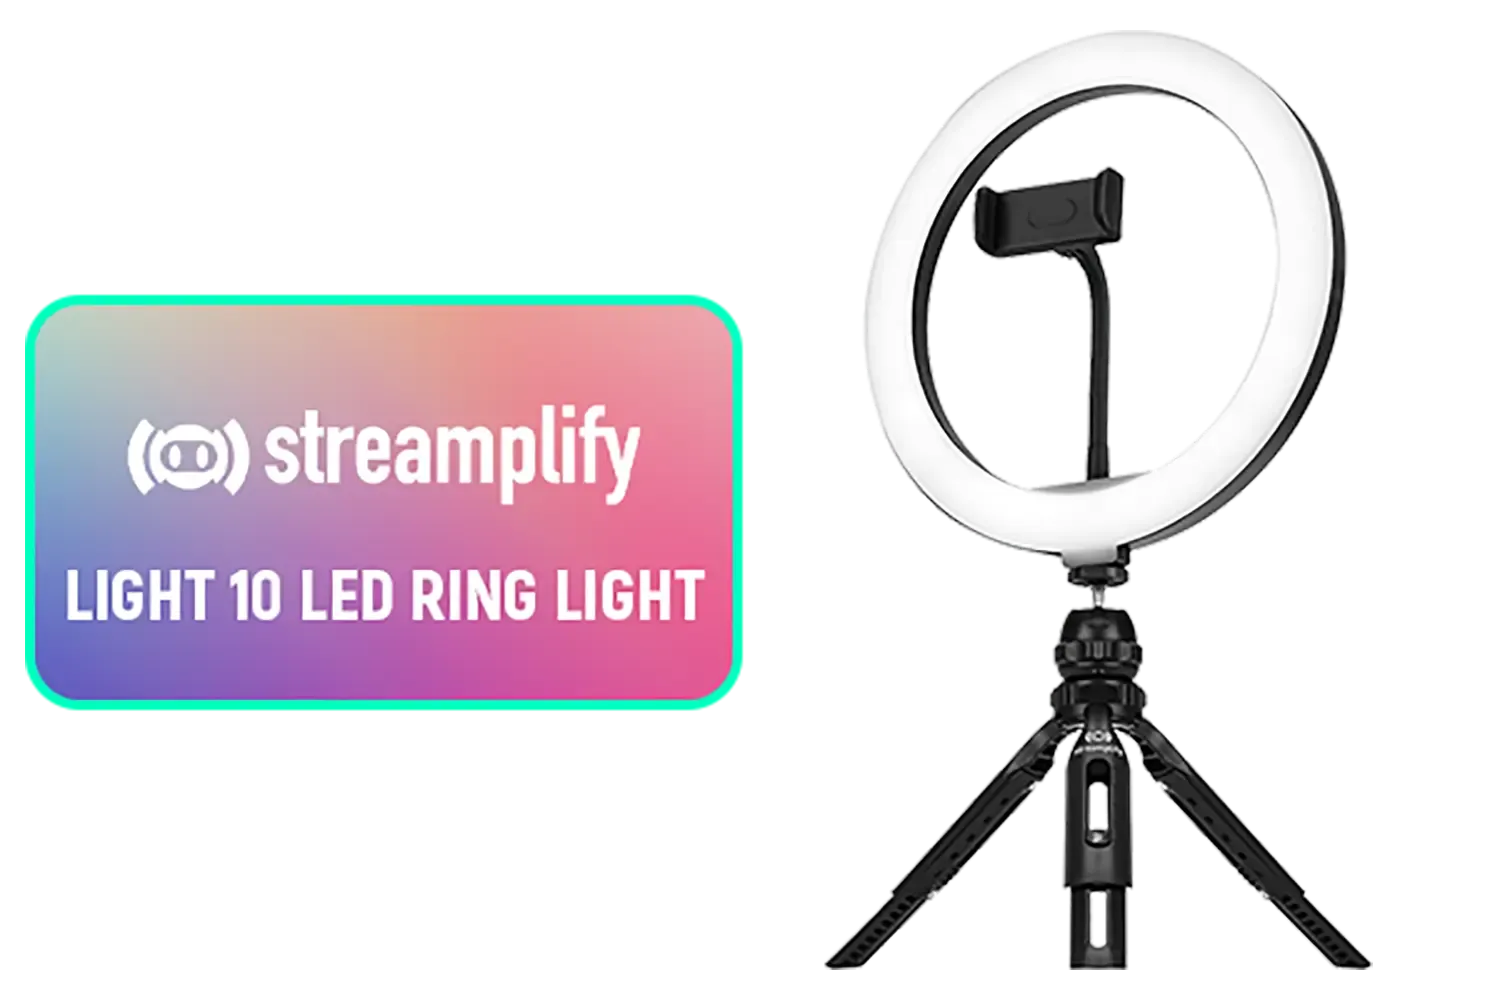
Streamplify Light 10 LED Ring Light - Black / 10 Adjustable Brightness Levels / 5V USB Charging Port / 3 Color Temperature Modes / Sturdy Foldable Tripod Included / SPIR-LZ10112.11
R399.00In Stock
Prerequisites: Your Lighting Toolkit
Before we begin, you’ll need a few key pieces of gear. A single light is a great start, but three-point lighting is the goal for that truly professional polish.
- A Key Light: This will be your main, and brightest, light source. It does most of the work. You can find many powerful options by searching for streaming lights.
- A Fill Light: A second, softer light to fill in shadows. Many kits in the main streaming essentials section are perfect for this.
- A Background/Accent Light: This is for creating separation and adding some colour. Popular choices include RGB panels from brands like Cololight.
- Great Audio: Remember, amazing video with poor audio is a dealbreaker. Ensure your sound is as clean as your picture with a quality microphone setup.
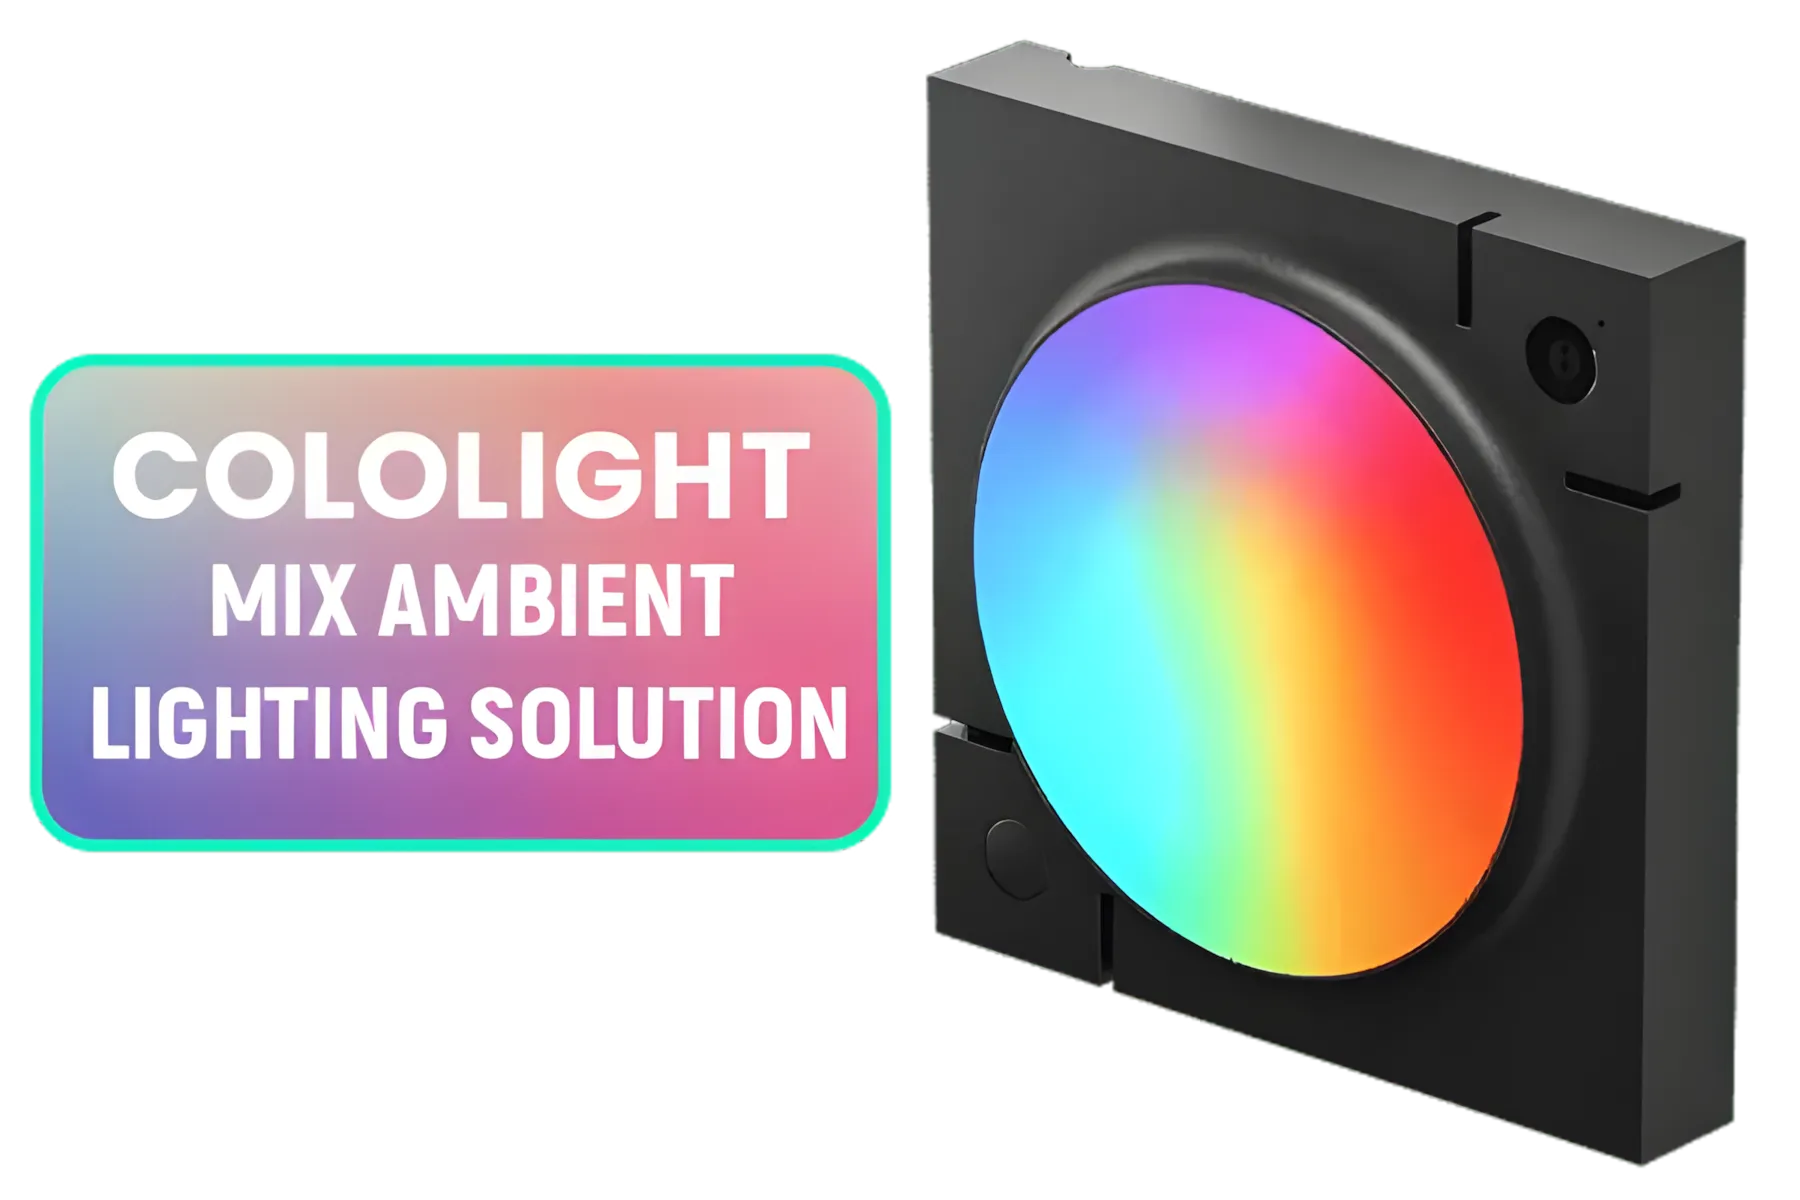
Cololight LED Lights, Wall Lights for Room Decor, Multi-Color Music Sync Ambient Lights for Bedroom, Night Lights, Gaming Lights Compatible with Alexa, Google Assistant, Homekit (Mix 1 Pack)
R499.00In Stock

Razer Chroma Light Strip Set: Chroma RGB - 2 Wireless Modes - Plug and Play Integration - Quick Control Buttons - Mounting Brackets and Adhesives / RZ34-04020100-R321
R2999.00In Stock

Corsair Elgato Game Capture Neo / 4K60 HDR Passthrough / Full HD 1080p60 Resolution / Ultra Low Latency / Compatible with All Consoles / 10GBI9901
R2599.00In Stock

Corsair Elgato Multi Mount Weighted Base / Heavy-duty Weighted Base Strikes / Perfect Balance Between Stability / Freestanding Camera and Lighting / 10AAD9901
R1099.00In Stock
Corsair Elgato Cold Shoe – Adjustable ¼ inch Thread Mount for Lights, Off-Camera Flash, Microphones, Compatible with Key Light Mini, Light Stands, tripods, Perfect for Photo and Video Studio Production / 10AAR9901
R399.00In Stock
Cololight LED Lights Pink, Wall Lights for Room Decor, Multi-Color Music Sync Ambient Lights for Bedroom, Night Lights, Gaming Lights Compatible with Alexa, Google Assistant, Homekit Pink (Mix 1 Pack) / LS168P-88.011440
R699.00In Stock
The Three-Point Lighting Setup: Step-by-Step
### 1. Position Your Key Light
This is your primary light. Place it on one side of your camera (about 45 degrees off-centre) and position it slightly higher than your head, angled down towards your face. This angle creates a natural look with soft, flattering shadows, defining your facial features without being harsh. It should be the brightest of your three lights.
### 2. Add Your Fill Light
The fill light’s job is to soften the shadows created by your key light. Place it on the opposite side of your camera from the key light. The crucial part here is intensity: your fill light should be about half as bright as your key light. You’re not trying to eliminate shadows completely, just reduce their intensity for a balanced, three-dimensional look.
TIP FOR YOU
Troubleshooting Harsh Shadows
If your fill light is creating a second, obvious shadow on your face, it's too bright. Dim it down or simply move the light further away from you. The goal is to gently "fill" the dark spots, not create a new light source.
### 3. Set Up Your Backlight
The backlight (sometimes called a hair light or rim light) is the secret to looking professional. It separates you from your background. Place this light behind you, out of the camera's view, pointing at the back of your head and shoulders. This creates a subtle, glowing outline that makes you pop from the scene. High-end Corsair streaming gear often includes great options for this.

Saramonic USB-C Mic, SmartMic UC Mini Condenser Flexible Microphone Plug&Play Mic Compatible with iPad Pro, Samsung Galaxy, HTC Google, and Other USB-C Type Devices for Vlogging YouTube Video / SmartMic UC Mini
R499.00In Stock

Corsair Elgato Stream Deck Dials Set - Purple / 34GBD9901-PUR-SP
R399.00In Stock
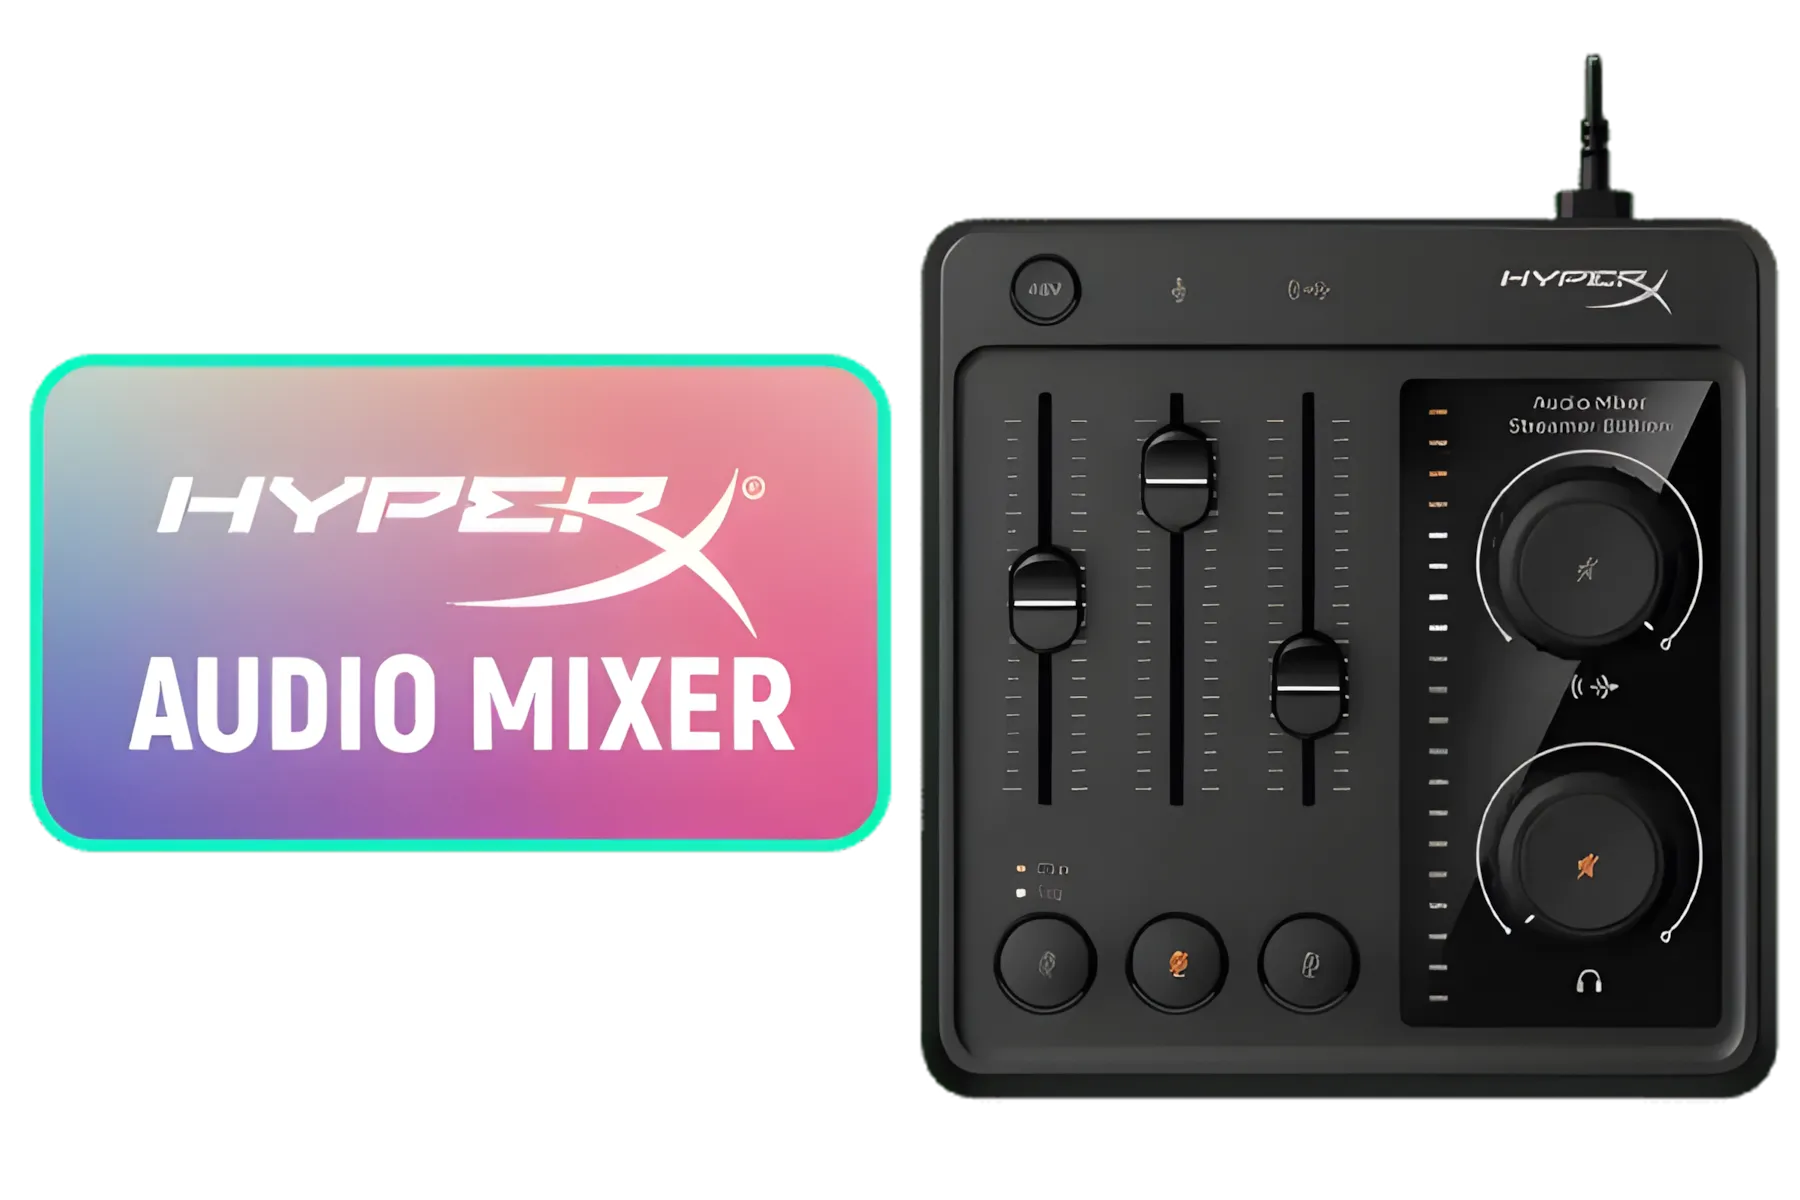
HP HyperX Audio Mixer - 73C12AA
R3499.00In Stock
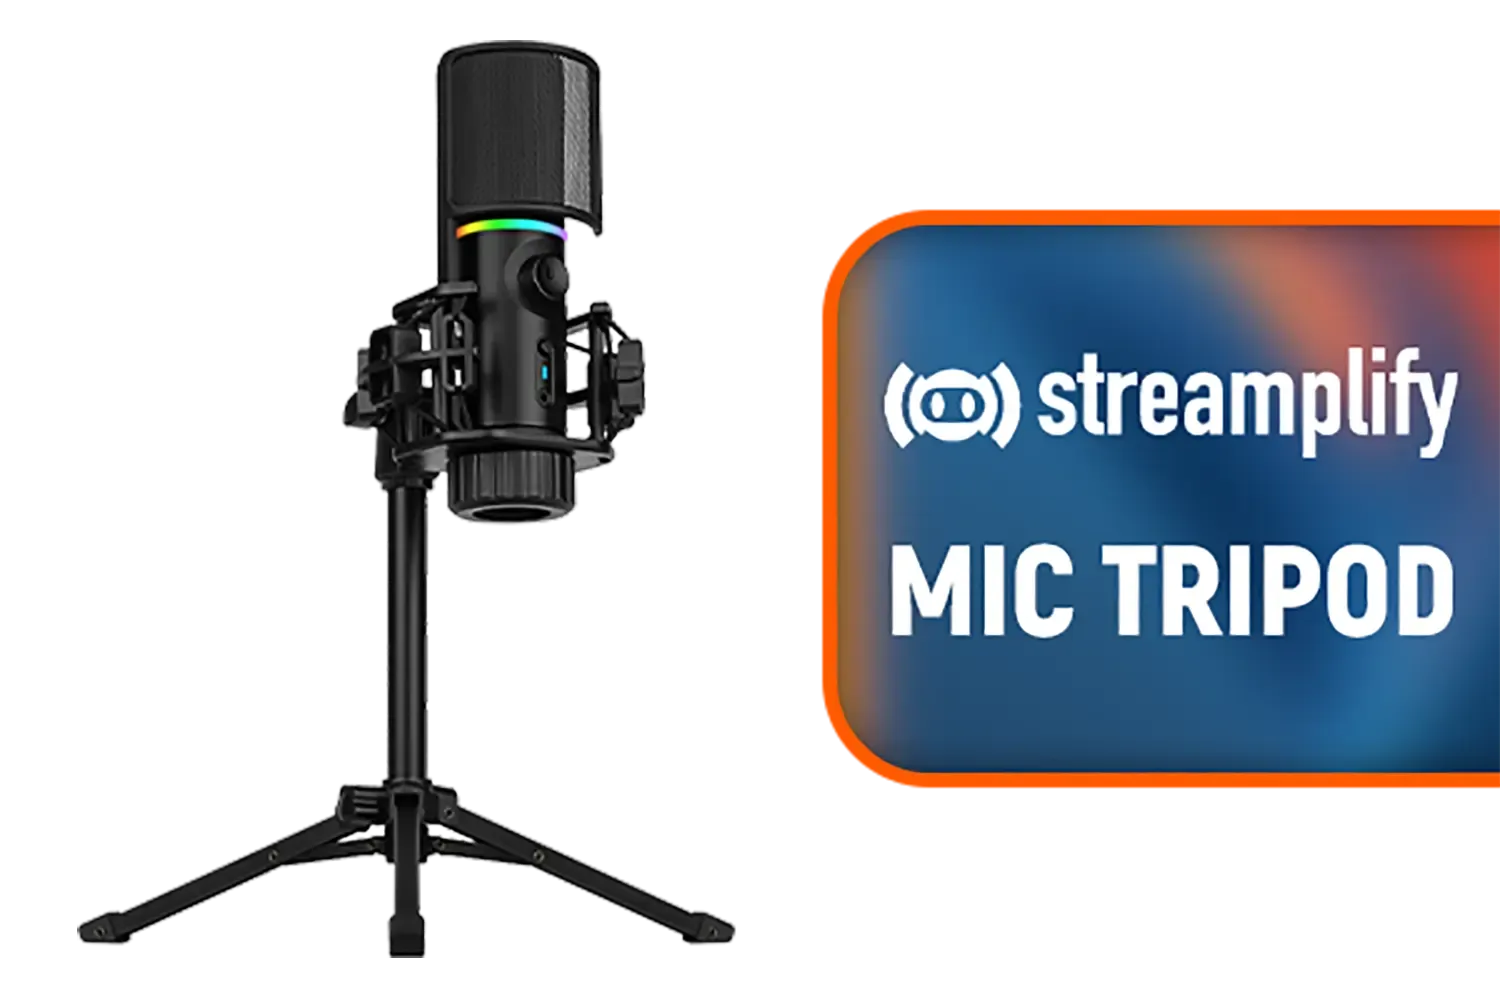
Streamplify Mic Tripod / Includes Tripod Mount / 2 Audio Playback Modes / Quick Mute Function / Cardioid Pickup Pattern / RGB Lighting / SPMC-MZ1C127.11
R899.00In Stock

Streamplify Mount Arm / 360° Rotation / Supports up to 2.5KG / 75cm Maximum reach / Cable Management Clips / SPOM-MA1MCL1.21
R999.00In Stock
Corsair Elgato Game Capture Neo / 4K60 HDR Passthrough / Full HD 1080p60 Resolution / Ultra Low Latency / Compatible with All Consoles / 10GBI9901
R2599.00In Stock
### 4. Balance Your Colour and Intensity
With all three lights in position, now it's time for the final tweaks. Look at your webcam feed and adjust the brightness of each light until the scene looks balanced and natural. Pay attention to colour temperature, too. Mismatched "whites" can make your video look strange. Aim to have all your lights set to a similar colour temperature for a clean, cohesive look.
TIP FOR YOU
Fixing Unnatural Skin Tones
If you look too orange or blue, your lights have different colour temperatures. Most streaming lights let you adjust this (measured in Kelvin). A good starting point is a neutral daylight setting, around 5600K. If one of your lights isn't adjustable, match your other lights to it.
Quick-Reference FAQ
Q: Do I really need all three lights to start? A: Absolutely not. A single, well-placed key light is a massive upgrade over no lighting at all. Start with one and add a fill and backlight later as your budget allows.
Q: What about a ring light? A: Ring lights are fantastic as a single key light because they produce soft, even lighting with minimal fuss. Their only downside can be creating a circular reflection or glare if you wear glasses.
Q: My room is really small. How can I make this work? A: If you don't have space for a second light, use a reflector! A simple piece of white foam board or even a whiteboard placed opposite your key light can bounce light back onto your face, acting as a passive fill light.
Q: Does my lighting choice affect my audio quality? A: Not directly, but they are two halves of the same whole. A professional visual setup creates an expectation for professional audio. Once you look great, make sure you sound great with a dedicated microphone from brands like Saramonic or Corsair.
Build Your Perfect Scene Stop letting bad lighting hold your stream back. Find everything you need to build a professional setup, from key lights to accent panels, in Evetech's massive range of streaming essentials.
Related Products
Corsair Elgato Game Capture Neo / 4K60 HDR Passthrough / Full HD 1080p60 Resolution / Ultra Low Latency / Compatible with All Consoles / 10GBI9901
R2599.00In Stock
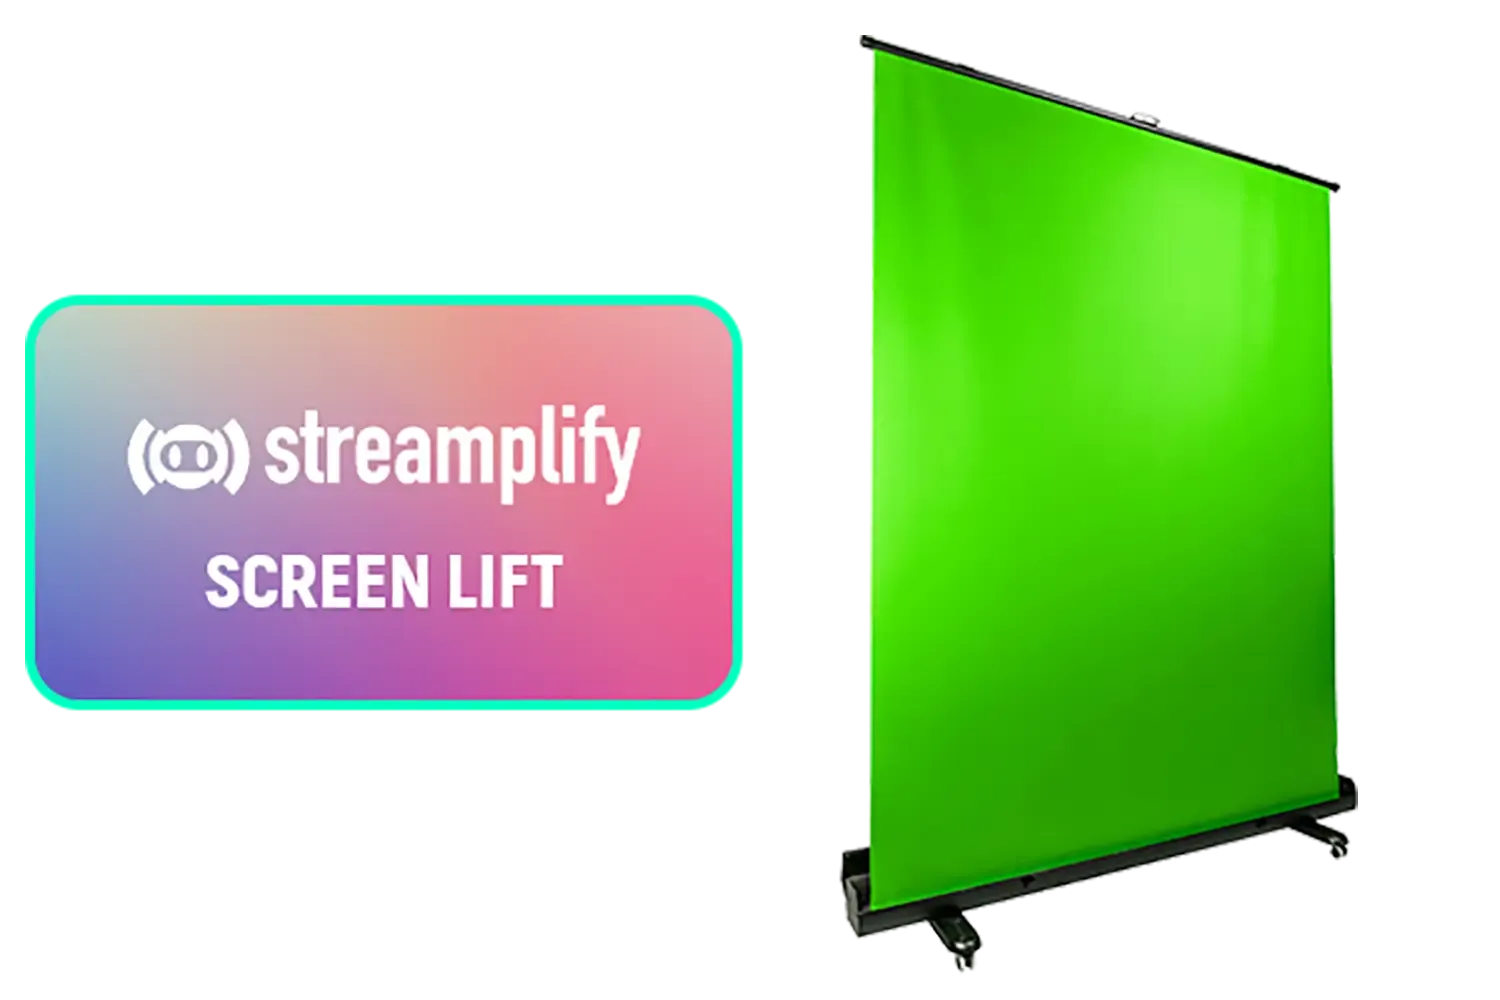
Streamplify Screen Lift / 200cm x 150cm / Smooth Hydraulic Lift Adjustments / Crease-Resistant Water-Repellent Oxford Cloth / Durable Aluminium Frame / SPSC-SZ1211G.11
R2999.00In Stock
Corsair Elgato Cold Shoe – Adjustable ¼ inch Thread Mount for Lights, Off-Camera Flash, Microphones, Compatible with Key Light Mini, Light Stands, tripods, Perfect for Photo and Video Studio Production / 10AAR9901
R399.00In Stock

Corsair Elgato Key Light Mini – Portable LED Panel for Streaming, Video Conferencing, Gaming, 800 Lumens, Rechargeable Battery, TikTok, Instagram, YouTube, Zoom, Microsoft Teams, PC/Mac/iPhone/Android / 10LAD9901
R999.00In Stock
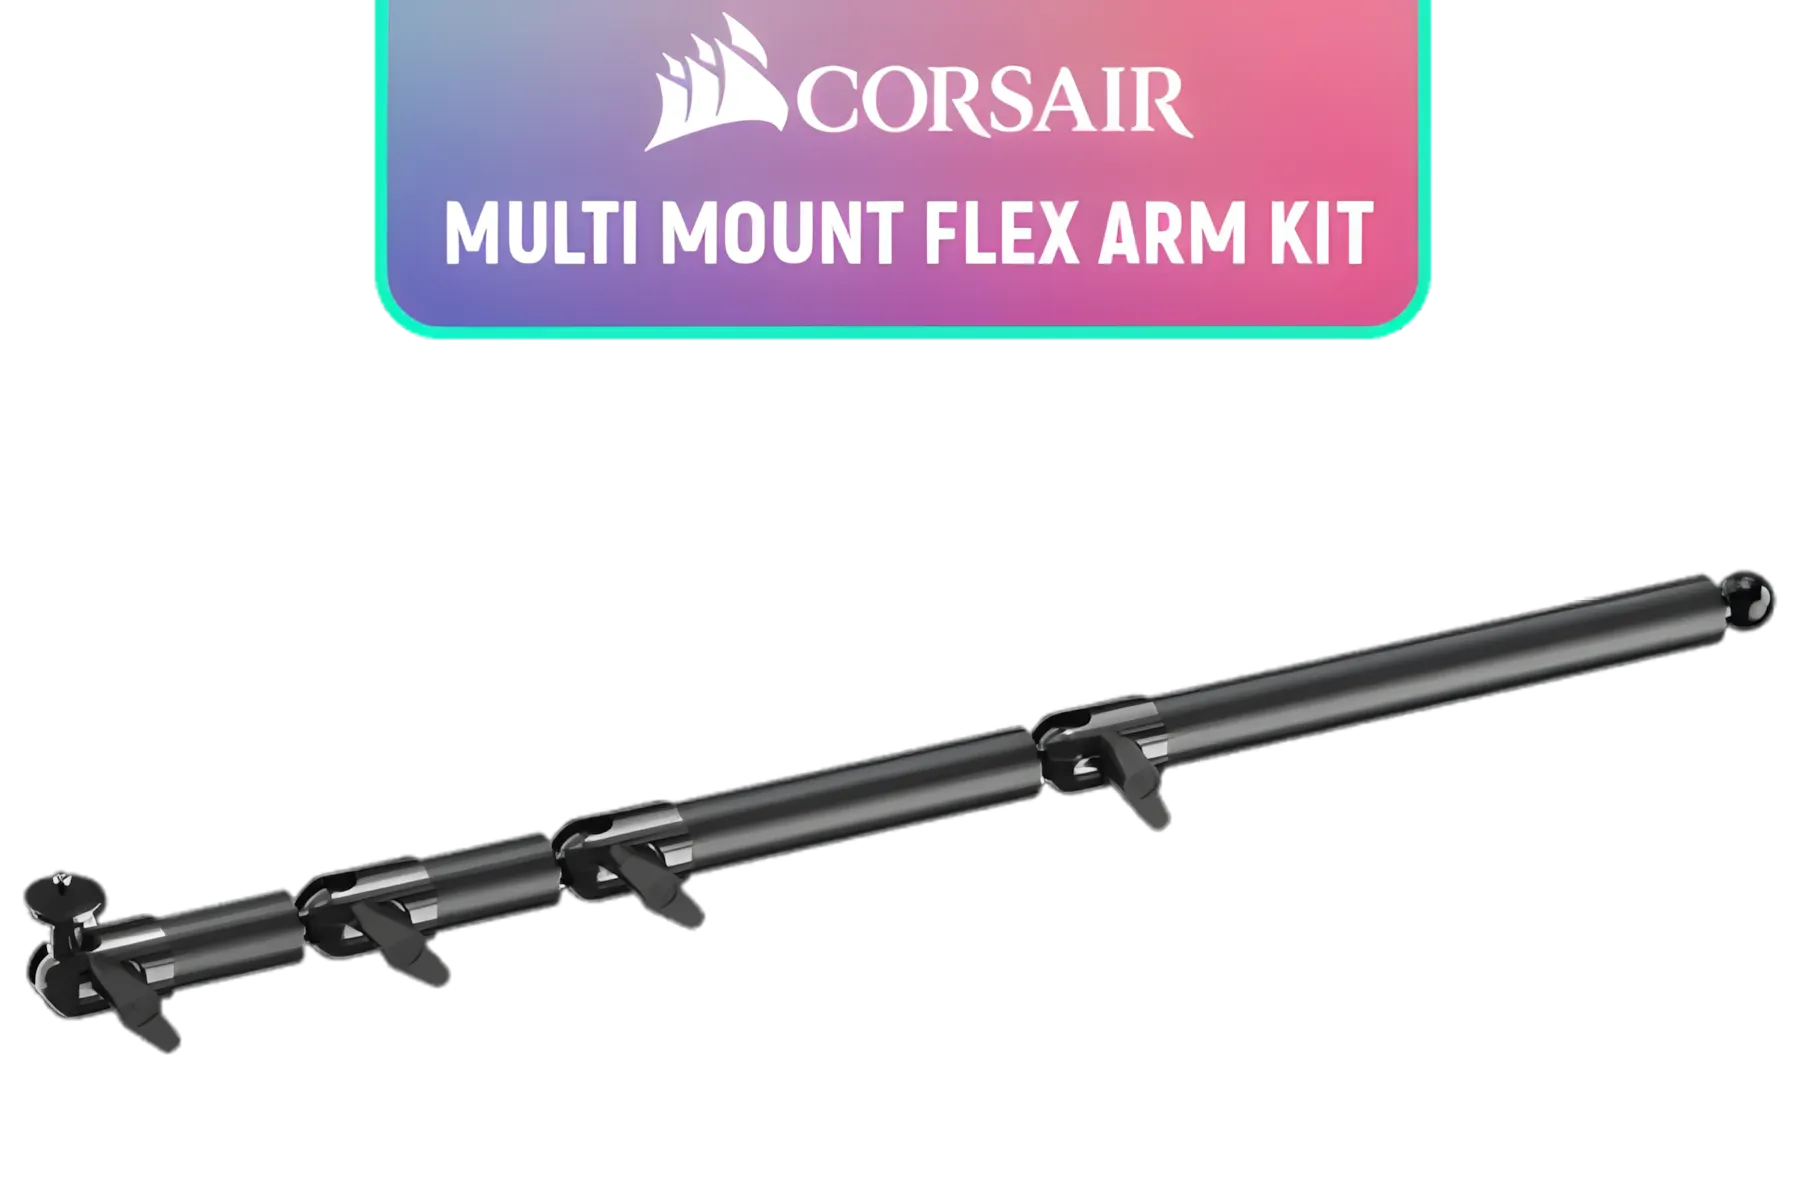
Corsair Elgato Multi Mount Flex Arm Kit / Modular Rigging System / Sweeping Three-dimensional Adjustability / Flex Arm Kit Makes Any Shot Possible / 4-Section Steel arm With Ball / 10AAC9901
R899.00In Stock
Streamplify Light 10 LED Ring Light - Black / 10 Adjustable Brightness Levels / 5V USB Charging Port / 3 Color Temperature Modes / Sturdy Foldable Tripod Included / SPIR-LZ10112.11
R399.00In Stock
A streaming lighting setup typically includes key lights, fill lights, and backlights for even illumination. 🎥
Opt for adjustable LED panels or ring lights with color temp control for professional lighting. 💡
Yes, but combine with artificial lights for consistent streaming visuals throughout the day. ☀️
It uses key, fill, and backlight to reduce shadows and enhance depth in your stream. 🌟
Use softboxes or diffusion filters with your lights to reduce harshness. 🧺
3200K for warm tones or 5600K for daylight-like, depending on your personal style. 🎨
Yes, ring lights offer even face illumination and are ideal for close-up streaming shots. 🕹️