
Best Laptop for Wits Students Under R8000
Top Laptop for Wits Students Under R8000 picks evaluated on performance, value & SA availability with current Rand pricing from Evetech.
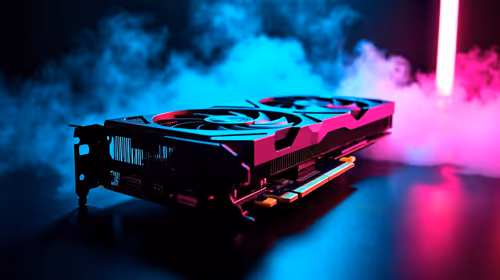
Read moreMaster your ARGB fan setup with our expert guide. Learn to optimize airflow direction, sync lighting effects, and boost thermal performance for a professional-grade PC build. 🌬️✨

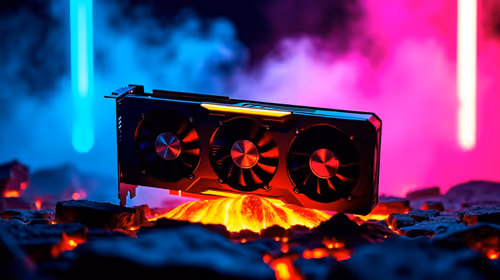
ARGB Fan Setup : Master Airflow and Lighting Sync works best when you follow a setup order: confirm compatibility, apply the core settings, test the result, and keep only the changes that improve daily use. The order of setup matters for ARGB Fan Setup : Master Airflow and Lighting Sync because one wrong setting can hide the real result. For ARGB Fan Setup : Master Airflow and Lighting Sync, prioritise GPU length, cable routing, and front-panel ports before you compare prices. For South African buyers, also check current stock, warranty support, delivery timing, and whether the upgrade leaves room for the next part you are likely to change.
The reader searching for ARGB Fan Setup : Master Airflow and Lighting Sync is usually trying to avoid one of two mistakes: buying too little and replacing early, or paying extra for a feature that never changes daily use. For a PC builder, the better ARGB Fan Setup : Master Airflow and Lighting Sync path is to define the workload first, then compare case, riser, or cabling layout against that workload.
For ARGB Fan Setup : Master Airflow and Lighting Sync, the useful filter is whether the choice improves safer component fit, cleaner airflow, and easier future upgrades. If ARGB Fan Setup : Master Airflow and Lighting Sync does not change that result in your setup, it belongs lower on the priority list.
The common trap with ARGB Fan Setup : Master Airflow and Lighting Sync is assuming every mid-tower fits every GPU. That shortcut can look fine in a product listing, but it may not solve the real ARGB Fan Setup : Master Airflow and Lighting Sync problem once the setup is used every day.
| Buying point | What to check | Why it matters |
|---|---|---|
| Best fit | GPU length | Choose the option that improves safer component fit, cleaner airflow, and easier future upgrades. |
| Watch out for | assuming every mid-tower fits every GPU | This can turn a good-looking deal into a poor fit. |
| Proof point | clearance measurements | Use this to judge the result after setup. |
| Final filter | argb fan setup | Keep it only if it solves the main reason you searched for ARGB Fan Setup : Master Airflow and Lighting Sync. |
If two ARGB Fan Setup : Master Airflow and Lighting Sync options are close, choose the one that gives more confidence on clearance measurements and side-panel fit. Those ARGB Fan Setup : Master Airflow and Lighting Sync details are usually harder to fix after purchase.
The practical Evetech angle for ARGB Fan Setup : Master Airflow and Lighting Sync is simple: use the article to decide what matters, then use the product category to compare live options. That keeps ARGB Fan Setup : Master Airflow and Lighting Sync connected to stock, warranty, and compatible upgrades instead of turning it into generic advice.
A useful shortlist for ARGB Fan Setup : Master Airflow and Lighting Sync should have a reason attached to every option. One ARGB Fan Setup : Master Airflow and Lighting Sync option might win on slot thickness, another on cooler clearance, but the final pick should still support safer component fit, cleaner airflow, and easier future upgrades.
The safest answer for ARGB Fan Setup : Master Airflow and Lighting Sync is to test or verify clearance measurements before committing. If another part of the setup is weaker for ARGB Fan Setup : Master Airflow and Lighting Sync, fix that link first so the upgrade can actually show its value.
Use ARGB Fan Setup : Master Airflow and Lighting Sync as a decision checklist. Confirm slot thickness, compare the cost against the rest of the setup, and pick the ARGB Fan Setup : Master Airflow and Lighting Sync option that gives the cleanest path to safer component fit, cleaner airflow, and easier future upgrades.
The safest answer for ARGB Fan Setup : Master Airflow and Lighting Sync is to test or verify cable bend radius before committing. If another part of the setup is weaker for ARGB Fan Setup : Master Airflow and Lighting Sync, fix that link first so the upgrade can actually show its value.
If the choice around ARGB Fan Setup : Master Airflow and Lighting Sync still feels close, pick the safer fit: better compatibility, easier support, and enough headroom for the way you actually use the setup.
Shop relevant Gamdias Cases options for your setup: https://www.evetech.co.za/PC-Components/gamdias-gaming-cases-292
Front and bottom fans should act as intakes, while rear and top fans should act as exhausts to create efficient airflow and prevent heat buildup.
While you can connect fans directly to your motherboard's 5V ARGB header, a dedicated controller is recommended for managing complex lighting sync and speed.
Positive pressure occurs when more air enters than exits, reducing dust buildup. Negative pressure pulls more air out, which can potentially increase dust intake.
Yes, but you will need a universal ARGB hub to synchronize the lighting effects across different brands via your motherboard software.
Optimize cooling by ensuring a clear path for airflow, using high-static pressure fans for radiators, and maintaining a balanced intake-to-exhaust ratio.
ARGB fans offer the same performance as standard fans but provide superior aesthetic customization; performance depends on the fan blade design and RPM.
Top Laptop for Wits Students Under R8000 picks evaluated on performance, value & SA availability with current Rand pricing from Evetech.
Read more
Build Your R8,000 Student Laptop Setup: Complete. Clear setup instructions with SA-specific considerations, troubleshooting tips & recommended components.
Read more
Wits Laptops Under R8000: Q4 Report. Full parts list, Rand pricing & expected performance. Build confidently with SA-available components.
Read more
Top Laptops Under R8,000 picks evaluated on performance, value & SA availability with current Rand pricing from Evetech.
Read more
Top Budget Monitor for MacBook Under R5,000 picks evaluated on performance, value & SA availability with current Rand pricing from Evetech.
Read more
NWU Laptops Under R8000: Q3 Report. Full parts list, Rand pricing & expected performance. Build confidently with SA-available components.
Read more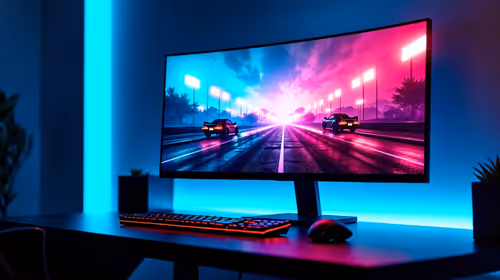
CS2 Low FPS: Monitor Bottleneck. Real-world benchmark data, FPS numbers & performance analysis. What SA gamers can actually expect.
Is AOC a Good Monitor Brand for Gaming in South Africa Detailed answer with SA data, expert analysis & practical recommendations for local buyers.
What Gaming Monitor Can You Get for R20,000. Full parts list, Rand pricing & expected performance. Build confidently with SA-available components.
What Gamers Actually Bought: November Report. Real purchase data from SA retailers revealing what local buyers are actually choosing and why.
Can the RX 7700 XT Handle 1440p 144Hz Gaming. Performance testing verdict with real data & practical recommendations for SA buyers.
Top Laptop with Core i7 + RX 7700S: Picks picks evaluated on performance, value & SA availability with current Rand pricing from Evetech.
RX 7700 XT Black Myth Wukong 2 FPS: Performance. Real-world benchmark data, FPS numbers & performance analysis. What SA gamers can actually expect.

RTX 6080 Gran Turismo 7 PC Performance: FPS Test. Real-world benchmark data, FPS numbers & performance analysis. What SA gamers can actually expect.

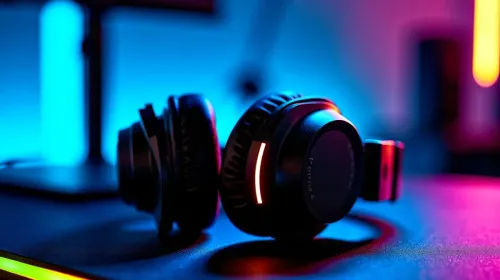
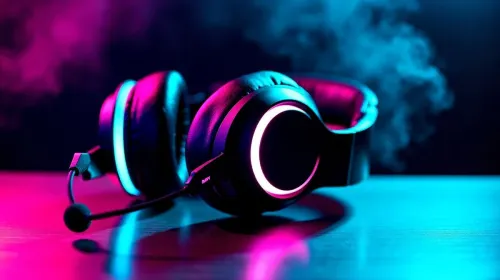
Eliminate background noise in gaming voice chat using cardioid microphones to focus on your voice and reject room sounds. Get cleaner comms fast with smart placement and settings—🎮🎧
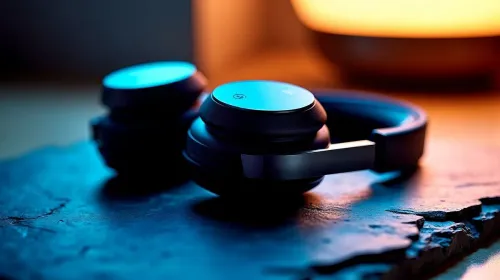
Wondering how much to spend on a high-end gaming headset in South Africa? We break down budget vs performance, what you actually get, and smart upgrade steps 🎧⚡
Wondering about THX Spatial Audio vs 7.1 surround for positional awareness? We compare imaging, depth, and cueing so you can pick the best option for gaming. 🎧👣
50mm bio-cellulose drivers vs standard drivers: does material affect audio precision? Compare clarity, bass control, and imaging so you can choose the right headphones. 🎧🔍