How to Install a 360mm Liquid-Cooled GPU in an ATX Case (South African Build Lab Guide) 🔧
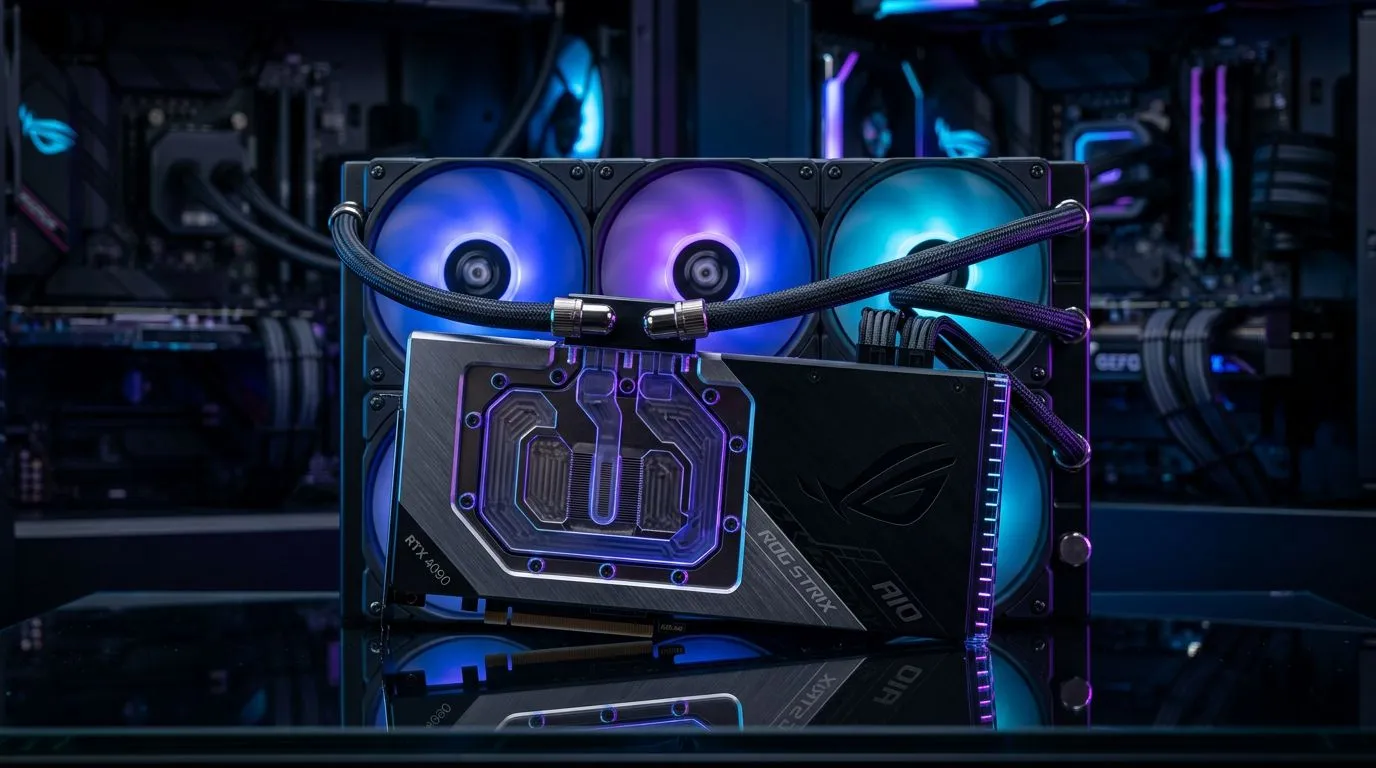
If you’re building a PC in South Africa, you already know the real bottleneck is often the desk space… and the air flow. A 360mm liquid-cooled GPU can look amazing in a tempered-glass ATX case, but the install details decide whether you get whisper-quiet performance or annoying temps.
In this Build Lab guide, we’ll walk you through the practical, no-fluff steps to install a 360mm liquid-cooled GPU in an ATX case. You’ll also get a quick checklist for mounting, clearance, leaks, and first-boot sanity checks.
Plan First: Confirm Your ATX Case Fit for a 360mm Liquid-Cooled GPU ✨
Before you pick up a screwdriver, do a 2-minute compatibility check. “360mm” refers to the radiator length, but the GPU itself still needs space for its block, tubes, and the card’s full thickness.
Start with these checks:
- Case radiator support: Measure where your 360mm radiator can mount (front or top is common in ATX cases).
- GPU clearance: Confirm your case supports the GPU length and thickness for the specific model you’re buying.
- Hose/tube routing: Make sure there’s room for bends without kinks.
If you’re browsing Evetech for the exact GPU model, match the brand and series to the cards you’re comparing. This is the easiest way to avoid “same cooling size, different body dimensions” surprises.
- Browse MSI graphics cards here: MSI options
- Or compare Radeon graphics cards: Radeon graphics cards
- Need Nvidia/GeForce specifically? Start here: GeForce graphics cards
- Or view the full selection: Graphics cards at Evetech
Tools You’ll Actually Need (Keep It Simple) ⚡
You don’t need a workshop. But you do need the basics:
- #2 Phillips screwdriver
- Cable ties (or velcro straps)
- Isopropyl alcohol wipes (for cleaning old thermal paste if you’re swapping)
- A torch (phone torch works)
- A small bowl to hold screws
- Anti-static precautions (touch the case regularly)
How to Install a 360mm Liquid-Cooled GPU in an ATX Case: Step-by-Step 🔧
Here’s the install flow that avoids most common headaches.
1) Power down and prep the case
- Switch off the PSU and unplug the power cable.
- Remove the side panel.
- If you’re moving from an older build, remove the old GPU first.
2) Mount the radiator where it makes sense for airflow
Most builders mount a 360mm radiator in the front or top of an ATX case.
- Front mount: tends to feed the radiator with cool-ish intake air.
- Top mount: can work well, but routing matters more.
Mount the radiator with the fans oriented for your airflow plan. If you’re doing a positive-pressure build, you’ll usually want radiator fans as intake and keep exhaust consistent.
Important: Keep tubes stress-free. Don’t force tight bends right at the fittings. That’s where problems start later.
3) Plan tube routing before you install the GPU
Before you seat the GPU:
- dry-route the tubes so they don’t press against the case panel
- ensure the tubes don’t interfere with the PCIe slot latch or other connectors
If your tubes need to cross near the GPU’s power cables, reroute now. Fixing cable mess after installation is… painful.
4) Install the GPU into the PCIe slot
- Locate the correct PCIe x16 slot.
- Open the slot latch.
- Insert the GPU evenly (don’t “angle” it in and hope).
- Secure the bracket screws.
If your 360mm liquid-cooled GPU is chunky, you may need to loosen the case’s lower bracket area (some cases use removable covers). Go gently. You’re building, not wrestling.
5) Connect the pump and fan headers correctly
Liquid cooling kits typically use:
- a pump/power connector
- one or more fan headers (for radiator fans)
Use the motherboard headers your kit instructions recommend. If you don’t, the pump may run at a fixed speed or not at all. That’s a bad first-boot surprise.
6) Check clearances and cable tension
Do a quick physical check:
- Can the side panel close without pushing on tubes?
- Are power cables fully seated on the GPU?
- Is there any rubbing between fan blades and cables?
This is where small adjustments prevent future rattles and airflow loss.
7) Fill and bleeding (only if your kit requires it)
Some AIO GPU setups are pre-filled. Others are not. Only do this part if your specific unit requires it. If you’re unsure, follow the included manufacturer instructions rather than guessing.
If you want peace of mind, match your plan to the exact product details on the Evetech listing before you start.
Productivity Pro Tip 🔥
When you’re planning tube routing, do a dry run with the side panel slightly closed. If the panel touches a tube, adjust the radiator angle or fan orientation now. It’s faster than rebuilding after you’ve secured every screw.
First Boot Checklist: Verify Temps and Pump Health 🚀
After installation:
- Start the PC and watch for obvious issues: no power cycling, no error beeps.
- Enter your BIOS or monitor with your preferred software.
- Confirm the pump is detected.
- Check idle temperatures and fan behaviour.
Then run a short stress test (just long enough to confirm stability). If temps climb rapidly or the pump reads as “not detected”, shut down immediately and re-check headers.
What “Good” looks like in real life
Different GPUs behave differently, and your room temperature in South Africa matters. The key signs are:
- stable readings at idle
- steady pump detection
- no alarming fan spin patterns
Avoid over-committing to one metric. Watch trends across a few minutes.
Common Mistakes When Installing a 360mm Liquid-Cooled GPU 😅
These are the issues we see most often:
- Ignoring clearance: tubes get pinched by the side panel.
- Wrong header connections: pump not running.
- Over-tightening fittings: can cause leaks or damage (use the kit’s guidance).
- Skipping cable routing: power connectors snag fans later.
If you’re building in a smaller ATX case, clearance is everything. Don’t assume “it fits” until you dry-test the final closure.
Ready to Find Your Perfect 360mm Fit? ✨
If you want this install to go smoothly, start with the exact GPU model you’re planning to buy. That’s the fastest way to get the correct fit, tube layout, and cooling expectations.
Ready to Find Your Perfect Match? The Mac vs Windows debate is complex, but for maximum power, choice, and value in South Africa, Windows is hard to beat. Explore our massive range of laptop specials and find the perfect machine to conquer your world.