Pair PWM Case Fans With Motherboard ARGB Sync Headers: The First Upgrade That Actually Makes Sense
Upgrading your PC cooling in South Africa is a bit like choosing the right braai grid… it’s not just about looks, it’s about performance. 🧊 If you’ve ever thought your case fans look “fine” but your temperatures are a bit too high, there’s a smarter way. This guide walks you through pairing PWM case fans with motherboard ARGB sync headers, so your system runs cooler and looks sharper in sync. ⚡
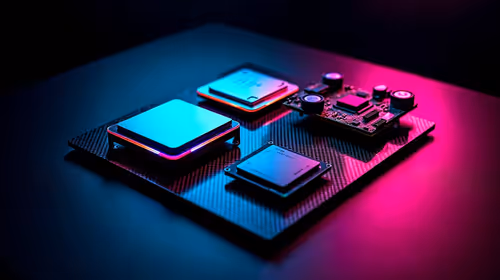
Why PWM + ARGB Sync Headers Matter (and what each part does)
Before you buy, it helps to know what you’re connecting.
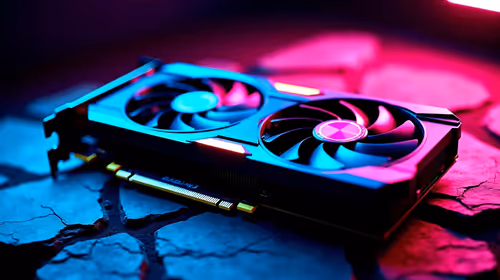
PWM fans = better control over cooling
PWM (Pulse Width Modulation) lets your motherboard adjust fan speed based on temperatures. That means quieter idle moments, stronger airflow under load, and smoother thermals while gaming or rendering. 🔧
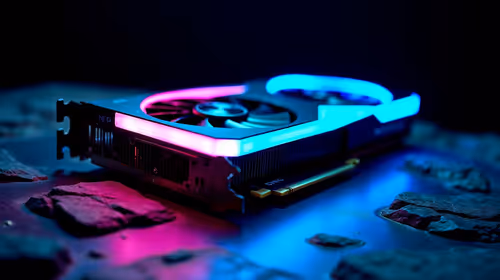
ARGB headers = coordinated lighting without chaos
ARGB sync headers let your motherboard control lighting effects across compatible fans. Instead of each fan “doing its own thing”, you get consistent patterns you can match to your setup.
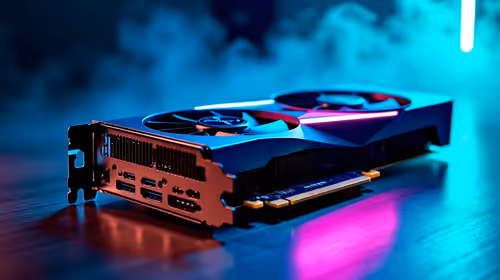
The compatibility check you should never skip
Not all motherboards include the same lighting headers, and not all cases support all fan layouts. Also, ARGB is not the same as RGB (they use different electrical signalling). If you want fewer headaches, match fan specs to your board’s header type before ordering.
Productivity Pro Tip ⚡
Choose your fan size first (120mm or 140mm), then pick PWM fans that match. After that, confirm your motherboard has an ARGB sync header for lighting control. It saves you from having to replace fans because a header or mounting size doesn’t line up.
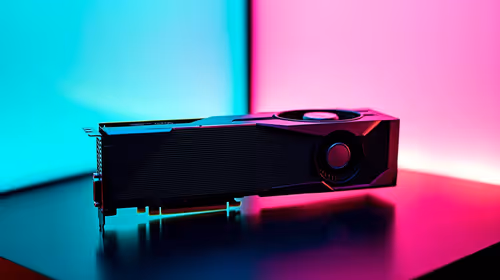
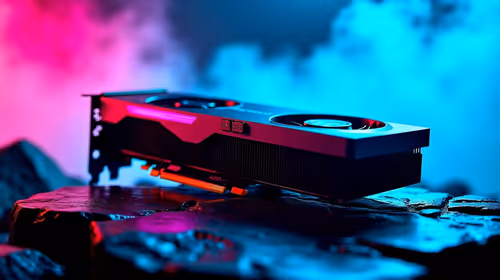
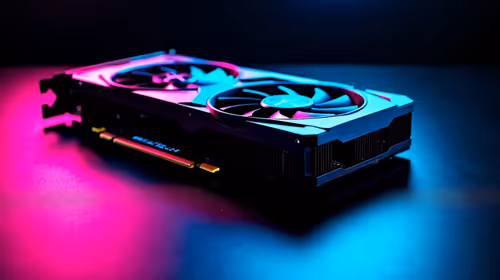
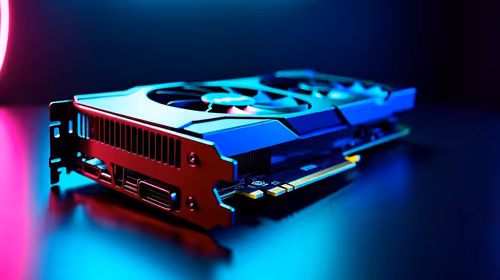
Finding the right fans: size and lighting choices that fit your case
If you’re building in a popular mid-tower, the most common options are 120mm and 140mm. 140mm fans often move more air at lower RPM, which can feel quieter in daily use… but you still need the space and mounting points.
Start here if you want to browse compatible options:
- Explore all case fans at Evetech: Case fans selection
- If you’re leaning toward a specific brand for consistency, check out: CORSAIR case fans
- For budget-friendly performance and solid cooling, browse: Deepcool case fans
- Want fans that support lighting effects? Use the filters: Case fans with RGB lighting effects
- Prefer clean builds with no lights? Filter for no lighting: Case fans without lighting effects
- If your mounting supports 120mm, filter the size: 120mm case fans
- And if you’ve got room for larger blades, check: 140mm case fans
Pairing steps: how to connect PWM and ARGB the right way
Here’s the practical order most builders follow (and yes, it prevents the “why isn’t it working?” moment) 🧠
Step 1: Connect PWM to the motherboard fan header
- Plug the fan’s PWM/4-pin connector into a motherboard fan header.
- Leave temperature control to the BIOS or your motherboard software.
- If you daisy-chain, do it only if the fan kit supports it properly.
Step 2: Connect ARGB to the motherboard ARGB sync header
- Use the ARGB (3-pin) connector into the motherboard’s ARGB header.
- Ensure the 5V 3-pin vs 12V mismatch doesn’t happen. If in doubt, check your motherboard documentation rather than guessing.
Step 3: Set fan curves and lighting profiles
- In BIOS/software, set a conservative fan curve first. Gaming loads should ramp smoothly, not spike.
- For ARGB, start with “preset” effects, then tune brightness and speed so it looks good in SA’s daylight and at night.
Step 4: Cable management for airflow (and sanity)
A neat cable run stops turbulence and makes future troubleshooting easier. Under load, airflow matters. Over time, it also helps dust management.
Common pitfalls South Africans run into (so you don’t)
- Buying RGB when your board expects ARGB: lighting either won’t sync or behaves oddly.
- Mixing fan control types: some fans accept PWM, others only DC control.
- Forgetting header capacity: some boards can only run so many lighting connections reliably.
If your goal is an organised setup that looks intentional and cools properly, pairing PWM control with ARGB sync is one of the cleanest upgrades you can do. ✨
Ready to Find Your Perfect Match? Upgrade planning gets easier when you can browse cooling and lighting options in one place. For maximum power, choice, and value in South Africa, stock and compatibility matter. Explore our massive range of case fans and build your setup the right way.