
Top Surge-Protected Chargers That Justify Every Rand
Discover surge-protected chargers that users swear by for safety and value 💡 🔌. Backed by real reviews and performance insights 🔋
Read moreRemove visual artifacts from refurb graphics to optimize display performance 🎨💡. Professional display solutions for time-sensitive projects.

Scored a lekker deal on a refurb GPU or laptop, only to see your screen flicker like a faulty street light during load shedding? You’re not alone. Those weird, blocky pixels and screen tears—known as visual artifacts—can ruin a perfect headshot. Before you panic-buy a new card, let’s dive into some practical steps for fixing refurb graphics glitches and getting your games looking crisp. ✨
Before we can fix the problem, we need to understand it. Refurbished graphics cards have a history. The visual artifacts you're seeing could stem from a few common culprits: lingering driver conflicts from a previous owner's system, unstable overclocks that were never reset, or simply the card running a bit too hot due to aging thermal paste. Sometimes, it’s a simple software issue. Other times… it’s a bit more hands-on. Even when buying new, it pays to know your hardware, and Evetech's range of laptop specials for sale in South Africa has options for every kind of user.
Always start with software. It's the easiest, safest, and often the most effective way to solve your problem. Don't crack open your PC case just yet; try these steps first to remove visual artifacts without touching a screwdriver.
A clean slate is crucial. Leftover bits of old NVIDIA, AMD, or Intel drivers can cause chaos on a new system. The solution is to perform a completely clean installation, and the best tool for the job is DDU.
Before installing new drivers, always use Display Driver Uninstaller (DDU) in Safe Mode. It completely removes old driver remnants that standard uninstallers miss, preventing conflicts that cause visual glitches. It’s a must-do step for any second-hand GPU.
The card's previous owner might have been an enthusiast who pushed the GPU to its limits. An unstable overclock is a primary cause of artifacts. Using a tool like MSI Afterburner, try slightly reducing the Core Clock and Memory Clock speeds by 50-100MHz. If the glitches disappear, you've found your culprit.
If software tweaks didn't work, it's time to get your hands dirty. These steps involve checking the physical hardware. Proceed with care, and remember that opening your device may affect its warranty.
It sounds too simple, but it happens. Make sure your HDMI or DisplayPort cable is securely plugged in at both ends. If possible, try a different cable or a different port on your GPU and monitor. A faulty cable can absolutely cause screen tearing and flickering.
Overheating is a GPU's worst enemy. After years of use, the thermal paste that transfers heat from the GPU die to the heatsink can dry out and become ineffective. Replacing it can dramatically lower temperatures and eliminate thermal-induced artifacts. This is true for both desktops and laptops. Whether you're running one of the latest AMD laptops on special or a Team Blue machine, keeping things cool is vital. The same principles apply to the powerful GPUs found in many Intel laptops on special, where every degree counts.
So, you've updated drivers, tweaked clocks, and checked your hardware... but the glitches persist. 💻 Sometimes, a card has underlying hardware damage that can't be fixed. If you see artifacts on the boot screen (before Windows even loads), or if the glitches get progressively worse, it might be a sign of failing VRAM or a damaged GPU core. At this point, the time and effort to fix it may not be worth the headache. Deciding to upgrade can save you a lot of future frustration, and you don't have to break the bank to get great performance with our gaming laptops under R20k.
Ready for a Glitch-Free Gaming Rig? If you've tried everything and those artifacts won't budge, it might be time for an upgrade. Check out the best gaming laptop deals for performance that leaves lag in the dust.
Visual artifacts appear as flickering pixels, color distortions, or screen tearing. Check displays under stress tests to detect issues.
Artifacts often come from overheating GPUs, outdated drivers, or defective screen panels. Physical damage may also disrupt pixel integrity.
Update drivers, inspect for physical damage, monitor GPU temperatures, and recalibrate display settings to restore pixel accuracy.
Persistent artifacts may indicate failing panels. Address underlying GPU issues early to avoid permanent damage to refurbished displays.
Depends on the seller's policies – check warranty terms before purchase. Frequent artifacts may require professional diagnostics.
Avoid overheating, use manufacturer-recommended software, and opt for trusted providers offering reliable refurb graphics cards.
Discover surge-protected chargers that users swear by for safety and value 💡 🔌. Backed by real reviews and performance insights 🔋
Read more
- Audit frame gen impact; - Test parry windows; - Recommend fixes. Frame Gen Code Vein 2: Learn how frame generation affects parry timing, tests and practical fixes to keep parries consistent. 🕹️⚡
Read more
Is a Ultra Short Throw Projector Good for Gaming?. Diagnosis steps, proven fixes & when to seek professional help. SA-specific support info included.

Is a Short Throw Projector Good for Gaming? Input. Diagnosis steps, proven fixes & when to seek professional help. SA-specific support info included.

Top Mouse Settings for Competitive FPS: Sensitivity picks evaluated on performance, value & SA availability with current Rand pricing from Evetech.

Top Speakers for MacBook Desk Setup picks evaluated on performance, value & SA availability with current Rand pricing from Evetech.

Is a Ergonomic Chair Better Than a Standard Office Chair for Gaming Detailed answer with SA data, expert analysis & practical recommendations for local buyers.

Use Spotlight Search Like a Pro on macOS. Step-by-step instructions with SA-specific tips, common pitfalls to avoid & expert recommendations.

wireless keyboard Fan Noise Too Loud: Quiet. Everything you need to know with SA pricing, step-by-step instructions & expert recommendations.

Connection Timeout: Troubleshooting Guide #2. Diagnosis steps, proven fixes & when to seek professional help. SA-specific support info included.
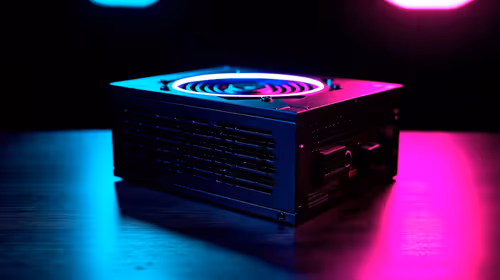
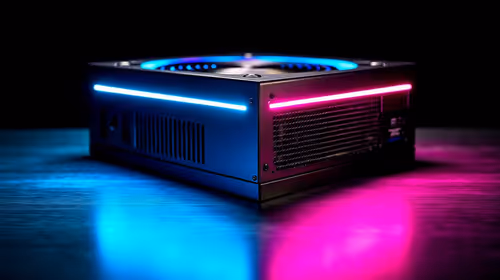
Gaming PC Question: Is my power supply dying Detailed answer with SA data, expert analysis & practical recommendations for local buyers.

Projector Throw Ratio Calculator: Perfect. SA-focused analysis with local pricing data, real-world insights & actionable buying advice.
Monitor Stock Levels in Nelspruit: July Report. Current stock data & price tracking for SA buyers. See what is available and where prices are heading.
CS2 Low FPS: Power Supply Bottleneck. Real-world benchmark data, FPS numbers & performance analysis. What SA gamers can actually expect.