
Complete Guide: Setting Up Monitor Light
Setting Up Monitor Light. Tested & verified settings for best FPS and visual quality on SA hardware budgets.
Read moreWake-on-LAN lets you power on PCs and servers remotely — learn setup, BIOS and router steps, and secure best practices to manage devices from anywhere 🔌⚡

Ever left home for the office or a local LAN party only to realise your most important files are sitting on a powered-down PC? It is a frustration many of us in South Africa know all too well. Thankfully, Wake-on-LAN (WoL) allows you to wake your computer from sleep or hibernation remotely... turning your home rig into a personal server accessible from anywhere in the world. 🚀
At its core, Wake-on-LAN is a networking standard that allows a computer to be turned on or awakened by a network message. This message is technically known as a "Magic Packet". When your PC is "off", your network card stays in a low-power mode, listening for this specific packet that contains its unique MAC address.
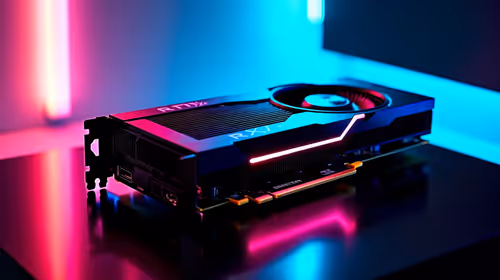
For this to work reliably, you need hardware that supports the standard. Most modern motherboards have this built-in, but if you are looking for a more stable connection or upgrading an older server, browsing high-quality network adapters is the best place to start. A dedicated card often provides better driver support for power management features than basic on-board chips.
While many motherboards include Ethernet ports, not all of them handle power states gracefully... especially during our frequent South African power fluctuations. Using a dedicated PCIe card can often provide a more consistent "wake" experience. For instance, many users prefer TP-LINK adapters because of their robust driver support in both Windows and Linux environments.
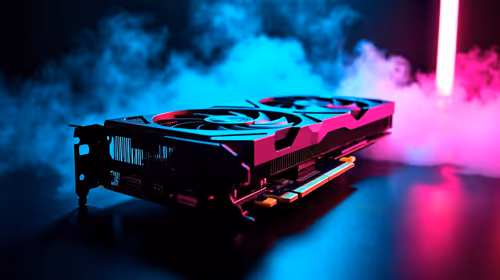
If you are setting up a budget-friendly home media server, you might also consider Cudy networking gear to ensure your machine stays reachable without breaking the bank. Remember, for WoL to be truly effective, a wired Ethernet connection is highly recommended. While "Wake-on-Wireless-LAN" exists, it is significantly more complex to configure and often less reliable than a physical cable. 🔧
When setting up Wake-on-LAN for access outside your local network, avoid opening port 9 to the entire internet. Instead, use a VPN hosted on your router to securely tunnel into your home network first. This ensures your PC stays wakeable only by you and not by random bots scanning for open ports.
To get started, you will need to dive into your BIOS or UEFI settings. Look for "Power Management" or "Advanced" tabs and enable "Wake up on LAN" or "PME Event Wake up". Once that is done, you must configure your operating system.
In Windows, you can find your network controller in the Device Manager. Under the "Power Management" tab, ensure "Allow this device to wake the computer" is checked. This simple toggle is often the difference between a productive remote session and a wasted trip back home. ✨
With electricity costs rising and the need for remote work increasing, leaving a high-powered gaming rig running 24/7 is not always feasible. By using Wake-on-LAN, you can keep your PC off during the day and only wake it when you need to grab a file, run a render, or start a game download before you get home. It is about working smarter and keeping those ZAR savings in your pocket while maintaining total control over your tech stack. ⚡
Ready to Build Your Remote Powerhouse? Mastering Wake-on-LAN is the first step toward a truly connected home server or workstation. To ensure a rock-solid connection that never fails when you're away, explore our range of high-performance network adapters and take full control of your tech today.
Wake-on-LAN is a network feature that uses a magic packet to power on a PC or server remotely across a LAN or via routed networks.
Enable Wake-on-LAN or wake on PCI/PCIe in BIOS power settings, then allow wake events for the NIC in the OS.
Yes — with router port forwarding, directed magic packets, or a VPN you can send Wake-on-LAN over the internet safely.
Open Device Manager, select your network adapter, enable 'Allow this device to wake the computer' and enable magic packet in advanced properties.
It works when the NIC has standby power (typical S3 or soft shutdown). Full power removal or disabled NIC power can prevent wake.
Magic packets are not encrypted; secure Wake-on-LAN with VPNs, firewall rules, restricted port forwarding and network segmentation.
Wake-on-WAN requires router configuration or VPN because routers don't forward broadcasts; use directed packets, static ARP, or VPN tunnels.
Setting Up Monitor Light. Tested & verified settings for best FPS and visual quality on SA hardware budgets.
Read more
Assassins Creed Shadows Ultrawide Support: 21:9. Clear setup instructions with SA-specific considerations, troubleshooting tips & recommended components.
Read more
Complete Gaming Setup Guide for the Collector. Clear setup instructions with SA-specific considerations, troubleshooting tips & recommended components.
Read more
Will the Steam Deck 2 Have an OLED Screen? Leaked. Plain-English explanation of what it means, why it matters & how it affects your buying decisions in SA.
Read more
Setting Up Ultrawide 144Hz. Tested & verified settings for best FPS and visual quality on SA hardware budgets.
Read more
Kingdom Come: Deliverance 2 Ultrawide Support. Clear setup instructions with SA-specific considerations, troubleshooting tips & recommended components.
Read more
When Will the RTX 6090 Launch in South Africa Detailed answer with SA data, expert analysis & practical recommendations for local buyers.
Top Valorant Settings for RTX 5070: FPS Optimisation picks evaluated on performance, value & SA availability with current Rand pricing from Evetech.
RDNA 3.5 Graphics in Ryzen AI 400? Can You Game. Plain-English explanation of what it means, why it matters & how it affects your buying decisions in SA.

GPU Price Index : December Report. Current stock data & price tracking for SA buyers. See what is available and where prices are heading.
Can the RX 7700 XT Handle 1440p 144Hz Gaming. Performance testing verdict with real data & practical recommendations for SA buyers.
Top Laptop with Core i7 + RX 7700S: Picks picks evaluated on performance, value & SA availability with current Rand pricing from Evetech.

RX 7700 XT Black Myth Wukong 2 FPS: Performance. Real-world benchmark data, FPS numbers & performance analysis. What SA gamers can actually expect.

RTX 6080 Gran Turismo 7 PC Performance: FPS Test. Real-world benchmark data, FPS numbers & performance analysis. What SA gamers can actually expect.
Setting Up Monitor Light. Tested & verified settings for best FPS and visual quality on SA hardware budgets.
Assassins Creed Shadows Ultrawide Support: 21:9. Clear setup instructions with SA-specific considerations, troubleshooting tips & recommended components.
Complete Gaming Setup Guide for the Collector. Clear setup instructions with SA-specific considerations, troubleshooting tips & recommended components.
Will the Steam Deck 2 Have an OLED Screen? Leaked. Plain-English explanation of what it means, why it matters & how it affects your buying decisions in SA.