240mm liquid CPU cooler installation: why it matters
Thinking of a quieter, cooler build for CS:GO nights or streaming from Cape Town? A 240mm liquid CPU cooler installation for best thermals can drop temps and noise when done right. This guide walks through placement, fan choice, and airflow tweaks so your rig hits low temps without drama—perfect for local overclocking and sustained gaming sessions. 🔧✨
240mm liquid CPU cooler installation: radiator placement & case prep
Before you mount anything, map fan directions and radiator orientation. Fans push or pull air; confirm which your case supports. Evetech lists case fan options if you need upgrades—browse standard and RGB models to match radiator thickness and static pressure.
Measure clearance first. Many 240mm radiators require real clearance behind the front panel once fans are fitted; check your case specs. If you plan Corsair-style mounts, factor in cable routing for pump power and RGB headers. Find Corsair-compatible fans and accessories to suit your build.
Top or front mount? If you push hot air into the case, the exhaust path must be clear. Many builders prefer top exhaust, front intake with negative pressure tuned by a rear exhaust fan. Deepcool fan options give you choices when static pressure matters.
240mm liquid CPU cooler installation: fans, tubing and final tips
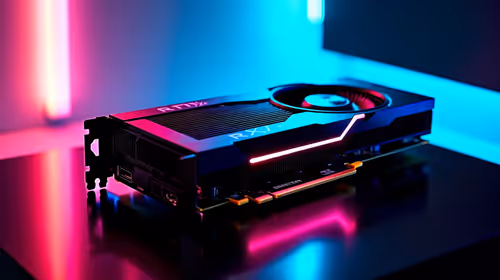
Choosing fans matters. Two 120mm fans are standard for a 240mm radiator, but if your case supports 140mm fans, you might prefer the extra airflow per fan. Balance RPM and noise; prioritise high static pressure over lighting if thermals are the goal.
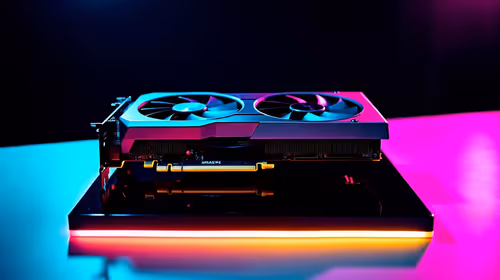
Route tubes so the pump stays lower than the radiator when possible to avoid air pockets. Secure fittings but don't overtighten. Decide whether you want lighting; RGB fans add flair but can change choices. Or pick non-RGB fans for a stealthier, often cheaper setup. 🚀
Installation Pro Tip ⚡
To bleed air from your loop, tilt the case gently and run the pump at low speed while tapping the radiator and hose high points. Use fan screws snug, not over-torqued, to avoid warping the radiator. This prevents whine and keeps thermals stable.
On a recent build in Johannesburg I swapped stock coolers for a 240mm AIO and saw sustained CPU temps fall noticeably under load; the rig ran quieter and avoided thermal throttling during long sessions. Start by dry-fitting radiator and fans, manage pump power cables, and confirm a successful boot before applying paste. Use a quality thermal compound and either a cross or pea spread, depending on your CPU lid. If you will overclock, monitor temps and tune fan curves so the radiator handles the heat. For silence, favour low RPM, high static pressure fans. Your fan choice also sets the look; check product pages for dimensions and fitment or ask an Evetech technician. It helped during long livestreams and heavy video editing tasks. Compare prices in ZAR and factor shipping to avoid surprises today. 🚀
Ready to Find Your Perfect Match? The Mac vs Windows debate is complex, but for maximum power, choice, and value in South Africa, Windows is hard to beat. Explore our massive range of laptop specials and find the perfect machine to conquer your world.