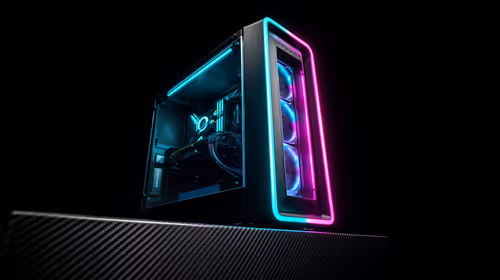
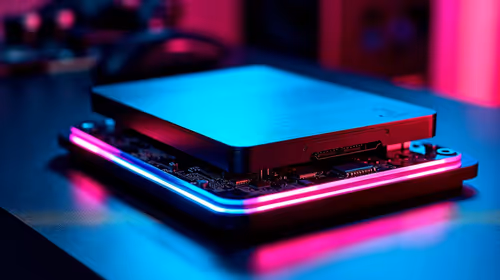
So, you’ve invested in the beastly Corsair iCUE LINK TITAN 360 AIO cooler. Lekker! This isn’t just a component; it’s the heart of your rig's cooling system, keeping that CPU frosty during intense sessions of Apex Legends or a heavy render. But like any high-performance machine, it needs a bit of TLC to stay at the top of its game. This simple Corsair iCUE LINK TITAN 360 maintenance guide will show you how.
Why Regular Maintenance for Your TITAN 360 Matters
Neglecting your AIO cooler is a recipe for trouble. Over time, dust is the ultimate enemy. It clogs radiator fins, suffocates fans, and forces the whole system to work harder. This leads to higher temperatures, louder fan noise, and can even shorten the lifespan of your components.
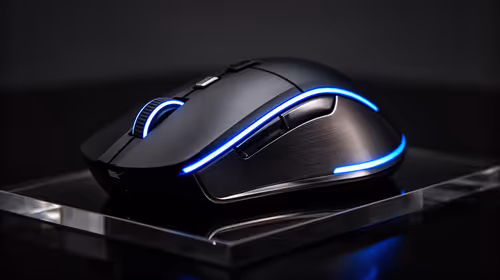
Think of it this way: you wouldn't let your high-end rig get dusty while using a sticky, old keyboard, would you? A clean system, from the CPU cooler to a top-tier gaming keyboard, just performs and feels better. A quick, regular clean-up ensures your TITAN 360 delivers the peak performance you paid for.
Your Simple TITAN 360 Maintenance Toolkit 🔧
The good news? You don't need a workshop full of specialised tools. For effective Corsair iCUE LINK TITAN 360 maintenance, you just need a few basic items:
- A can of compressed air: The number one tool for blasting dust out of hard-to-reach places.
- A soft-bristle brush: Perfect for gently dislodging stubborn dust from fan blades and radiator fins. An old, clean paintbrush works wonders.
- Microfibre cloths: For wiping down surfaces without leaving lint behind.
- Isopropyl alcohol (70% or higher): Optional, but great for cleaning any smudges off the pump head.
- Patience: Don't rush it! A calm, methodical approach is best.
Step-by-Step Cleaning Guide for Peak Performance
Ready to get started? Follow these steps every 3-6 months, or more often if you live in a dusty area or have pets.
Step 1: Power Down and Prep
Safety first! Completely shut down your PC and unplug it from the wall. It’s also a good idea to ground yourself by touching a metal part of the case to discharge any static electricity. Give the components a few minutes to cool down before you begin.
Step 2: Cleaning the Radiator and Fans
This is the most crucial part of your TITAN 360 maintenance guide. The radiator is where heat exchange happens, and if it's clogged, your cooling performance will plummet.
- Access the Radiator: Depending on your case, you might need to remove a top or front panel to get clear access to the radiator and its fans.
- Blast the Dust: Using short, controlled bursts of compressed air, blow the dust out of the radiator fins. Always blow air in the opposite direction of the normal airflow to effectively push the dust out.
- Wipe the Fans: Use your soft brush to gently loosen any dust caked onto the fan blades. Follow up with a microfibre cloth to wipe them clean. A clean fan is a quiet and efficient fan. The goal is to make them look as pristine as one of those sleek Glorious gaming keyboards.
Pro Tip: Airflow Direction ⚡
Not sure which way your fans blow? Look for a small arrow on the fan's housing. For radiators, it's best to have fans pushing air through the fins and out of the case (exhaust) or pulling fresh air into the case (intake). Consistent cleaning prevents dust from building up on the "intake" side of the fins.
Step 3: Wiping Down the Pump Head and Tubing
With the hard part done, let's focus on the aesthetics. The TITAN 360 pump head is a centrepiece of your build. Use a dry microfibre cloth to wipe away any dust from the pump head and the tubing. If there are stubborn fingerprints, apply a small amount of isopropyl alcohol to the cloth first... never directly onto the component. You want its lighting to shine as brightly as a premium RGB Razer gaming keyboard.
Step 4: Final Checks and Power Up ✨
Before you close up your case, do a quick visual check. Ensure all iCUE LINK connectors are still securely clipped in. Once you're happy, seal everything up, plug your PC back in, and boot it up. Fire up the Corsair iCUE software to monitor your coolant temperatures. You should notice they are a few degrees lower under load, and your system might even be a bit quieter. Job done! It's the kind of satisfying finish that makes you want to pair your clean rig with a brand new peripheral, like a responsive Razer gaming keyboard.
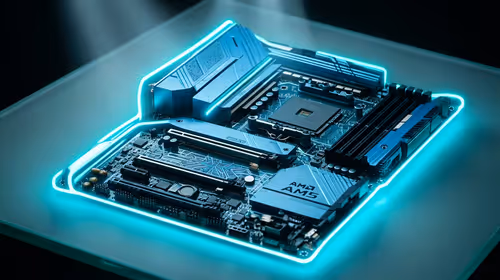
Ready to Elevate Your Entire Rig? Keeping your cooler in top shape is just one part of the puzzle. A truly elite setup performs flawlessly from its core components to its peripherals. Explore our massive range of PC components and find the next upgrade to conquer your world.