E-ATX motherboard case: a quick real-world hook 🔧🚀
Buying an E-ATX build and not sure if the case will swallow your components? South African builders often misjudge depth, radiator clearance and PSU length — and only notice at the bench. This short guide keeps you from that late-night swap, with space checks and installation tips that actually save time and money.
E-ATX motherboard case space requirements — what to measure first
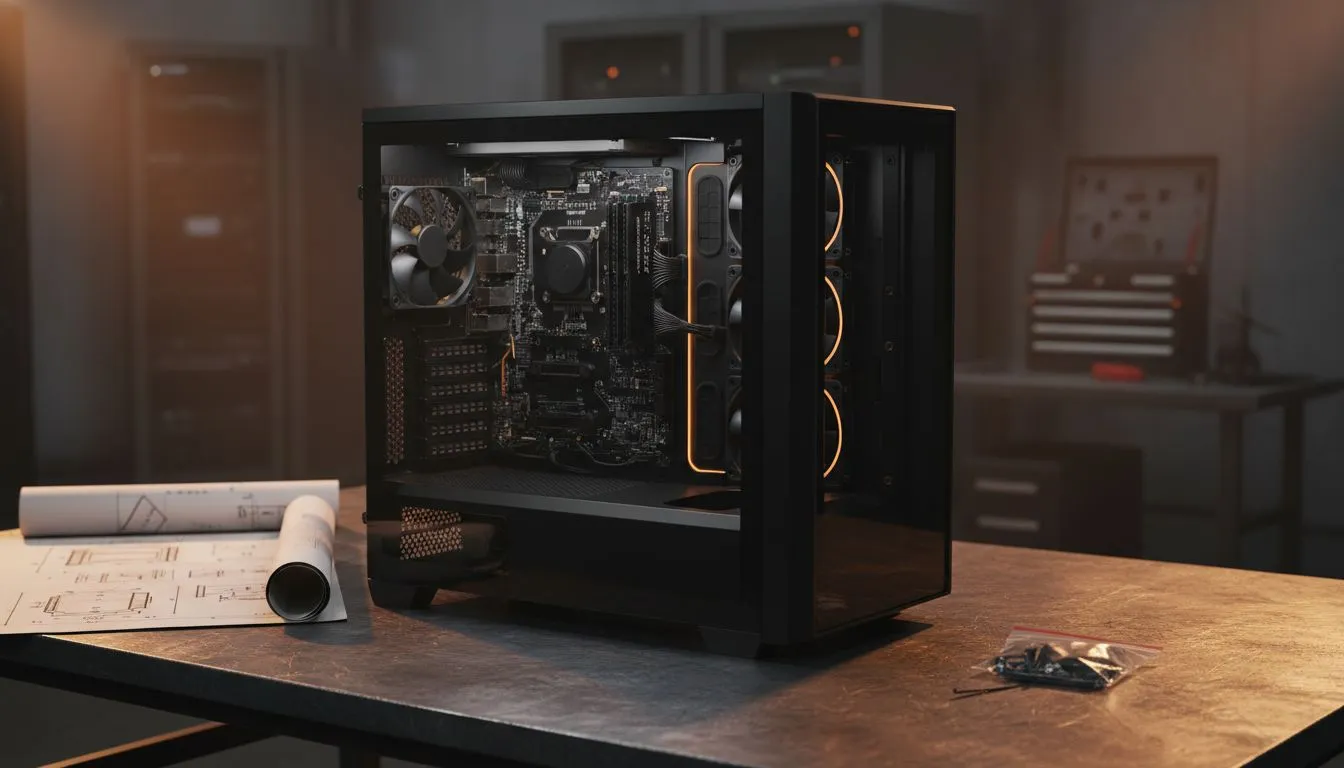
Before you order, measure your planned layout. An E-ATX motherboard typically needs a wider tray and extra standoff positions. Check three critical clearances: front-mounted radiator depth, GPU length, and PSU plus cable room at the base. For a quick browse of case sizes and layouts, start with Evetech’s case category to compare common form factors and models: https://www.evetech.co.za/components/computer-cases-70.
E-ATX motherboard case radiator and GPU clearance tips ⚡
Radiator placement kills compatibility more often than board width. If you want a 360mm up top, verify that the case supports that radiator plus RAM height. Measure the maximum GPU length against the case spec and leave 20–30 mm for cable slack. For modular front panels and space-saving brackets, see examples from Fractal Design that help when you need cleaner radiators or fan mounts: https://www.evetech.co.za/PC-Components/fractal-design-pc-cases-346.
Build Lab Tip ⚡
When fitting an E-ATX board, temporarily slot your motherboard into the case before installing the cooler or GPU. Confirm standoff alignment and mark any holes. This small check prevents a full reassembly if a standoff is missing or a backplate collides with the rear I O.
E-ATX motherboard case cable management & airflow
E-ATX towers can feel cavernous… and then full of cables. Route PSU cables behind the tray and use the shroud where provided. If the case has removable drive cages, consider relocating them to open a direct airflow path for your GPU. For budget-friendly cases that still offer smart routing, Gamdias has options worth inspecting: https://www.evetech.co.za/PC-Components/gamdias-gaming-cases-293.
E-ATX motherboard case installation sequence — a pro flow
Follow this order to reduce frustration: install CPU and cooler on the motherboard outside the case if the cooler is large; fit standoffs in the case; mount the board; install PSU; route front-panel cables; then GPU last. For options under specific budgets — such as value cases that still accept deeper PSUs or longer GPUs — check Gamdias filtered listings to match price vs. clearance (prices shown in ZAR): https://www.evetech.co.za/PC-Components/gamdias-gaming-cases-293?max-price=1500.
Final checklist before you cart it ✨
- Confirm E-ATX mounting pattern and standoff compatibility.
- Check radiator clearance for front/top/bottom mounting.
- Validate GPU length and PSU depth with cables attached.
- Compare case photos and interior shots on vendor pages.
Ready to Find Your Perfect Match? The Mac vs Windows debate is complex, but for maximum power, choice, and value in South Africa, Windows is hard to beat. Explore our massive range of laptop specials and find the perfect machine to conquer your world.