You’ve done it. You’ve saved up, picked your parts, and now all the boxes for your R10,000 gaming rig are sitting in front of you. The excitement is real! But before you dive in, there’s one crucial step that separates a clean, cool-running machine from a chaotic "rat's nest" that chokes airflow: cable management. This guide will show you exactly how to master your cables, even on a budget build. ✨
Why Cable Management Matters, Even for a R10k PC
It's easy to think that meticulous cable management is only for the monster builds with custom water cooling and RGB everything. But even for a modest R10,000 gaming PC, taking 30 extra minutes to route your cables properly pays off big time.
Here’s why it’s not just about looks:
- Better Airflow, Lower Temps: Clumps of cables can block your case fans, creating hot spots and preventing cool air from reaching your CPU and GPU. A tidy setup allows air to flow freely, which can lower component temperatures. Cooler parts perform better and last longer.
- Easier Upgrades & Maintenance: Need to swap out a hard drive or add more RAM? A well-managed system means you won't have to fight a tangle of wires to get to the part you need. It turns a 30-minute job into a 5-minute one.
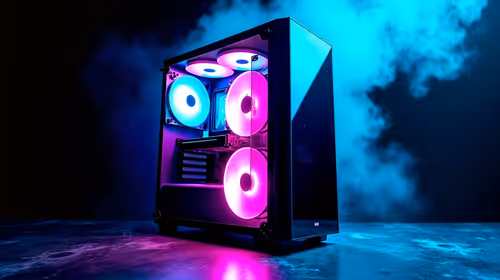
- The Pro-Builder Feel: Let’s be honest… it just looks fantastic. Peering through your side panel and seeing clean lines instead of chaos is incredibly satisfying. It’s the finishing touch that makes the PC truly feel like yours.
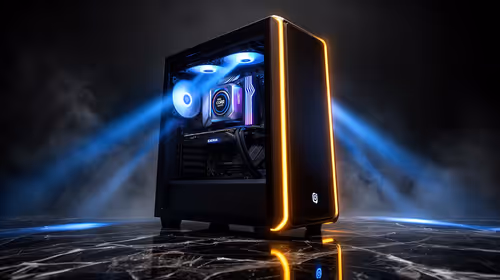
While the custom-sleeved cables on high-end rigs above R20k look incredible, you can achieve a brilliantly clean look with standard cables and a little bit of planning.
Your Toolkit for a Tidy Build
You don't need a fancy workshop to achieve great results. For this R10,000 gaming PC cable management guide, your essential toolkit is simple and cheap:
- Zip Ties (Cable Ties): The undisputed champion. Most PC cases come with a small handful, but it’s worth buying a pack of 100. They cost next to nothing.
- Side Cutters (Flush Cutters): For trimming the excess length off your zip ties cleanly. Using scissors can leave a sharp edge that might scratch you or other cables later.
- Patience: The most important tool! Don't rush. Put on some music and enjoy the process.
The Golden Rule of PC Building 🔧
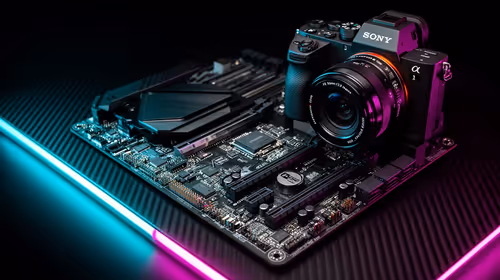
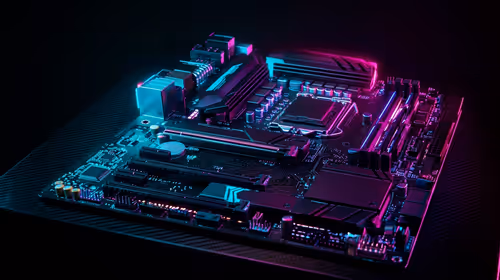
Before you mount anything inside the case, assemble your core components (CPU, RAM, cooler) on the motherboard and place it on top of its anti-static bag on the motherboard box. Connect the power supply and GPU, and boot it up. This is called 'breadboarding', and it confirms your main parts work before you spend an hour managing cables!
The Step-by-Step R10000 Gaming PC Cable Management Guide
Ready to build like a pro? Let's get those cables in order. The key is to work from the biggest cables to the smallest. Many of the affordable chassis you'll find in our range of budget gaming PCs have built-in channels and tie-down points to make this easier.
1. Plan Your Route
Before plugging a single cable in, look at your case. Identify the cutouts around the motherboard tray. Where will the main 24-pin power go? Where's the best hole for the 8-pin CPU power cable at the top of the board? A minute of planning saves an hour of re-doing.
2. Route the Big PSU Cables First
These are the thickest and least flexible cables, so they get priority.
- 24-Pin Motherboard Power: Route this through the main cutout next to the motherboard. Plug it in, then pull any slack back behind the motherboard tray.
- 8-Pin CPU Power: This is often the most forgotten cable. Run it up the back of the case and through the small cutout at the top-left corner of the motherboard before you screw the motherboard in, if possible.
- PCIe Power for your GPU: Run this through a cutout below or beside where your graphics card will sit.
3. Connect Drives and Front Panel IO
Now for the smaller stuff.
- SATA Power & Data: Connect your SSDs or hard drives. Try to use a single SATA power cable from your PSU to power multiple drives if they are close together to reduce clutter.
- Front Panel Connectors: These are the tiny, fiddly cables for your power button, USB ports, and audio jacks. Group them together and run them through the bottom-most cutout on your motherboard tray. A pro tip is to twist them into a single, neater bundle.
4. The Magic Behind the Scenes ⚡
Flip your case around. This is where the real work happens. Group parallel cables together and use your zip ties to anchor them to the tie-down points on the case. Create clean vertical and horizontal "highways" for your cables. The goal is to get the back panel to close easily without a giant bulge. You'll often find that the sweet-spot PCs under R20k come with more generous space behind the motherboard, making this step even easier.
Common Mistakes to Avoid
- Overtightening Zip Ties: Cinching them down too hard can damage the wire inside. Make them snug, not strangled.
- Blocking Rear Exhaust Fans: Be mindful of where you bundle cables on the back panel. Don't create a massive ball of wires right behind the CPU socket area.
- Forgetting a Cable: The worst feeling is finishing your beautiful cable management only to realise you forgot to plug in a case fan. Double-check everything before the final tie-down.
Of course, if this all sounds like a bit too much hassle, you can always skip the stress. Our latest pre-built PC deals offer professional-level neatness right out of the box.
Ultimately, taking the time to manage your cables is a skill that will serve you well in all future builds. It's a hallmark of a careful builder and ensures your PC runs its best. When you're ready for your next project, be sure to explore the best gaming PC deals in South Africa for the latest components and inspiration.
Build Like a Pro... or Let Us Do It for You? Taming your cables is incredibly satisfying. But if you'd rather jump straight into the game with a perfectly optimised, professionally built rig, we've got you covered. Explore our massive range of custom-built Gaming PCs and find the perfect machine to conquer your world.