You’ve just dropped R15,000 on a beastly new gaming rig. The RGB is glowing, your GPU is ready for action… but a quick peek through the side panel reveals a tangled mess of cables. A "rat's nest," as we call it. Don't stress! Excellent gaming PC cable management isn't just for pro builders or show-offs. It improves airflow, keeps your components cooler, and makes future upgrades a whole lot easier. Let's get it sorted.
Why Tidy Cables Matter More Than You Think
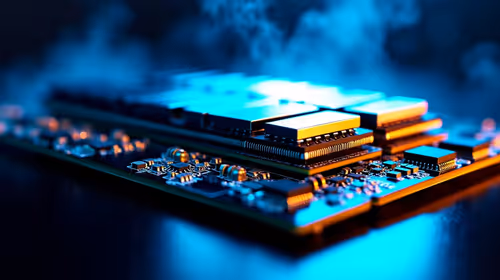
A clean setup is about more than just looks. That chaotic bundle of wires can seriously obstruct airflow inside your case. When air can't move freely, your CPU and GPU run hotter, potentially leading to thermal throttling and reduced performance. Proper gaming PC cable management ensures cool air reaches critical components, helping your machine run at its peak. ✨
Even on affordable budget gaming PCs, spending just 30 minutes tidying up can make a noticeable difference in temperatures and noise levels. Plus, the next time you want to swap out a drive or upgrade your RAM, you won't have to fight a spaghetti monster of wires.
Your Game Plan for Perfect PC Cable Management
Tidying your PC build is a process. Don't just start stuffing cables into any available gap. Follow a simple strategy for a clean, professional-looking result that you can be proud of.
Step 1: Plan Your Route
Before you plug anything in, take a look at your case. Identify the cable routing cutouts, tie-down points, and the space behind the motherboard tray. This is your playground. The goal is to run as many cables as possible through this hidden area, keeping the main chamber clear. Planning your routes is a core principle we use when assembling powerful systems under R20k.
Step 2: Route the Big Cables First
Start with the thickest, most awkward cables. This usually means the main 24-pin motherboard power, the 8-pin CPU power, and the PCIe power cables for your graphics card. Route them through the back, bringing them out through the cutout closest to their destination. Getting these big three in place provides a clean foundation to work from.
Zip Ties vs. Velcro Straps ⚡
Use reusable velcro straps for major cable bundles running down the back of the motherboard tray. They make it easy to add or remove cables later. Use small, black zip ties for smaller groups of cables (like fan or front panel connectors) that you don't plan on changing often. Snip the excess tie flush for a super clean look!
Step 3: Tame the Smaller Wires
Now, tackle the smaller cables: front panel connectors (power, USB, audio), SATA data and power cables, and fan cables. Group wires that are heading in the same direction. Use your case’s tie-down points to secure them neatly behind the motherboard tray. This level of detail is what separates a standard build from the pristine finish you see on high-end rigs.
The Pro-Builder's Secret... Patience 🔧
Great cable management isn't about having expensive tools; it's about taking your time. Rushing the final step of your build can ruin the aesthetic and hurt performance. It's a skill that gets better with practice.
Of course, not everyone has the time or the desire to meticulously route every single wire. And that's perfectly fine! It's one of the biggest reasons many South African gamers choose one of our professionally assembled pre-built PCs, where our experts handle the tricky parts for you.
Ready for a Flawlessly Clean Build? Mastering gaming PC cable management is incredibly satisfying. But if you'd rather jump straight into the action with a perfectly assembled rig, we've got you covered. Explore Evetech's best gaming PC deals and find a machine built by pros, for pros.