
Should You Buy a 240Hz monitor or Build a PC in South Africa?
Should You Buy a 240Hz monitor or Build a PC. Full parts list, Rand pricing & expected performance. Build confidently with SA-available components.
Read moreHow to build a gaming pc from scratch can feel daunting, but it's the ultimate way to get the exact performance you want! This comprehensive guide walks you through every step, from choosing parts in South Africa to the final power-on. Let's build your dream rig! 🖥️✨

So, you’re ready to ascend? To leave the world of off-the-shelf limitations behind and craft a machine perfectly tuned for your games, your style, and your budget. Building a gaming PC in South Africa can feel daunting, but it’s the ultimate way to get maximum performance for your Rand. This beginner's guide will walk you through everything you need to know, from picking parts to the thrill of that first successful boot-up. 🚀
Before we dive into the nuts and bolts, let's talk about the rewards. Why build a gaming PC instead of just buying one?
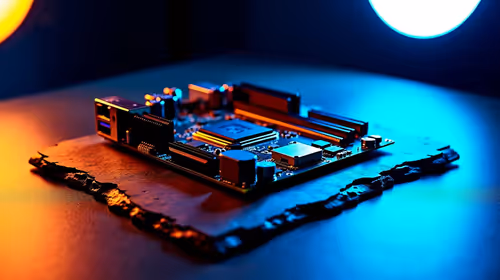
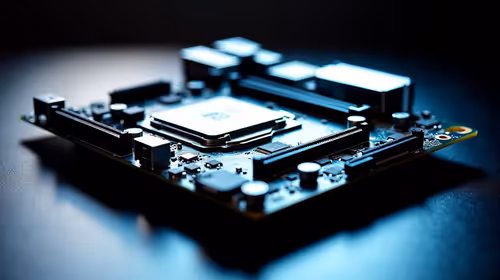
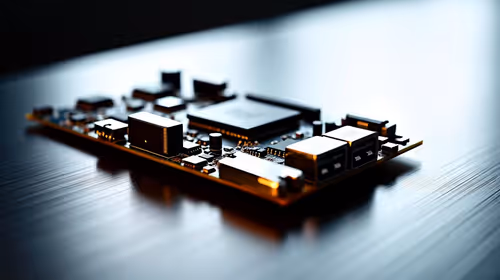
This is where the journey truly begins. Understanding each part is the first step in our guide on how to build a gaming PC.
The "brain" of your PC, the CPU handles all the instructions and calculations. For gaming, the main choice is between Intel (Core i5, i7, i9) and AMD (Ryzen 5, 7, 9). Look for a modern CPU with at least 6 cores for a smooth gaming experience.
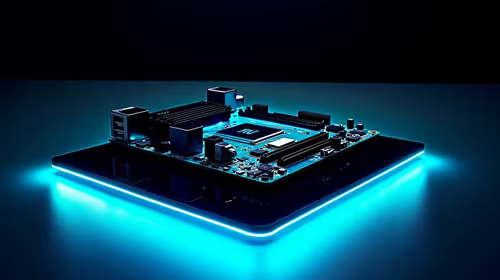
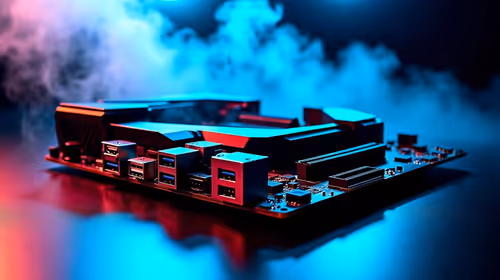
If the CPU is the brain, the motherboard is the central nervous system connecting everything. The most important factor here is compatibility. Your motherboard's "socket" must match your CPU (e.g., an AMD AM5 CPU needs an AM5 motherboard). It also dictates how many RAM slots, storage drives, and other features you'll have.
This is the heart of your gaming rig. ✨ The GPU renders the beautiful graphics you see on screen. NVIDIA (GeForce RTX series) and AMD (Radeon RX series) are the two titans here. The more powerful your GPU, the higher the resolutions and frame rates you can achieve. This is where a significant chunk of your budget will go, especially if you're targeting one of our high-performance rigs capable of 4K.
RAM is your PC's short-term memory, used for actively running applications and games. For modern gaming, 16GB is the sweet spot, providing enough headroom for most titles. 32GB is becoming more common for high-end builds and multitasking. You'll find many great value builds under R20,000 that are perfectly balanced with 16GB of RAM.
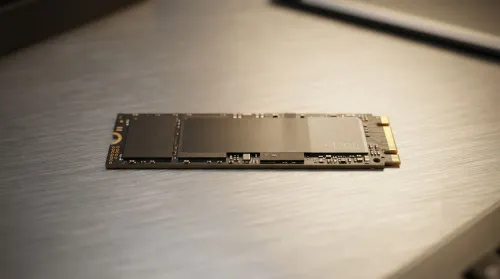
This is your PC's long-term memory. A Solid State Drive (SSD) is non-negotiable for your operating system and favourite games; the speed difference is massive. A super-fast NVMe M.2 SSD is the top choice. You can add a larger, cheaper Hard Disk Drive (HDD) for mass storage of files and less-played games.
The unsung hero. The PSU delivers power to every component. Don't cheap out here! A poor-quality PSU can be unreliable and even damage your other parts. Look for a unit from a reputable brand with an 80+ Bronze efficiency rating or higher, ensuring it provides enough wattage for your components. You'll find quality PSUs in all of our budget gaming PCs because we know how crucial they are.
Your PC's armour. While aesthetics are important, the primary function of a case is to protect your components and provide good airflow to keep them cool. Look for cases with mesh front panels and multiple fan mounts.
The actual assembly is like a complex LEGO set. It requires patience and a gentle touch. While a full tutorial is beyond this article, the basic process for building a gaming PC looks like this:
Use the cable routing holes and tie-down points in your case. Group cables together with zip ties or velcro straps behind the motherboard tray. This doesn't just look clean; it dramatically improves airflow, helping to keep your components cool and performing at their best. A tidy build is a happy build!
Let's be honest... building a gaming PC is a project. It takes research, time, and a bit of courage. If you'd rather spend that time gaming instead of building, there's absolutely no shame in that.
That's where a pre-built PC shines. You get a professionally assembled and tested machine with a full system warranty, ready to go right out of the box. There's no need to worry about component compatibility or troubleshooting a build that won't start. You can browse our range of expertly assembled pre-built PC deals to find a rig that's built, tested, and ready for battle.
Ready to Start Your PC Journey? Whether you take on the rewarding challenge of building your own rig or opt for the plug-and-play convenience of a pre-built machine, your ultimate gaming experience awaits. Explore our best gaming PC deals and find the perfect PC to conquer your world.
The cost to build a gaming pc in South Africa can range from R10,000 for an entry-level build to over R50,000 for a high-end machine. Your component choices will determine the final price.
A basic gaming PC build requires a CPU, motherboard, RAM, storage (SSD/HDD), a graphics card (GPU), a power supply unit (PSU), and a case. You'll also need peripherals.
Building a PC can be cheaper as you can hunt for deals on individual components and avoid pre-built markups. It also allows for full customization to fit your specific needs and budget.
For beginners, the hardest parts are often choosing compatible components and cable management. Following a good step-by-step pc build guide makes the process much easier.
Absolutely! With a clear guide and a bit of patience, anyone can build a PC. It's like assembling adult LEGOs. The key is to research your parts and follow instructions carefully.
Yes. Thermal paste is crucial for transferring heat from your CPU to its cooler. Most new CPU coolers come with thermal paste pre-applied, but it's good to have extra on hand.
Should You Buy a 240Hz monitor or Build a PC. Full parts list, Rand pricing & expected performance. Build confidently with SA-available components.
Read more
Should You Buy a VA monitor or Build a PC. Full parts list, Rand pricing & expected performance. Build confidently with SA-available components.
Read more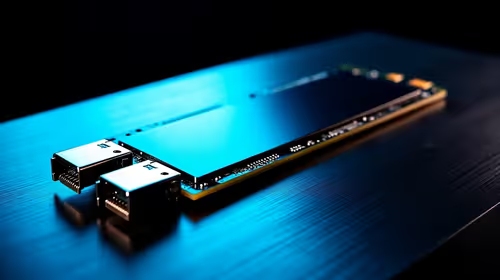
Every spec on PCIe 5.0 explained in plain English. What matters for gaming and creator work in 2026, what's marketing fluff, and how each number translates to real-world performance.
A head-to-head look at WiFi 7: real-world performance, ZAR pricing and which option delivers better value for SA builders. The clear answer — no fluff.
Everything you need to set up and tune PCIe 5.0 properly: the prep work, the settings that actually matter, and the mistakes to skip. Written for SA builders in 2026.

Everything you need to set up and tune X870E Motherboard properly: the prep work, the settings that actually matter, and the mistakes to skip. Written for SA builders in 2026.
Wondering what a 512GB SSD capacity really holds? This guide breaks down how many games, photos, and documents fit on 512GB, with real-world ranges 📦💾
Every spec on vrm explained in plain English. What matters for gaming and creator work in 2026, what's marketing fluff, and how each number translates to real-world performance.
Every spec on motherboard explained in plain English. What matters for gaming and creator work in 2026, what's marketing fluff, and how each number translates to real-world performance.
Premium vs Midrange Motherboards in South Africa: real-world performance, SA pricing, power draw and which one delivers better value for your build for SA buyers. The clear answer — without the fluff.
Wondering what a 512GB SSD capacity really holds? This guide breaks down how many games, photos, and documents fit on 512GB, with real-world ranges 📦💾
Every spec on PCIe 5.0 explained in plain English. What matters for gaming and creator work in 2026, what's marketing fluff, and how each number translates to real-world performance.
A head-to-head look at WiFi 7: real-world performance, ZAR pricing and which option delivers better value for SA builders. The clear answer — no fluff.

Every spec on USB4 explained in plain English. What matters for gaming and creator work in 2026, what's marketing fluff, and how each number translates to real-world performance.