Tired of lag spikes ruining your ranked match? Dreaming of a rig that doesn't just play the latest titles... but crushes them on Ultra settings? Building your own PC is the ultimate upgrade, putting you in complete control of your gaming destiny. It might seem daunting, but this guide breaks down exactly how to build a PC, step-by-step, right here in South Africa. Let’s get building. 🔧
Before You Build: Planning Your Perfect Rig
Before you even touch a screwdriver, a little planning goes a long way. The two biggest questions you need to answer are: What's your budget, and what will you use the PC for? Answering these will guide every component choice you make.
For many, the budget is the starting point. Are you aiming for a solid 1080p machine or a 4K monster? Knowing your price range helps narrow down your options significantly. You can get incredible performance from well-planned budget gaming PCs, while a bigger budget opens the door to top-tier components for streaming and competitive play.
Your primary use case is just as important. A PC for CS:GO and Valorant has very different needs from one built to handle Cyberpunk 2077 with ray tracing or for heavy video editing. Be honest about your needs; it’s the key to building a PC that you'll love without overspending.
The Core Components: Your PC Building Shopping List
Every PC, from a basic office machine to a high-end gaming beast, is built from the same set of core components. Here’s a quick rundown of what you’ll need for your first build.
Your PC Parts Checklist
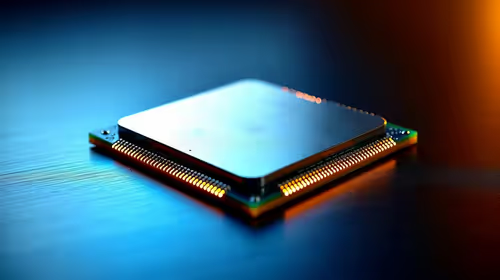
- CPU (Central Processing Unit): The "brain" of your computer. Intel and AMD are the two main players, each offering a range of options for different budgets and performance targets.
- Motherboard: The "nervous system" that connects everything. Ensure your motherboard is compatible with your chosen CPU (e.g., an AM5 socket for a new AMD Ryzen CPU).
- RAM (Random Access Memory): Your PC's short-term memory, crucial for multitasking and smooth gameplay. 16GB is the sweet spot for most gaming builds today, with 32GB becoming more common.
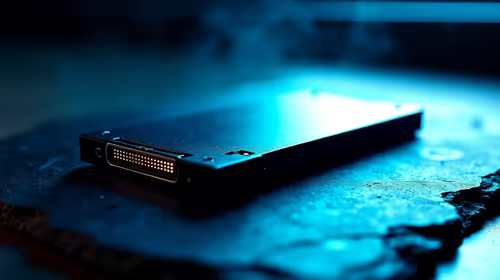
- Storage (SSD/HDD): Where your games, files, and operating system live. A fast NVMe SSD (Solid State Drive) is essential for quick boot times and loading screens.
- GPU (Graphics Processing Unit): The most important component for gaming performance. This is what renders the beautiful graphics in your favourite titles.
- PSU (Power Supply Unit): The heart of your rig, supplying clean power to all components. Don't cheap out on this! A good PSU is vital for stability.
- Case: The chassis that houses and protects all your expensive hardware. It also plays a huge role in cooling and aesthetics.
The Motherboard Manual is Your Best Friend 📖
Your motherboard manual is the single most important tool in this entire process. It has detailed diagrams showing you exactly where to plug in every tiny cable, from the front panel power switch to the USB headers. Keep it open and refer to it often... it will save you hours of frustration!
The Assembly: A Step-by-Step Guide to Building a PC
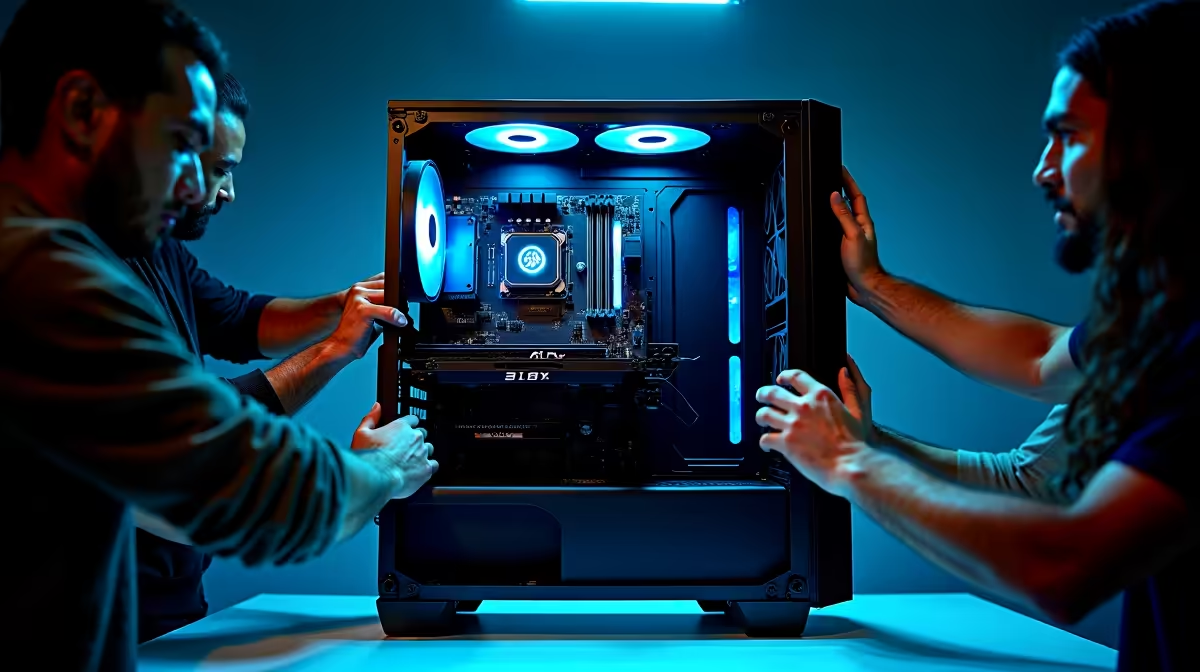
Alright, you’ve got your parts. It's time for the fun part! Find a large, well-lit, clean workspace. Ground yourself to prevent static discharge, and let's begin this simple step-by-step guide on how to build a PC.
Step 1: Motherboard Preparation
Start by preparing your motherboard outside of the case. Open the CPU socket lever, carefully place your CPU (lining up the arrows), and lock it down. Next, install your RAM sticks by opening the clips, aligning the notch, and pressing down firmly until they click into place. If you're using an M.2 SSD, now is the easiest time to install it.
Step 2: Install the Motherboard
Prepare your case by installing the motherboard standoffs in the correct positions (match them to the holes on your motherboard). Carefully lower the motherboard into the case, align it with the standoffs and the rear I/O shield, and screw it in gently.
Step 3: Install the GPU and Power Supply
The GPU is usually the easiest part. Open the PCIe slot lock on your motherboard, remove the corresponding backplates on your case, and slide the graphics card in until it clicks. Next, mount your PSU in the case (usually at the bottom or top) and secure it with screws.
Step 4: Cable Management & Final Connections
This is where patience pays off. Connect the main 24-pin and 8-pin power cables to the motherboard. Connect the SATA power and data cables to your storage drives. Finally, connect the small, tricky front panel connectors (power switch, LEDs, USB ports) using your motherboard manual as a guide. Tidy up your cables with zip ties for better airflow and a clean look. 🚀
Is Building Your Own PC the Right Choice for You?
Learning how to build a PC is an incredibly rewarding experience. It gives you full control, deep knowledge of your machine, and often, better performance for your money.
However, it's not for everyone. It takes time, research, and a willingness to troubleshoot if things don't work on the first try. If you're feeling a bit overwhelmed or simply want a professionally built, warrantied machine that works perfectly out of the box, there's absolutely no shame in that. In fact, exploring professionally assembled pre-built PC deals can save you a lot of time and potential headaches.
Whether you're looking for powerful PCs under R20,000 or ready to invest in high-end rigs over R20,000, buying pre-built ensures every part is compatible and tested. You can often find some of the best gaming PC deals this way, with performance you can count on from day one.
Build or Buy? Find Your Perfect PC Today. Whether you’re excited to build your first rig or prefer the peace of mind of a professionally assembled machine, the goal is the same: amazing performance. The choice is yours. Explore our massive range of custom and pre-built PCs and find the perfect rig to conquer your world.