Tired of watching loading bars crawl across your screen while your mates are already dropping into the action? That agonizing wait is a relic of the past. Learning how to install a PCIe SSD is one of the easiest, most impactful upgrades you can make to your gaming rig. It’s a quick weekend project that transforms your PC from a sluggish machine into a lightning-fast beast. Let's get you sorted. 🚀
Prep Work: What You Need Before You Start
Before you even think about unscrewing your side panel, a little prep goes a long way. This PCIe SSD installation guide starts with a quick compatibility check.
First, confirm your motherboard has a spare M.2 slot. Most modern boards do, but it's crucial to check your manual or the manufacturer's website. You'll also want to know which PCIe generation it supports (Gen 3, 4, or 5), as this will determine the maximum speed you can get. While a newer drive will work in an older slot, you won't get its full performance. You can find the right drive for your board from our huge range of NVMe SSDs.
You’ll only need a couple of tools:
- A small Phillips-head screwdriver.
- An anti-static wrist strap (optional, but highly recommended to protect your components).
Your Step-by-Step PCIe SSD Installation Guide 🔧
Got your new drive and tools? Awesome. Let's get to the fun part. Follow these simple steps for a flawless PCIe SSD installation.
1. Power Down and Prepare
Shut down your PC completely. Not sleep mode… a full shutdown. Switch off the power supply unit (PSU) using the switch at the back, and then unplug the power cable. Press the PC's power button a few times to discharge any remaining electricity.
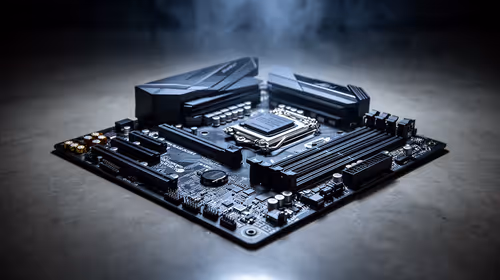
2. Open Your Case & Find the M.2 Slot
Place your PC on a flat, stable surface. Remove the side panel to access the motherboard. The M.2 slot is a small, horizontal slot, usually located below the CPU or near the PCIe slots for your graphics card. It will have a tiny screw or standoff post at one end.
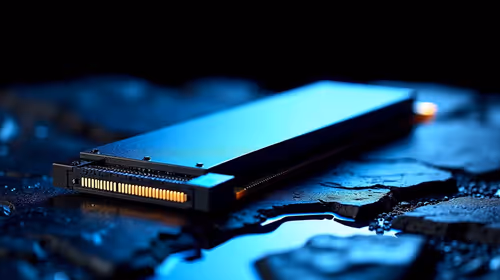
3. Insert Your New SSD
Unscrew the M.2 standoff screw if it's in the way. Take your PCIe SSD and, holding it by the edges, slide it into the M.2 slot at a slight angle (around 20-30 degrees). The gold contacts should go in smoothly. Don't force it! The drive is keyed, so it will only fit one way.
4. Secure the Drive
Gently press the other end of the SSD down so it sits flat against the motherboard. It should line up with the screw hole. Now, use your screwdriver to secure it with the small M.2 screw. Make it snug, but don't overtighten it. For most modern gaming PCs, a Gen 4 NVMe SSD offers the perfect balance of insane speed and value right now.
The Final Boss: Initialising Your New Drive
You’ve physically installed your PCIe SSD, but Windows won't see it just yet. You need to tell your PC it exists. This part is easy.
After putting your side panel back on and plugging everything in, boot up your PC.
- Right-click the Start button and select "Disk Management".
- A window will pop up asking you to initialise the new disk. Choose GPT (GUID Partition Table)—it's the modern standard—and click OK.
- You'll now see your new drive listed as "Unallocated". Right-click on that space, select "New Simple Volume...", and follow the on-screen wizard.
- You can leave most settings as default. Just assign it a drive letter (like D: or E:), give it a name (like "Games"), and let it perform a quick format.
And that's it! Your blazing-fast new drive is ready for action. And if you're building a top-tier rig for the future, grabbing one of the new Gen 5 NVMe SSDs will ensure you're ready for next-gen gaming technologies like DirectStorage.
Clone or Fresh Install? 🤔
If you're replacing your main boot drive, you have two options. You can 'clone' your old drive, which creates an exact copy of your Windows installation and files on the new SSD. Or you can perform a 'fresh install' of Windows. Cloning is faster, but a fresh install is cleaner and can often improve performance by getting rid of old junk files and drivers. We recommend a fresh install for the best results!
You've successfully learned how to install a PCIe SSD. Now go enjoy those non-existent loading screens! ✨
Ready for Ludicrous Speed? Installing a PCIe SSD is a simple upgrade with massive results. Stop waiting and start playing. Explore our massive range of SSDs and find the perfect drive to unleash your PC's true potential. Check out the best SSD deals in South Africa