Upgrading your storage usually means hours of downloading drivers, tweaking settings, and reinstalling massive game files. Nobody has time for that when loadshedding is looming. If you want to migrate your operating system to a new NVMe SSD without reinstalling Windows, you are in the right place. We will show you how to clone your drive, keep your files intact, and get back into your favourite games instantly.
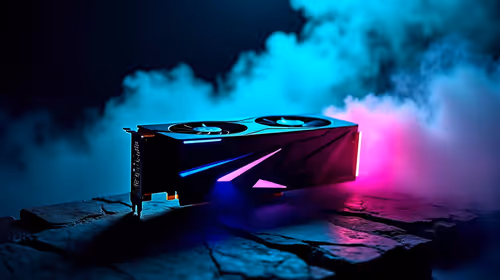
Why You Need an NVMe Drive Upgrade 🚀
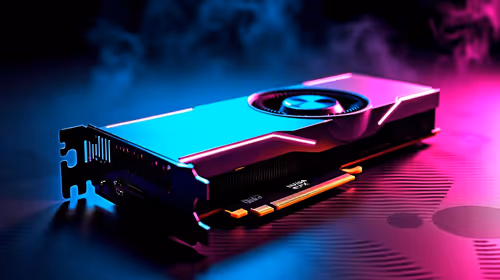
NVMe SSDs offer blistering read and write speeds that leave older SATA drives in the dust. We are talking about jumping from 500MB/s to over 7000MB/s on the latest Gen4 drives. Whether you are booting up your rig, rendering video, or loading massive open-world maps, the difference is night and day.
If your current setup feels sluggish, upgrading your storage is the smartest move you can make for your hard-earned ZAR. In fact, many of the best gaming PC deals we build at Evetech now feature high-speed NVMe drives as the absolute standard. It is simply the easiest way to breathe new life into an ageing machine.
Preparing for the Big Move
Before you start copying files, you need a few basics. First, ensure your motherboard has an available M.2 slot. If you are upgrading a portable machine, check our guide on notebooks for sale in South Africa to see if your specific model supports dual drives. If it only has one slot, you will need to buy an external USB enclosure for the cloning process.
Next, download reliable disk cloning software. Macrium Reflect and AOMEI Backupper are popular choices that offer free versions perfectly suited for this task. Finally, take a moment to delete old files and empty your recycle bin to speed up the transfer. Always back up crucial documents to an external drive... just in case the power trips during the transfer.
Step-by-Step Guide to Clone Your OS 🔧
Once your new drive is physically installed or connected via an enclosure, boot up your PC. Open the Windows Disk Management utility to initialise the new NVMe SSD. It should prompt you automatically. Select the GPT partition style, which is required for modern systems.
Now, open your chosen cloning software. You will select your current Windows drive as the source and your shiny new NVMe as the destination. Make sure you select the option to clone all partitions... especially the small hidden boot partitions that Windows desperately needs to function correctly.
Storage Expansion Pro Tip ⚡
your new NVMe SSD is larger than your old drive, remember to extend the main C: partition in your cloning software before starting the process. This ensures you do not end up with unallocated, wasted space on your fresh drive.
Hit the clone button and let the software do its magic. Depending on the size of your drive and the speed of your USB or PCIe connections, this could take anywhere from twenty minutes to an hour. While you wait, you can always browse our latest tech specials to see how far your budget can stretch on other exciting upgrades.
Booting Up Your Fresh System ✨
When the cloning process finishes, shut down your PC completely. If you used an external enclosure, swap the new NVMe drive into your motherboard now. Turn on the machine and immediately mash the Delete or F2 key to enter your motherboard BIOS. Navigate to the boot priority menu and set your new NVMe SSD as the primary boot device. Save your settings and restart.
You should boot straight into Windows. Everything will look exactly as you left it... just significantly faster and more responsive. You have successfully managed to migrate your operating system to a new NVMe SSD without reinstalling Windows. Now, you can safely format your old drive to use as extra mass storage for your growing game library.
Ready for Blistering Speeds? Upgrading your storage is the best way to eliminate load screens and boost your daily productivity. Whether you need a massive Gen4 NVMe for your desktop or a portable powerhouse, Evetech has you covered. Explore our massive range of solid state drives and find the perfect hardware to supercharge your rig.