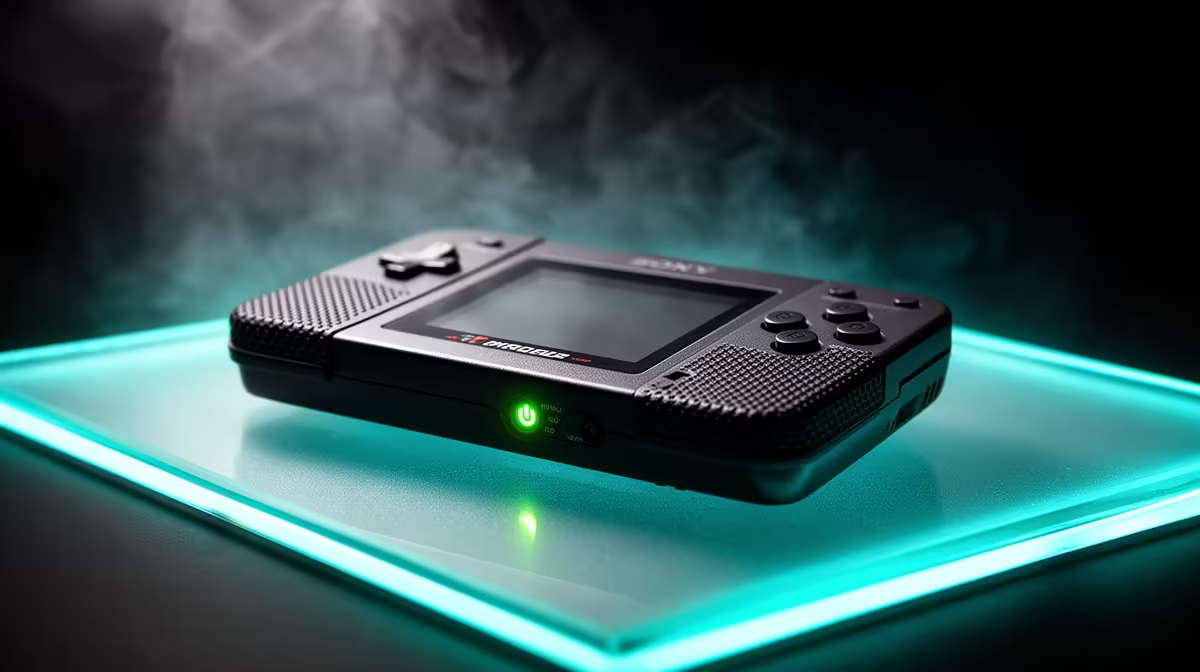
Pulling a new retro handheld out of the box is usually the easiest setup in gaming. Most budget units from brands like Anbernic and Miyoo ship with their operating system already written to the bundled microSD card, so the firmware boots straight from it the moment you power on. There is no internal install, no PC required for the very first session, and no driver hunting. The work that matters comes later, when you decide whether to keep that stock card or move to something more reliable.
Quick Answer
Insert the supplied microSD card, hold the power button until the screen lights up, and the handheld boots into its menu within seconds. The OS lives on the card, not internal storage. For anything beyond a quick test, back up that card to your PC and switch to a branded card formatted as FAT32 before adding more games.
Step 1: Charge Before You Boot
New handhelds often ship near empty. Plug in over USB-C and let it reach a healthy charge before the first boot, because firmware setup and any update routine should never be interrupted by a flat battery. A few minutes on the charger now avoids a stalled first start.
Step 2: Insert The Card And Power On
Find the slot labelled for the OS card (commonly TF1 on Anbernic units) and seat the supplied microSD card until it clicks. Hold the power button for two to three seconds. The device boots directly from the card into its menu, since the system files were written there at the factory. If nothing appears, the card may be loose or the wrong slot, so reseat it and try again.
Step 3: Back Up The Stock Card First
The card that ships in the box is frequently a low-quality unit and is the single most common cause of corruption and crashes down the line. Before you change a single setting, put the card in a reader and copy its entire contents to a folder on your PC. That backup is your safety net: if anything goes wrong, you can restore the exact factory layout. You will find suitable readers and spare cards among the handheld and console accessories worth keeping on hand.
Step 4: Move To A Reliable Card
Once you have the backup, format a good branded microSD card as FAT32, then copy the backed-up contents to its root. Boot from the new card to confirm everything runs, and keep the original aside untouched. A dependable card transforms reliability, and pairing a solid handheld with quality storage is the upgrade most owners wish they had made on day one, as the popularity of these devices in the PC best sellers reflects.
Choosing the Right Card Size
Card size depends on how deep you plan to go with your library. A 32GB card covers every 8-bit and 16-bit game ever released with room to spare. A 128GB card handles the same libraries plus a near-complete PS1 catalogue, since CD-ROM images are far larger than cartridge dumps. If you want Dreamcast or PSP content alongside the retro staples, step up to 256GB. FAT32 handles cards up to 32GB without issue; larger cards need a dedicated formatting tool like Rufus on Windows rather than the built-in formatter, which defaults to exFAT above 32GB on most systems.
Step 5: Add Games And Set Region
With a stable card in place, add your legally owned game files to the correct system folders, then set the device clock, language and brightness. Some firmwares scan for new content automatically; others need a library refresh from the settings menu. Avoid updating the stock OS unless a fix you need is in the release notes, since an interrupted flash on a poor card can brick the unit.
Organising Your Game Library
Most firmware expects game files sorted into named system folders: a SNES folder for Super Nintendo games, a GBA folder for Game Boy Advance, and so on. The exact folder names vary by firmware, so check the documentation for the OS your device ships with. Getting the folder structure right from the start saves a lot of rescanning and missing-game frustration later. Keep your saves in a separate folder if the firmware supports it, so a future card swap never puts them at risk.
Frequently Asked Questions
Do I need a PC for the first boot?
No. The OS is preloaded on the bundled card, so the handheld boots and plays straight out of the box. A PC only becomes useful when you back up the card or move to a better one.
Why replace the included microSD card?
Bundled cards are often slow or unreliable and are a leading cause of save corruption and freezes. A branded replacement, formatted FAT32, gives far steadier performance and protects your library.
What format should the card use?
FAT32 is the standard for these handhelds and what their firmware expects. Tools like Rufus on Windows will set it correctly before you copy the system files across. Cards larger than 32GB need a dedicated tool to format as FAT32, since the default Windows formatter will offer exFAT instead.
Should I update the stock firmware right away?
Usually not. If the device works as you want, leave it, since updating carries a small risk of bricking, especially on a low-quality card. Only update when a specific fix or feature you need is listed.
Charge it, boot from the bundled card, then back that card up and move to a reliable branded one before you load your library. Browse the handheld console range at Evetech to pick a device and the storage that keeps it running smoothly.