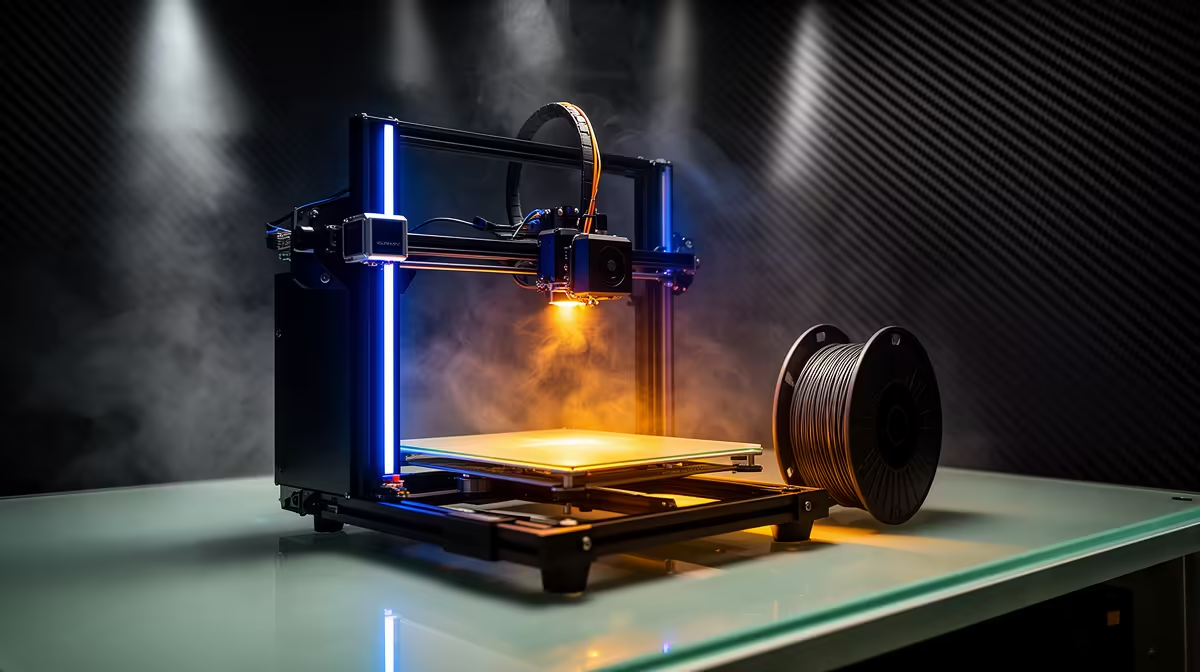
Unboxing your first 3D printer feels like staring at a flat-pack with a glue gun. The good news is that setting up an entry-level FDM 3D printer is mostly guided work now. Modern machines like the Bambu A1 mini or the latest Ender models walk you through the steps on a small screen, and the whole job (spool to first model) usually takes under an hour if you do not rush the levelling.
Quick Answer
Mount the filament spool, feed the filament until plastic extrudes from the nozzle, run auto bed levelling, then print the supplied test model. Most entry FDM printers ship semi-assembled and reach a first print in 30 to 60 minutes. Budget around R3,500 to R7,000 for a capable beginner machine in South Africa.
Get the Machine Onto a Stable Surface
Before any software steps, place the printer where it will live. A wobbly trestle table or a thin shelf will ruin prints because the gantry vibrates during fast moves. Pick a solid desk or workbench with room behind the printer for the spool and cabling, and keep it away from a draughty open window since cold air streaming across the bed causes the first layer to lift.
Check the box contents against the printed list. You should find the printer (often with the gantry pre-mounted), a power brick, a spool of starter filament, a small toolkit, and a microSD card or USB stick. If a clamp or the spool holder is loose, the supplied hex keys handle it. For replacement nozzles, build plates and spare filament once you outgrow the starter reel, the 3D printer section at Evetech lists the machines and the consumables that go with them.
Step-by-Step First Setup
1. Power On and Run the Wizard
Plug in, switch on, and let the printer boot to its home screen. Almost every current model launches a setup wizard on first power-up. Follow it in order rather than skipping ahead, because the wizard often calibrates the motors and checks the sensors before it lets you print. Set your language and, if the printer is networked, connect it to your Wi-Fi so you can send files from your PC later.
2. Mount the Spool and Feed Filament
Slot the starter spool onto its holder so the filament unwinds from the bottom and feeds cleanly toward the extruder without rubbing the frame. Snip the very tip of the filament at a slight angle. A clean point feeds through the PTFE tube far more easily than a flattened, kinked end. Push the filament into the extruder inlet until you feel the drive gear grab it.
3. Load Until It Extrudes
Use the on-screen Load Filament option. The printer heats the nozzle (around 200 to 220 degrees for PLA) and pulls the filament through. Wait until a steady thread of melted plastic flows from the nozzle and the colour matches your spool. If the old purge colour is still bleeding through, let it run a few more seconds. Wipe away the cooled blob with the supplied tweezers so it does not contaminate the first layer.
4. Run Auto Bed Levelling
This is the step that decides whether your first print succeeds. Most entry machines now have auto bed levelling, where a probe touches a grid of points and the firmware compensates for any tilt. Start it from the menu, keep your hands clear, and let it finish. If your printer uses manual levelling instead, adjust the corner wheels using a sheet of paper for drag, then re-check each corner twice since tightening one corner shifts the others.
5. Print the Test Model
Load the pre-sliced test file from the supplied card. A small benchy boat or a calibration cube is ideal because it shows up first-layer adhesion, bridging and overhangs quickly. Watch the first layer go down. It should look like flat, slightly squished lines that bond together with no gaps and no scraping. If the lines are stringy and not sticking, the nozzle is too high; if they are translucent and torn, it is too low. The Z-offset setting fixes both.
After the First Print
Let the bed cool before removing the model, because PLA releases on its own as the plate drops below roughly 40 degrees. Flexing a removable spring-steel plate pops the part off without a scraper. Keep your starter filament sealed in a bag with a desiccant pack between sessions, since damp filament prints rough and pops as trapped moisture flashes to steam. A small toolkit makes maintenance painless, and the cutters, spare nozzles and cleaning tools you will reach for most are easy to find among the accessories that sell best at Evetech.
Frequently Asked Questions
How long does first-time setup actually take?
For a semi-assembled entry FDM printer, plan on 30 to 60 minutes from opening the box to starting the test print. Auto bed levelling and filament loading are the time-consuming parts, and rushing them causes failed prints that cost you far more time.
Why is my first layer not sticking to the bed?
Almost always a Z-offset or levelling issue. The nozzle is sitting too far from the plate, so the plastic cools before it bonds. Re-run auto levelling and nudge the Z-offset down slightly until the first lines flatten and stick.
Do I need to level the bed before every print?
Not with auto bed levelling, which stores a mesh the firmware reuses. Re-run it after you move the printer, change the build plate, or notice first layers going uneven. Manual-levelling machines benefit from a quick paper check every few prints.
What filament should a beginner start with?
PLA. It prints at low temperatures, does not warp much, and does not need an enclosure. Most starter spools are PLA for exactly this reason. Move on to PETG or ABS only once you are comfortable with bed adhesion and Z-offset.
Can I print straight from a USB stick or do I need a PC?
Both work. The supplied test file prints directly from the bundled card or stick. For your own designs you slice the model on a PC, then either copy the file across or send it over Wi-Fi if your printer is networked.
Ready to start printing? Browse the full range of beginner-friendly machines and the filament, nozzles and tools to keep them running at the Evetech 3D printer section: https://www.evetech.co.za/components/3d-printers-130