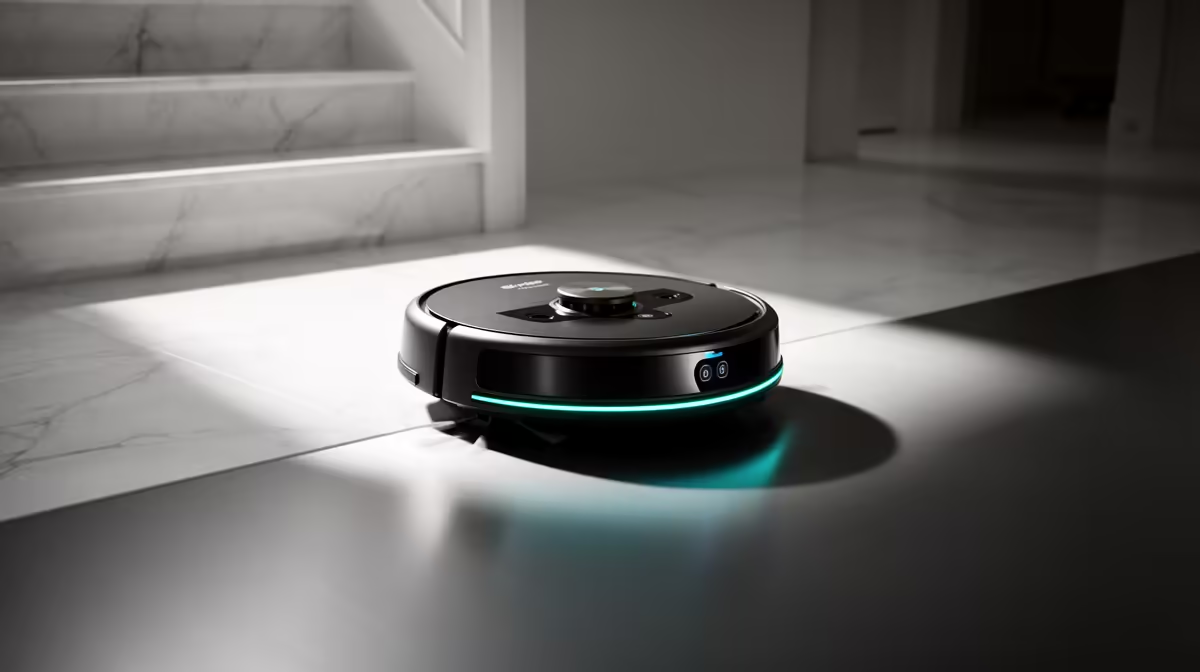
A robot vacuum that tumbles down a staircase usually does it on the one cleaning run you were not watching. Trusting the built-in cliff sensors alone is a gamble, because a smear of dust or a dark rug can fool them. The reliable fix is to pair those sensors with a software no-go zone drawn along the stair edge, so two independent layers have to fail before anything goes over.
Quick Answer
Set up dual protection. Keep the robot's cliff sensors clean and working, then add a no-go zone or virtual wall along the top of the staircase in the companion app. With both layers active, a single dirty sensor cannot send the robot off the edge.
Why Cliff Sensors Alone Are Not Enough
Every modern robot vacuum has infrared cliff sensors on its underside. They fire a beam at the floor and watch for the reflection; when the reflection vanishes at a drop, the robot reverses. The flaw is that the system depends entirely on a clean, reflective surface. Dust on the sensor window, a very dark floor, or a black stair runner can all swallow the beam and convince the robot the drop is solid ground.
That is why a second, software-based barrier matters. A no-go zone lives in the app's map rather than in a physical sensor, so it keeps working even when the optical system is having a bad day. The two systems fail in completely different ways, which is exactly what you want from a safety setup.
Step 1: Build a Complete Map First
Before you can draw a barrier, the robot needs an accurate map. Run a full mapping cycle with the staircase area accessible but supervised. Stand by the stairs for this first run so you can grab the unit if a sensor misreads, and let it explore until the app shows the full floor plan.
- Charge the robot fully so the mapping run completes in one pass.
- Open the companion app and start a mapping or first-clean cycle.
- Watch the staircase closely during this single supervised run.
- Confirm the finished map matches your actual floor layout before moving on.
A clean, accurate map is the foundation; a no-go zone drawn on a wrong map protects the wrong spot.
Step 2: Draw the No-Go Zone Along the Stairs
With the map saved, switch to the map editing or virtual wall section of the app.
- Select the no-go zone or virtual wall tool.
- Place a barrier across the full width of the staircase opening.
- Extend it 20cm to 30cm back from the actual edge to give a safety margin.
- Save and sync the map so the robot loads the new boundary on its next run.
The buffer matters. Drawing the line exactly on the lip leaves no room for the small drift that all robot navigation has, so pushing the barrier slightly inward keeps the wheels well clear of the drop.
Step 3: Keep the Cliff Sensors Doing Their Job
The software zone is your primary defence, but the hardware layer should still be healthy as backup.
- Wipe the cliff sensor windows on the underside with a dry cloth weekly.
- Check that no tape or stickers are covering them after maintenance.
- If you have a very dark stair runner, test the robot's response at the edge under supervision.
- Keep firmware updated, since sensor handling improves in updates.
A clean sensor plus a software boundary is the dual-layer protection that makes accidents genuinely unlikely. The right cleaning cloths and maintenance bits in the Evetech accessories best-sellers make this a two-minute weekly habit.
Step 4: Test, Then Trust
Run one final supervised cleaning cycle. Position yourself near the stairs and watch how the robot behaves as it approaches the no-go zone; a correctly set boundary makes it turn away before it reaches the edge, never relying on the cliff sensor to catch it. Only once you have seen it respect the boundary on a full run should you let it clean unattended. If you are still shopping for a unit with reliable mapping and app-based no-go zones, the smart-home line-up in the Evetech smart appliances range is the place to compare options.
Frequently Asked Questions
Can I rely on cliff sensors without a no-go zone?
It is risky. Cliff sensors fail when dust, a dark surface, or a reflective floor confuses the infrared beam. A no-go zone adds an independent layer so a single sensor problem does not cause a fall.
My robot has no app or mapping. What then?
Use a physical barrier instead, such as a magnetic boundary strip if the model supports one, or a low gate across the stair opening. Without a map there is no software zone to draw, so keep the cliff sensors spotless and test carefully.
How far back from the edge should the no-go zone sit?
Place it 20cm to 30cm inside the actual edge. That buffer absorbs the small navigation drift every robot has and keeps the wheels well clear of the drop.
Do no-go zones survive a re-map?
Usually no. If you let the robot rebuild its map, the old boundaries can disappear. Save your map, avoid unnecessary re-mapping, and re-add the zone immediately if you do rebuild.
Will a dark stair runner fool the sensors?
It can, because very dark surfaces absorb the infrared beam the cliff sensor depends on. This is exactly the case where a software no-go zone earns its keep, so set one and test the edge under supervision.
Protect your robot and your staircase with two layers, not one. Compare app-controlled models in the Evetech smart appliances range and grab the maintenance accessories that keep those cliff sensors reading cleanly.