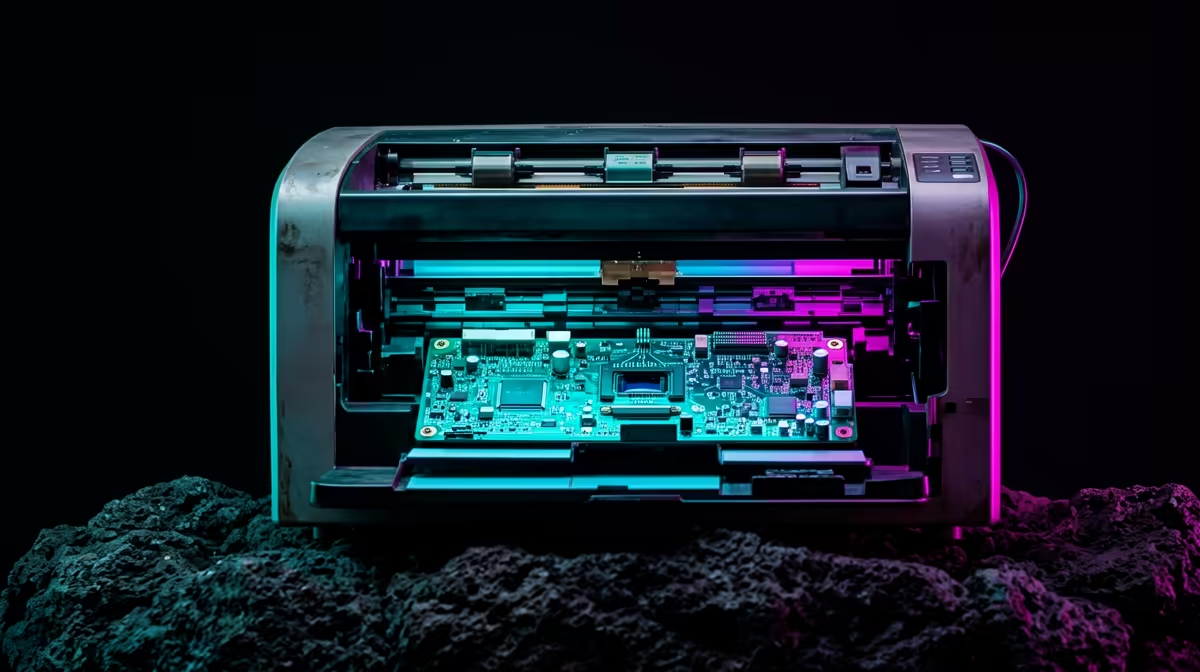
An ageing USB printer that still prints perfectly well but cannot connect to Wi-Fi is the ideal candidate for a small rescue project. Turning an old printer into a wireless print server with a Raspberry Pi keeps a working machine out of landfill and gives every laptop, phone and tablet on your network the ability to print to it without cables or dongles. A Pi running CUPS sits between the printer and your network and quietly handles the rest.
Quick Answer
Connect the printer to a Raspberry Pi over USB, install CUPS and the correct printer driver, then enable printer sharing in the CUPS web interface. Once that is done, any device on your home network can send print jobs wirelessly, and modern clients can discover the printer through IPP and AirPrint automatically.
What You Need Before Starting
A Raspberry Pi with Wi-Fi, even a low-power model, is enough for a print server because the workload is light. Beyond the Pi you need its power supply, a microSD card with Raspberry Pi OS, the USB cable for your printer and a few minutes at the command line. CUPS, the Common Unix Printing System, is the software that talks to the printer, and it is the backbone of printing on Linux.
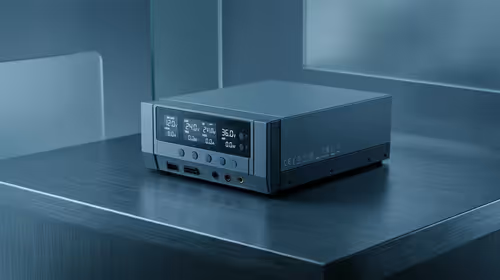
Because the job is so light, a compact always-on machine suits it perfectly. If you would rather not tie up a Pi, the mini PC range at Evetech covers small, low-draw machines that can run the same CUPS setup and double as a wider home server.
Setting It Up Step By Step
The process is short and repeatable:
- Flash Raspberry Pi OS to the microSD card, boot the Pi, and connect it to your Wi-Fi network.
- Update the system packages, then install CUPS along with a driver package such as printer-driver-gutenprint for broad brand support, or hplip if you have an HP printer.
- Plug the printer into the Pi over USB and switch it on.
- Add your user to the lpadmin group so you can manage printers from the web interface without sudo.
- Open the CUPS web interface from another computer at the Pi's address on port 631, for example the Pi's IP followed by :631.
From the Administration tab, add the printer, choose its driver, and enable the option to share printers connected to this system. That sharing toggle is what turns a locally attached printer into a network resource.
Making the CUPS Web Interface Reachable from Other Computers
By default CUPS only accepts connections from the machine it is installed on. To manage the printer from another device on your network, run one additional command to allow remote access, then restart the CUPS service. This is useful when the Pi lives in a cupboard and you want to check the queue or add jobs from your desk.
Making Phones And Laptops Find It
Once sharing is on, CUPS advertises the printer using IPP Everywhere, which means modern Windows, macOS, Linux, iOS and Android devices can discover it on their own without you installing anything per device. For iOS devices this also shows up as AirPrint, so printing from an iPhone or iPad works without any app. For older Windows machines you can add Samba so they see it as a shared Windows printer. Test from a second device by printing a page before you call it done.
The result is a printer that behaves like a modern networked unit, accessible from anywhere in the house, running on hardware you already owned. If you decide to expand the same little machine into a broader always-on home server, the best-selling desktop and small-form PCs at Evetech are a sensible next look.
Keeping the print server running reliably
The Pi print server is designed to be forgotten about, but a few habits help. Keep the Pi on a stable power supply and avoid cutting power without a clean shutdown, since an abrupt power loss can corrupt the microSD card over time. If you want to stop and start CUPS remotely you can do so over SSH without touching the Pi physically. Consider setting a static IP address for the Pi on your router so client devices always find it at the same address, which prevents the print queue breaking when the router assigns a different address after a restart.
Frequently Asked Questions
Which Raspberry Pi do I need for this?
Any Pi with Wi-Fi works because the printing workload is very light. Even a low-power model handles a home print queue comfortably, so you do not need the latest or most powerful board for this project.
What is CUPS and why does it matter?
CUPS, the Common Unix Printing System, is the software that communicates with your printer and shares it across the network. It is the core of Linux printing and provides the web interface you use to add and manage the printer.
Will my phone be able to print to it?
Yes. With sharing enabled, CUPS advertises the printer over IPP Everywhere, so modern iOS and Android devices, along with Windows, macOS and Linux machines, can discover and print to it without extra software. iOS devices see it as AirPrint automatically.
Can a really old USB-only printer work?
That is exactly the point of the project. As long as a CUPS driver exists for the model, even a legacy USB-only printer becomes network-accessible, which saves you replacing hardware that still prints fine.
How do older Windows PCs connect?
Install Samba on the Pi alongside CUPS and the printer appears as a shared Windows printer those machines can add directly. Newer Windows versions can usually find it through IPP without Samba.
Want a tidy always-on box to host this print server and more? Explore the compact mini PC range at Evetech and turn one small machine into the hub of your home network.