
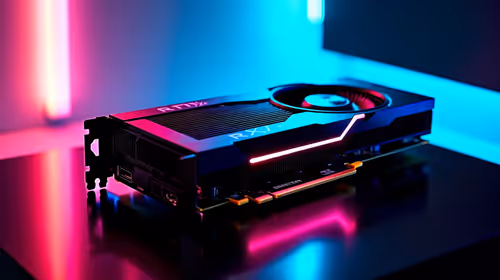
Best RTX 5090 Under R12000 in South Africa 2026
Top RTX 5090 Under R12000 picks evaluated on performance, value & SA availability with current Rand pricing from Evetech.
Read moreLearn how to install an air CPU cooler without removing the fan using modern mounting kits. Avoid common mistakes, improve clearance, and reduce downtime 😊🛠️

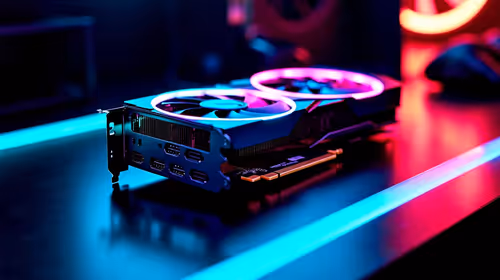
If you’ve ever cracked open a PC in your gameroom and thought, “I just need the cooler… why is this such a drama?” you’re not alone. In South Africa, where budgets swing and downtime feels like a double loss, keeping your build moving matters. So today, let’s tackle a common scenario: how to install an air CPU cooler without removing the fan. Done right, it’s faster, cleaner, and you’ll avoid bending blades or misplacing thermal parts.
Most air coolers ship with fans already mounted to the heatsink. If your model allows access to the mounting bracket and the screws without fighting the fan frame, you can often keep the fan in place.
That said, don’t force it. If you can’t align the backplate or reach the mounting screws comfortably, the “save time” approach can turn into a scratch-fest on the motherboard.
Before loosening anything, power the PC down and unplug it. Then take one photo of your current setup (fan orientation + screw positions). It helps you reassemble without guessing later.
You’ll want:
Before you touch the CPU cooler, discharge static by touching the case frame. Also, work on a flat surface with good lighting. Sounds basic, but it’s the difference between a neat install and a “why is this crooked?” moment.
Hold the cooler so the heatpipes and base sit squarely above the CPU. If the fan is already attached, keep it aligned with your case airflow direction (usually front-to-back exhaust on most builds).
If the old paste is dried or uneven, clean the CPU and apply a fresh amount. For most modern CPUs, a small pea-sized dot is a safe starting point. Then lower the cooler straight down.
If you already have good, fresh paste and you’re confident this cooler wasn’t disturbed, you might keep your paste intact. Still, be gentle when lowering to avoid smearing.
Start threading the mounting screws lightly. Then tighten in small increments, alternating between screws. This helps even pressure and better contact.
With the fan still attached, check:
Tighten once everything clears.
Connect the CPU fan to the correct motherboard header. After boot, watch CPU temperatures in your BIOS or a monitoring tool. If temperatures spike quickly, shut down and re-check mount pressure and paste coverage.
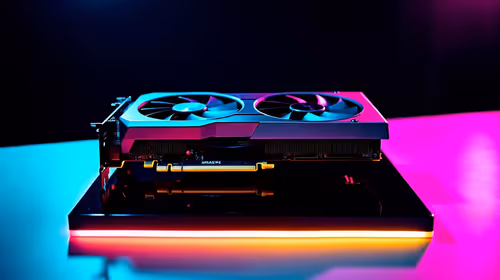
If you’re shopping for an air cooler that’s easier to mount with the fan attached, start by browsing proven air cooler selections and filter by fan size and brands you trust.
Once you’ve nailed your first install, take two extra steps:
And if you ever feel unsure about compatibility, mounting pressure, or clearance, it’s better to double-check than to rush. A careful install today saves hours tomorrow… especially when you’re trying to get back into ranked.
Ready to Find Your Perfect Match? The Mac vs Windows debate is complex, but for maximum power, choice, and value in South Africa, Windows is hard to beat. Explore our massive range of laptop specials and find the perfect machine to conquer your world.
Yes, if your mounting kit supports in-place bracket alignment. Check clearance, keep wiring routed safely, and tighten evenly to avoid stress.
Look for universal or socket-specific kits with reconfigurable backplates, offset screws, and tool-free alignment features that allow positioning while the fan stays.
Often you can avoid full paste removal, but verify contact and cleanliness. If the old paste is messy or dried, reapply thermal paste for best results.
Use a quick gap check around RAM, VRM heatsinks, and the fan shroud. Ensure the mounting screws clear components and the fan will not snag cables.
It can if contact is uneven. Use a proper tightening sequence, confirm even pressure, and verify fan orientation for airflow direction.
Tighten gradually in a cross pattern to maintain even pressure. Stop if the bracket shifts or the backplate isn’t seated firmly.
Both can work when using the correct backplate and mounting hardware. Confirm your kit matches your motherboard socket and standoff spacing.
Reroute the cable before final tightening. If it still blocks, partially reposition the fan assembly only as needed to secure the cooler brackets safely.
Top RTX 5090 Under R12000 picks evaluated on performance, value & SA availability with current Rand pricing from Evetech.
Read more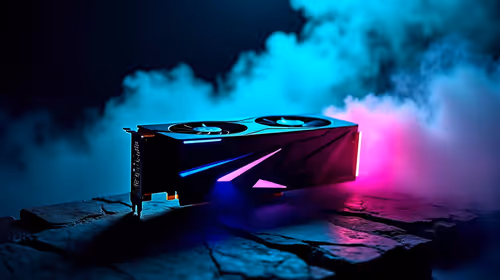
When Will the RTX 6090 Launch in South Africa Detailed answer with SA data, expert analysis & practical recommendations for local buyers.
Top Valorant Settings for RTX 5070: FPS Optimisation picks evaluated on performance, value & SA availability with current Rand pricing from Evetech.
RDNA 3.5 Graphics in Ryzen AI 400? Can You Game. Plain-English explanation of what it means, why it matters & how it affects your buying decisions in SA.

GPU Price Index : December Report. Current stock data & price tracking for SA buyers. See what is available and where prices are heading.

Core i5-14600K + B760 + RTX 5060 Build Under. Full parts list, Rand pricing & expected performance. Build confidently with SA-available components.
RX 7600 Apex Legends at 4K: FPS Benchmark. Real-world benchmark data, FPS numbers & performance analysis. What SA gamers can actually expect.
RX 7900 XTX GTA 6 at 4K: FPS Benchmark & Optimal. Real-world benchmark data, FPS numbers & performance analysis. What SA gamers can actually expect.

Head-to-head comparison of RTX 5070 vs RX 9070 XT: Gaming Performance for SA gamers. Performance benchmarks, Rand pricing & which delivers better value.
GPU Setup Guide Gamers. Clear setup instructions with SA-specific considerations, troubleshooting tips & recommended components.
Top RTX 5090 Under R12000 picks evaluated on performance, value & SA availability with current Rand pricing from Evetech.
Call of Duty Warzone 2 Settings on RX 7600. Real-world benchmark data, FPS numbers & performance analysis. What SA gamers can actually expect.
GTA 6 Settings on RTX 5070 Ti: Performance. Real-world benchmark data, FPS numbers & performance analysis. What SA gamers can actually expect.