
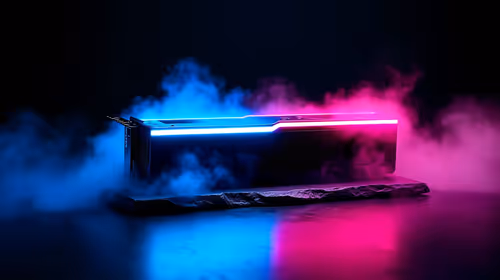
Best AMD GPU Under R40000 in SA 2026
Top AMD GPU Under R40000 picks evaluated on performance, value & SA availability with current Rand pricing from Evetech.
Read morePC radiator placement defines cooling, noise and compatibility. Learn top, bottom, side and rear radiator strategies to optimize airflow, temps and fitment 💨🛠️

Setting up a liquid-cooled rig in South Africa means more than just picking parts. With our summer temperatures often hitting the mid-thirties, your PC radiator placement can be the difference between a silent beast and a thermal-throttling nightmare. It is not just about aesthetics... it is about science. Understanding how air flows through your chassis ensures your hardware stays frosty under pressure. 🔧
For most enthusiasts, placing the radiator at the top of the chassis is the preferred strategy. This configuration usually acts as an exhaust... pushing the hot air from your CPU directly out of the case. Since heat naturally rises, this setup works with physics rather than against it. When browsing an extensive selection of computer cases, you will notice that many modern designs prioritise top-mesh ventilation for this exact reason.
The main benefit here is that it keeps your GPU cooler. By exhausting CPU heat out of the top, you are not dumping warm air into the path of your graphics card. It is a balanced approach that works exceptionally well for gaming loads where the GPU is working just as hard as the processor.
If your case does not support a top-mounted 360mm radiator, the front or side becomes the next logical step. This is often seen in premium Fractal Design PC cases known for their sleek airflow paths. Mounting your radiator as an intake means your CPU gets the freshest, coolest air from outside the room.
However, there is a trade-off. The air passing through the radiator into the case is now pre-heated. This can raise the ambient temperature inside your build by a few degrees... potentially making your GPU fans spin a bit faster. For those building on a budget, you can find Gamdias gaming cases that offer excellent front-mount support to keep your internal components safe without breaking the bank.
Always ensure the top of your radiator is higher than the pump block on your CPU. Air bubbles naturally migrate to the highest point in the loop. If the pump is the highest point, those bubbles can get trapped inside... causing annoying clicking noises and significantly reducing the lifespan of your AIO liquid cooler.
Rear mounting is typically reserved for smaller 120mm radiators. It is a great way to save space in compact builds, but it lacks the surface area for high-end overclocking. Bottom mounting is the rarest and riskiest strategy. If the pump is located in the CPU block, a bottom-mounted radiator puts the pump at the highest point... which we want to avoid.
If you are looking for affordable gaming cases that still offer flexible mounting points, always check the clearance for your RAM and motherboard heatsinks. A radiator that is too thick might clash with your memory sticks, especially in tighter mid-tower configurations. 🚀
In South Africa, ambient room temperatures can vary wildly. A setup that works in a chilly office might struggle in a sun-drenched bedroom. Always aim for a "positive pressure" setup... where you have slightly more intake fans than exhaust fans. This helps keep dust out of your vents, which is vital for maintaining thermal efficiency over the long term. ✨
Ready to Build Your Dream Rig? Choosing the right radiator placement is only half the battle; you need the right chassis to house your vision. For the best airflow, style, and value in South Africa, we have you covered. Explore our massive range of computer cases and find the perfect home for your next high-performance build.
Front or top mounts usually offer best airflow: front provides cool intake, top helps exhaust heat. Consider case airflow and radiator thickness.
Front gives cooler intake air; top as exhaust reduces dust intake. Choose based on case clearance and fan configuration.
Yes—bottom radiator mounting works if the case has clearance and you avoid pulling in hot GPU exhaust air.
Side radiator performance can boost GPU-area cooling but may disrupt overall airflow; use only if case layout and clearances allow.
Rear mounts suit 120–140mm radiators; they exhaust heat but have limited surface area compared to front or top.
Thicker radiators need extra clearance and can impact fan choice and GPU fit—check radiator clearance compatibility before buying.
Front/top support 240–360mm; rear usually 120–140mm; bottom and side depend on case design and GPU length.
Top AMD GPU Under R40000 picks evaluated on performance, value & SA availability with current Rand pricing from Evetech.
Read more")
Top RTX 4090 Under R12000 () picks evaluated on performance, value & SA availability with current Rand pricing from Evetech.
Read more
Ryzen 5 5600X + B550 + RTX 4060 Build Under. Full parts list, Rand pricing & expected performance. Build confidently with SA-available components.
Read more
Ryzen 5 5600X + B550 + RTX 4060 Build Under. Full parts list, Rand pricing & expected performance. Build confidently with SA-available components.
Read more
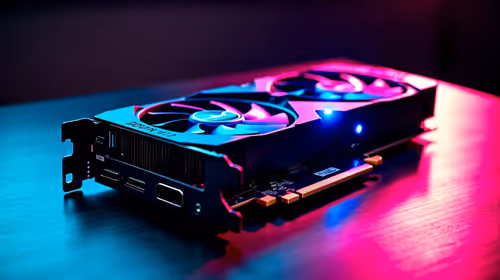
Top AMD GPU Under R25000 picks evaluated on performance, value & SA availability with current Rand pricing from Evetech.
Read more
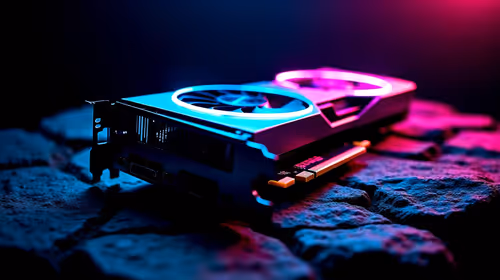
Top Crucial GPU Under R15000 picks evaluated on performance, value & SA availability with current Rand pricing from Evetech.
Read more
Can RTX 4080 Super Run AI Workloads for SA Developers Detailed answer with SA data, expert analysis & practical recommendations for local buyers.

Can RTX 4090 Run AI Workloads for SA Developers Detailed answer with SA data, expert analysis & practical recommendations for local buyers.

Top Settings for Intel Arc B580 at Ultrawide 1440p picks evaluated on performance, value & SA availability with current Rand pricing from Evetech.
RX 7600 Overclocking Guide: Safe OC Settings for. Real-world benchmark data, FPS numbers & performance analysis. What SA gamers can actually expect.

RTX 4060 CS2 Low Settings at 1080p: FPS Results. Real-world benchmark data, FPS numbers & performance analysis. What SA gamers can actually expect.

Visual Artifacts: Possible GPU Issue Issue #1. Diagnosis steps, proven fixes & when to seek professional help. SA-specific support info included.

Can the RTX 4090 Handle 1440p 144Hz Gaming. Performance testing verdict with real data & practical recommendations for SA buyers.

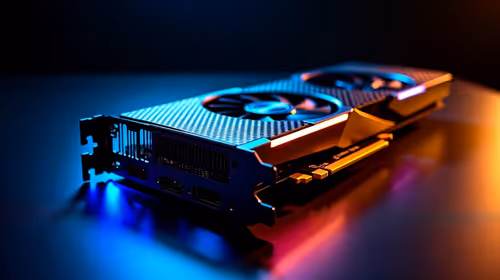
Top ASUS GPU Under R15000 picks evaluated on performance, value & SA availability with current Rand pricing from Evetech.
RTX 4060 Ti Throttling Under Load: Temperature. Everything you need to know with SA pricing, step-by-step instructions & expert recommendations.
Apex Legends Max Settings on RTX 4080. Tested & verified settings for best FPS and visual quality on SA hardware budgets.
GPU Buying Guide. Everything you need to know with SA pricing, step-by-step instructions & expert recommendations.

GPU Terms Guide. Everything you need to know with SA pricing, step-by-step instructions & expert recommendations.