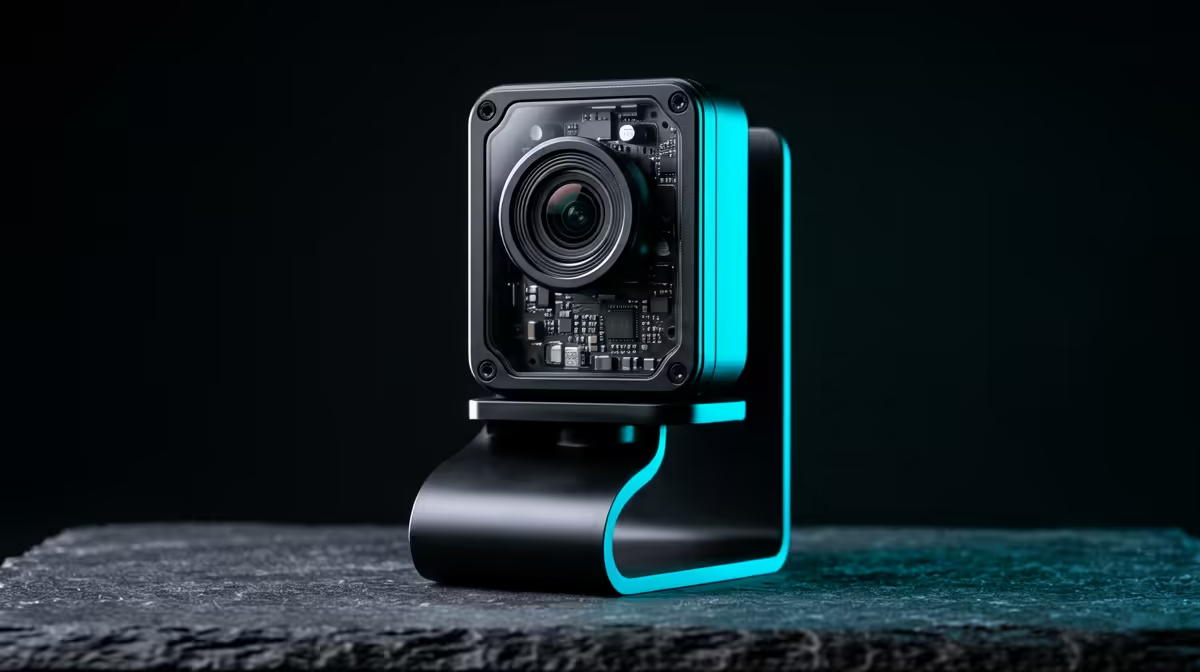
A boxed security camera does what its maker decided it should do, no more. Build your own around a Raspberry Pi and Camera Module and you control the storage, the motion rules, the network access, and whether a single byte ever leaves your home. The Pi handles the brains over its CSI ribbon port, the camera module supplies a sharp feed, and open software like MotionEye turns the pair into a surveillance system you actually own.
Quick Answer
A Raspberry Pi 5 paired with the Camera Module 3 makes the best DIY security camera base in 2026. The 12-megapixel autofocus module connects over the dedicated CSI ribbon, and MotionEye gives you motion detection, remote viewing, and local recording. Just note the Pi 5 needs a libcamera workaround, since the old MotionEyeOS image does not support it.
Choosing the Raspberry Pi
The board sets your performance ceiling, so match it to how many streams you want and whether you plan to add detection later.
Raspberry Pi 5 for a capable single camera
The Pi 5 is the sensible default for a new build. It has the processing headroom for a smooth high-resolution feed and leaves room to grow into smarter software down the line. The catch is software maturity. The Pi 5 changed its camera connector and dropped some of the hardware encoding the Pi 4 had, and it is not compatible with the old MotionEyeOS image. You install MotionEye on a standard Raspberry Pi OS Bookworm instead, add the libcamera-v4l2 compatibility layer, and run the service through libcamerify so it can see the camera.
Raspberry Pi 4 for the smoother MotionEye path
If you want the least friction, a Pi 4 still works well and sits closer to the configuration most older guides assume. It is the easier route for a first-time builder who just wants a working camera quickly, though you give up the Pi 5's spare performance.
Whichever board you pick, the mini PC range at Evetech is worth comparing if you would rather run the recording brain on something with more storage and let the Pi act purely as the camera node.
Choosing the camera module
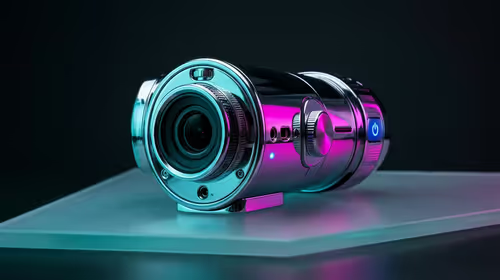
The Camera Module 3 is the one to get. Its 12-megapixel sensor and autofocus deliver genuinely sharp images, which matters when you are trying to read a number plate or a face rather than just register motion. It connects through the CSI ribbon, the flat cable port on the board, which carries a cleaner, lower-latency feed than a USB webcam and frees the USB ports for storage. A wide-angle version of the module exists if you need to cover a whole room or driveway from one mounting point.
For night coverage, choose the NoIR variant of the module, which drops the infrared filter, and pair it with an IR illuminator so the camera sees in the dark.
Building it step by step
- Flash Raspberry Pi OS Bookworm to a fast microSD card or, better, an SSD, and complete the first boot and updates.
- With the Pi powered off, seat the Camera Module 3 ribbon into the CSI port, blue tab facing the right way, and lock the connector.
- Confirm the camera works with a quick libcamera test capture before going further.
- Install MotionEye and, on a Pi 5, add the libcamera-v4l2 layer and configure the service to launch through libcamerify so it detects the camera.
- Open the MotionEye web interface, add the camera, and set resolution and frame rate to balance clarity against the Pi's load.
- Configure motion detection zones, recording, and a storage target, ideally a separate drive or a network share rather than the boot card.
- Set up secure remote access, and lock it down properly before you ever expose it beyond your local network.
A note on storage and recording
Continuous recording chews through cards, so write to an SSD or a NAS rather than the microSD you boot from. Motion-triggered recording stretches your storage much further while still catching the events that matter, and it is the default most builders settle on. The best selling desktops and mini systems at Evetech are a practical place to source a low-power always-on machine if you want the footage living somewhere sturdier than a Pi.
Resolution, frame rate, and the Pi's limits
The Camera Module 3 can record at 1080p 30fps, but feeding that through MotionEye at high quality asks a lot of a Pi 4 and can saturate a Pi 5 when motion analysis is running at the same time. The practical sweet spot for most home security use is 1280x720 at 15fps, which gives clear enough images to identify people and read number plates close up while keeping the Pi's CPU usage manageable. If you are running more than one stream or want lower latency, dropping to 720p or 10fps is a sensible starting point and you can always push higher once you know your system is stable.
Frame rate matters most for fast-moving subjects. For a static driveway, 10fps is plenty. For an indoor camera tracking movement, 15 to 20fps is more useful. Set resolution and frame rate in the MotionEye stream settings rather than at the driver level, because the compatibility layer on a Pi 5 is most stable when you let MotionEye control those parameters directly.
Expanding to multiple cameras
A single Pi can run more than one camera, but the limits arrive quickly. A Pi 5 can handle two or three USB webcams alongside the CSI module if frame rates are kept moderate, though motion detection on all streams simultaneously will push CPU usage high. A cleaner architecture for a multi-camera home is one Pi per camera acting as a stream source, with all feeds pointing at a central recorder, either another Pi running Frigate as a network video recorder (NVR) or a low-power always-on machine holding the footage. This keeps each node simple and makes the camera sources cheap to replace if one fails. For the recording machine, a compact always-on box with real storage sits more naturally than a Pi, and the best-selling PCs at Evetech include the small form factor machines that work well as a home NVR base.
When to consider Frigate instead
If you want AI object detection, telling a person from a passing cat, MotionEye is not the tool. Frigate is the modern choice for a Pi 4 or Pi 5, adding object recognition that cuts false alarms dramatically. It is more involved to set up and benefits from an accelerator, so start with MotionEye to get a working camera, then graduate to Frigate once you know what you actually need.
Frequently Asked Questions
Does the Camera Module 3 work on the Raspberry Pi 5?
Yes, but the Pi 5 uses libcamera rather than the legacy camera stack, so it needs the right software configuration. Once libcamera and, for MotionEye, the libcamerify workaround are in place, the module works and delivers its full 12-megapixel autofocus quality.
Can I use MotionEyeOS on a Pi 5?
No. MotionEyeOS does not support the Pi 5. Install MotionEye as a package on standard Raspberry Pi OS Bookworm instead, then add the libcamera compatibility layer to get the camera recognised.
Why use the CSI port instead of a USB webcam?
The CSI ribbon carries a cleaner, lower-latency feed and keeps your USB ports free for storage. A dedicated camera module also generally gives sharper images and better low-light options than a typical USB webcam.
How much storage do I need?
It depends on resolution and whether you record continuously or only on motion. Motion-triggered recording to an SSD or NAS is the efficient approach, since recording everything around the clock fills storage fast and wears out a microSD card.
Can the camera see at night?
Only if you use the NoIR module version, which removes the infrared filter, together with an IR illuminator. The standard module is daylight only.
A Raspberry Pi camera build gives you a surveillance system that answers to you and nobody else, so pick the Pi 5 with a Camera Module 3, start on MotionEye, and grow into smarter detection when you are ready. Compare compact build bases in the mini PC range at https://www.evetech.co.za/PC-Components/mini-pcs-194 to spec your project.