Quick Answer
A custom water cooling loop delivers superior thermal performance and aesthetics compared to AIO coolers. A basic loop includes a reservoir, pump, radiator, water block, tubing, and fittings - all configured to circulate coolant from components to radiator and back.
Custom loop water cooling is the pinnacle of PC thermal management. Done correctly, it keeps your CPU and GPU running cooler and quieter than any air or AIO solution, and the visual result - particularly with soft tubing and coloured coolant - is striking. The setup process takes planning and patience, but for South African builders who want both performance and aesthetics, it is a rewarding project.
Understanding the Components and Their Roles
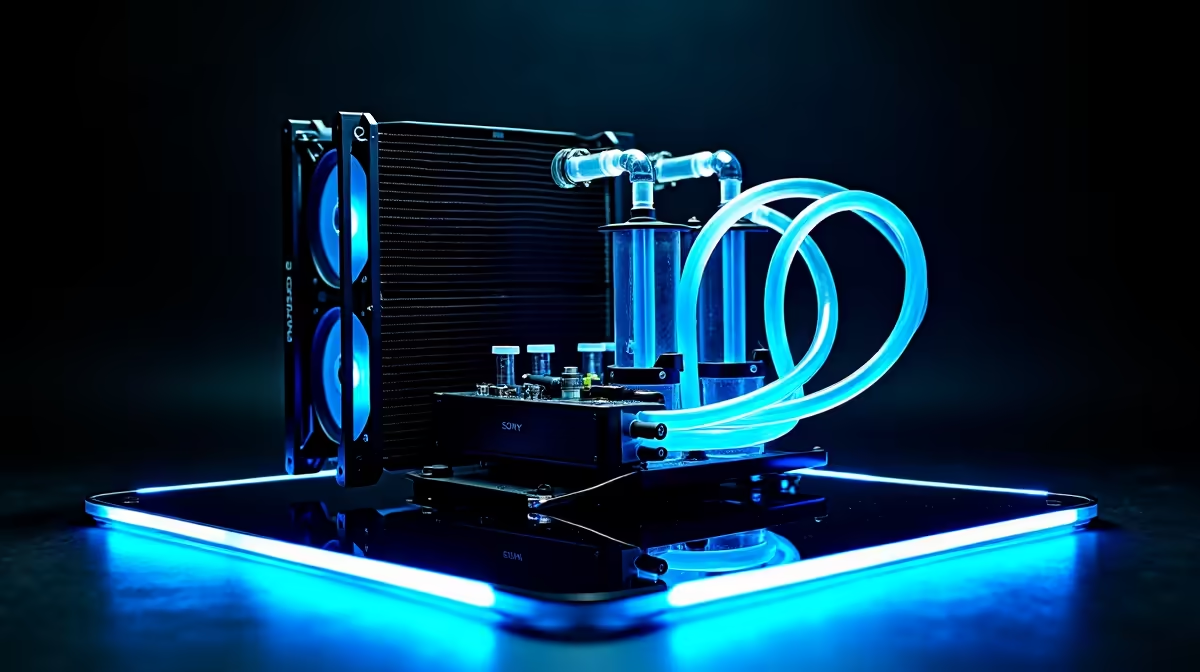
Every custom loop contains the same core components, regardless of complexity. The water block mounts directly to your CPU (and optionally your GPU) and transfers heat from the chip into the coolant. The pump circulates coolant continuously through the loop - a D5 or DDC pump are the two most common types, with D5 being quieter and DDC offering higher pressure for complex loops. The reservoir stores coolant volume and makes filling and bleeding easier; it is typically mounted adjacent to or integrated with the pump. The radiator dissipates heat from the coolant into the surrounding air - larger radiators (240mm, 360mm, 480mm) handle more heat and allow for lower pump and fan speeds. Tubing connects everything: soft EPDM or PVC tubing is forgiving and easy to work with, while hard PETG or acrylic tubing is rigid and visually clean but requires bending tools and practice.
Planning and Assembling the Loop
Before purchasing components, plan your loop path on paper. The standard flow order is: reservoir → pump → CPU block → GPU block (if included) → radiator → back to reservoir. This ensures the coolant absorbs heat from components before reaching the radiator, where it cools down before recirculating. Measure your case interior carefully - radiator mounting positions, pump/reservoir placement, and tubing run lengths all need to fit within your case''s physical constraints. Many South African builders use mid-tower or full-tower ATX cases specifically chosen for their custom loop clearances. When assembling, connect all fittings finger-tight first, then use a wrench for a final quarter-turn. Do not overtighten compression fittings on acrylic or brass ports.
Filling, Bleeding, and Leak Testing
Before powering on your full system, perform a leak test using a paper clip or PSU jumper to run the pump with the system unpowered. Fill the reservoir slowly through its fill port, power the pump, and watch for drips across all fittings and blocks. Top up the reservoir as air bubbles escape during the first hour of circulation. Tilt the case gently in multiple directions to dislodge trapped air pockets from radiators and blocks. Once the loop is bubble-free and no leaks are present after at least two hours of pump-only operation, it is safe to power on the full system. Monitor coolant temperature under load for the first few sessions - a well-bled loop with adequate radiator surface area should keep CPU temperatures comfortably below what any air cooler achieves.
Frequently Asked Questions
Q: How often do I need to change the coolant in a custom loop? A: Coolant should be replaced every 12 months for pre-mixed solutions or every 6 months for distilled water with biocide additives, to prevent algae growth and corrosion.
Q: Can I mix metals in a custom loop? A: Avoid mixing copper and aluminium in the same loop as galvanic corrosion will degrade both materials. Use an all-copper or all-aluminium loop and add a corrosion inhibitor to your coolant.
Q: Is a custom loop worth it over a 360mm AIO? A: For pure cooling performance, the difference is moderate. The main advantages of a custom loop are lower noise at equivalent temperatures, scalability to include GPU cooling, and aesthetics.
Ready to Find Your Perfect Match? Shop custom cooling and PC components at Evetech.