
GPU Setup Guide for SA Gamers
GPU Setup Guide Gamers. Clear setup instructions with SA-specific considerations, troubleshooting tips & recommended components.
Read moreLearn how to set PWM fan curves for 800–2200 RPM to improve cooling stability and cut noise. Follow this step-by-step guide for safe temps, smooth ramping, and fewer spikes. ✅💨

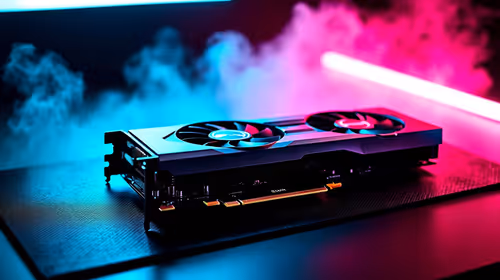
South African gamers know the truth: your PC doesn’t just “run hot”… it runs hotter when airflow is wrong. 😅 If your fans spin like a jet engine at idle, or stay too quiet under load, your temps suffer and your hardware ages faster. The fix is surprisingly simple: set a proper PWM fan curve and dial in realistic RPM targets. In this guide, we’ll help you tune your system to sit in the sweet spot of PWM fan curves: set 800–2200 RPM for better cooling without guesswork.
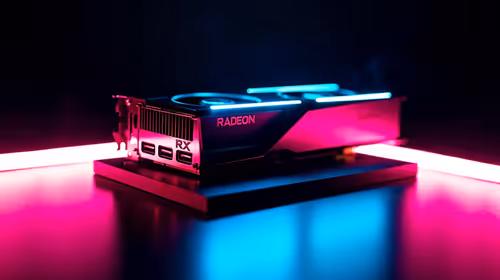
Before you tune curves, make sure you’re working with fans that suit your case and airflow plan. Case fans come in different sizes and lighting styles, and those choices can affect what RPM range actually feels “right” in your build.
If you’re shopping or replacing fans, explore options here:
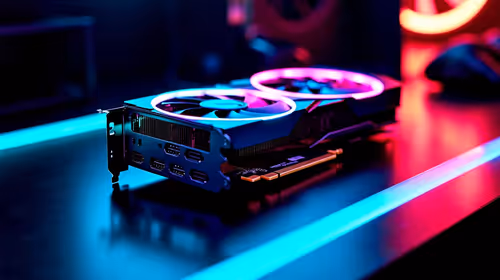
The practical takeaway? A good PWM curve depends on airflow potential and static pressure. Bigger fans (like 140mm) often move more air at the same RPM than 120mm, which can help you stay closer to quiet RPMs. That’s why we tune in RPM ranges first, then adjust the curve shape.
PWM means the fan gets a control signal while keeping a steady motor behaviour. That’s why your curve can smoothly ramp fan speed with temperature, instead of fan “all-or-nothing” behaviour.
Here’s a solid starting curve for many gaming PCs that target your range:
Why this range? It aligns with a common goal: enough airflow headroom to prevent heat spikes, without forcing maximum RPM too early. And importantly, you want your curve to be smooth, not twitchy. If it jumps too quickly, you’ll hear constant ramping, especially in South African summer sessions.
On most ASUS, MSI, Gigabyte, and ASRock boards, you can adjust fan “response time” or “control method” (sometimes called PWM mode vs DC mode). If your fan ramps too aggressively, increase the response delay so the curve smooths out during brief temperature spikes."
Now for the part people skip… testing. After setting your curve, do a controlled session:
In practice, if your CPU peaks too high, increase the mid-load points first (around 55–65°C). If your system stays cool but fans are loud, lower the low-to-mid RPM points (30–55°C). Small changes matter more than rewriting the whole curve.
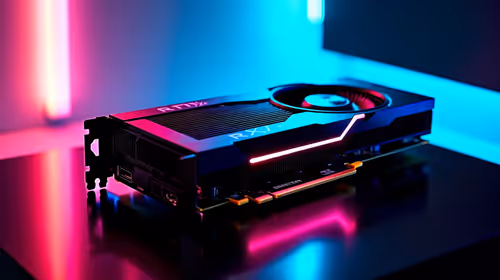
For RGB builds and acoustics balance, remember lighting can be a trade-off, depending on fan models. If you want a calmer setup, you might prefer non-RGB options while still using PWM control effectively.
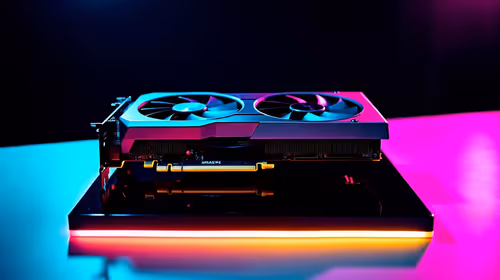
A tuned curve helps any rig, but the “best” results come from matching fans to your case layout and cooling needs. If you’re building fresh, upgrading, or replacing worn fans, browse compatible case fans and sizes, then pair your PWM curve to the hardware you actually install.
If you’re going to spend time tuning, you may as well start with fans you trust. 🚀
Ready to Find Your Perfect Match? The Mac vs Windows debate is complex, but for maximum power, choice, and value in South Africa, Windows is hard to beat. Explore our massive range of laptop specials and find the perfect machine to conquer your world.
A PWM fan curve maps temperature to fan RPM. Using 800–2200 RPM helps balance cooling headroom with quieter operation.
Create a temperature-to-RPM profile, then apply it. Start conservative, test temps under load, and fine-tune the ramp points.
For many builds, case fans often sit lower and CPU fans higher within 800–2200 RPM. Match RPM to cooling needs and noise tolerance.
Use gradual slope changes between curve points, add hysteresis if available, and prevent abrupt jumps that cause constant speed hunting.
Lower idle RPM, delay aggressive ramping until temps approach your threshold, and keep the 800–2200 RPM section smooth.
Common causes include wrong fan headers, incorrect PWM/DC mode, sensor mismatch, or overly steep curve steps. Recheck settings.
Use reliable temperature sensors (CPU/GPU or motherboard) and monitor RPM with fan software. Calibrate using consistent workloads.
Retune after BIOS updates, cooler changes, dust buildup, or major workload shifts. Otherwise, verify season-to-season temperature differences.
GPU Setup Guide Gamers. Clear setup instructions with SA-specific considerations, troubleshooting tips & recommended components.
Read more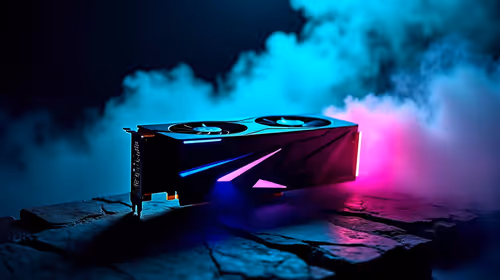
When Will the RTX 6090 Launch in South Africa Detailed answer with SA data, expert analysis & practical recommendations for local buyers.
Top Valorant Settings for RTX 5070: FPS Optimisation picks evaluated on performance, value & SA availability with current Rand pricing from Evetech.

RDNA 3.5 Graphics in Ryzen AI 400? Can You Game. Plain-English explanation of what it means, why it matters & how it affects your buying decisions in SA.

GPU Price Index : December Report. Current stock data & price tracking for SA buyers. See what is available and where prices are heading.

Core i5-14600K + B760 + RTX 5060 Build Under. Full parts list, Rand pricing & expected performance. Build confidently with SA-available components.
RX 7600 Apex Legends at 4K: FPS Benchmark. Real-world benchmark data, FPS numbers & performance analysis. What SA gamers can actually expect.
RX 7900 XTX GTA 6 at 4K: FPS Benchmark & Optimal. Real-world benchmark data, FPS numbers & performance analysis. What SA gamers can actually expect.

Head-to-head comparison of RTX 5070 vs RX 9070 XT: Gaming Performance for SA gamers. Performance benchmarks, Rand pricing & which delivers better value.
GPU Setup Guide Gamers. Clear setup instructions with SA-specific considerations, troubleshooting tips & recommended components.
Top RTX 5090 Under R12000 picks evaluated on performance, value & SA availability with current Rand pricing from Evetech.
Call of Duty Warzone 2 Settings on RX 7600. Real-world benchmark data, FPS numbers & performance analysis. What SA gamers can actually expect.

GTA 6 Settings on RTX 5070 Ti: Performance. Real-world benchmark data, FPS numbers & performance analysis. What SA gamers can actually expect.