PWM Fan Curves Explained for Dual 120mm Cooling: Why It Matters When You Game in SA ☀️
If your PC sounds like it’s about to launch a rocket every time you load a match, you’re not alone. In South Africa’s warmer rooms and poorly ventilated setups, fan behaviour matters as much as your GPU. One minute it’s quiet… the next, it ramps to 100% and you can’t hear your team comms. That’s where PWM fan curves come in, especially with dual 120mm cooling. 🔧
What PWM Fan Curves Actually Are (And How “Dual 120mm” Changes the Picture) ✨
PWM stands for Pulse Width Modulation. In PC terms, your motherboard sends a control signal that tells a fan what speed to run, usually between 0% and 100%. A fan curve is simply a chart in your fan-control software: CPU temperature on one axis, fan speed on the other.
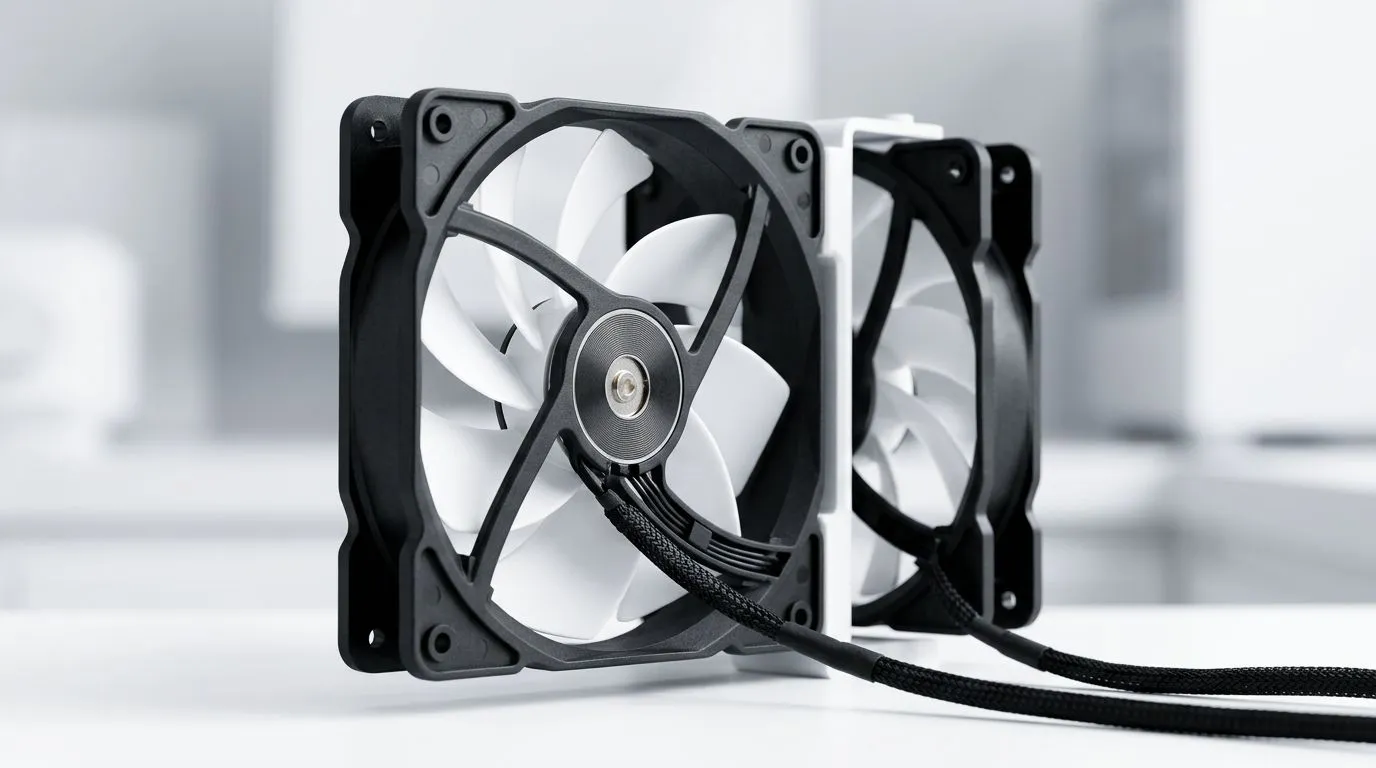
With dual 120mm fans, the key difference is airflow consistency. Two fans can often move the same air as one faster fan, while staying quieter. But only if the curve is tuned correctly. If your curve waits too long to ramp up, heat soaks into the cooler and your temps spike. If it ramps too aggressively, you’ll lose the quiet advantage.
A simple mental model for tuning
- Low temps (idle/low load): Keep fans at a low but stable RPM. Avoid 0% settings unless you know your cooler can handle it.
- Mid temps (gaming): Make the curve respond smoothly, not suddenly.
- High temps (sustained load): Ensure you hit a safe cooling ceiling before throttling happens.
PWM Fan Curves Explained for Dual 120mm Cooling: A Practical Setup That Works 🔥
Start with “moderate control” profiles rather than aggressive ones. Many boards offer presets like Silent/Standard/Turbo, but custom curves usually give better results for gamers.
Use this approach:
- Set a baseline: For CPU, start around 30–40% fan speed at ~40–50°C.
- Add a clear ramp: Increase speed steadily from ~60°C to ~75°C.
- Set a safety point: Above ~85°C, move quickly toward 80–100% to prevent sustained thermal throttling.
If you’re not sure where your cooler sits on the stack, pick components based on what Evetech stocks for your CPU and space. Browse air coolers and 120mm fan options first, then tune the curve after you’ve installed.
For recommended air cooler options (including 120mm fan setups), check:
- https://www.evetech.co.za/PC-Components/cpu-coolers-84
- https://www.evetech.co.za/PC-Components/cpu-coolers-84?attributes-coolertype=Air+Cooler
- https://www.evetech.co.za/PC-Components/cpu-coolers-84?attributes-coolertype=Air+Cooler&attributes-coolingsize=120mm+Fans
And if you’re choosing based on brand availability in SA:
Or for alternative options:
Productivity Pro Tip 🔧
On your motherboard’s fan control screen, set a slight delay (often called “fan hysteresis” or “response time”) so the curve doesn’t overreact to tiny temperature spikes. This keeps gaming sessions smooth, especially during frequent map loads and shader compilation.
What to watch during testing
Run a game for 10–15 minutes and monitor:
- Max CPU temperature
- Average CPU temperature
- Fan noise behaviour (does it “chatter” up and down?)
Then adjust one point on the curve, not ten. Small changes are easier to get right than rebuilding from scratch.
PWM Fan Curves Explained for Dual 120mm Cooling: Common Mistakes to Avoid ⚡
1) Using aggressive curves at idle. Your room stays warm, but idle shouldn’t be loud. Aim for stability, not maximum speed.
2) Ignoring cooler mounting and case airflow. Fan curves can’t fix poor mounting or blocked intakes. If your case has clogged dust filters, your temperatures will climb no matter what curve you choose.
3) Mixing assumptions across coolers. Two “120mm dual fan” coolers can behave differently. Start tuning with your actual temperatures, not forum guesses.
When in doubt, lean on Evetech’s curated air cooler listings to match your cooler type and fan size, then tune the PWM curve after installation. That’s the most reliable route to quiet under load, without risking throttling.
Ready to Find Your Perfect Match? 🚀
Ready to Find Your Perfect Match? The Mac vs Windows debate is complex, but for maximum power, choice, and value in South Africa, Windows is hard to beat. Explore our massive range of laptop specials and find the perfect machine to conquer your world.