Install DDR5 RAM Correctly for Maximum Stability and Performance
- Install DDR5 RAM: check compatibility, notch alignment - Prep motherboard: update BIOS, clear CMOS - Test & tune: enable XMP/EXPO and run stability tests Install DDR5 RAM correctly for maximum stability and performance — step-by-step setup, BIOS tips, and troubleshooting. 🛠️⚡
|
Loading tags...

So, you’ve just unboxed some shiny new DDR5 RAM, ready to give your PC a massive speed boost. Lekker! But hold on... before you jam those sticks in, did you know that a simple mistake during installation can cripple your performance, or worse, prevent your rig from even booting? Getting this step right is crucial. This guide will show you how to install DDR5 RAM correctly for rock-solid stability and the blistering speeds you paid for.

Kingston Fury Beast RGB 64GB (2x32GB) 6400MT/s DDR5 CL32 Desktop Memory / AMD Expo/Intel XMP / Plug N Play / Kit of 2 / KF564C32BBEAK2-64
R12499.00In Stock

CORSAIR VENGEANCE RGB DDR5 RAM 128GB (4x32GB) 5600MHz CL40 Intel XMP iCUE Compatible Computer Memory - Black / CMH128GX5M4B5600C40
R21499.00In Stock

CORSAIR Dominator Titanium RGB DDR5 96GB – Black / (2x48GB) / DDR5 7000MHz / CL40 Intel XMP / iCUE Compatible Computer Memory / CMP96GX5M2B7000C40
R16999.00In Stock

KLEVV CRAS V RGB 32GB Kit (16GB x2) 7200MHz Gaming Memory DDR5 RAM XMP 3.0/AMD EXPO High Performance Overclocking / KD5AGUA80-72B340G
R5899.00In Stock
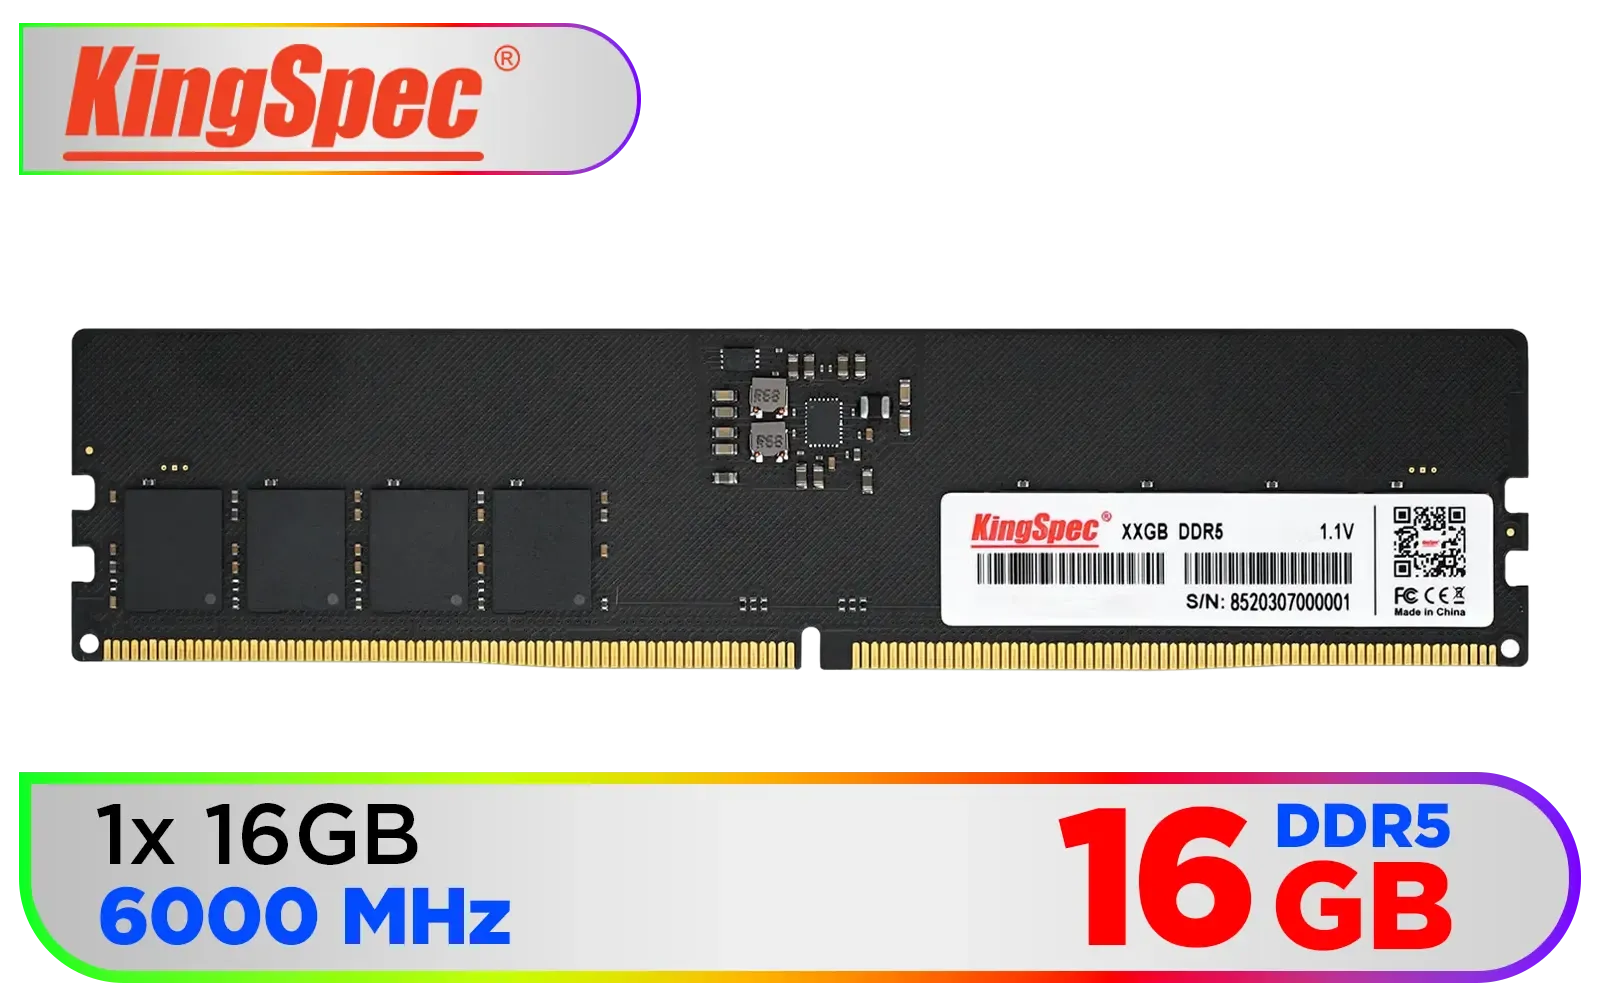
KingSpec 16GB (16x1) 6000mhz DDR5 Desktop Memory / Power Management ICs (PMICs) / 1.1~1.35V Power-Saving Technology / 288-pin DIMM / KS6000D5P12516G
R2999.00In Stock
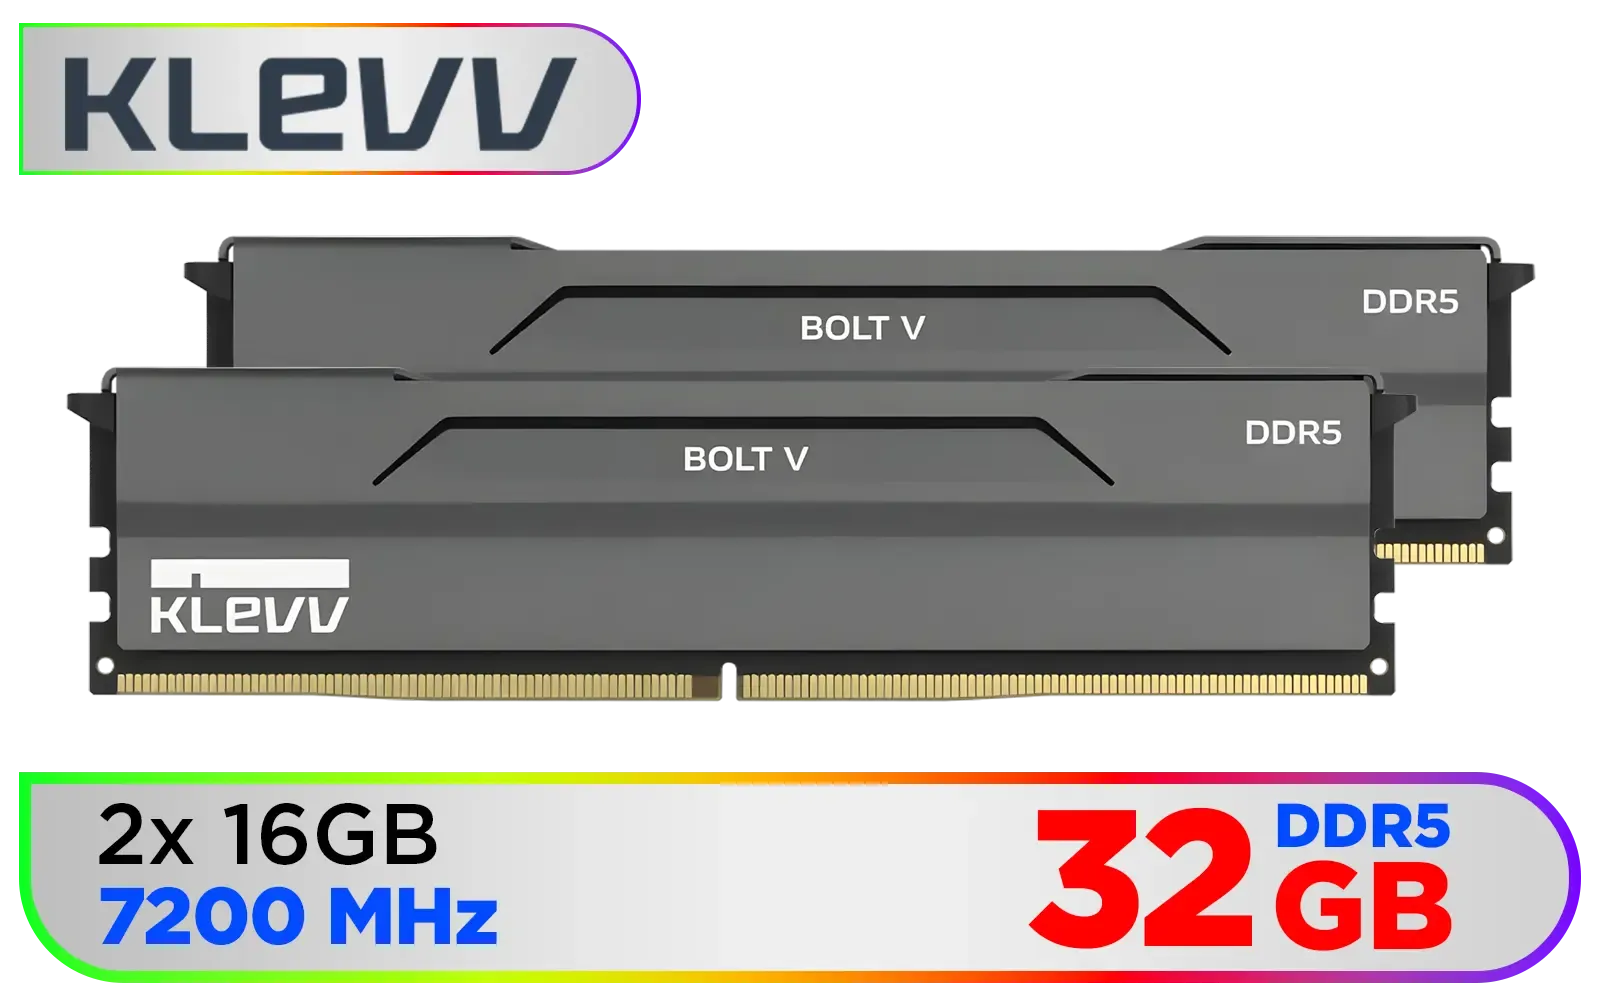
KLEVV Bolt V DDR5 32GB (2x16GB) 7200MHz CL34 Gaming Desktop RAM / SK Hynix Chip / Intel XMP 3.0 Ready & AMD EXPO / KD5AGUA80-72B340H
R5799.00In Stock
Why Correct DDR5 RAM Installation Matters
You might think popping in RAM is simple, but with DDR5, the stakes are higher. The primary reason to get it right is to enable dual-channel memory mode. When you install DDR5 RAM correctly in the designated slots, you essentially double the data bandwidth between your memory and CPU. It's the difference between a two-lane road and a four-lane highway for your data.
An incorrect installation can lead to:
- Reduced Performance: Your system will run in single-channel mode, effectively halving your memory speed in many tasks.
- Stability Issues: Frequent blue screens (BSODs) and random crashes can often be traced back to poorly seated RAM.
- Failure to POST: Your PC might not even start up, leaving you with a black screen and a feeling of dread.
Before You Begin: The Pre-Installation Checklist
A little prep work goes a long way. Before you touch a single component, run through this quick checklist.
1. Check Your Motherboard Compatibility
First, confirm your motherboard actually supports DDR5. The physical design is different, meaning your trusty old DDR4 memory or even classic DDR3 gaming modules simply will not fit. Check your motherboard’s manual or its official product page for the Qualified Vendor List (QVL) to ensure your specific RAM kit is supported for maximum stability.
2. Prepare Your Workspace 🔧
Work on a clean, flat, non-conductive surface like a wooden table. Static electricity is the enemy of PC components. To be safe, ground yourself by touching a metal part of your unplugged PC case before you begin.

Kingston Fury Renegade RGB 32GB (16GB x 2) 6400Mhz DDR5 Desktop Memory - White / Kit of 2 / 18 Customisable RGB Effects / Infrared Sync Technology / KF564C32RWAK2-32
R6499.00In Stock

Corsair Vengeance 32GB (1 x 32GB) 5600MHz DDR5 C40 Memory - Black / Dynamic Multi-Zone / Speed Rating PC5-44800 / Voltage 1.1V / Aluminum Heat Spreader / CMK32GX5M1B5600C40
R5199.00In Stock
CORSAIR VENGEANCE RGB DDR5 RAM 128GB (4x32GB) 5600MHz CL40 Intel XMP iCUE Compatible Computer Memory - Black / CMH128GX5M4B5600C40
R21499.00In Stock
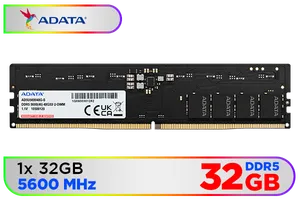
ADATA Premier 32GB (32GB x 1) 5600MHz DDR5 Desktop Memory / Higher Capacities / Improved Stability / Energy-Efficient / AD5U560032G-B
R4999.00In Stock

KLEVV CRAS V RGB 48GB Kit (24GB x2) 7200MHz Gaming Memory DDR5 RAM XMP 3.0/AMD EXPO High Performance Overclocking / KD5KGUD80-72B340G
R7499.00In Stock

KLEVV Bolt X DDR4 16GB (16GB x 1) 3200MHz Gaming Desktop RAM / Pure Aluminum Heatspreader / Ultra-Efficient Power Use / QVL Approved / Intel XMP 2.0 & AMD EXPO Ready / KD4AGUA80-32A160T
R1999.00In Stock
The Step-by-Step Guide to Install DDR5 RAM Correctly
Ready to get hands-on? Let's do this.
- Power Down Completely: Shut down your PC, switch off the power supply unit (PSU) at the back, and unplug it from the wall.
- Open Your Case: Remove the side panel to get access to the motherboard.
- Locate the DIMM Slots: Find the RAM slots, usually located to the right of the CPU socket. They're typically in a set of four.
- Open the Retention Clips: Unlike older RAM slots, most DDR5 motherboards only have retention clips on one end (usually the top). Push this clip outwards until it clicks open.
- Align the RAM Stick: Pick up a RAM module by its edges. Notice the small notch in the bottom row of connectors. This notch is off-centre and is key to a correct DDR5 RAM installation. It's positioned differently from older modules like a 32GB DDR3 kit, making it physically impossible to install incorrectly. Align this notch with the bump in the DIMM slot.
- Insert the Module: Place the RAM stick into the slot and apply firm, even pressure on both ends. You'll hear a satisfying "click" as the retention clip snaps into place, securing the module.
- The Dual-Channel Secret: If you have two RAM sticks, do not install them side-by-side. Your motherboard manual will tell you the optimal configuration, but it’s almost always the second and fourth slots (often labelled A2 and B2). This is the key to enabling dual-channel mode!
TIP FOR YOU
Don't Forget the Profile! ⚡
After installing your RAM, boot into your PC's BIOS UEFI. Find the memory settings and enable the XMP (for Intel) or EXPO (for AMD) profile. Without this, your expensive 6000MHz RAM will likely run at a much slower default speed, like 4800MHz. You're leaving free performance on the table if you skip this step!
Post-Installation: Unlocking Full Performance in the BIOS

Kingston Fury Renegade RGB 24GB (24GB x 1) 7200Mhz DDR5 Desktop Memory - Black / 18 Customisable RGB Effects / Infrared Sync Technology / Intel XMP 3.0 certified / KF572C38RSA-24
R3999.00In Stock
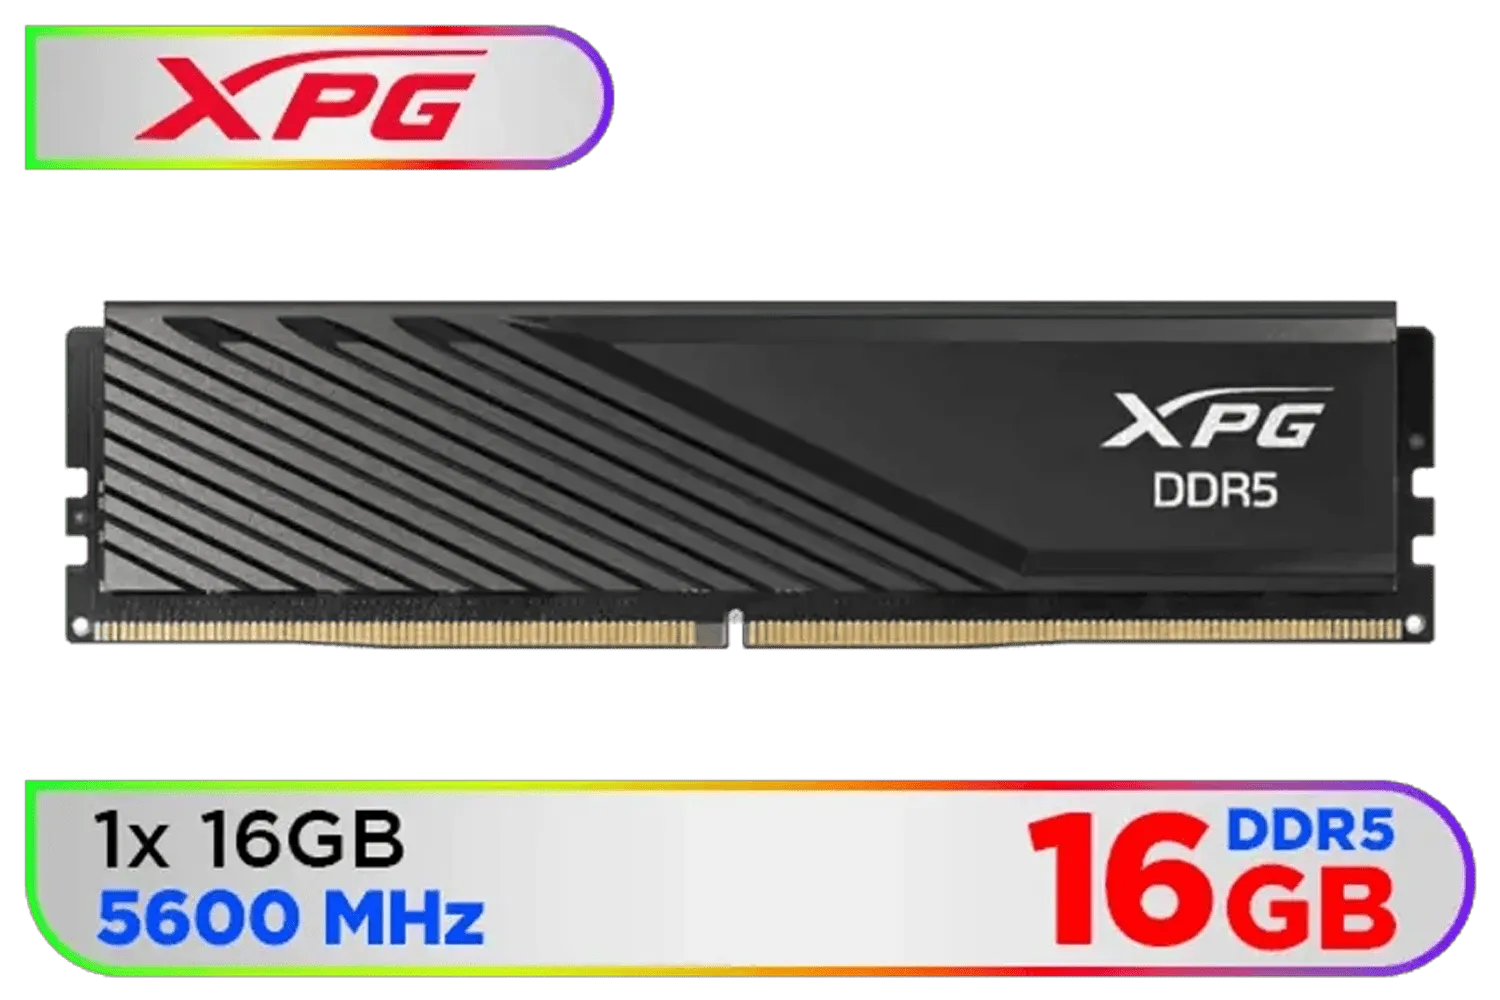
ADATA XPG Lancer Blade DDR5 5600MHz CL46 16GB (1x16GB) PC5-44800 RAM 288-Pins UDIMM Desktop Memory Black Heatsink / AX5U5600C4616G-SLABBK
R2899.00In Stock

Teamgroup T-Force DELTA RGB 32GB DDR5 Desktop Memory - Black / 32GB (2x16GB) / 7200MHz / CL34 / FF3D532G7200HC34ADC01
R6199.00In Stock

Teamgroup T-Force VULCAN 32GB DDR5 Desktop Memory - Black / 32GB (2x16GB) / 6000MHz / CL38 / FLBD532G6000HC38ADC01
R5499.00In Stock
CORSAIR Dominator Titanium RGB DDR5 96GB – Black / (2x48GB) / DDR5 7000MHz / CL40 Intel XMP / iCUE Compatible Computer Memory / CMP96GX5M2B7000C40
R16999.00In Stock
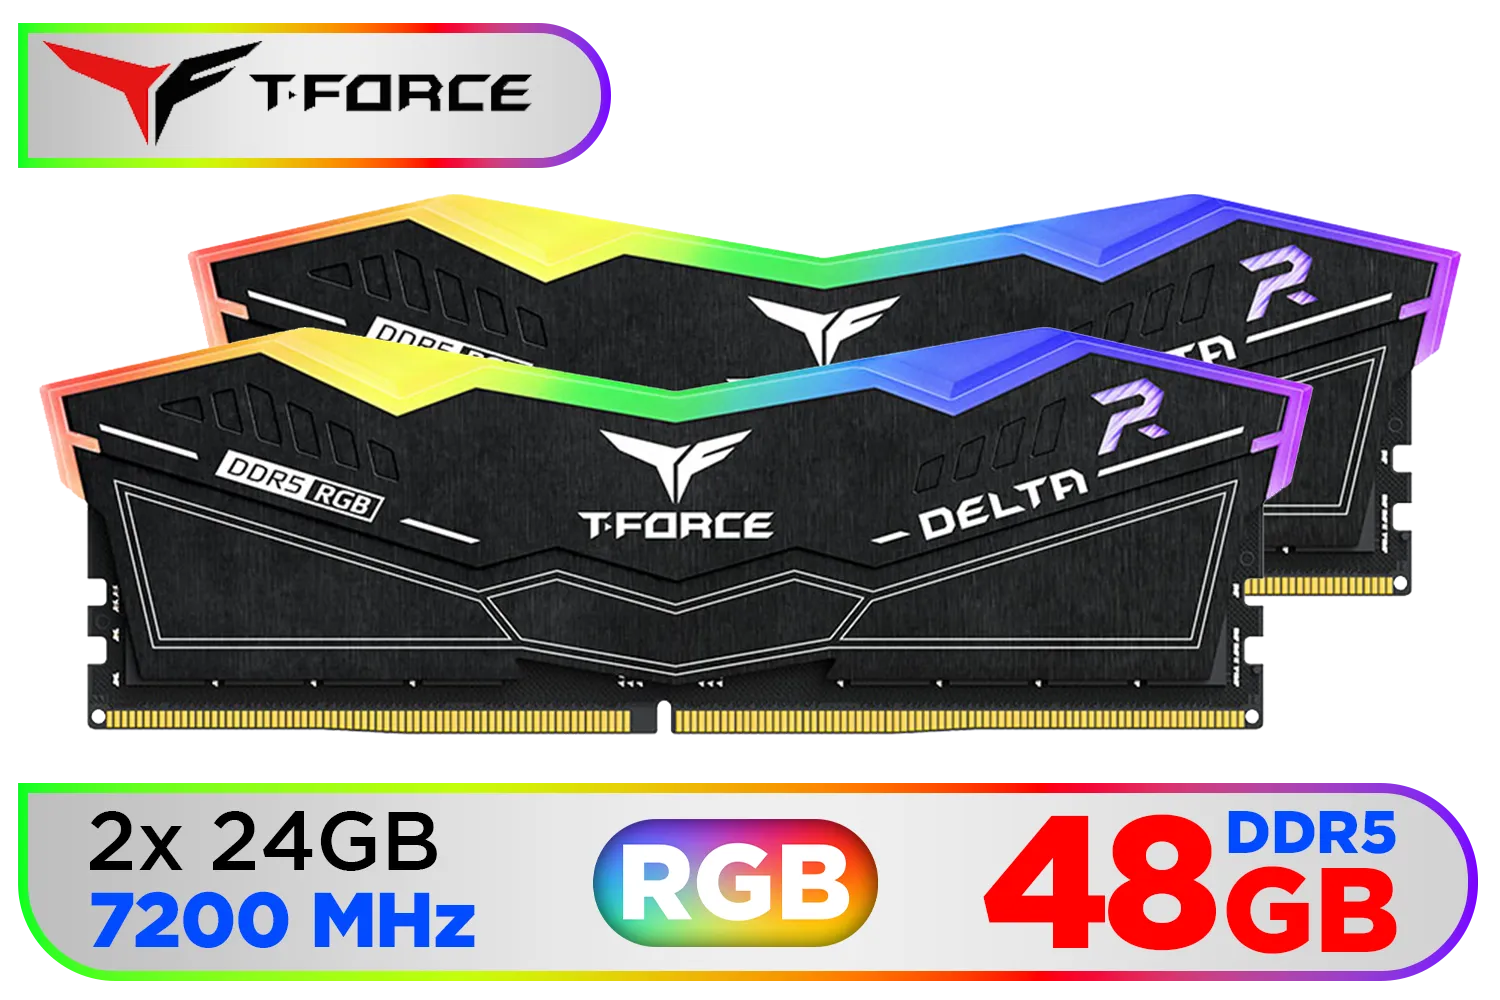
Teamgroup T-Force DELTA RGB 48GB DDR5 Desktop Memory - Black / 48GB (2x24GB) / 7200MHz / CL34 / FF3D548G7200HC34ADC01
R7599.00In Stock
Your work isn't done just yet. With the hardware physically installed, the final step for unlocking maximum performance happens in the BIOS.
Restart your PC and repeatedly press the Delete or F2 key to enter the BIOS setup. Navigate to the memory or overclocking section and look for a setting called "XMP" (Extreme Memory Profile) or "EXPO" (Extended Profiles for Overclocking). Enabling the highest available profile will automatically configure your RAM to its advertised speed and timings. While older memory like some Teamgroup DDR3 modules also had performance profiles, it's absolutely essential for getting the most out of modern DDR5.
Save your settings and exit the BIOS. Your PC will restart, now armed with the full speed and stability of your new upgrade. Enjoy the performance boost! ✨
Ready for a Speed Boost? 🚀 A proper installation makes all the difference. Now that you know how to do it right, it's time to get the best hardware. For the best deals and widest selection of high-speed memory in South Africa, look no further. Explore our massive range of DDR5 RAM and give your PC the upgrade it deserves.
Related Products

KLEVV BOLT X 16GB (16GB x 1) 3600MHz DDR4 Desktop Gaming Memory / 288-Pin / Performance Enhancing / Best-in-class Memory Chips / Aluminum Heat Spreader / Ecosystem Compatibility / KD4AGU880-36A180T
R2199.00In Stock
KLEVV Bolt X DDR4 16GB (16GB x 1) 3200MHz Gaming Desktop RAM / Pure Aluminum Heatspreader / Ultra-Efficient Power Use / QVL Approved / Intel XMP 2.0 & AMD EXPO Ready / KD4AGUA80-32A160T
R1999.00In Stock
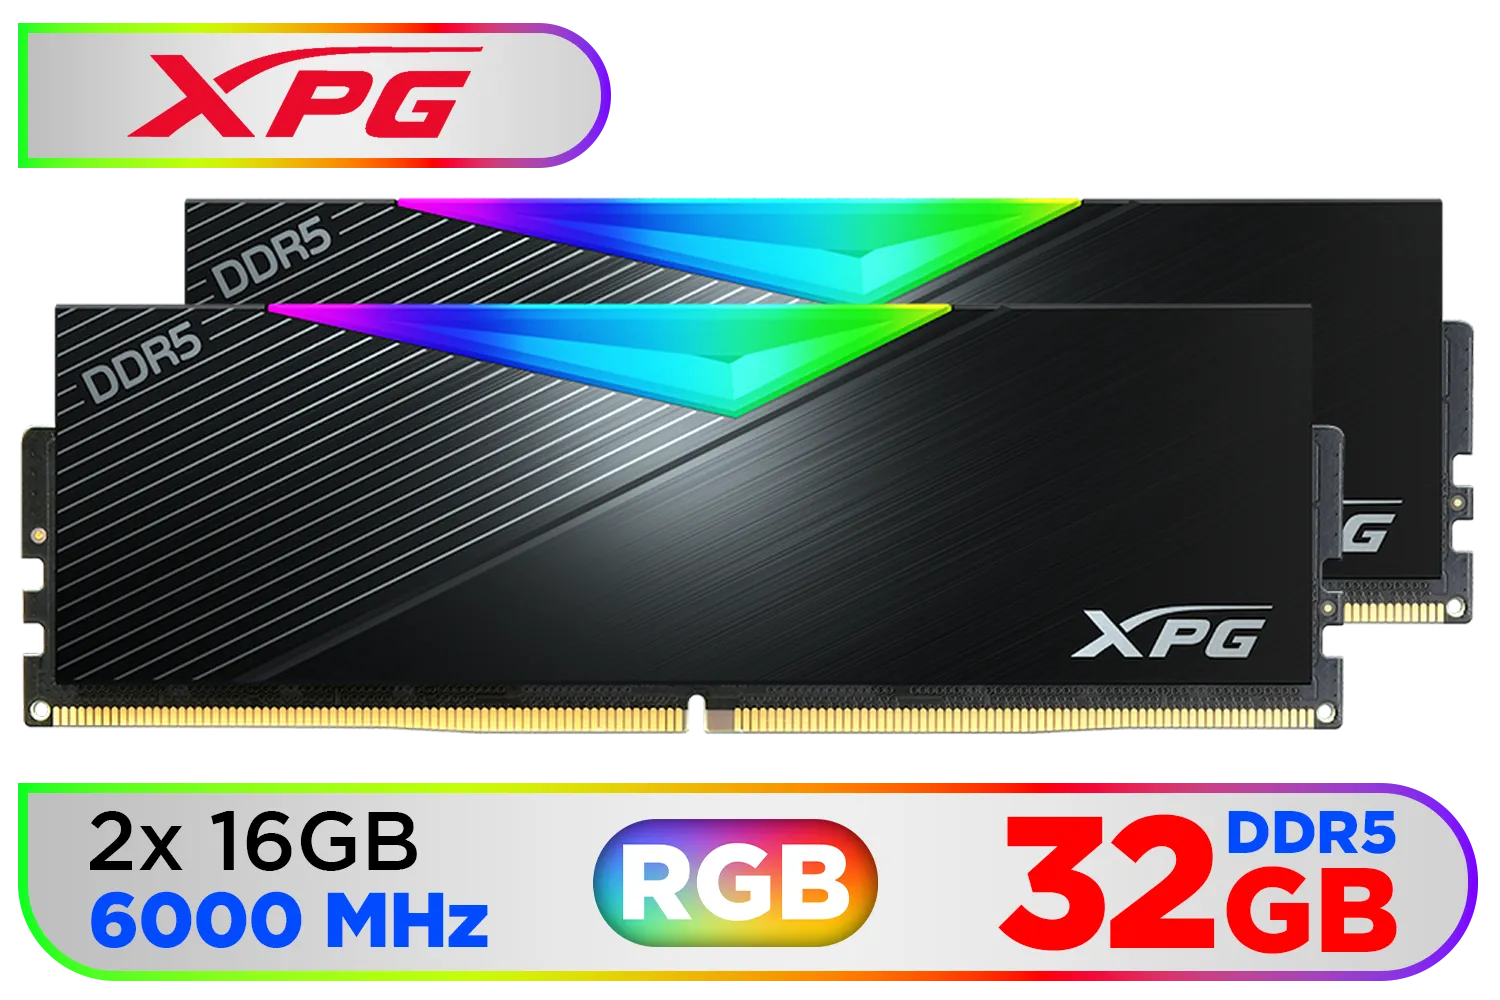
ADATA XPG Lancer 32GB (2x16GB) DDR5 RGB Memory - Black / 6000MHz / CL30 / RGB Heat Sink / AX5U6000C3016G-DCLARBK
R6099.00In Stock

ADATA XPG Lancer RGB 48GB (2 x 24GB) DDR5 6800MHz Desktop Memory - Black / High-Quality Materials / Customizable RGB light effects / Supports Intel® XMP 3.0 / AX5U6800C3424G-DCLARBK
R7499.00In Stock

Teamgroup T-Force DELTA RGB 32GB DDR5 Desktop Memory - Black / 32GB (2x16GB) / 7600MHz / CL36 / FF3D532G7600HC36DDC01
R6999.00In Stock
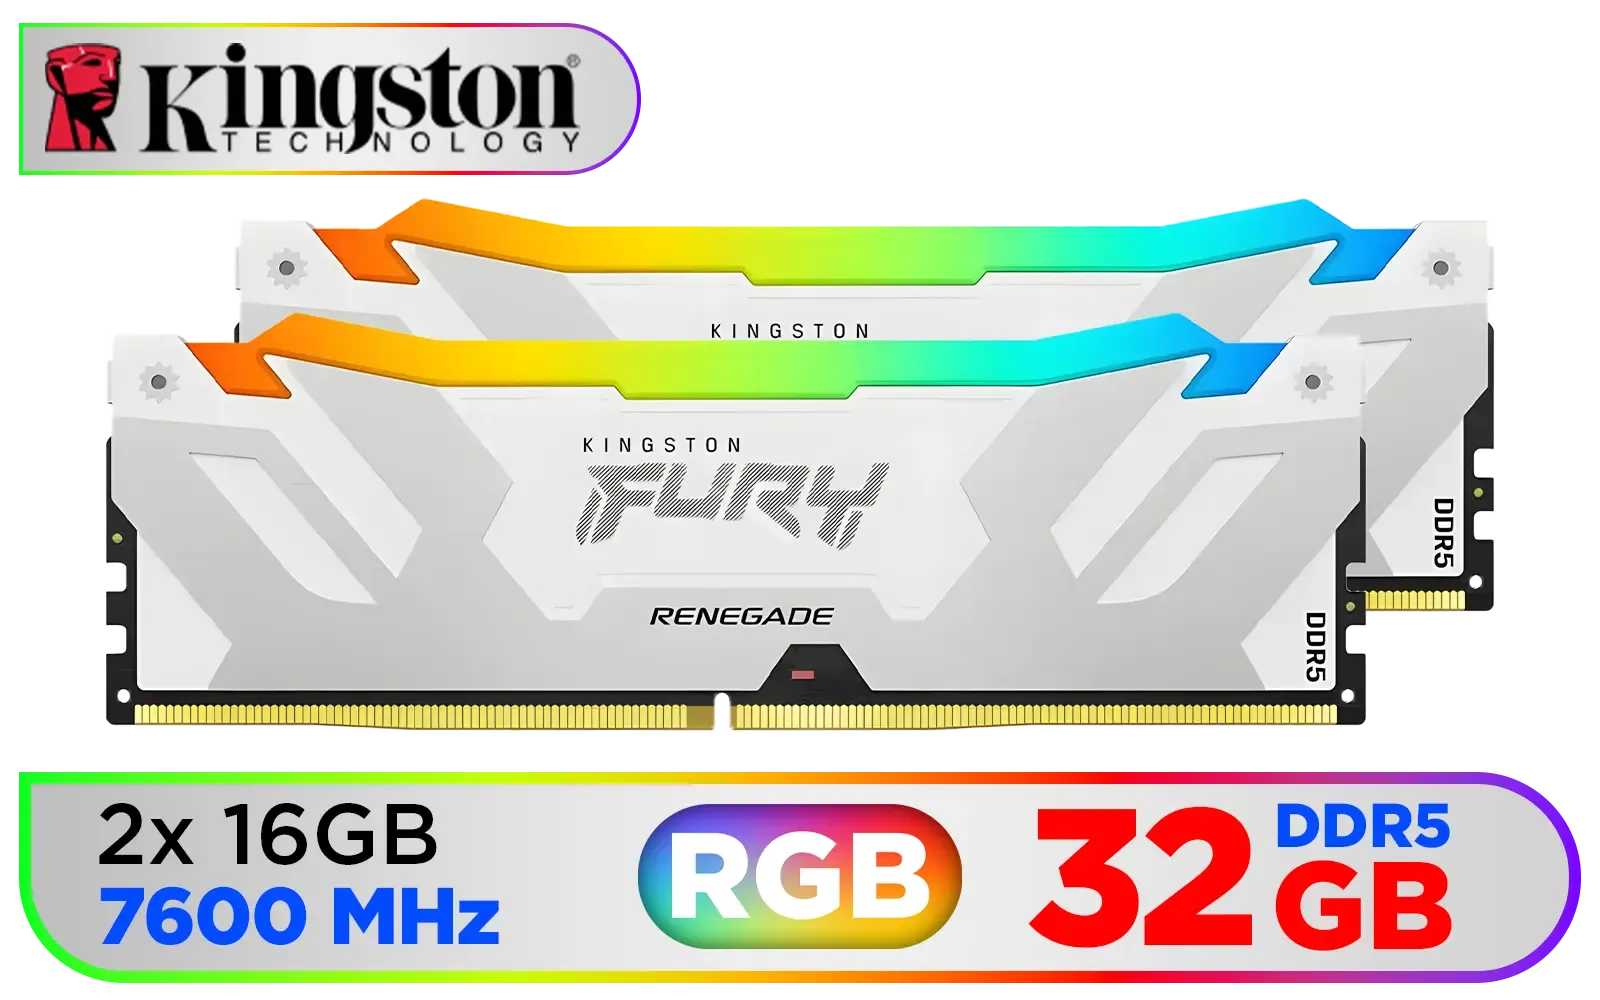
Kingston Fury Renegade RGB 32GB (2x16GB) 7600Mhz DDR5 Desktop Memory - White / Kit of 2 / 18 Customisable RGB Effects / Infrared Sync Technology / KF576C38RWAK2-32
R6999.00In Stock
Install DDR5 RAM by matching the module notch to the slot, seat firmly until clips click, populate recommended slots, then enable XMP/EXPO in BIOS.
Use the motherboard manual's recommended slots (usually A2 and B2) for dual-channel DDR5 to maximize bandwidth and stability.
Yes. Update BIOS to the latest version for DDR5 compatibility and improved memory training, then verify supported memory speeds.
Enable XMP/EXPO in BIOS to run DDR5 at advertised speeds, but test stability first and adjust voltages if needed for reliability.
Instability often stems from incompatible kits, incorrect slot population, outdated BIOS, or aggressive XMP settings—use DDR5 troubleshooting steps.
Run memory stress tests like MemTest86 or long-run AIDA64 memory stability tests after installing DDR5 RAM and enabling XMP.
DDR5 modules have different notch positions and power management; treat gently, confirm notch alignment, and consult the motherboard DDR5 guide.