Razer BlackShark V3 Pro setup: Optimize for top performance
Razer BlackShark V3 Pro setup: Quick step-by-step guide to optimize audio, mic, latency, and battery for gaming. Learn Synapse settings, firmware updates, EQ tips, and low-latency tweaks 🎧⚡
|
Loading tags...

So, you’ve just unboxed the beast: the Razer BlackShark V3 Pro. You can feel the quality, you can see the pro-grade design... but can you hear the enemy player reloading around the corner on Nuke? Just plugging it in is only half the battle. To truly get your money's worth and gain a competitive edge, a proper Razer BlackShark V3 Pro setup is essential. Let’s get it dialled in for peak performance. 🚀

Promate Simba Over-Ear Hi-Definition SafeAudio™ Wired Headset - Onyx / 40mm Drivers / Adjustable Headband / 3.5mm Aux Connector / Audio Sharing / SIMBA.ONYX
R299.00In Stock

Logitech G733 Lightspeed Wireless RGB Gaming Headset - White / Lightsync RGB lighting / Fully Customizable / Blue VO!CE Technology / 40mm PRO-G Audio Drivers / DTS Headphone:X 2.0 Surround Sound / USB-C Charging Port / 20m Wireless Range / 981-000882/83
R2799.00In Stock

Promate Panda KidSafe Kawaii Style Wireless Kids Headset - Aqua / 1000mAh Battery / Up to 40 hours of Playtime / AUX Support / LED Illuminated Ears / PANDA.AQUA
R399.00In Stock

Logitech PRO X Gaming Headset With BLUE VO!CE Microphone Technology / USB External Sound Card / PRO-G 50 mm Audio Drivers / Detachable pro-grade Microphone / Comfortable Memory Foam Padding / Durable Steel and Aluminium Construction / 981-000818
R2299.00In Stock

Dell WH3024 Wired Headset / Built-in AI-based noise cancellation microphone / In-line control / Leatherette memory foam ear cushions / 520-BBDH
R1299.00In Stock

Marvo H8325 PULZ 30 Wired Gaming Headset - Pink / Stereo Sound / 50mm Drivers / Self-Adjustable Headband / Static RGB Backlight / H8325-PK
R299.00In Stock
Unboxing and First Connection
First things first, let's get you untethered. Before you do anything else, give your BlackShark V3 Pro a full charge using the included USB-C cable. While it’s charging, plug the Razer HyperSpeed Wireless dongle into a free USB port on your PC. Once the headset is fully charged, power it on. It should connect automatically.
This seamless connection is the magic of a modern top-tier wireless headset, offering freedom of movement without sacrificing audio fidelity. Make sure the dongle has a clear line of sight to your headset for the most stable connection.
Your Command Centre: Mastering Razer Synapse
The heart of your Razer BlackShark V3 Pro setup is the Razer Synapse software. If you don’t have it installed, download it from Razer’s official website. This is where you transform your headset from great to absolutely dominant.
Calibrating THX Spatial Audio
This isn't your average virtual surround sound. THX Spatial Audio creates a 360-degree soundscape with incredible accuracy.
- Open Synapse and select your headset.
- Go to the "Mixer" tab.
- Enable THX Spatial Audio.
- Run the calibration tool. This lets you position each virtual speaker to match your personal hearing, making positional audio cues in games like Apex Legends or Valorant incredibly precise.
Logitech H111 Stereo Headset - Black / Stereo Sound / Rotating Microphone / Adjustable Headband / 3.5mm Audio Jack Connection / 981-000593
R169.00In Stock
Logitech G733 Lightspeed Wireless RGB Gaming Headset - White / Lightsync RGB lighting / Fully Customizable / Blue VO!CE Technology / 40mm PRO-G Audio Drivers / DTS Headphone:X 2.0 Surround Sound / USB-C Charging Port / 20m Wireless Range / 981-000882/83
R2799.00In Stock

Razer Kaira Pro Wireless Gaming Headset for Xbox Series X/ TriForce Titanium 50mm Drivers / HyperClear Supercardioid Mic / Flowknit Memory Foam / EQ / Xbox Pairing Button / Auto-adjusting Headband / RZ04-03470100-R3M1
R3499.00In Stock
Promate Simba Over-Ear Hi-Definition SafeAudio™ Wired Headset - Onyx / 40mm Drivers / Adjustable Headband / 3.5mm Aux Connector / Audio Sharing / SIMBA.ONYX
R299.00In Stock
Razer BlackShark V3 Pro Wireless Gaming Headset - White / Detachable Mic / Pro-Tuned FPS Profiles / 50mm Drivers / Noise-Isolating Earcups w/Ultra-Soft Memory Foam / 70 Hr Battery Life / RZ04-05400200-R3M1
R6199.00In Stock
Dell WH3024 Wired Headset / Built-in AI-based noise cancellation microphone / In-line control / Leatherette memory foam ear cushions / 520-BBDH
R1299.00In Stock
Dialing in the Perfect EQ
The equaliser (EQ) is your secret weapon. Under the "Enhancement" tab, you'll find the EQ settings. While the default profile is good, customising it gives you an edge.
- For FPS Games: Create a custom profile that slightly boosts the mid-high frequencies. This will make footsteps, gunfire, and other crucial audio cues stand out from the background noise.
- For Cinematic Games: Use the "Movie" or "Game" preset to enhance bass for explosions and dialogue for story-driven moments.
Crystal-Clear Comms
Your squad needs to hear you clearly. The BlackShark V3 Pro has a fantastic detachable HyperClear Supercardioid Mic. In Synapse, navigate to the "Mic" tab. Here you can adjust the mic volume, enable Voice Gate to cut out background noise, and even use the Mic EQ to make your voice sound richer and clearer. ✨
TIP FOR YOU
Audio Pro Tip 🔧
Always disable any in-game virtual surround sound settings (like "Headphones" or "7.1") when using THX Spatial Audio. Using both at the same time can cause audio processing conflicts, resulting in a distorted or "muddy" sound. Let Synapse handle the spatial audio, and set your in-game audio to a simple Stereo output for the cleanest signal.
Optimising In-Game Settings
Your work isn't done yet. A perfect Razer BlackShark V3 Pro setup involves tweaking your game's audio settings to work with Synapse, not against it. As mentioned in the tip above, always select "Stereo" or "Headphones" as your primary output in the game's audio menu. This ensures the game sends a clean audio signal for THX Spatial Audio to process correctly, giving you the most accurate soundscape possible.
Console Connectivity Guide
While the BlackShark V3 Pro shines on PC, it’s also a versatile beast for console gamers.
- PlayStation: Simply plug the wireless dongle into your PS4 or PS5's USB port. The console will automatically detect it, giving you a massive audio upgrade over TV speakers. While you won't have Synapse, the default audio profile is excellent. It's a top choice among many available PlayStation headsets.
- Xbox: The standard BlackShark V3 Pro connects via the 3.5mm jack to your controller. For wireless play, you’ll need the specific "Designed for Xbox" version of the headset, but there are plenty of other great Xbox-compatible options available too.
Razer BlackShark V2 X Gaming Headset: 7.1 Surround Sound - White / 50mm Drivers / Memory Foam Cushion / Compatible with PC, Mac, PS4, PS5, Switch, Xbox One, Xbox Series X|S, Mobile / 3.5mm Audio Jack / RZ04-03240700-R3M1
R999.00In Stock
Logitech G522 Lightspeed Wireless RGB Gaming Headset - Black / RGB lighting with 16.8M colors / PRO-G drivers / Switch between wireless, Bluetooth, or wired / Up to 60-Hour Battery / Tune audio and voice with G HUB / 981-001544
R3339.00In Stock

Promate Panda KidSafe Kawaii Style Wireless Kids Headset - Lilac / 1000mAh Battery / Up to 40 hours of Playtime / AUX Support / LED Illuminated Ears / PANDA.LILAC
R499.00In Stock
Promate Panda KidSafe Kawaii Style Wireless Kids Headset - Aqua / 1000mAh Battery / Up to 40 hours of Playtime / AUX Support / LED Illuminated Ears / PANDA.AQUA
R399.00In Stock
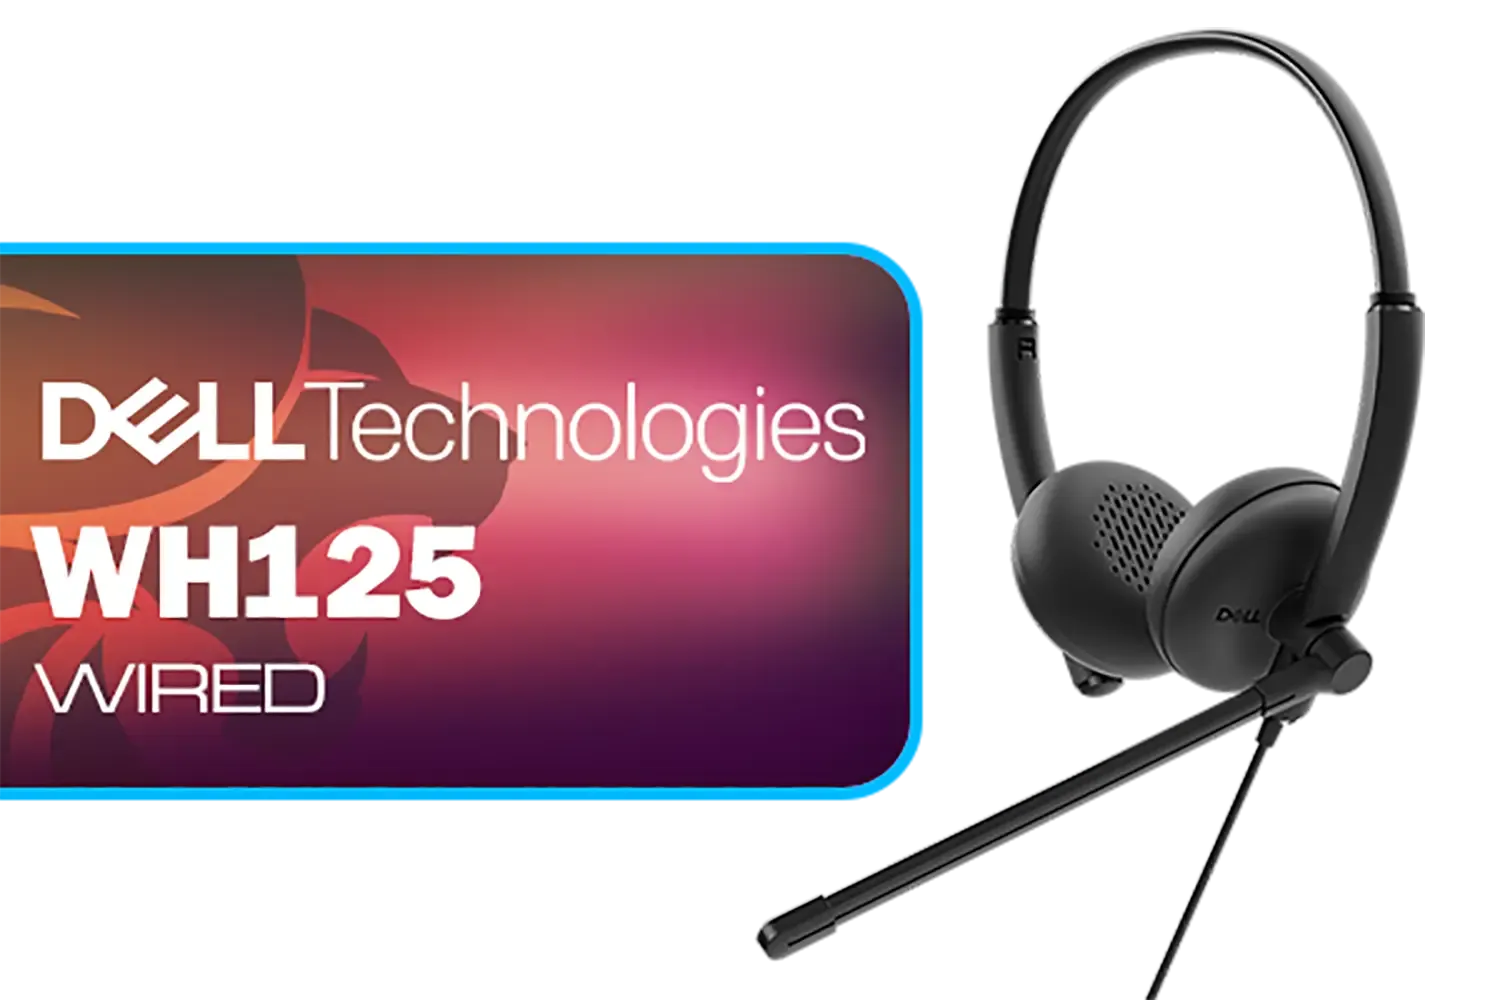
Dell WH125 USB-A Wired Headset / Clear Voice Pickup With Noise Reduction / Adjustable 270° Rotatable Boom Mic / Universal UC Platform Compatibility / Lightweight 125g All-Day Comfort / 520-BBLV
R799.00In Stock
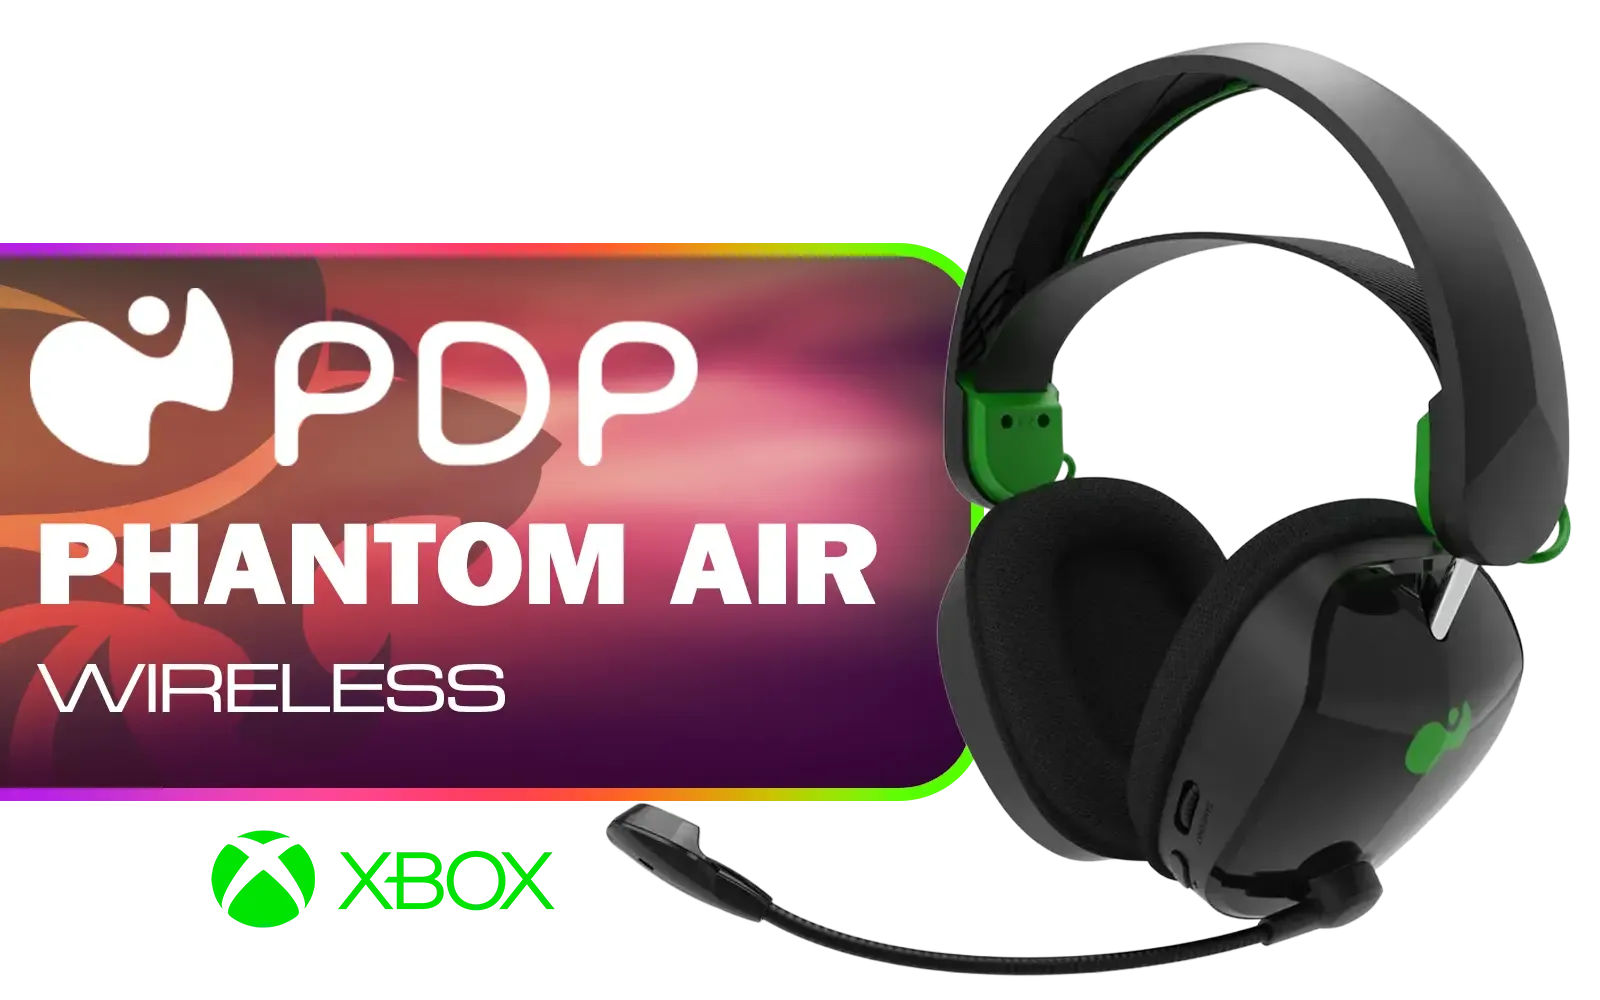
PDP Phantom Air Dual-Mode Wireless Gaming Headset (Xbox) - Black / 50mm Audio Drivers / 35-Hour Battery Life / Noise-Cancelling Microphone / Official Xbox License / PDP-049-038-BK
R999.00In Stock
Pro Tips for Peak Performance
To keep your headset running optimally, always keep your firmware updated via Synapse. This often includes fixes and performance improvements. While the freedom of wireless is amazing, remember that sometimes the simple, zero-latency connection of a reliable wired headset is preferred by some esports pros for its guaranteed stability.
Ultimately, taking 20 minutes to properly configure your headset will pay off for hundreds of hours in-game. If you're looking to see how the BlackShark V3 Pro stacks up against the competition, be sure to check out the latest gaming headset deals or browse our full range of headphone headsets to find the perfect fit for your playstyle and budget.
Ready to Dominate the Leaderboard? A perfectly optimised Razer BlackShark V3 Pro setup gives you the audio edge you need to win. If you're ready to upgrade or explore other elite gear, check out our massive range of Razer products and find the perfect tools to conquer your game.
Related Products

Promate Jewel HD Stereo KidSafe Wired Headset - Aqua / Safe Audio Levels / Adjustable Headband / 3.5mm Aux Connector / Audio Sharing / JEWEL.AQUA
R249.00In Stock

Logitech H340 USB Computer Headset - Black / Noise Canceling Mic / Digital Stereo Sound/ USB-A Connection / 981-000475
R499.00In Stock

HP DHE-8000 USB Phone Operators Headphone — Black - High Quality Anti-rocking - Low Interference PU Earphone Cable - Clear Voice Communication - Rotating Ear Cups - For PC or Mac - Omnidirectional Microphone / DHE-8000
R399.00In Stock

Turtle Beach Recon 70P Gaming Headset - Black / Compatible with PS5, PS4, Xbox Series X, Xbox Series S, Xbox One, Nintendo Switch, Mobile, & PC with 3.5mm / Flip-to-Mute Mic / 40mm Speakers / On-Ear Volume Control / TBS-3001-05
R699.00In Stock
Promate Panda KidSafe Kawaii Style Wireless Kids Headset - Aqua / 1000mAh Battery / Up to 40 hours of Playtime / AUX Support / LED Illuminated Ears / PANDA.AQUA
R399.00In Stock
Dell WH3024 Wired Headset / Built-in AI-based noise cancellation microphone / In-line control / Leatherette memory foam ear cushions / 520-BBDH
R1299.00In Stock
Charge the headset, update firmware, pair via USB or 2.4 GHz dongle, then open Razer Synapse to apply recommended settings.
Use Razer Synapse or Razer Central to download and install the latest BlackShark V3 Pro firmware to improve stability and features.
Enable THX Spatial Audio, choose a gaming EQ preset or create a custom EQ, and disable extra enhancements that increase latency.
Lower mic gain in Synapse, enable noise reduction or sidetone, and position the mic correctly to cut background noise.
Use wired mode or disable RGB and unused wireless features, lower volume and Synapse extras to extend battery life.
Use the 2.4 GHz wireless dongle and enable game or low-latency mode in Razer Synapse for minimal input lag.
Clean earcups, update firmware regularly, store in a case, and charge periodically to maintain battery health and audio quality.