razer wolverine v3 setup: loadshedding-proof gaming sessions
razer wolverine v3 setup guide to keep your controller and PC running through loadshedding. Quick UPS choices, wired configs, low-latency tips and failover steps ⚡🎮
|
Loading tags...

Ah, the dreaded beep. The lights go out, your screen flickers, and your wireless controller disconnects... again. Loadshedding has claimed another potential victory. But what if your gear was immune to the whims of the power grid? ⚡ A proper Razer Wolverine V3 setup isn't just about performance; it's about reliability when it matters most. This guide will show you how to configure your controller for truly loadshedding-proof gaming sessions.
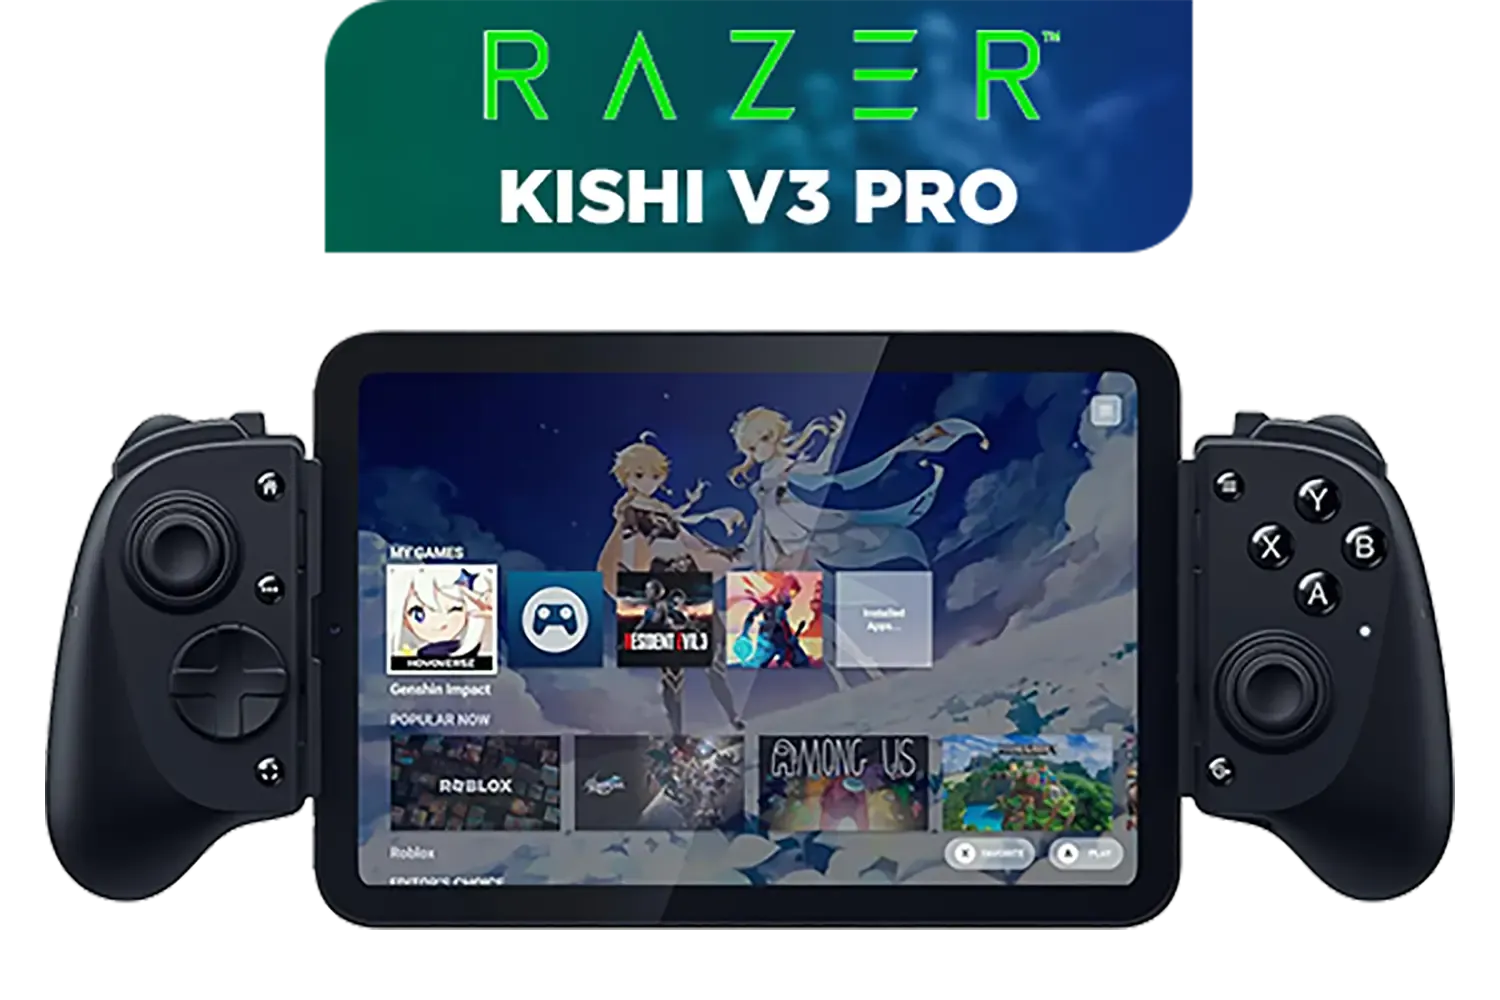
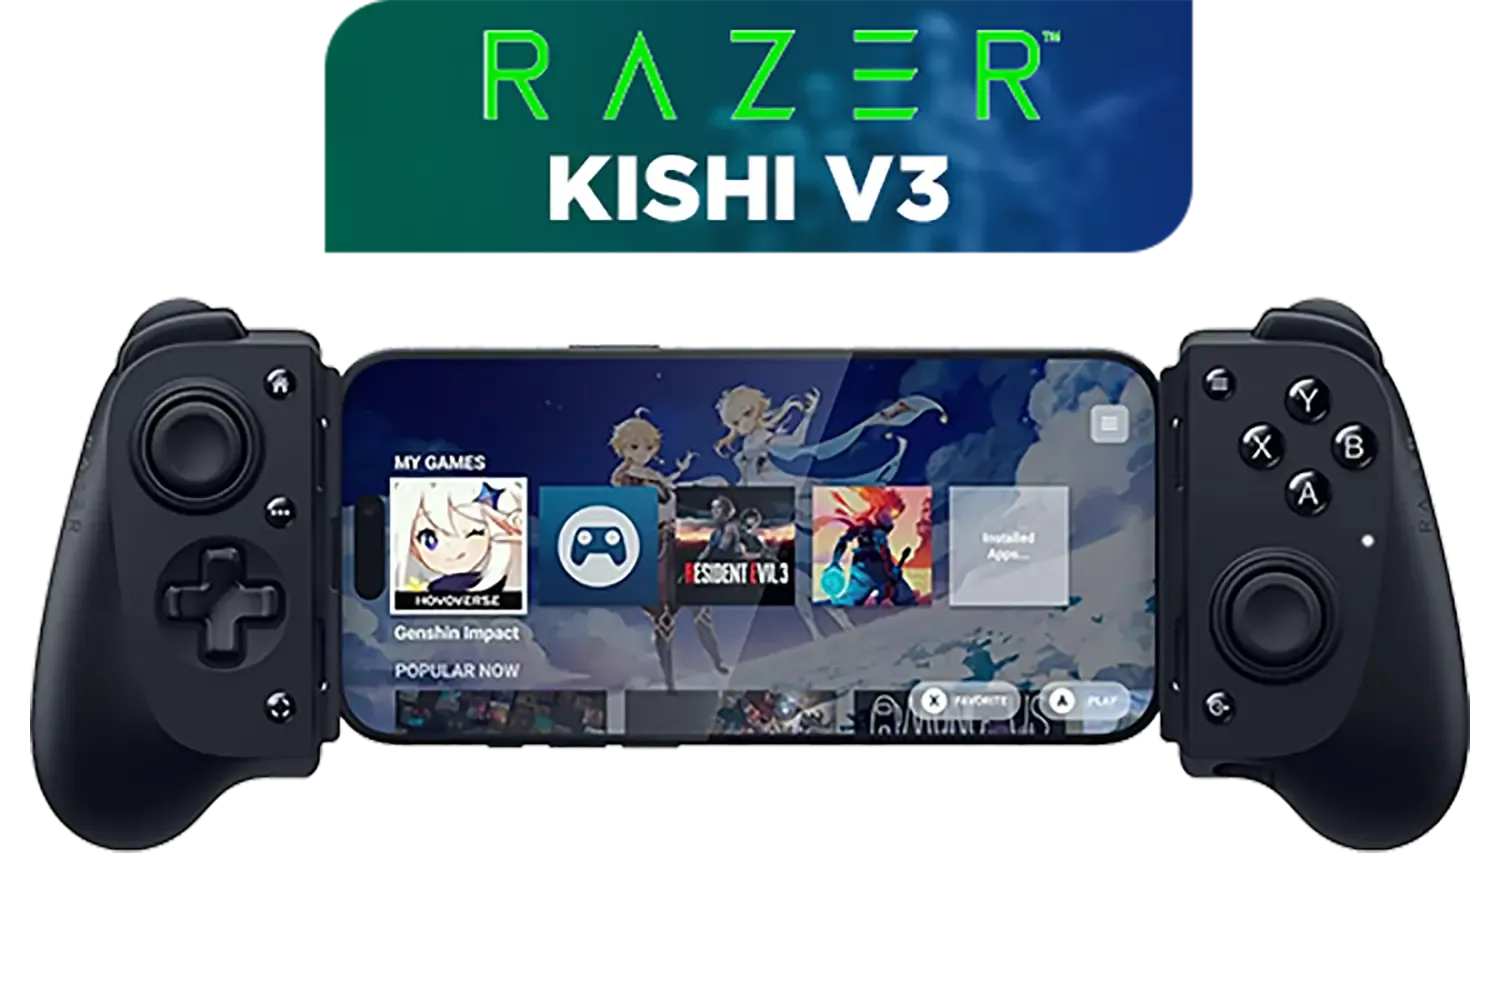
Razer Kishi V3 Pro Gaming Controller / Supports Android, iPhone & iPad Mini / Full-Sized Console-Style Controller / Fits Phones and Tablets up to 8” / Razer Sensa HD Immersive Haptics / RZ06-05460100-R3M1
R4199.00In Stock
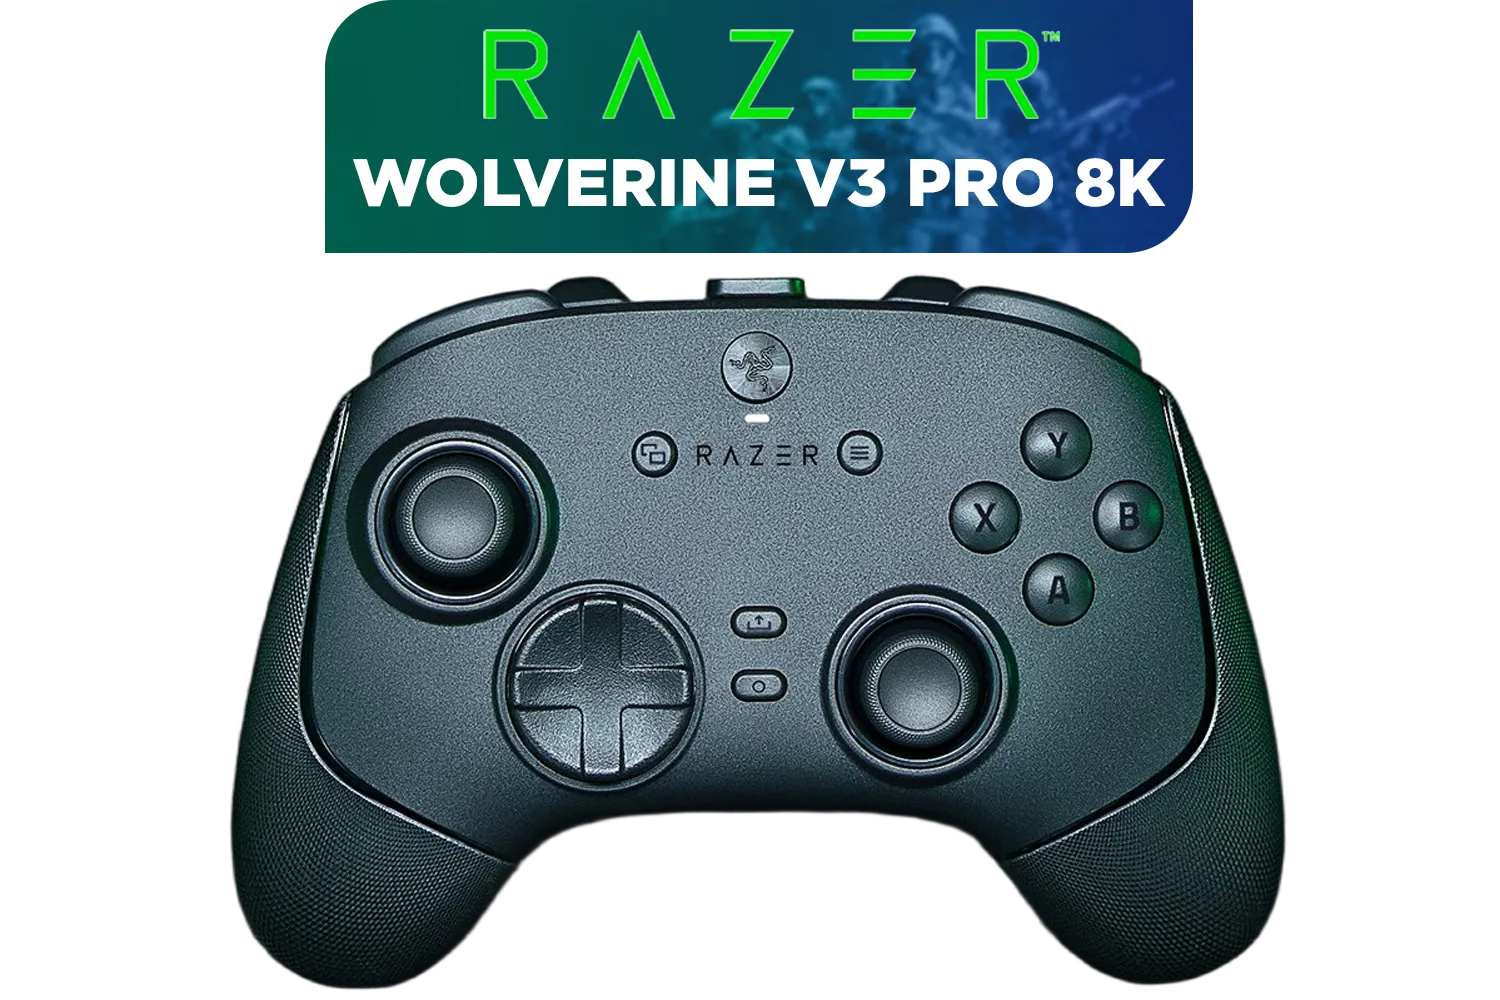
Razer Wolverine V3 Pro 8K PC Wireless Controller / Hyper Polling Technology / Swappable Thumbstick Caps / 4 Back Paddles / RZ06-05540100-R3M1
R4699.00In Stock
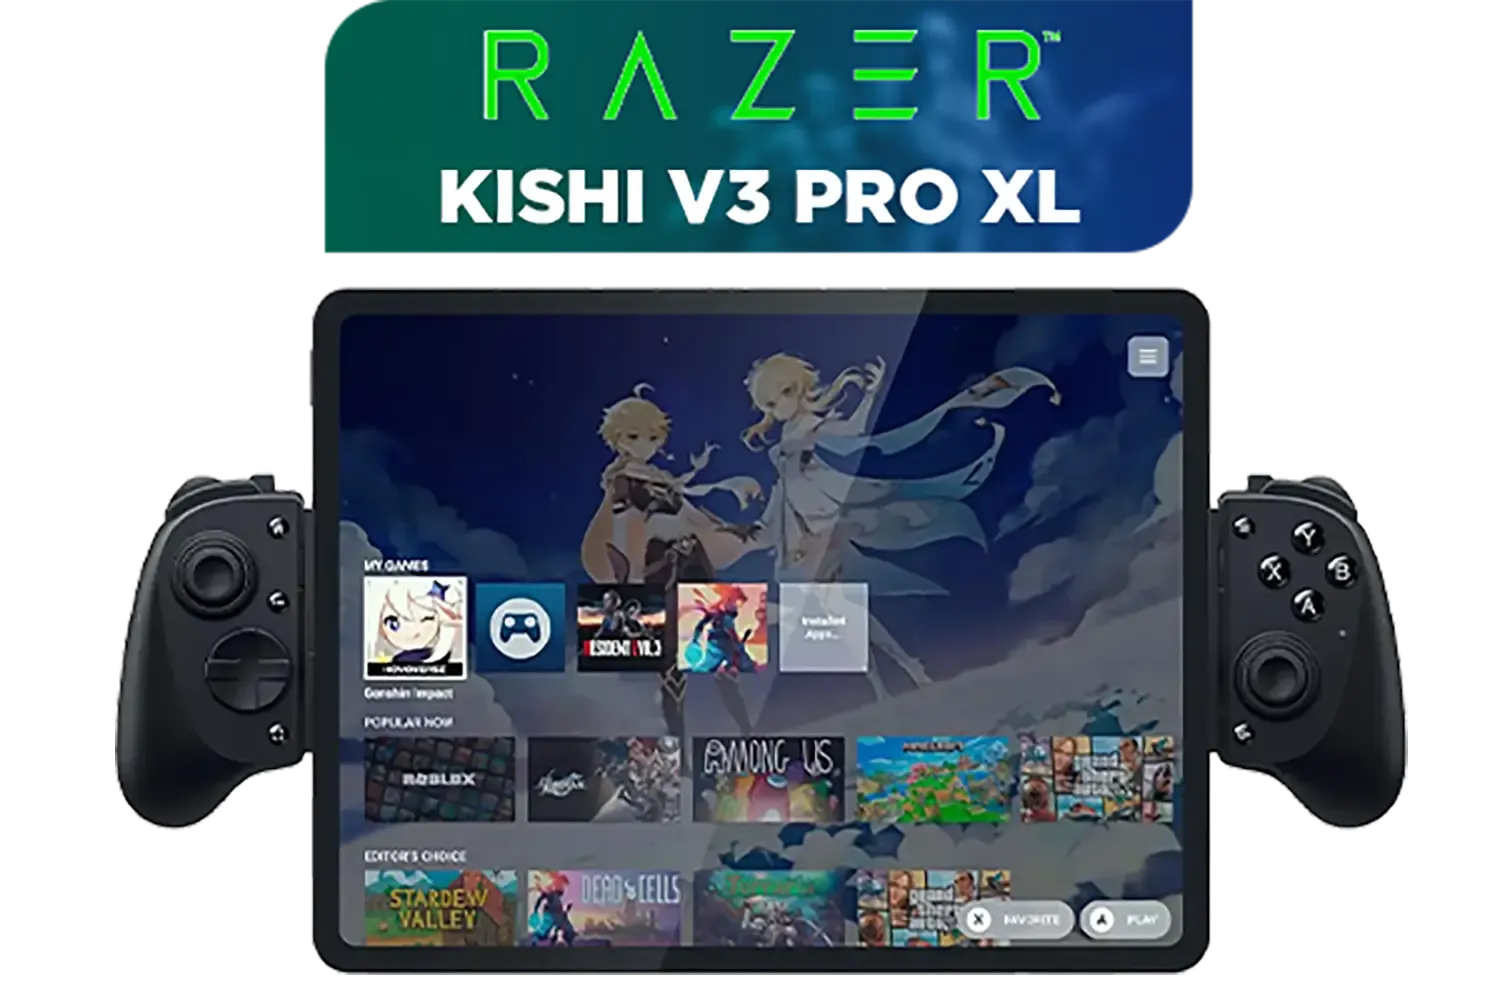
Razer Kishi V3 Pro XL iPad & Android Tablet Gaming Controller / Full-Sized Console-Style Controller / Fits Phones and Tablets up to 10” / Razer Sensa HD Immersive Haptics / RZ06-05470100-R3M1
R5199.00In Stock
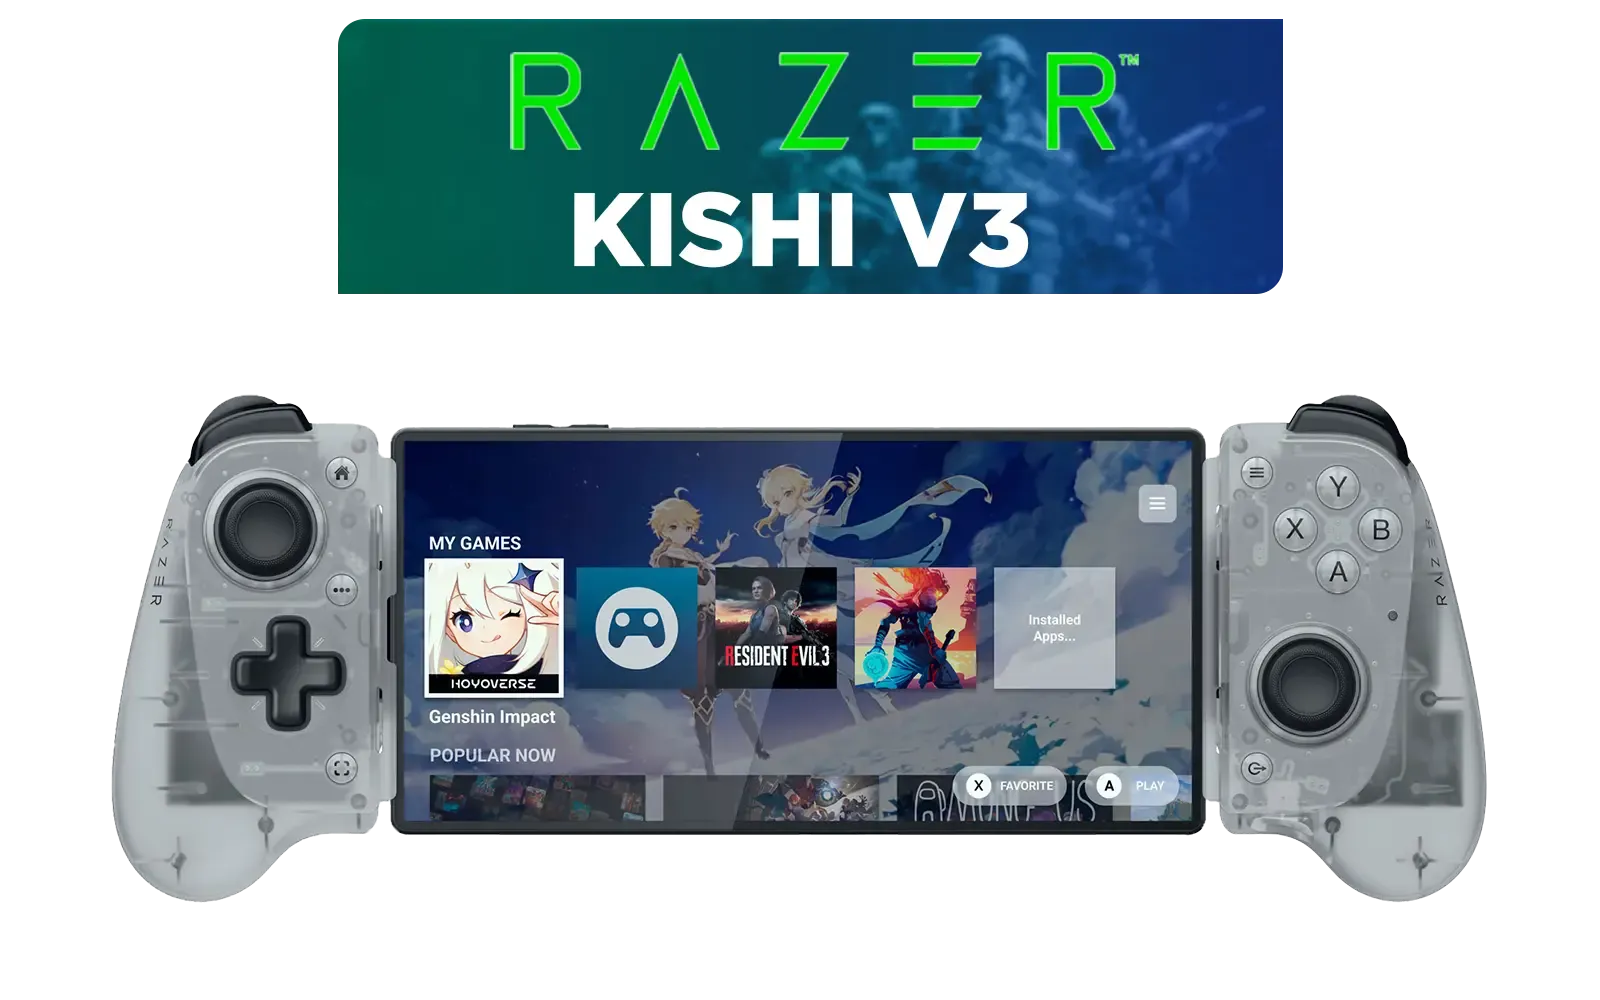
Razer Kishi V3 Gaming Controller / Supports Android and iPhone / Full-Sized Console-Style Controller / Dual mouse-click back buttons / Razer Sensa HD Immersive Haptics / RZ06-03550100-R3M1
R2999.00In Stock
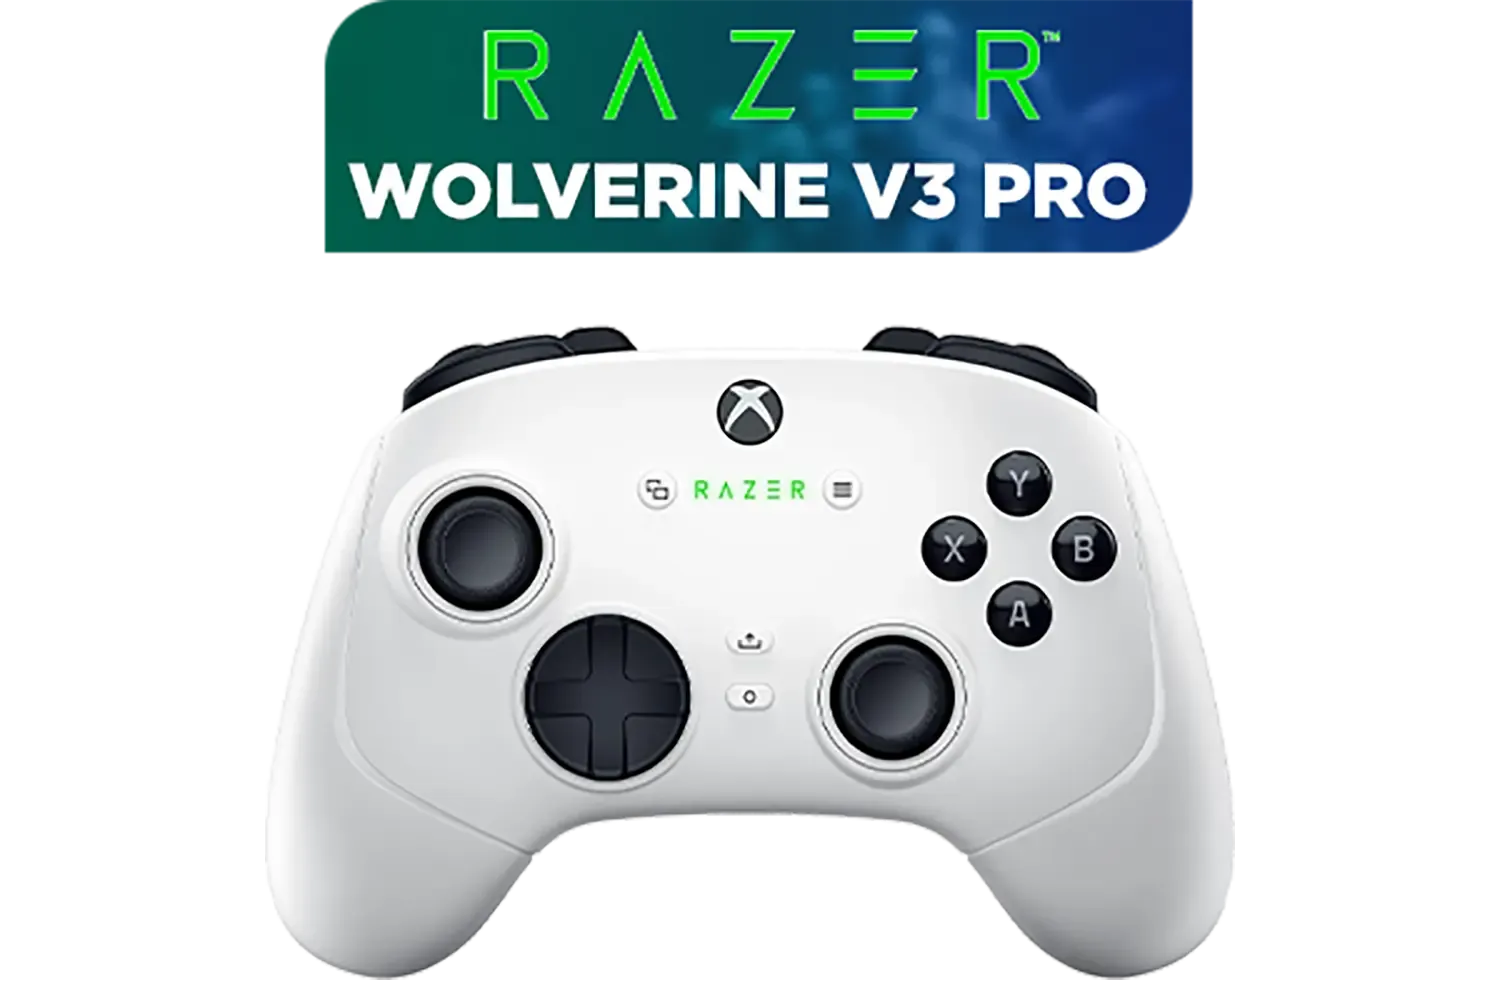
Razer Wolverine V3 Pro Wireless Gaming Controller: Licensed for Xbox Series X|S, Xbox One, Windows PC / 6 Remappable Buttons / Fast Triggers / Customizable Thumbsticks / Wired Tournament Mode - White / RZ06-05200200-R3M1
R4999.00In Stock

Razer Wolverine V3 Pro Wireless Gaming Controller: Licensed for Xbox Series X|S, Xbox One, Windows PC - 6 Remappable Buttons - Fast Triggers - Customizable Thumbsticks - Wired Tournament Mode - Black / RZ06-05200100-R3M1
R4999.00In Stock
Why a Wired Controller is Your Best Friend in SA
In a world of wireless everything, going wired might seem like a step back. But for a South African gamer, it's a massive leap forward in consistency. When the power trips, a wireless controller can lose its connection, forcing a frantic re-sync when the inverter or UPS kicks in. Worse, you might discover its battery is flat at the worst possible moment.
The Razer Wolverine V3 Pro plugs directly into your PC or Xbox via a detachable USB-C cable. This simple connection means two things: zero input lag for lightning-fast reactions and, crucially, zero reliance on batteries. Your controller is always ready to go. It’s a core reason why serious players are looking at high-performance gaming controllers that offer a stable, wired connection.
Your Step-by-Step Razer Wolverine V3 Setup Guide
Getting your new controller configured is straightforward. A solid Razer Wolverine V3 setup takes just a few minutes and unlocks the controller's full potential.
1. Connect and Update
First things first, plug the USB-C cable into the controller and the USB-A end into your PC or Xbox. Windows should automatically detect it. Your next, and most important, step is to download and install Razer Synapse from Razer's official website. This software is the command centre for all your settings. Once installed, Synapse will likely prompt you to update the controller's firmware. Do it! These updates often include performance tweaks and bug fixes.
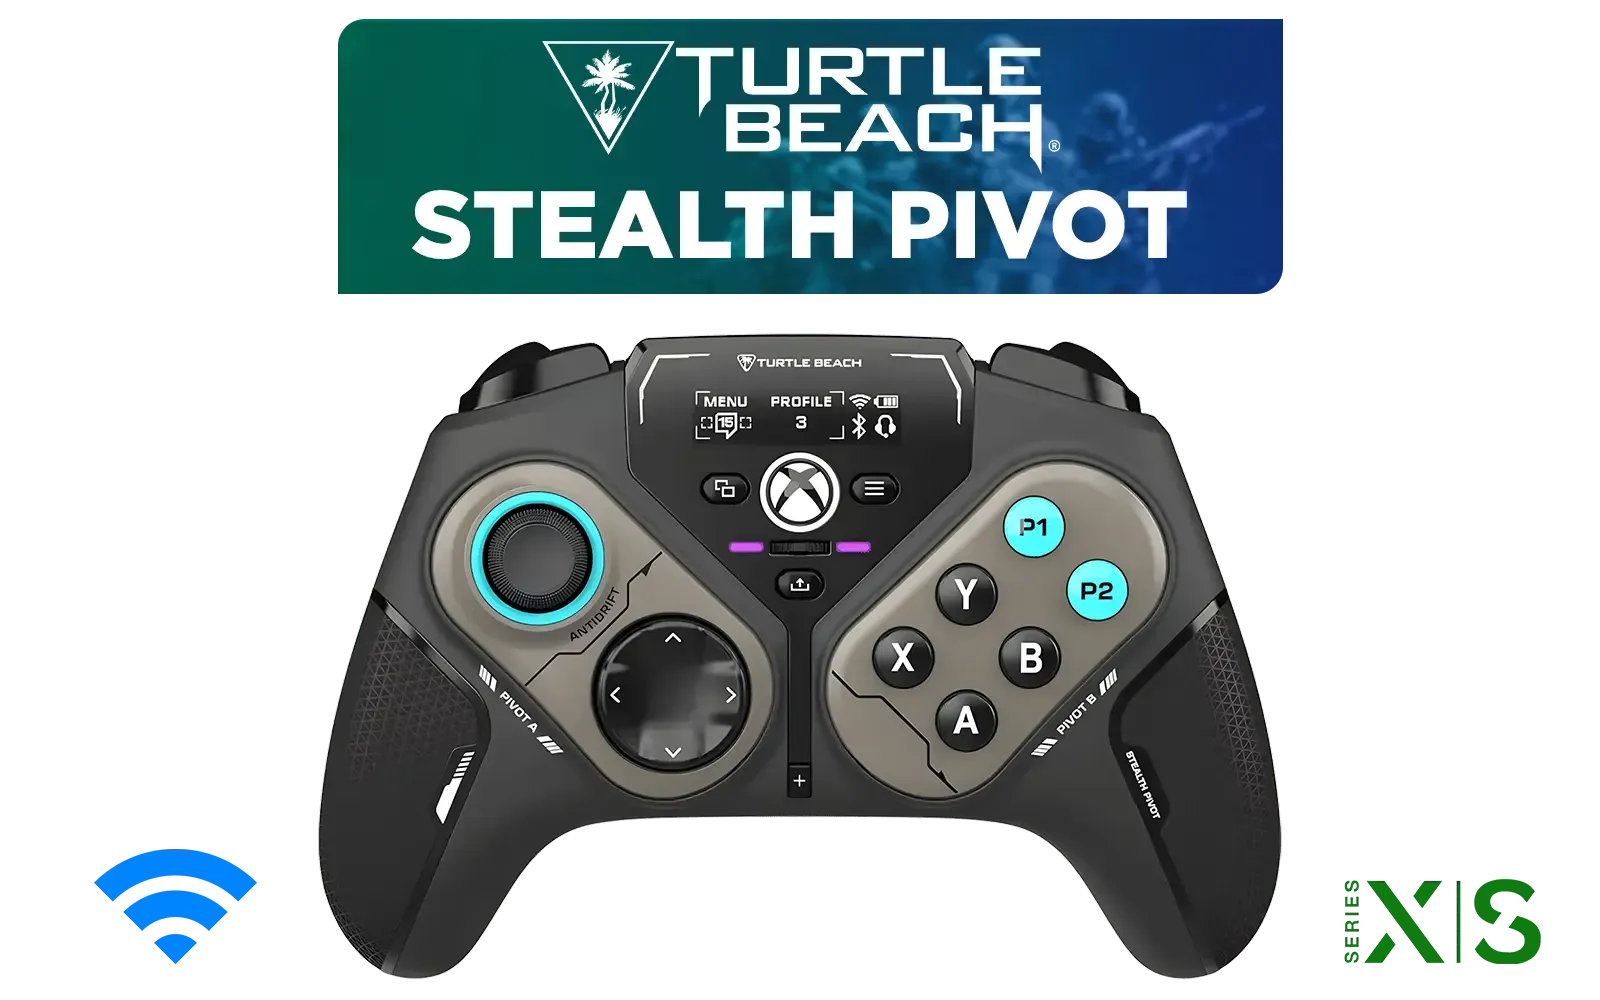
Turtle Beach Stealth Pivot Wireless Smart Game Controller for Windows PC, Wired for Xbox Series X|S & Xbox One – Rotating Modules, Display Dashboard, Hall-Effect Sticks, Remappable Buttons, Bluetooth / TBS-0120-05
R3199.00In Stock

Razer Wolverine V3 Tournament Edition XBOX/PC, 6 Remappable Buttons to Outplay Them All, 1000Hz Polling Rate for Competitive Play on PC, Wired Esports Controller - White / RZ06-05210200-R3M1
R2699.00In Stock

Xbox Special Edition Series Controller - Pulse Cipher / Red transparent top case / Rubberised red grips / Metallic red triggers and D-pad / Bluetooth® technology / QAU-00165
R1899.00In Stock
Razer Kishi V3 Pro XL iPad & Android Tablet Gaming Controller / Full-Sized Console-Style Controller / Fits Phones and Tablets up to 10” / Razer Sensa HD Immersive Haptics / RZ06-05470100-R3M1
R5199.00In Stock

Steelseries Nimbus+ Gamepad / Apple Gaming Controller / 50 hour Battery Life / Dedicated Navigation Buttons / Built-in Rechargeable Battery / Designed specifically for Apple Gaming / 69089
R999.00In Stock
Razer Kishi V3 Mobile Gaming Controller - Phantom White / Full-sized Controller Form Factor / Full-sized TMR Thumbsticks / Unparalleled Case Compatibility / RZ06-03550200-R3M1
R2699.00In Stock
2. Customise Your Layout in Synapse
This is where the magic happens. The Razer Wolverine V3 Pro is packed with customisable features. In Synapse, you can:
- Remap Buttons: Change any button to perform another function.
- Adjust Sensitivity: Fine-tune the thumbstick sensitivity clutches for precise aiming.
- Configure Trigger Stops: Shorten the trigger pull distance for faster firing in FPS titles like Warzone or Apex Legends.
- Set Up Profiles: Create different configurations for different games and switch between them on the fly.
TIP FOR YOU
Pro Apex Legends Profile Tip 🔧
Map your 'Jump' and 'Crouch Slide' actions to the two top multi-function bumpers (M1 M2). This lets you jump, slide, and aim simultaneously without ever taking your thumb off the right stick. It’s a huge advantage in fast-paced firefights and makes movement feel incredibly fluid.
Unlocking a True Competitive Edge 🏆
Beyond the basic configuration, this controller offers features designed for esports. The Mecha-Tactile Action Buttons provide a satisfying, clicky feedback similar to a mouse click, ensuring every press is deliberate and fast. This level of precision is a hallmark of Razer's lineup of controllers, designed for those who refuse to compromise on performance.
Razer Kishi V3 Pro Gaming Controller / Supports Android, iPhone & iPad Mini / Full-Sized Console-Style Controller / Fits Phones and Tablets up to 8” / Razer Sensa HD Immersive Haptics / RZ06-05460100-R3M1
R4199.00In Stock
Razer Kishi V3 Pro XL iPad & Android Tablet Gaming Controller / Full-Sized Console-Style Controller / Fits Phones and Tablets up to 10” / Razer Sensa HD Immersive Haptics / RZ06-05470100-R3M1
R5199.00In Stock
Razer Wolverine V3 Tournament Edition XBOX/PC, 6 Remappable Buttons to Outplay Them All, 1000Hz Polling Rate for Competitive Play on PC, Wired Esports Controller - White / RZ06-05210200-R3M1
R2699.00In Stock
Razer Wolverine V3 Pro Wireless Gaming Controller: Licensed for Xbox Series X|S, Xbox One, Windows PC - 6 Remappable Buttons - Fast Triggers - Customizable Thumbsticks - Wired Tournament Mode - Black / RZ06-05200100-R3M1
R4999.00In Stock

Razer Wolverine V2 Pro Wireless Gaming Controller for PlayStation 5 / PS5, PC: Mecha-Tactile Action Buttons - 8-Way Microswitch D-Pad - HyperTrigger - 6 Remappable Buttons - Chroma RGB - White- RZ06-04710200-R3G1
R5999.00In Stock
Razer Wolverine V3 Pro 8K PC Wireless Controller / Hyper Polling Technology / Swappable Thumbstick Caps / 4 Back Paddles / RZ06-05540100-R3M1
R4699.00In Stock
The 8K Polling Rate technology is another standout feature. It reports its position to your PC 8000 times a second, compared to the 125-250 times of a standard controller. The result? Incredibly smooth and responsive cursor movement and aim, giving you that split-second advantage that can decide a match. Your Razer Wolverine V3 setup is more than just a convenience; it's a direct upgrade to your in-game skill ceiling.
Ready to Dominate, No Matter the Schedule? A wired controller is the ultimate tool for consistent, high-performance gaming in South Africa. Stop letting loadshedding dictate your K/D. Explore our full range of gaming controllers and find the perfect weapon for your arsenal.
Related Products
Xbox Special Edition Series Controller - Pulse Cipher / Red transparent top case / Rubberised red grips / Metallic red triggers and D-pad / Bluetooth® technology / QAU-00165
R1899.00In Stock

Turtle Beach Atom Mobile Game Controller with Bluetooth for Cloud Gaming on Android Mobile Devices with Compact Shape, Console Style Controls, Low Latency Bluetooth - Red / TBS-0766-05
R2499.00In Stock

MARVO GT-88 WIRELESS GAMING GAMEPAD / Compatible With PC / Analog Mini Sticks With Xbox Positioning / Double Triggers And Analog Mumpers / Rapid Fire With Turbo Mode / Dual Motors For Vibration Feedback / Soft, Sweat-resistant Coating / GT-88
R499.00In Stock

Xbox Rechargeable Battery + USB-C Cable - SXW-00002
R649.00In Stock
Razer Kishi V3 Mobile Gaming Controller - Phantom White / Full-sized Controller Form Factor / Full-sized TMR Thumbsticks / Unparalleled Case Compatibility / RZ06-03550200-R3M1
R2699.00In Stock
Razer Wolverine V3 Pro 8K PC Wireless Controller / Hyper Polling Technology / Swappable Thumbstick Caps / 4 Back Paddles / RZ06-05540100-R3M1
R4699.00In Stock
Use a UPS or reliable power bank with inverter for your PC/console and connect the Razer Wolverine V3 wired to avoid battery or wireless dropouts.
Yes. A UPS protects gameplay, keeps your PC/console and modem online, and prevents abrupt shutdowns during loadshedding.
Pick a UPS with enough VA/Watts for your rig plus 10–20 minutes runtime, pure sine wave output if you have sensitive PSUs, and fast switch time.
Choose wired mode during outages to eliminate battery reliance and reduce latency; wired controller setup for PC/Xbox is more stable.
Enable low-latency controller settings, close background apps, and use a wired connection to keep input lag low during failover.
Keep firmware updated to improve stability and failover handling. Update when on stable power to avoid corrupting the controller.
Save game frequently, use SSDs, keep a charged power bank for modem, and switch to wired controller mode for uninterrupted play.