
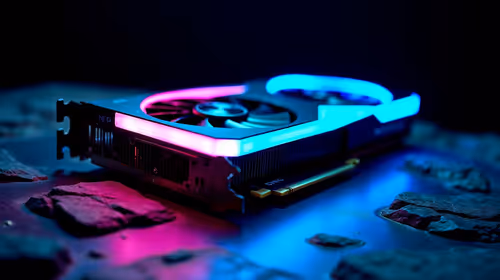
Fortnite Settings on RTX 5060 Ti: Best Performance
Fortnite Settings on RTX 5060 Ti: Performance. Real-world benchmark data, FPS numbers & performance analysis. What SA gamers can actually expect.
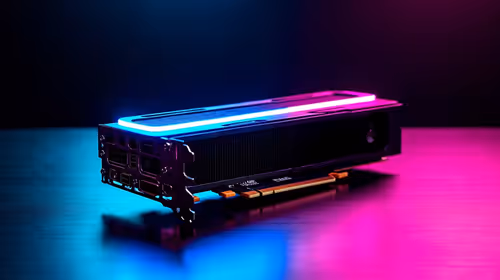
Read moreBest scratch disks for Premiere Pro: compare NVMe, SATA SSDs and RAID options to speed up editing, improve cache behavior, and reduce lag 🔧⚡

Staring at a stuttering timeline in Adobe Premiere Pro? We’ve all been there. That dreaded red bar, the endless "Media Pending" screen, and render times that make loadshedding feel brief. For South African video editors, every second counts. The good news? The bottleneck probably isn't your CPU or RAM. It’s your storage. Specifically, it’s where you’ve set your scratch disk. Let's fix that and get you editing smoothly again.
Think of a scratch disk as a dedicated, high-speed workspace for your editing software. When you’re scrubbing through 4K footage, adding effects, or rendering a sequence, Premiere Pro creates a mountain of temporary files… previews, audio conforms, and cache files.
If these temporary files have to compete for space and speed on the same drive as your operating system and source footage, your entire system grinds to a halt. The solution is giving Premiere its own separate, lightning-fast drive to work on. This is the single biggest performance boost you can give your editing rig.
Imagine trying to cook a massive potjiekos in a tiny kitchenette where you also store all your ingredients and wash your dishes. It’s chaotic and slow. That’s what Premiere Pro is doing on a single-drive PC.
Your main drive is constantly juggling tasks: running Windows, loading your source clips, and trying to write temporary cache files all at once. This creates a massive traffic jam of data. By offloading the scratch disk function to a separate drive, you create a dedicated super-highway for all those temporary files, freeing up your main drive to do its job. If budget is a concern, you can often find great SSD deals that make this affordable.
Not all drives are created equal. When it comes to selecting the best scratch disk for Premiere Pro, speed is everything. Here’s a quick breakdown of your options, from good to absolutely epic.
For years, SATA SSDs have been the go-to upgrade for PC users, and for good reason. They are worlds faster than traditional mechanical hard drives and offer a fantastic performance-per-Rand value. A dedicated SATA SSD as a scratch disk will deliver a massive improvement over a single-drive setup, dramatically reducing lag and improving timeline responsiveness. They are an excellent, budget-friendly starting point. Take a look at our range of SATA Solid State Drives to see how accessible this upgrade can be.
If you want zero compromises and the absolute smoothest editing experience possible, you need an NVMe M.2 SSD. These drives plug directly into the motherboard and use the PCIe interface, leaving SATA speeds in the dust. The difference is staggering. Previews generate almost instantly, 4K and 6K timelines are buttery smooth, and export times are slashed. For serious editors, a dedicated NVMe is the best scratch disk for Premiere Pro, period. You can explore our top-tier NVMe SSDs to find the ultimate performance upgrade.
Working on the go? A modern high-speed external SSD connected via USB-C or Thunderbolt can also serve as a very effective scratch disk, giving you a huge performance lift over using your internal laptop drive alone.
For maximum performance, dedicate one fast NVMe SSD for your OS and Programs, a second large SSD for your current project's source files, and a third, smaller NVMe SSD exclusively for your Media Cache and Scratch Disks. This isolates each data stream, eliminating bottlenecks entirely and giving you a truly professional-grade editing experience.
Once you’ve installed your new drive, telling Premiere Pro to use it is simple.
This simple change will transform your editing workflow from a frustrating crawl into a creative sprint. To see all the options available, you can browse our complete collection of SSDs and find the perfect fit for your budget and needs.
Ready to Banish Lag for Good? A dedicated scratch disk isn't a luxury... it's a necessity for serious Premiere Pro editors in South Africa. Stop waiting and start creating. Explore our massive range of PC Components and find the perfect drive to unleash your workflow.
An internal NVMe SSD (M.2) is best for Premiere Pro due to high read/write speeds and low latency for real-time playback and scrubbing.
Yes. Fast external NVMe SSDs over USB-C or Thunderbolt work well; ensure the enclosure supports high bandwidth and UASP/Thunderbolt.
Yes. Put media cache and previews on a separate drive from your OS and apps to reduce I/O contention and improve performance.
Allocate at least 1.5–2x your active project size. For 4K workflows, reserve 1–2 TB on fast NVMe drives or RAID arrays.
SSD, especially NVMe, outperforms HDDs for caching and scrubbing. HDDs are fine for archive media but slow for active editing.
RAID 0 boosts speed for heavy timelines but loses redundancy. RAID 5/10 offers a balance of performance and data protection for pro setups.
Fortnite Settings on RTX 5060 Ti: Performance. Real-world benchmark data, FPS numbers & performance analysis. What SA gamers can actually expect.
Read more
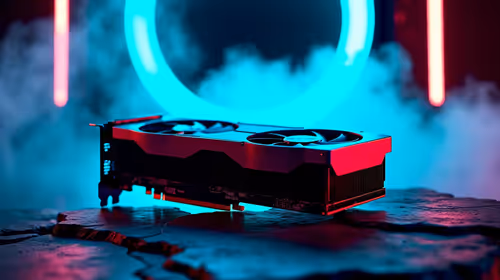
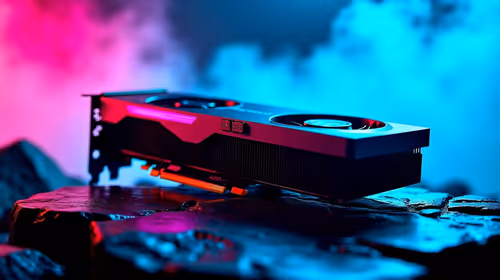
Top Aftermarket RX 7900 XTX Cards: AIB Partner picks evaluated on performance, value & SA availability with current Rand pricing from Evetech.
Read more
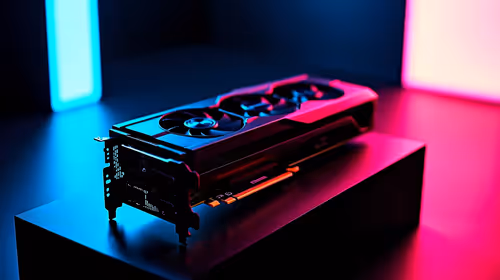
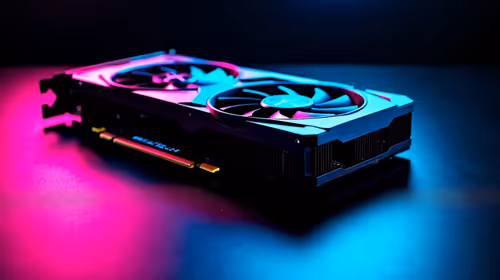
Top Case for RTX 5060: Airflow & Size Compatibility picks evaluated on performance, value & SA availability with current Rand pricing from Evetech.
Read more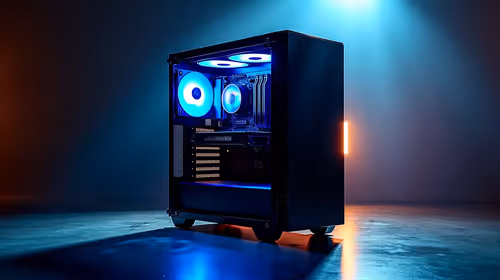
Complete ATX Case Size Guide: Interior Dimensions. Best deals curated with real SA discounts, price history & tips on getting genuine value.
What GPU Do You Need for AI & Machine Learning. Hardware requirements breakdown with recommended specs & SA pricing for each tier.
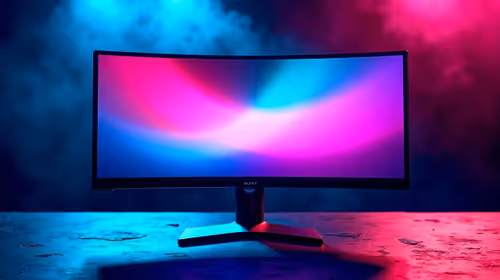
Top Settings for RTX 4060 at Ultrawide 1440p picks evaluated on performance, value & SA availability with current Rand pricing from Evetech.
Head-to-head comparison of FreeSync vs G-Sync Explained: Which Should Gamers for SA gamers. Performance benchmarks, Rand pricing & which delivers better value.
Every spec on PCIe 5.0 explained in plain English. What matters for gaming and creator work in 2026, what's marketing fluff, and how each number translates to real-world performance.
Every spec on bios explained in plain English. What matters for gaming and creator work in 2026, what's marketing fluff, and how each number translates to real-world performance.
Every spec on gaming setups explained in plain English. What matters for gaming and creator work in 2026, what's marketing fluff, and how each number translates to real-world performance.
Every spec on cooling systems explained in plain English. What matters for gaming and creator work in 2026, what's marketing fluff, and how each number translates to real-world performance.
Every spec on understanding how much vram is needed explained in plain English. What matters for gaming and creator work in 2026, what's marketing fluff, and how each number translates to real-world.
How to pick the right PCIe 5.0 for your build in 2026: the features worth paying for, ZAR value tiers, and the trade-offs between budget, mid-range and flagship picks.
Every spec on gpu explained in plain English. What matters for gaming and creator work in 2026, what's marketing fluff, and how each number translates to real-world performance.

Every spec on gpu explained in plain English. What matters for gaming and creator work in 2026, what's marketing fluff, and how each number translates to real-world performance for SA buyers.