You're in the final circle in Warzone, the tension is thick... and just as you line up the winning shot, your screen tears, throwing your aim off completely. Sound familiar? For too long, South African gamers have battled stutter and screen tearing. But what if you could fix it in under five minutes? This guide to G-Sync and FreeSync setup is your key to unlocking buttery-smooth gameplay and finally getting the visual performance you paid for. 🚀
What is Adaptive Sync, and Why Should You Care?
At its core, screen tearing happens when your graphics card (GPU) and your monitor are out of sync. Your GPU is pumping out frames faster or slower than your monitor can display them, resulting in a horrible horizontal line that looks like a torn image. It's distracting and can ruin your immersion.
This is where adaptive sync technology comes in. Both NVIDIA's G-Sync and AMD's FreeSync work to synchronise your monitor's refresh rate directly with your GPU's frame rate, in real-time. The result? No more tearing. No more stuttering. Just perfectly smooth motion, exactly as the game developers intended. It's a standard feature on most modern PC monitors for a reason.
Your Pre-Flight Checklist Before Setup
Before diving into the settings, let's make sure you have the right gear. A successful G-Sync and FreeSync setup depends on a few key components working together:
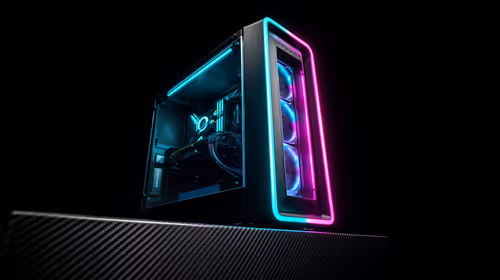
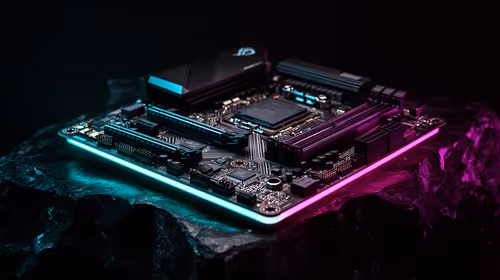
- A Compatible GPU: An NVIDIA GeForce card for G-Sync, or an AMD Radeon card for FreeSync.
- A Compatible Monitor: The monitor must explicitly support either G-Sync or FreeSync. Many FreeSync monitors are now "G-Sync Compatible," which is great news for Team Green users.
- The Right Cable: A DisplayPort cable is almost always the best choice for enabling adaptive sync. HDMI 2.1 can also support it, but DisplayPort is the most reliable option.
- Latest Drivers: Make sure you've downloaded the latest drivers from NVIDIA or AMD's website. This is non-negotiable!
This checklist applies whether you're using a standard desktop display or one of the latest high-resolution 4K monitors that truly push your system to its limits.
The Ultimate G-Sync and FreeSync Setup Guide ✨
Alright, let's get into the nuts and bolts. The process is slightly different depending on whether you're running an NVIDIA or AMD graphics card.
For Team Green: Setting Up NVIDIA G-Sync
If you're rocking a GeForce GPU, your configuration happens in the NVIDIA Control Panel. This guide covers G-Sync, G-Sync Ultimate, and G-Sync Compatible displays.
- Enable it on Your Monitor: First, dive into your monitor's own menu using the buttons on the display itself. This is called the OSD (On-Screen Display). Find the setting for "Adaptive-Sync," "FreeSync," or "G-Sync" and make sure it's turned on.
- Open NVIDIA Control Panel: Right-click on your desktop and select "NVIDIA Control Panel."
- Navigate to G-SYNC Setup: On the left-hand menu, look under "Display" and click "Set up G-SYNC."
- Enable G-SYNC: Tick the box that says "Enable G-SYNC, G-SYNC Compatible."
- Choose Your Mode: You can choose to enable it for full-screen mode only, or for both windowed and full-screen mode. For most gamers, "Enable for full screen mode" is perfect.
- Apply and You're Done! Hit the "Apply" button at the bottom right. Your screen might flicker for a second, and that's it. Your G-Sync setup is complete, ready for action on everything from standard displays to the most immersive curved monitors.
For Team Red: Configuring AMD FreeSync
AMD users, your journey is just as simple, taking place in the AMD Software: Adrenalin Edition.
- Activate it on Your Monitor: Just like with G-Sync, you first need to enable FreeSync in your monitor's OSD menu.
- Open AMD Software: Right-click on your desktop and open the "AMD Software: Adrenalin Edition" application.
- Find Display Settings: Click the "Gaming" tab at the top, and then select the "Display" sub-tab.
- Toggle FreeSync On: You should see an option for "AMD FreeSync Premium" (or similar). Simply toggle it to "Enabled."
That's it! AMD's software handles the rest. Now you're ready to enjoy tear-free gaming. If you're still looking for the perfect display, you can check out all our gaming monitors to find one that fits your rig.
Pro Gamer Tip 🔧
For the absolute smoothest experience, cap your in-game frame rate (FPS) to 3-5 frames below your monitor's maximum refresh rate. For example, on a 144Hz monitor, set your FPS cap to 141. This keeps the adaptive sync technology fully engaged and prevents any input lag that can occur when hitting the absolute maximum refresh rate.
Fine-Tuning for Peak Performance
A proper adaptive sync configuration is the first step, but a little fine-tuning can make a big difference. In your NVIDIA or AMD control panel, ensure that V-Sync is set to "On." Then, in your individual game settings, turn V-Sync "Off." This combination allows the adaptive sync technology to do its job without interference from older sync methods.
Getting this right ensures you get the maximum value from your hardware. And in South Africa, we all want the best bang for our buck. That’s why it’s worth checking out the fantastic PC monitor deals available, as a great display is the foundation of an amazing gaming experience. This applies even to niche setups, with the technology now appearing even on portable monitors. Don't forget to pair your new screen with quality monitor accessories like a good stand or cable for the perfect setup.
Ready for Tear-Free Gaming? A proper G-Sync and FreeSync setup makes a world of difference. But it all starts with the right hardware. Explore our massive range of gaming monitors and find the perfect screen to elevate your gameplay.