Tired of watching a loading screen more than you play the actual game? When your PC takes longer to boot than it does to make a cup of coffee, something’s wrong. For South African gamers, the biggest performance bottleneck is often a slow, old hard drive. The fix is simpler than you think: clone your OS to an SSD for gaming. This guide will show you exactly how to do it, turning your sluggish rig into a speed demon. 🚀
Why Clone Your OS to an SSD for Gaming?
Let's cut to the chase. Swapping your old Hard Disk Drive (HDD) for a Solid State Drive (SSD) is the single most effective upgrade for instant performance gains. We're not just talking about shaving a few seconds off your boot time; we're talking about a complete system transformation.
- Warp-Speed Boot Times: Go from a minute-long wait to just a few seconds.
- Faster Game Loading: Jump into maps in Apex Legends or Valorant before your friends have even finished loading.
- Snappier System: Everything from opening applications to transferring files feels incredibly responsive.
Cloning, instead of doing a fresh install, means you keep all your files, settings, and games exactly as they are. It’s the same Windows setup you know and love, just running on hardware that can finally keep up. It’s the perfect first step on any PC upgrade path, and browsing the latest solid state drives shows just how affordable this massive boost has become.
Prep Work: What You'll Need
Before you start the process to clone your OS to an SSD, a little preparation makes everything go smoothly. You don’t need a workshop full of tools, just a few key items. 🔧
The Checklist:
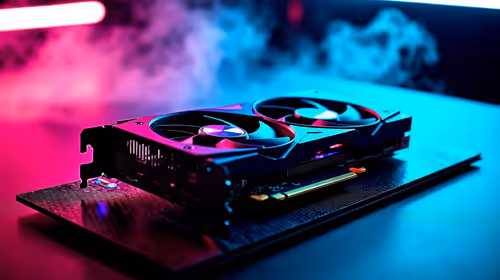
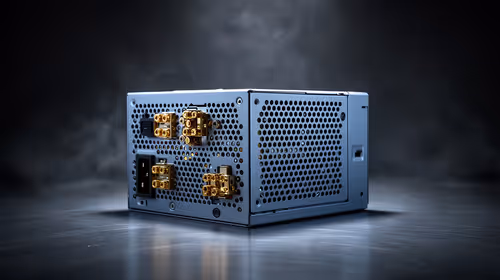
- Your New SSD: The star of the show! For maximum performance, consider the blistering speeds of the latest NVMe SSDs. Make sure its capacity is large enough to hold everything from your current main drive.
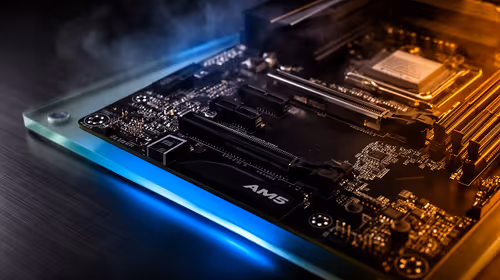
- A Way to Connect It: If you have a spare M.2 slot or SATA port inside your PC, great! If not, a simple USB-to-SATA adapter or an enclosure works perfectly. These tools essentially turn your new internal drive into a temporary external one for the cloning process. You can even find dedicated external SSDs that can be repurposed later.
- Cloning Software: You don't need to spend a cent here. Powerful, free tools like Macrium Reflect Free, Clonezilla, or AOMEI Backupper Standard are trusted by techies everywhere and get the job done flawlessly.
Quick Cleanup
Before cloning, run Windows' built-in "Disk Cleanup" tool on your old drive. Right-click the drive in File Explorer > Properties > Disk Cleanup. This removes temporary files and junk, ensuring you're only copying what you actually need. A smaller, cleaner source drive makes the cloning process faster.
Your Step-by-Step SSD Cloning Guide
Ready to get your hands dirty? It's easier than it sounds. Follow these steps carefully, and you’ll be experiencing a faster PC in no time.
Step 1: Connect the New SSD
First, power down your PC completely. Install your new SSD in a spare M.2 or SATA slot. If you're using an external adapter, simply plug it into a USB port. Power your PC back on. Windows should recognise the new drive, but don't format it when prompted—the cloning software will handle that.
Step 2: Install and Launch Your Cloning Software
Download and install your chosen cloning software (we'll use Macrium Reflect as a general example). Launch the application. It will display a list of the disks connected to your computer.
Step 3: Select Source and Destination
This is the most critical part.
- Select the Source Disk: This is your current C: drive with Windows on it.
- Select the Destination Disk: This is your shiny new, empty SSD. The software will have an option like "Clone this disk..." Be absolutely sure you've selected the correct drives. Overwriting the wrong one is a mistake you can't easily undo! ✨
Step 4: Start the Clone and Wait
Once you've confirmed the source and destination, begin the cloning process. The software will copy everything—the operating system, partitions, and all your data—bit for bit. This can take anywhere from 30 minutes to a few hours, depending on the amount of data and the speed of your drives. Go grab that coffee now... this is the perfect time for a break.
Step 5: Change the Boot Order
After the clone is complete, shut down your PC. It's now time to tell your computer to boot from the new SSD.
- Power on your PC and immediately press the key to enter the BIOS/UEFI (usually
Del,F2,F10, orF12). - Navigate to the "Boot" or "Boot Order" section.
- Set your new SSD as the primary boot device (#1 in the list).
- Save your changes and exit.
Your PC will now restart, booting from the super-fast SSD. If all went well, you’ll be at your Windows desktop in record time! You can now format your old HDD and use it for extra storage.
Troubleshooting Common Issues
While the process to clone an OS to an SSD for gaming is usually straightforward, you might hit a snag. Here are a couple of common issues:
- PC Won't Boot from New SSD: Double-check that you correctly set the boot order in the BIOS.
- New SSD Not Showing Up: Ensure the drive is properly connected. Sometimes a loose SATA or power cable is the culprit.
If you run into persistent problems, a fresh Windows installation is always a backup option, though cloning saves you the hassle of reinstalling everything. For any hardware questions, the full Evetech SSD components section is a great resource for specs and compatibility info.
Ready for a Real Performance Boost? Stop waiting and start playing. An SSD is the most impactful upgrade you can make, and with this guide, you have the power to do it yourself. Check out the best SSD deals at Evetech and find the perfect drive to unleash your PC's true potential.