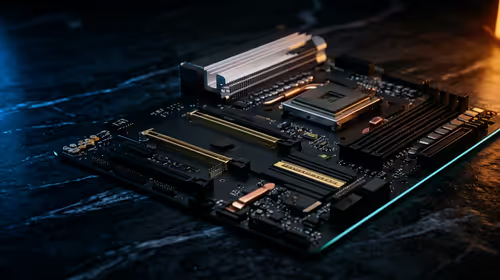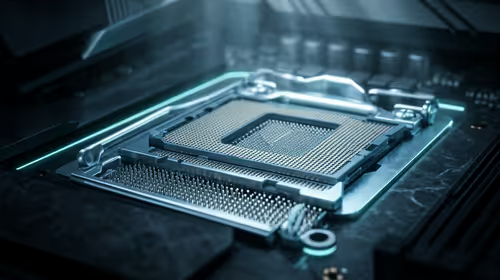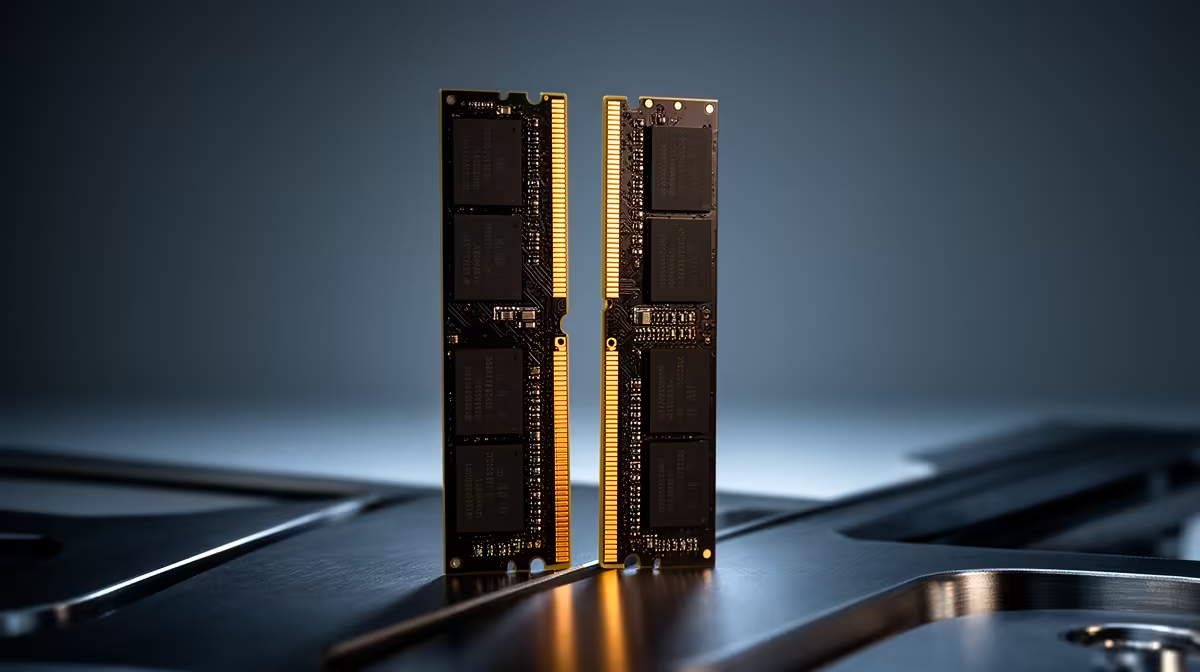
Adding one RAM module to a prebuilt can work, but matching the capacity and speed printed on the label is only the start. Memory chips, ranks, timings, voltage and SPD profiles all affect training. Two sticks sold under a similar product name can still behave differently.
Quick Answer
Identify the motherboard or laptop model, current module part number, memory type and supported capacity. Check how many slots are populated. The cleanest upgrade is one matched kit at the final capacity. If you add a single module, match the exact part number where possible and be ready for the system to run both at the slower common profile.
Compare complete DDR5 memory kits and the current RAM best sellers before buying a loose stick. Confirm whether the prebuilt takes desktop DIMMs, laptop SO-DIMMs or soldered memory.
Inventory the Existing Memory
Use Task Manager for a quick view of speed and slots used, then read the SPD data with a trusted hardware tool. Record the module maker, full part number, capacity, rank where available, JEDEC timings and voltage. Shut down and inspect the physical label if the case can be opened under the product's service guidance.
Do not assume a 16GB module means one stick. A prebuilt may use two 8GB modules, leaving no free slot. Some laptops combine soldered memory with one SO-DIMM slot, which changes the maximum and channel layout.
Check the CPU's memory type as well as the board. DDR4 and DDR5 slots are physically and electrically different. A listing that covers several configurations may not describe the unit in front of you.
Understand What Matching Achieves
The memory controller trains all installed modules to a configuration they can share. When one stick supports a faster profile and the other does not, the board can fall back to a JEDEC data rate with looser timings. Mixed ranks and different memory chips can make high-speed training harder.
An identical retail name is not proof of identical internals. Memory vendors can revise the chips used during a product's life. The full revision and part number matter, and even an exact loose module was not factory-binned with the original stick as a pair.
A matched kit packages modules validated together for the rated profile. It still needs to work with the prebuilt's board and firmware, but it removes one major variable.
Use the QVL Correctly
A motherboard memory QVL lists combinations the maker tested. Absence does not prove a kit will fail because no vendor can test every release. Presence is stronger evidence when the exact part number, module count and target speed match.
Prebuilt support lists can be narrower than the retail motherboard QVL. The OEM BIOS may omit XMP or EXPO controls and enforce a fixed JEDEC profile. Use the prebuilt maker's service manual and supported-memory list first.
Check maximum capacity per slot and for the full system. Firmware updates can add support for newer module densities, so read the current change log before installing a large kit.
Install the Upgrade Safely
Shut down, disconnect mains power and discharge static before handling the module. Use the slot order in the service or motherboard manual. Seat the DIMM until the latches close without forcing a misaligned notch.
On first boot, memory training can take longer and may restart the system more than once. Do not interrupt it unless the maker's documented training time has passed. If it fails, isolate power, reseat the modules and try supported defaults.
Enter BIOS after a successful boot and confirm total capacity and data rate. Leave XMP or EXPO off for the first stock test. Enable the intended profile only when the platform supports it.
Validate Capacity and Stability
Run several passes of a bootable memory test, then a mixed CPU-memory workload in Windows. Check Event Viewer for WHEA errors and complete several cold boots and sleep-resume cycles.
If errors appear, test the original configuration again. Then test each module in a known-good slot at JEDEC defaults. This separates a bad stick, slot and mixed-profile problem.
Do not trust a system only because Windows reaches the desktop. Marginal RAM can corrupt files or crash one application hours later.
Know When to Replace the Pair
Replace the original memory with one matched kit when the loose module costs close to a kit, the platform keeps falling back, or stability matters more than reusing the old stick. Keep the original modules labelled together until the new setup passes.
For a work PC, capacity comes before a small data-rate difference. A stable 32GB configuration is better than a faster 16GB setup that runs out of memory, but unstable mixed memory is never a sound shortcut.
FAQ
Must the new stick have the same speed?
It should share a supported profile, but speed alone is not enough. Timings, voltage, rank and internal revision matter.
Does a QVL guarantee the upgrade?
It is useful evidence for the exact tested configuration, while CPU variation, firmware and module count still affect the result.
Can I keep XMP enabled with mixed modules?
Test at JEDEC defaults first. A mixed set may not hold either module's rated overclock profile.
Record the installed module and prebuilt limits, choose one matched final-capacity kit where possible and validate every cold boot plus memory workload before trusting the upgrade.