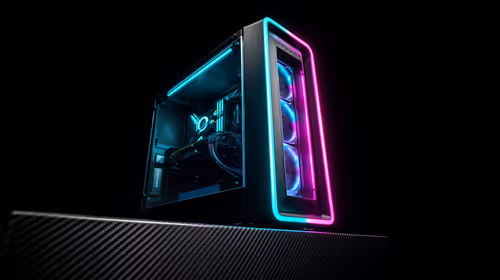
Tired of alt-tabbing out of a tense firefight just to mute someone on Discord or check a guide? We’ve all been there. A single screen feels cramped in 2024. Expanding your view with a dual monitor setup for gaming isn't just a luxury reserved for pro streamers; it's a massive quality-of-life upgrade for any PC gamer in South Africa. This guide will walk you through every step, from picking the panels to perfecting your settings. 🚀
Why a Dual Monitor Setup for Gaming is Essential
The biggest win is multitasking. Imagine dropping into a hot zone while keeping your team's Discord call visible, managing your stream in OBS, or having a map open on your second screen. It allows your primary monitor to be 100% dedicated to the game, giving you an uncluttered, immersive experience. This is especially true for expansive games where having guides or maps handy is a huge advantage, whether you're building complex worlds or navigating vast landscapes on a powerful Minecraft gaming PC.
Beyond multitasking, a second screen boosts productivity for everything else—work, study, or creative projects. It's an investment that pays off long after your gaming session ends.
Step 1: Choosing Your Monitors
When planning your dual monitor setup for gaming, you have two main routes: get two identical monitors for a clean, symmetrical look, or pair a high-performance primary gaming monitor with a more basic secondary one.
Here’s what to look for in your main gaming display:
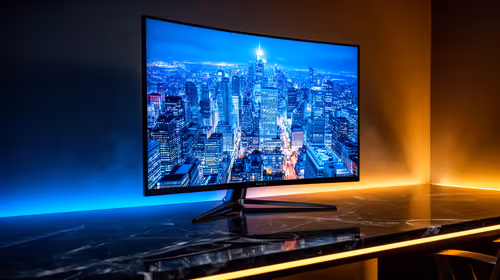
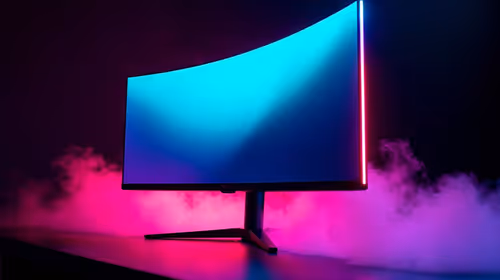
- Resolution: 1440p (QHD) is the sweet spot for modern gaming, offering a sharp image without needing a monster GPU.
- Refresh Rate: 144Hz is the standard for smooth gameplay. If you're serious about competitive shooters, the rigs we build for Counter-Strike 2 are designed to push frames well beyond this.
- Response Time: 1ms (GtG) is ideal to minimise motion blur and ghosting.
- Panel Type: IPS panels offer the best colour accuracy and viewing angles, making them perfect for visually stunning titles that you might play on a Cyberpunk 2077 gaming PC.
Your secondary monitor doesn't need to be as high-spec. A standard 1080p 60Hz/75Hz monitor is perfectly fine for Discord, web browsing, or watching videos.
Step 2: Checking Your Gear (The Pre-Flight Check 🔧)
Before you buy anything, take a quick look at the back of your PC. You need to confirm your graphics card (GPU) has enough video outputs.
- Find Your GPU Ports: Look for the horizontal slots below where you plug in your USB devices. This is your GPU. Most modern cards have at least one DisplayPort and one HDMI port, often more. Crucially, plug your monitors into the GPU, not the motherboard's vertical ports.
- Get the Right Cables: For high refresh rates (above 60Hz), always use a DisplayPort cable. HDMI can work, but DisplayPort is generally more reliable for high-performance gaming.
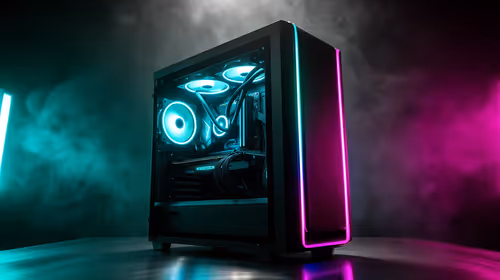
Also, get out the measuring tape! Ensure you have enough desk space for two monitors and that your rig, like one of our GTA V gaming PCs, has room to breathe.
Step 3: The Physical Setup and Connection
This is the easy part.
- Position Your Monitors: Place your monitors on your desk. Most gamers prefer their main screen directly in front and the secondary one off to the side at a slight angle.
- Connect Power: Plug both monitors into your power strip.
- Connect to GPU: Run a display cable (DisplayPort or HDMI) from each monitor to a separate port on your graphics card.
Power on your PC. Both screens should light up, though they might be mirrored or arranged incorrectly at first. Don't worry, we'll fix that next. Any modern PC, including those optimised for Fortnite, will handle this with ease.
Step 4: Configuring Your Dual Monitor Setup in Windows
Once you're booted into Windows, it's time to tell your PC how to use your new screens. This is the most important part of creating a functional dual monitor setup for gaming.
Accessing Display Settings
Right-click anywhere on your desktop and select "Display settings". This opens the main control panel for your monitors.
Identifying and Arranging Your Displays
At the top of the Display settings window, you'll see two boxes representing your monitors. Click the "Identify" button. A number (1 or 2) will appear on each screen. Now, simply drag and drop the boxes in the settings window to match the physical layout on your desk. This ensures your mouse moves seamlessly from one screen to the other.
Seamless Mouse Pro Tip ⚡
Make sure the monitor boxes are perfectly aligned at the top or bottom edge in the Display settings. Even a small misalignment can cause your mouse to "snag" when moving between screens, which can be surprisingly frustrating during intense moments.
Setting the Main Display
Click on the box representing your primary gaming monitor. Scroll down and check the box that says "Make this my main display". This tells Windows where to open new apps and where your taskbar should primarily live. This is vital for fast-paced games where you need everything just right, like you'd find on our specialised Overwatch 2 gaming PCs.
Adjusting Resolution and Refresh Rate
For each monitor, you need to set its native performance.
- Select a monitor in the Display settings.
- Scroll down to "Display resolution" and choose the recommended (native) resolution.
- Click on "Advanced display settings".
- Find the "Choose a refresh rate" dropdown and select the highest available value (e.g., 144Hz or 165Hz).
Repeat for your second monitor. Now your setup is technically complete!
Optimising Your New Gaming Setup ✨
Your dual monitor configuration is ready, but here are a few final touches. While you can use tools like NVIDIA Surround to treat both screens as one giant display for certain games like flight sims—perfect for a Microsoft Flight Simulator gaming PC—most gamers prefer to keep them separate.
Use the second screen to your advantage. Keep a map or loadout guide open while playing on a PC built for Call of Duty: Warzone 2.0, or follow a guide while battling it out on a system designed for PUBG. You'll wonder how you ever gamed on a single screen.
Ready to Expand Your View? A flawless dual monitor experience starts with a powerful PC and the right screens. Whether you need a 240Hz esports display or a vibrant 4K panel, we've got you covered. Browse our massive range of gaming monitors and build the ultimate battlestation today.