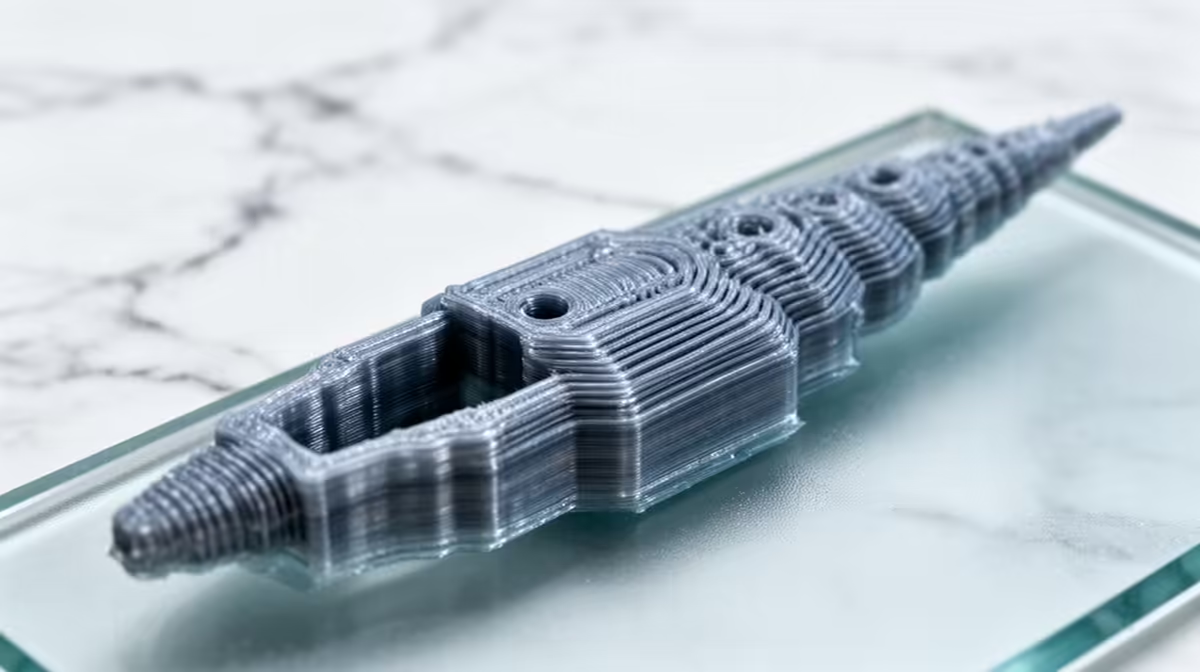
A 60mm decorative sphere that takes nearly four hours at a flat 0.2mm layer can finish in under three once the slicer is allowed to vary its layers across the model. That is the whole promise of variable and adaptive layer height: keep fine layers where curves and detail live, switch to thick layers on plain vertical walls, and reclaim the time you were spending printing flat surfaces at needless resolution. Both PrusaSlicer and OrcaSlicer expose this in a few clicks, and the workflow below gets you a faster print without the stepping artefacts that scare people off the feature.
Quick Answer
Adaptive layer height lets the slicer thin layers on sloped or curved geometry and thicken them on straight walls automatically, typically cutting print time by 20 to 40 percent on organic models with little visible quality loss. On a standard 0.4mm nozzle, a sensible range is roughly 0.08mm minimum to 0.28mm maximum, tuned with the quality/speed slider.
Variable versus adaptive: two tools, one panel
The two terms get mixed up, so separate them first. Adaptive mode is automatic: the slicer analyses the angle of every surface and assigns a layer height inside the band you set, finer on steep curves and coarser on near vertical faces. Variable mode is manual: you paint heights onto regions of the model yourself, which is the right call when one specific area, a face, a logo, a threaded section, needs detail the automatic analysis underrates.
In PrusaSlicer the controls sit behind the Variable Layer Height icon on the right toolbar. OrcaSlicer, which is built on Bambu Studio's fork of the same Slic3r lineage, places the same feature under a Variable Layer Height tool with a near identical adaptive slider. If you have used one, the other will feel familiar.
Step by step: let the slicer do the work
- Import and orient your model first. Layer height optimisation follows geometry, so the orientation that minimises overhangs also gives the cleanest adaptive result. Lay a bust face up rather than on its side where possible.
- Set your base layer height in Print Settings as you normally would. This becomes the reference the adaptive pass works around.
- Open the Variable Layer Height tool and click Adaptive. The slicer paints a height map onto the model, darker bands for thinner layers on the curves, lighter for the thick layers on the walls.
- Drag the quality/speed slider. Pull toward quality and the minimum layer height drops, sharpening curved detail at the cost of time. Pull toward speed and walls get thicker layers and the print finishes sooner. Watch the preview update live.
- Check the smoothing setting. Both slicers blend transitions between thick and thin layers so you do not get a hard ledge where the height changes. Leave smoothing on unless you are chasing a specific effect.
- Slice and read the estimate. Compare the new time and layer count against a flat slice of the same model before you commit filament to it.
Set sane minimum and maximum heights
The single biggest mistake is asking a 0.4mm nozzle to lay a 0.04mm layer. Below roughly 0.08mm extrusion gets unreliable and you gain nothing but print time. Keep the minimum at 0.08mm to 0.12mm and the maximum at no more than 75 percent of nozzle diameter, so 0.28mm to 0.30mm on a 0.4mm nozzle. A 0.6mm nozzle shifts the whole band upward and is genuinely faster for large props.
Material matters too. PLA and PETG handle a wide adaptive band cleanly. Flexibles and some filled filaments prefer a narrower range because thick layers can under extrude on tight curves.
When to paint heights manually instead
Reach for variable (painted) mode when adaptive misjudges a region. A flat embossed nameplate on an otherwise curved model reads as a vertical wall to the automatic pass, so it gets thick layers and loses crispness. Paint that patch with a fine height and leave the rest adaptive. The same logic applies to text, fine lattice work, and the top surface of a model where layer lines show most under light.
If you are weighing up which machine to start on, take a look at the 3D printer range at Evetech, since a printer with a well-tuned input shaper holds quality better when layers change height mid print. For maintenance and tuning gear such as nozzles, gauges and cleaning kits, the accessories best sellers at Evetech make a practical starting list.
Frequently Asked Questions
Does adaptive layer height reduce quality?
Done within sensible limits, no. It keeps fine layers exactly where the eye notices them, on curves and slopes, and only coarsens flat vertical walls where layer lines barely register. The visible result is close to a full fine slice for a fraction of the time.
How much time does it actually save?
On organic and curved models the saving is commonly 20 to 40 percent. A documented example took a 60mm sphere from 3h42m down to 2h49m using a default adaptive setting. Boxy models with mostly flat walls save less because there is little curvature to optimise.
Can I use it with a 0.6mm nozzle?
Yes, and it pairs well. A larger nozzle shifts the whole layer band higher, so adaptive mode on a 0.6mm nozzle is excellent for cosplay props and large functional parts where speed matters more than micro detail.
Is the feature the same in PrusaSlicer and OrcaSlicer?
Functionally yes. Both descend from the same slicing engine and offer an adaptive slider plus manual painting. The interfaces differ slightly but the workflow and the underlying maths are equivalent.
Will transitions between layer heights show as banding?
Not if smoothing is left enabled. The slicer gradually steps between thick and thin layers across several layers rather than jumping, so transitions blend into the surface instead of forming a visible ledge.
Ready to put faster slicing to work? Pick a capable machine from the 3D printer range at Evetech and start reclaiming hours off your longer prints. https://www.evetech.co.za/components/3d-printers-130