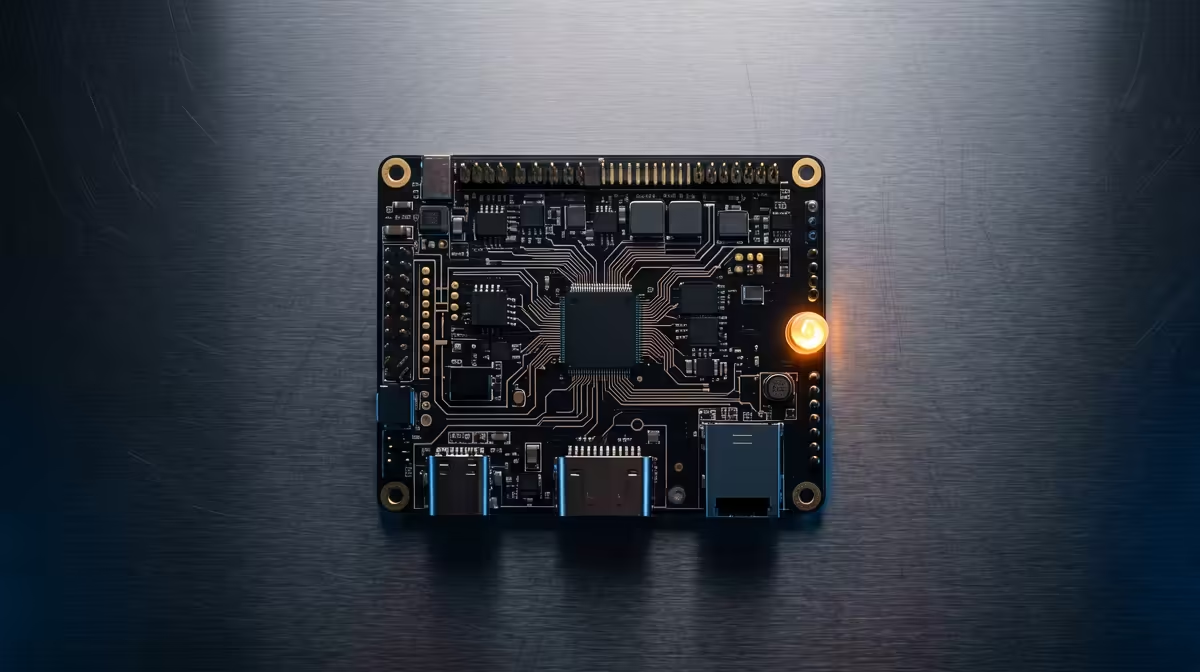
A spare Raspberry Pi sipping a few watts in a cupboard makes a near-perfect brain for a smart home, running quietly around the clock and pulling every light, plug, and sensor into one dashboard you actually control. Hand the job to Home Assistant on a Pi and your automations keep running even when a manufacturer's cloud has a bad day, with nothing leaving your own network. This build gets a beginner from a bare board to a working hub in an afternoon.
Quick Answer
A Raspberry Pi 5 with 8GB of RAM, a high-endurance microSD card, and a proper 5V 5A supply runs Home Assistant OS comfortably as an always-on hub. Flash the image, browse to homeassistant.local:8123, and you have a local dashboard controlling smart devices across more than 3,000 supported integrations, with no monthly subscription.
What you need before you start
Get the hardware right and the rest is software. The recommended board in 2026 is the Raspberry Pi 5 in the 8GB version, which gives plenty of headroom for add-ons and integrations as your setup grows. Pair it with a high-endurance microSD card, the kind rated for continuous writing, because a standard card wears out fast under a database that updates every few seconds. The Pi 5 also wants a genuine 5V 5A power supply. Skimping here causes random crashes from undervoltage that are maddening to diagnose later. A small case with a fan keeps temperatures sensible for a device that never switches off.
Building the hub step by step
- Download the Raspberry Pi Imager onto your main computer and install it.
- In the Imager, choose Home Assistant OS as the operating system. This is the recommended install because it bundles the Supervisor, the add-on store, and automatic updates, so you get the full experience rather than a bare install you have to assemble yourself.
- Write the image to your microSD card, then insert it into the Pi.
- Connect the Pi to your router by ethernet for the first boot, attach the power supply, and switch it on. Wait roughly five minutes for the first boot to finish setting itself up.
- On any computer or phone on the same network, open a browser to homeassistant.local:8123. The onboarding wizard walks you through creating your account and naming your home.
Once the dashboard loads, Home Assistant scans your network and suggests devices it recognises. Smart plugs, bulbs, and many sensors appear automatically. For Zigbee or Z-Wave gear, add a small USB radio dongle to the Pi and pair devices directly, which keeps them off the manufacturer cloud entirely.
Zigbee and Z-Wave: going further with local control
Wi-Fi smart devices are the easiest to start with because they connect without extra hardware. Once you are comfortable, Zigbee and Z-Wave are worth exploring. Both are low-power mesh protocols that do not rely on the internet at all. A USB Zigbee dongle costs very little and pairs with hundreds of affordable sensors, bulbs and plugs. Z-Wave is similar but operates on a separate frequency with a larger device ecosystem. Home Assistant supports both through built-in integrations, so adding a dongle is enough to start pairing devices. The advantage over Wi-Fi smart devices is that Zigbee and Z-Wave sensors run for months on a coin cell and do not add traffic to your home network.
Your first automations
The reason to build the hub is automation, so start simple. A rule that switches a lamp on at sunset, a motion sensor that lights a passage at night then turns it off after a few minutes, or a plug that cuts power to a desk setup at bedtime. Build one, watch it run, then add the next. Because everything is processed locally on the Pi, these rules fire instantly and keep working even if your internet drops, which matters in any SA home that sees the occasional outage. The board's low draw means leaving it running continuously costs almost nothing on the bill. If you later outgrow a Pi, a compact always-on machine from the mini PC range gives you more processing room for heavier integrations and add-ons.
Frequently Asked Questions
Which Raspberry Pi should I use for Home Assistant?
The Raspberry Pi 5 with 8GB of RAM is the recommended choice. The extra memory leaves room for add-ons and a growing number of integrations, and the Pi 5 is markedly faster than older boards.
Do I need an internet subscription to run it?
No. Home Assistant runs entirely on your local network with no monthly fee. An internet connection is only needed for updates and for devices that themselves rely on a cloud service.
What can it control?
More than 3,000 integrations cover smart bulbs, plugs, locks, energy monitors, cameras, sensors, and more, across Zigbee, Z-Wave, Wi-Fi, and MQTT. Most common smart-home brands are supported out of the box.
Why use a microSD card rated for endurance?
Home Assistant writes to its database constantly, and an ordinary card wears out quickly under that load. A high-endurance card is built for continuous read and write and lasts far longer.
Will automations still work if my internet goes down?
Yes. Because the logic runs locally on the Pi, your automations keep firing during an outage. Only features that depend on an external cloud service are affected.
A home automation hub only needs to be small, quiet, and always on. Browse the compact builds in the Evetech PC best sellers if you want a machine with extra room to grow your smart home beyond a starter Pi.