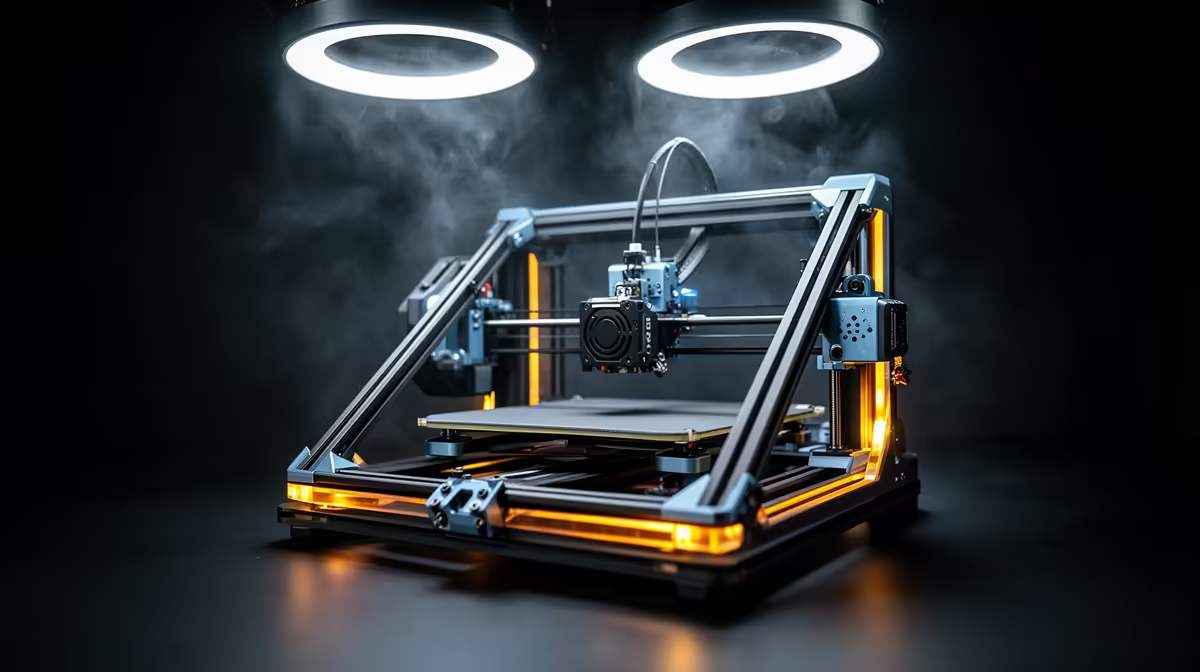
An open-frame bed-slinger 3D printer kit lands on your desk as a flat-pack of extrusions, a gantry, a print bed and a bag of bolts, and the way you assemble it decides whether your first print looks crisp or like melted spaghetti. The single thing that matters most is squaring the Z gantry to the base before you tighten anything fully. Get that right and the rest is mechanical patience.
Quick Answer
Bolt the Z gantry uprights to the base, mount the heated bed onto the Y-axis carriage, then square the gantry to the frame with a set square before final tightening. Budget roughly two to three hours for a first build and keep a 2.5mm and 4mm Allen key within reach the whole time.
What an Open-Frame Bed-Slinger Actually Is
A bed-slinger is the most common entry style of 3D printer. The print bed moves forward and back on the Y axis (it "slings"), the nozzle moves left and right on the X axis, and the whole X gantry climbs up and down on the Z axis. Open-frame means there is no enclosure, so you get easy access and cheaper pricing at the cost of less control over drafts.
These kits typically ship 80 to 90 percent pre-assembled. The motors, hotend and mainboard are already wired and mounted to their sub-assemblies. Your job is to join the base to the gantry, attach the bed and the screen, and route the cables. You can browse the current range of 3D printers at Evetech to see which models arrive in this kit form.
Step-by-Step Assembly
Work on a clear, flat table with good light. Lay out every bagged part and match it to the manual's parts list before you pick up a single bolt.
1. Prepare and Inspect the Base
Unbox the base unit, which holds the Y-axis motor, the belt and the bed rails. Check that the Y carriage slides smoothly end to end by hand. If it drags, the eccentric nuts on the rollers are too tight; loosen them a quarter turn until the motion is firm but free.
2. Bolt the Z Gantry Uprights
Stand the gantry frame upright and align its two feet with the threaded holes on the base. Start all four bolts by hand before tightening any of them, so the frame can still shift slightly. This is the most common spot where beginners cross-thread a bolt, so never force one that resists.
3. Square the Gantry to the Frame
This is the make-or-break step. Place a set square (or any reliably right-angled object) against the upright and the base. Adjust the gantry until it sits at a true 90 degrees on both sides, then tighten the four base bolts in a cross pattern. A gantry that leans even two degrees throws off layer alignment on every tall print you ever make.
4. Mount the Heated Bed
Fit the heated bed onto the Y carriage using the supplied springs or silicone spacers and screws. Do not crank these tight yet; they are your levelling adjusters. Connect the bed's heater and thermistor cable, confirming the plug is fully seated.
5. Connect the Screen, Cables and Power
Attach the control screen to its bracket, then plug in the ribbon or JST cables exactly as labelled. Set the power supply voltage selector to 230V for South African mains before you ever switch it on. Route loose cables into the supplied clips so the moving bed cannot snag them.
6. Level the Bed and Set Z Offset
Power on, home the printer, then level the bed using the paper-drag method at each corner. Finally, set the Z offset so the nozzle sits one sheet of paper above the bed. A small set of tools, spare nozzles and a scraper from the accessories best sellers at Evetech makes this last stage far less fiddly.
Common Mistakes That Ruin a First Build
Over-tightening the roller nuts is the top culprit; it makes the axes bind and skip steps. The second is skipping the squaring step because the frame "looks straight". The third is forgetting to remove the small shipping screws some kits use to lock the bed during transit, which leaves the bed unable to move.
Frequently Asked Questions
How long does a first bed-slinger build take?
Allow two to three hours for your first one. Experienced builders can finish a familiar kit in under an hour, but rushing the squaring and levelling stages on a first attempt costs you far more time in failed prints later.
Why does squaring the gantry matter so much?
The Z gantry determines how vertically true the nozzle travels. If it leans, tall prints lean with it and layers shift, so a few minutes with a set square saves hours of troubleshooting.
Do I need any tools the kit does not include?
Most kits include the basic Allen keys and a spanner. A set square, a small spirit level and a sheet of standard printer paper for levelling are worth adding, and a digital caliper helps later with calibration.
What power setting should I use in South Africa?
Set the power supply selector to 230V before switching on. Many kits ship set to 115V for other markets, and powering on at the wrong setting can damage the unit immediately.
Can I leave the printer open-frame or should I enclose it?
Open-frame is fine for PLA, which prints well at room temperature. If you later move to ABS or other warp-prone materials, a simple enclosure helps hold heat, but it is not needed to get started.
Ready to start printing? Browse the full 3D printer kit lineup and grab the tools you need from the accessories range at Evetech, then build with confidence using the steps above.