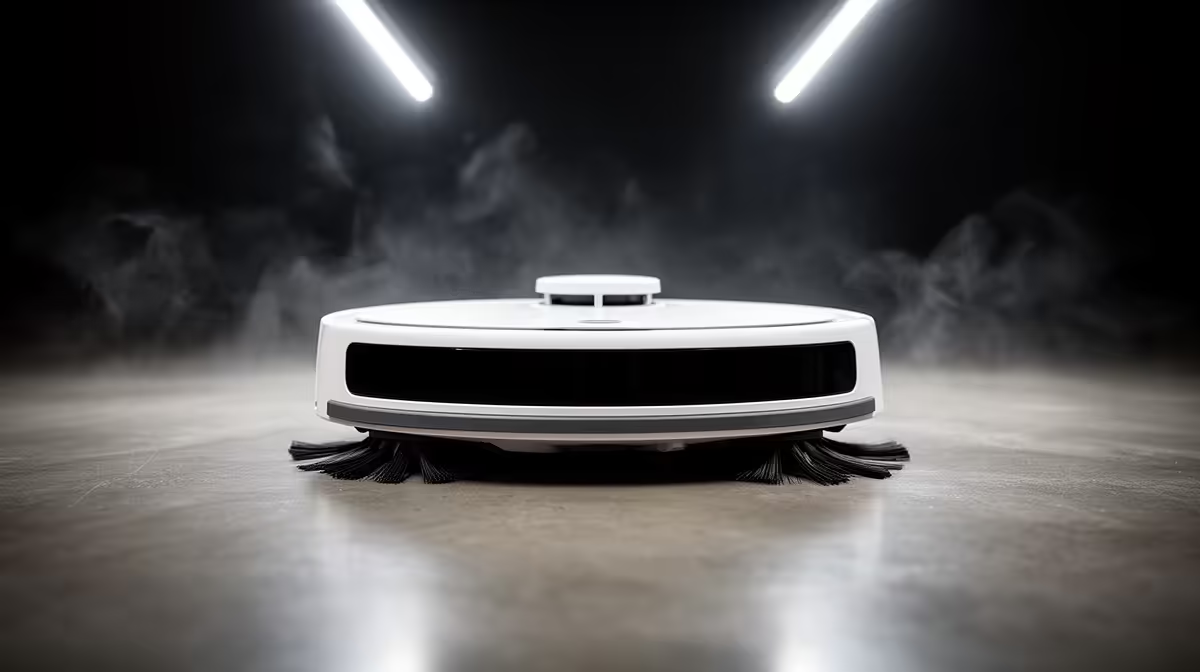
A robot vacuum that loses suction, gets lost mid-clean, or leaves streaks is almost never broken. It is usually just clogged with the hair, dust, and grime it has been quietly collecting for weeks. Learning to clean and maintain a robot vacuum on a simple schedule keeps it navigating accurately and picking up properly, and it takes only a few minutes once you know the order of operations.
Quick Answer
Maintaining a robot vacuum means clearing hair from the brushes, tapping out or rinsing the filter, wiping the sensors and charging contacts, and emptying the bin on a regular schedule. Do the bin and brushes weekly, the filter every week or two, and the sensors as needed. Skip these and you progressively lose suction, navigation accuracy, and cleaning quality.
What You Need Before You Start
Gather a few basics so you are not hunting mid-job: the small cleaning brush or comb that shipped with the vacuum, a dry microfibre cloth, and a pair of scissors or a seam ripper for cutting wound-up hair off the rollers. Have a bin nearby for the dust you empty out. That is the whole toolkit; you do not need cleaning fluids for most of it.
Switch the vacuum off and, if your model allows, remove it from its dock before you begin so it does not try to drive away while you are working on it.
Step-by-Step Maintenance
Step 1: Empty the Dust Bin
Start here every time. Pull out the bin and tip the contents into your rubbish. A bin left to fill chokes airflow, and weak airflow means weak suction no matter how strong the motor is. If your model has a self-emptying dock, the onboard bin still benefits from a check, since fine dust can pack into corners the dock does not clear.
Step 2: Clear the Brushes
The main roller and the side brushes are where long hair and fibres wrap tightest. Lift the roller out, slide the scissors along its length to cut the wound hair, and peel it away. Spin the side brushes by hand and free anything tangled at their base. Wound hair is the single most common cause of a vacuum that sounds like it is working but picks up almost nothing.
Step 3: Clean the Filter
The filter traps the fine dust that would otherwise blow back into your room. Tap it firmly against the inside of your bin to knock loose the packed dust. If the manufacturer says the filter is washable, rinse it under cool water and, crucially, let it dry completely before refitting, since a damp filter can grow mould and clog faster. A blocked filter starves the motor of airflow and quietly drops your suction.
Step 4: Wipe the Sensors and Cliff Detectors
Your vacuum navigates with optical sensors and avoids falling down stairs with cliff sensors on its underside. Dust on these makes the robot behave strangely: bumping into things, missing rooms, or refusing to cross thresholds. Wipe each sensor window gently with the dry microfibre cloth. This is the step most people skip, and it is the one that fixes the most baffling navigation problems.
Step 5: Clean the Charging Contacts
Find the metal charging contacts on the robot and on the dock, then wipe both with the dry cloth. Grime here can stop the robot charging reliably, which shows up as a vacuum that never seems to have a full battery. A quick wipe restores a clean connection.
Step 6: Check the Wheels
The drive wheels and the small front caster collect hair and fluff around their axles, which can make the robot veer or struggle on rugs. Spin them by hand, pull away any wound debris, and make sure they turn freely.
Setting a Realistic Schedule
You do not need to do every step every time. Empty the bin and clear the main brush weekly, or more often in a home with pets or long-haired residents. Clean the filter every week or two. Wipe the sensors and contacts whenever you notice odd behaviour or roughly monthly. Matching the frequency to your home is what keeps the routine sustainable rather than a chore you abandon.
Pets change everything. A home with a shedding dog or cat will clog brushes and filters far faster, so shorten the intervals accordingly. Keeping a spare filter on hand from the accessories range at Evetech means you can swap one in while another dries, so the vacuum is never out of action. If you need to compare models or find a robot suited to a pet home, the Evetech smart home and appliances range has current stock with full spec details.
Frequently Asked Questions
How often should I clean my robot vacuum?
Empty the bin and clear the main brush weekly, clean the filter every one to two weeks, and wipe the sensors and contacts roughly monthly or whenever the robot acts up. Homes with pets or lots of hair should clean more frequently.
Why has my robot vacuum lost suction?
The usual culprits are a full bin, a clogged filter, or hair wound tightly around the main brush, all of which restrict airflow. Clearing those three restores suction in most cases before you suspect a motor fault.
Can I wash the filter?
Only if the manufacturer states the filter is washable. If so, rinse it in cool water and let it dry completely before refitting, since a damp filter clogs and can grow mould. If it is not marked washable, tap it clean dry and replace it periodically.
My robot keeps getting lost or bumping into things, what is wrong?
Dusty sensors are the most common cause. Optical and cliff sensors covered in fine dust make the robot misjudge its surroundings, so wiping each sensor window with a dry cloth usually fixes erratic navigation.
How do I keep maintenance manageable in a pet home?
Shorten every interval. Pet hair clogs brushes and filters quickly, so clear the brush and bin more than once a week and keep a spare filter ready to swap so the vacuum never sits idle while one dries.
Keep your robot vacuum cleaning like new with regular upkeep and the right spares. Browse replacement filters, brushes, and cleaning tools in the Evetech accessories range to stay ahead of the grime.