Is your gaming PC starting to sound more like a jet engine during a Johannesburg heatwave? Are your frame rates dropping mid-match in Apex Legends? Before you blame game updates or your internet, the culprit might be lurking inside your case... dust. In South Africa, dust is a constant battle. This guide will show you exactly how to clean a gaming PC, restoring its quiet, cool performance and helping you dominate the lobby once again. 🚀
Why Cleaning Your Gaming PC is Non-Negotiable
Think of dust as a tiny, fluffy blanket suffocating your expensive components. It’s an insulator, trapping heat and forcing your fans to work overtime. This leads directly to a nasty issue called thermal throttling, where your CPU and GPU intentionally slow down to prevent overheating. Suddenly, that buttery-smooth 144 FPS you paid for drops to a stuttery mess.
Regularly cleaning a gaming PC doesn't just boost performance; it extends the lifespan of your hardware. By keeping things cool and allowing fans to spin freely, you reduce wear and tear, protecting the investment you've made in your rig—whether it's one of our popular budget gaming PCs or a custom-built monster.
Gearing Up: Your PC Cleaning Toolkit 🔧
You don't need a high-tech lab to get this done. Here’s a simple checklist of what you'll need:
- Can of Compressed Air: The number one tool for blasting dust out of tight spaces.
- Microfibre Cloths: For wiping down surfaces without leaving lint behind.
- Isopropyl Alcohol (90%+): Excellent for cleaning off stubborn grime or old thermal paste (for advanced users).
- Cotton Swabs & A Small, Soft Brush: Perfect for getting into tricky corners and cleaning fan blades.
- Screwdriver: To open your case.
What to Avoid: A standard household vacuum cleaner! The static electricity it generates can be a death sentence for sensitive components like your motherboard or RAM. Stick to compressed air.
The Step-by-Step Guide to a Dust-Free Rig
Ready to get your hands dirty... or rather, clean? Set aside about 30-45 minutes, find a well-ventilated spot (like a garage or balcony), and let's begin this essential PC maintenance.
Step 1: Power Down and Prep
This is crucial. Completely shut down your PC through the operating system. Turn off the power supply unit (PSU) using the switch on the back, and then unplug every single cable. This eliminates any risk of electrical shock or damage. Carry your tower to your cleaning area.
Step 2: Open the Beast
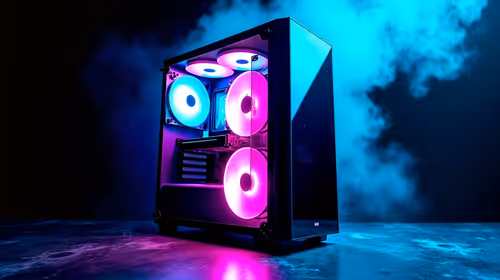
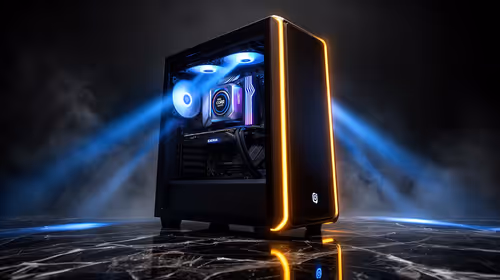
Place the tower on its side and unscrew the thumb screws holding the main side panel in place. Slide it off and set it aside. Now you can see the battlefield. Take a moment to observe where the main dust build-ups are—usually on the intake fans, the CPU cooler, and the GPU. Even our most popular gaming PCs under R20k benefit immensely from this simple check-up.
Pro Tip: Taming Dust Filters ✨
Most modern PC cases have removable dust filters on the front, top, and bottom. Slide or pop these out first. You can rinse them under a tap with lukewarm water and let them dry completely before reinstalling. It's the easiest way to improve airflow instantly!
Step 3: The Great De-Dusting
Grab your can of compressed air. The golden rule is to use short, controlled bursts. Never hold the can upside down, as this can spray freezing liquid propellant.
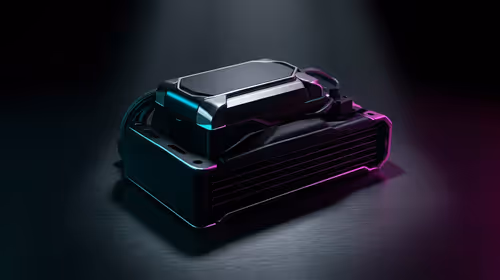
- Case Fans & Radiators: Gently hold the fan blades with one finger to stop them from spinning wildly, which can damage their bearings. Use short bursts of air to blow the dust out from the inside of the case.
- CPU Cooler: Aim the air at the heatsink fins, blowing the dust out in the direction of the airflow (usually towards the back of the case).
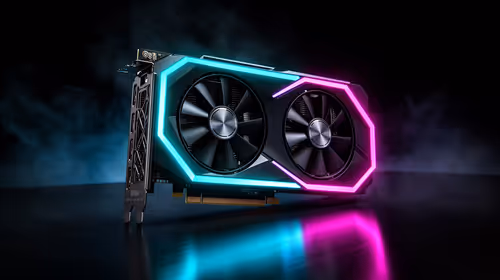
- Graphics Card (GPU): Pay close attention to the GPU's fans and heatsink. These powerful cards, especially in high-end PCs above R20k, generate immense heat and their cooling efficiency is vital.
- Bottom of the Case: Blow out any dust that has settled at the bottom, especially around the PSU.
For any stubborn dust clinging to fan blades, use your soft brush or a cotton swab lightly dampened with isopropyl alcohol to wipe them clean.
When Cleaning Isn't Enough
After reassembling your PC, you should notice it running cooler and quieter. But what if your performance is still not what it used to be? Sometimes, even a perfectly clean PC just can't keep up with the demands of modern games. Components age, and technology moves fast. If you've done a thorough clean and you're still lagging, it might be a sign that it’s time for an upgrade. Knowing how to clean a gaming PC is a vital skill, but knowing when to upgrade is just as important. If the thought of building one yourself is a bit much, exploring some pre-built PC deals can get you back in the game with zero fuss.
A clean rig is a happy rig. But if yours has seen one too many winters, maybe it’s time to retire it. Check out the best gaming PC deals in South Africa and give yourself the performance you truly deserve.
Performance Still Lagging? Time for an Upgrade. A clean PC is a fast PC, but nothing beats brand-new hardware. If your rig is still struggling after a deep clean, explore our massive range of custom-built gaming PCs and find the perfect machine to conquer your world.