Is your PC sounding more like a jet engine than a high-end rig? Are your frame rates dropping at the worst possible moment during a tense match? Before you start blaming game updates or your internet connection, the culprit might be a silent performance killer... dust. Learning how to clean your PC is one of the most effective ways to boost performance, lower temps, and extend the life of your precious components. This is your expert guide to getting it done right.
Why Cleaning Your PC is Non-Negotiable
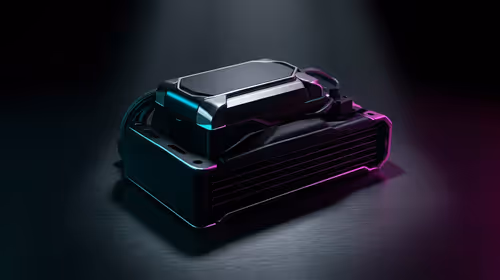
Think of dust as a thick, fuzzy blanket suffocating your hardware. When components like your CPU and GPU get too hot, they automatically slow down to protect themselves—a process called thermal throttling. This is often the cause of frustrating stuttering and lower FPS in games.
A proper clean-up doesn't just reclaim lost performance; it's preventative maintenance. By keeping temperatures down, you reduce the strain on your hardware, which can significantly extend its lifespan. Whether you're running one of our best gaming PC deals or a trusty older rig, regular cleaning is essential for a smooth, stable experience. ✨
Your PC Cleaning Toolkit: The Essentials
Before you start, gather your tools. You don't need a professional workshop, just a few key items to do a thorough job.
- Compressed Air: A can of compressed air or an electric data-vac is your number one weapon against dust.
- Isopropyl Alcohol (90%+): Perfect for cleaning thermal paste residue or stubborn grime.
- Microfibre Cloths: For wiping down surfaces without leaving lint behind.
- Cotton Swabs: Great for getting into tight corners and cleaning fan blades.
- Screwdriver Set: You'll need this to open your case.
Having the right gear makes the process of cleaning your PC far easier and safer for your components. It's a small investment that protects much bigger ones, from affordable builds to high-performance machines over R20k.
Pro Tip: Canned Air Safety ⚡
Always use canned air in short, controlled bursts. Never shake the can during use or hold it upside down. This can cause the liquid propellant to spray out, which can damage your components. Also, gently hold fan blades in place with a finger while you spray them to prevent them from spinning too fast.
A Step-by-Step Guide to Clean Your PC 🔧
Ready to get started? Find a well-lit, ventilated area (like a garage or balcony) to avoid blowing dust all over your room.
1. Power Down and Prepare
This is the most crucial step. Shut down your computer completely. Switch off the power supply unit (PSU) using the switch on the back, and then unplug the power cable from the wall. Unplug all other peripherals like your monitor, keyboard, and mouse. For extra safety, press the power button on the case a few times to discharge any remaining electricity.
2. Open the Case and Assess
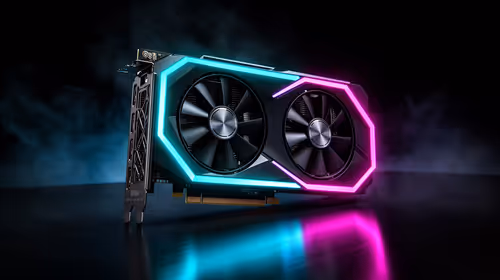
Place your PC on its side and remove the main side panel (usually the left one). Take a moment to look at the interior. The main dust culprits are usually the CPU cooler, the GPU fans, and the case intake fans. Taking a "before" picture can be a satisfying way to see your progress. From entry-level builds to powerful PCs under R20,000, they all gather dust in the same places.
3. Blow Out the Dust
Take your PC outside if possible. Using your compressed air, start from the top of the case and work your way down. Use short bursts to dislodge dust from the motherboard, RAM slots, and graphics card. Pay special attention to heatsinks and fan blades. If your case has removable dust filters (at the front, top, or bottom), take them out and give them a good clean. This single step is the core of how to clean your PC effectively.
4. Detail and Wipe Down
For any remaining stubborn dust, use your cotton swabs and a microfibre cloth. You can lightly dampen a swab with isopropyl alcohol to clean fan blades, but ensure it's completely dry before you power anything on. Wipe down the inside of the case panels and any cable shrouds. A clean interior isn't just for looks; it improves airflow, helping even the most affordable budget gaming PCs run cooler.
Putting It All Back Together
Once you're satisfied that the inside is sparkling, it's time to reassemble. Secure the side panel, plug everything back in, and flip the PSU switch back on. The moment of truth... booting up your newly cleaned machine. You should immediately notice it running quieter and, once you jump into a game, cooler and smoother. 🚀
If, after all this effort, your performance still isn't where you want it to be, it might be a sign that your hardware is showing its age. Cleaning is powerful, but it can't turn an old GPU into a new one. Sometimes, an upgrade is the only real answer. Many gamers find that our range of professionally assembled pre-built PCs offers the perfect, hassle-free path to next-level performance.
Ready for a Real Performance Boost? A clean PC is a happy PC, but sometimes it's just time for an upgrade. If your machine is still struggling to keep up, explore our massive range of custom-built and pre-built PC deals and find the perfect rig to conquer any game you throw at it.