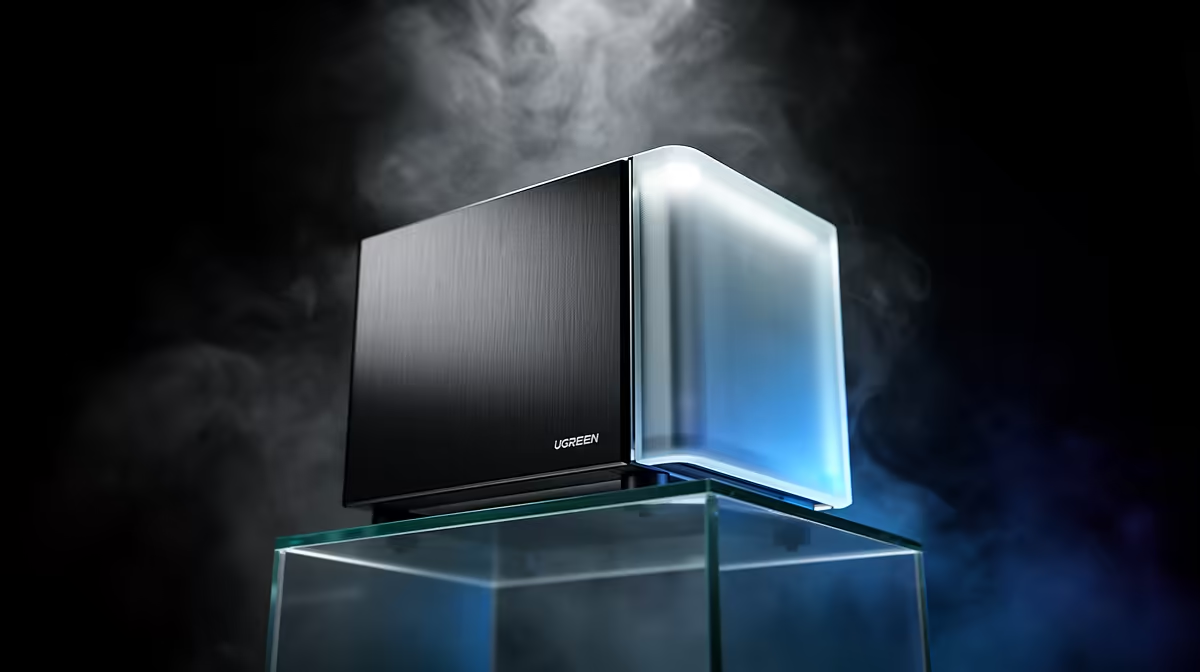
Unbox a UGREEN NAS, slot in the drives, and the next step is not a desktop app or an installer disc. The whole UGOS first-run setup happens through a web browser or the UGREEN NAS mobile app once the unit has pulled an address from your router. UGOS Pro, the operating system, comes preloaded on the device, so there is no operating system to download first. From plugging in the network cable to a working storage pool takes roughly 20 to 30 minutes, most of it spent on the storage configuration rather than the software itself.
Quick Answer
Connect the NAS to your router, power it on, and find its IP address either in your router's device list or through the UGREEN NAS mobile app. Open that IP in a browser to launch the setup wizard, create your admin account, then build a storage pool and volume by choosing a RAID type and adding your drives. Because UGOS Pro is preinstalled, there is no operating system download step.
What You Need Ready
Three things make the setup smooth. First, the drives should already be installed in the bays, since the storage step formats them and a fresh setup erases whatever is on them. Second, the NAS must be cabled to your router, because the wizard runs over your local network rather than a direct connection. Third, have a computer or phone on the same network, since you reach the NAS by its local address.
Unlike some rival systems, you do not download the operating system during setup. UGOS Pro ships on the device, which removes the longest wait other NAS first-runs are known for.
Step-by-Step First-Run Setup
Follow these in order, and do not skip the network step, since everything else depends on the NAS being reachable.
- Connect and power on. Plug the NAS into your router with the supplied cable and switch it on. The router automatically assigns it a local IP address. Give it a minute to boot fully before you try to reach it.
- Find the IP address. Open your router's connected-devices list and look for the UGREEN unit, or install the UGREEN NAS mobile app, which scans the network and finds the device for you. Note the IP address it reports.
- Open the setup wizard. In a browser on the same network, enter the NAS's IP address. The UGOS Pro setup wizard loads. The mobile app can also walk you through this same flow if you prefer to set up from a phone.
- Create your admin account. Set a device name and create an administrator username and a strong password. These credentials control the NAS and every service on it, so record them somewhere safe.
- Start the storage setup. When you first reach the UGOS Pro interface, the new-user guide prompts you to create a volume, or you can open Storage from the home screen and choose to set up a storage pool and volume.
- Choose a RAID type and add drives. Pick the RAID level that suits your drive count and your priorities. A mirrored setup across two drives keeps a full copy on each, surviving one drive failure at the cost of half your raw capacity, while a parity setup across four or more drives is more space-efficient. Add your drives to the pool.
- Allocate the volume and finish. Set the volume capacity, confirm the file system, and let UGOS create the pool. When it completes, you land on the UGOS Pro dashboard, a full interface you can also reach from a browser or app on any device.
Choosing Your RAID Sensibly
The RAID decision is the one to slow down for, because it sets how your data is protected and how much usable space you get. A two-drive mirror is simple and survives a single drive failing, but you give up half the raw capacity to the copy. A parity setup across more drives reclaims more of that space while still tolerating a drive failure, which suits larger arrays. Choose based on how badly you would feel losing the data, not just on the headline capacity, and remember that RAID is redundancy, not a backup. You still need a separate copy of anything irreplaceable. Reliable drives underpin all of it, so pairing the enclosure with proven storage from the SSD best sellers is money well spent for cache or fast volumes.
After You Reach the Dashboard
A working dashboard is the beginning of the real configuration. Create a standard user account for everyday use instead of logging in as admin, set up shared folders with network file sharing enabled so your computers can map them as drives, and turn on the security features UGOS offers. If you want to reach the NAS from outside your home, configure remote access through the official app and service rather than exposing the device directly to the internet. The mobile and desktop apps then let you manage backups, photos, and media from anywhere.
Frequently Asked Questions
Do I need to install UGOS myself?
No. UGOS Pro comes preloaded on the NAS, so there is no operating system to download or flash during setup. You go straight from finding the device's IP address to creating your account and storage, which makes the first run quicker than systems that install their OS at setup.
How do I find my UGREEN NAS on the network?
Check your router's list of connected devices for the UGREEN unit and note its IP address, or use the UGREEN NAS mobile app, which scans the network and locates the device automatically. Either way, you then open that IP address in a browser to start the wizard.
Can I set it up from my phone?
Yes. The UGREEN NAS mobile app can find the device and walk you through the same setup flow as the browser, including account creation and storage configuration. Many people start on the phone and switch to a browser for heavier admin work later.
Which RAID should I pick?
For two drives, a mirror is the straightforward choice and survives one drive failing. For four or more drives, a parity setup gives more usable space while still tolerating a failure. Decide by how much you would hate to lose the data, and keep a separate backup regardless, since RAID is not a backup.
How long does the setup take?
Plan for roughly 20 to 30 minutes overall. Because UGOS Pro is preinstalled there is no OS download, so most of the time goes into creating and initialising the storage pool. The dashboard is usable as soon as the volume is ready, even if the array keeps optimising in the background.
Got your UGREEN NAS up and running and eyeing more capacity? Browse the diskless NAS range at Evetech and grow the storage your whole home depends on.