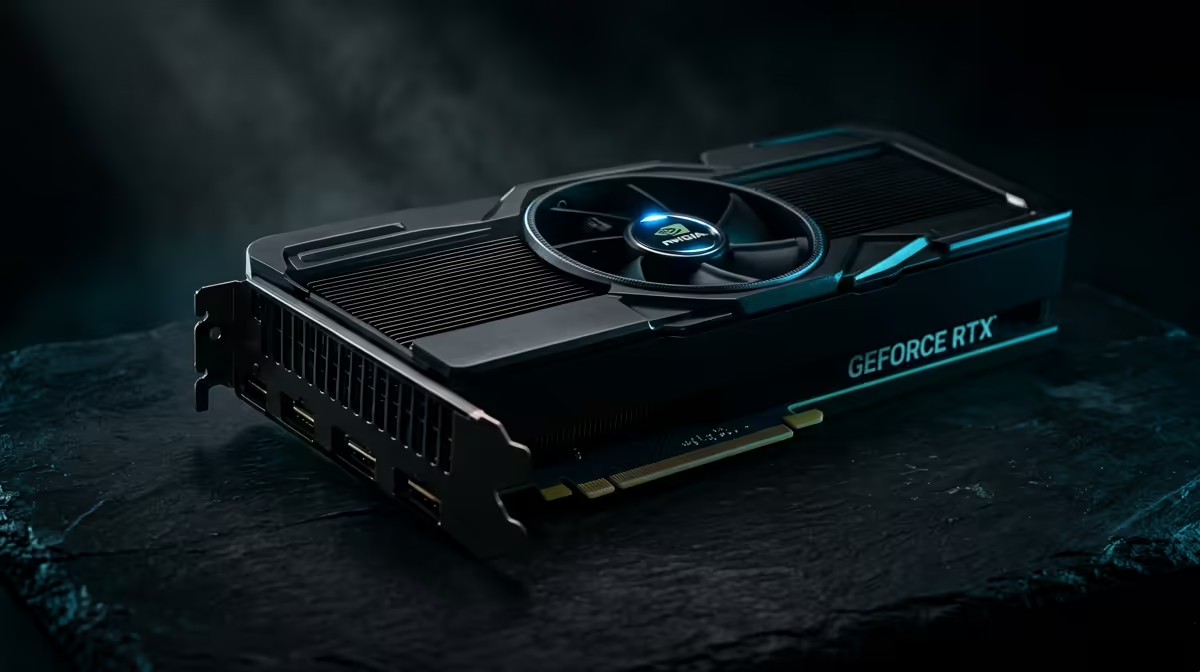
If you own an NVIDIA RTX card and render in Blender Cycles with CUDA, you are leaving a large amount of speed on the table. Enabling OptiX GPU rendering in Blender Cycles switches your renders onto the dedicated RT cores built into RTX graphics cards, the same hardware that powers real-time ray tracing in games. The payoff is render times that drop sharply, with no change to your scene.
Quick Answer
OptiX uses the dedicated RT cores on NVIDIA RTX cards and renders roughly 60 to 80 percent faster than CUDA in Blender Cycles. If you own any RTX GPU, OptiX is the backend to use. Enabling it takes four steps in Preferences and one toggle in your render settings.
Why OptiX Beats CUDA On RTX Cards
CUDA renders Cycles on the general-purpose cores of your GPU. OptiX adds the RT cores, silicon designed specifically to accelerate the ray-intersection maths that ray tracing depends on. Because Cycles is a ray tracer, that hardware maps almost perfectly onto the work, which is why the speed-up is so large.
The result on RTX cards is commonly a 60 to 80 percent reduction in render time for the same scene and the same quality. There is no catch on image quality: OptiX produces the same final render as CUDA, just faster. The only requirement is an RTX-class NVIDIA GPU, since the RT cores OptiX relies on are not present on older GTX cards.
Step One: Open The System Preferences
Start in Blender's preferences. Open the Edit menu, choose Preferences, and select the System tab on the left. This is where Blender lists the compute backends your hardware supports.
If your drivers are current and you have an RTX card, you will see OptiX listed alongside CUDA. If OptiX does not appear, update your NVIDIA drivers and restart Blender, because an outdated driver is the most common reason the option is missing.
Step Two: Select The OptiX Backend
In the System tab, find the Cycles Render Devices section. You will see tabs for the available backends, including CUDA and OptiX. Click the OptiX tab.
Below it, tick the box next to your RTX GPU so Blender knows to use it for rendering. If you have a capable CPU, you can leave it ticked too for hybrid rendering, though the GPU does the heavy lifting. Close Preferences once your card is selected.
Step Three: Set The Scene To GPU Compute
Selecting OptiX in Preferences tells Blender which backend to use, but each scene still needs to be told to render on the GPU rather than the CPU. Open the Render Properties tab, the camera-back icon in the Properties panel.
Confirm the render engine is set to Cycles, then find the Device dropdown and change it from CPU to GPU Compute. This is the toggle people most often forget, and it is the difference between OptiX actually running and Blender quietly falling back to the CPU.
Step Four: Verify OptiX Is Actually Running
Do not assume the speed-up happened; confirm it. The simplest check is to render a test frame and watch the time. With OptiX active on an RTX card, the render should complete noticeably faster than the same frame on CUDA or CPU.
For a firmer confirmation, render a moderately complex scene twice: once with the Device set to CPU and once with GPU Compute on OptiX. The gap should be obvious. If the times are similar, revisit step three, because the scene is almost certainly still rendering on the CPU.
Getting The Best Out Of OptiX
A few habits keep OptiX fast. Keep your NVIDIA drivers current, since Blender and OptiX both improve with newer releases. Enable OptiX denoising in the render settings for cleaner images at lower sample counts, which compounds the time saving. And if you render large or complex scenes, more VRAM matters, because a scene that exceeds your card's memory falls back and slows down.
For artists weighing a GPU specifically for Blender and other creative apps, the workstation graphics card range at Evetech covers the higher-VRAM options that suit heavy scenes. If you are building or upgrading a whole rig around rendering, the most popular PC builds show common pairings of GPU, CPU, and memory.
Frequently Asked Questions
How much faster is OptiX than CUDA in Blender?
On RTX cards, OptiX typically renders 60 to 80 percent faster than CUDA in Cycles for the same scene and quality. The gain comes from the dedicated RT cores accelerating ray-tracing maths.
Why is OptiX not showing in my Blender preferences?
The most common cause is outdated NVIDIA drivers. Update them and restart Blender. OptiX also requires an RTX-class card, since the RT cores it uses are not present on older GTX GPUs.
Does OptiX change the final image quality?
No. OptiX produces the same final render as CUDA, just faster. You can also enable OptiX denoising for cleaner results at lower sample counts.
Why did my render not speed up after selecting OptiX?
The scene is probably still set to render on the CPU. In Render Properties, change the Device dropdown from CPU to GPU Compute. Selecting OptiX in Preferences alone is not enough.
Do I need a lot of VRAM for OptiX rendering?
For simple scenes, no. For large or complex scenes, more VRAM helps, because a scene that exceeds your card's memory can fall back and lose the speed advantage.
Ready to cut your Blender render times? Switch Cycles to OptiX with the steps above, then explore the workstation graphics card range at Evetech if your scenes need more RT cores and VRAM to render even faster.